
The Rust Removal DIY
Written by: the one and only� me, lol.
special thanks to my dad for basically teaching me how to do this DIY...
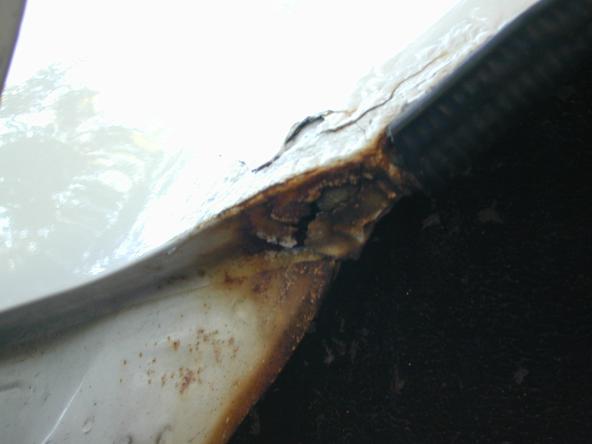
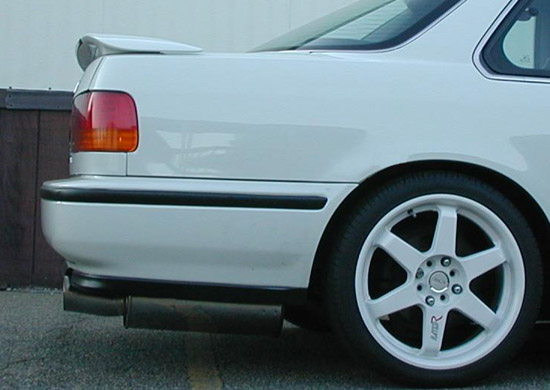
Introduction: If you own a 4th generation accord, chances are � you�ve got the typical rust areas right at the meeting point of your rear bumper and rear quarter panel. Now this rust might not be characteristic of ALL cb7s; but i�ve always noticed at least a little on most that I�ve seen. I was one of the unlucky cb7 owners. I had some pretty ugly quarter panel rust:

It looked like that on both sides. You can tell that I ignored it and tried to hide it with spray paint; but before long - it started to bubble and crack my disguise. I remember taking my accord to a car show at my local raceway last july. The judges almost made a complete 360 degree rotation around my car when they stopped at the rust spot. I remember seeing one of the judges point at the rust and lean over to his partner. His partner said � �is that rust?... looks like rust�, and he answered with an assertive �yeeup�. So I came to the conclusion that � you can spend hundreds or thousands of dollars on oversized wheels and body kits� but the body damage is the first thing that people will notice (especially judges!). That is what will hurt you when it comes to showing your car or just enjoying your car�s appearance in general. So I decided to do something about my rust areas� and you can too!
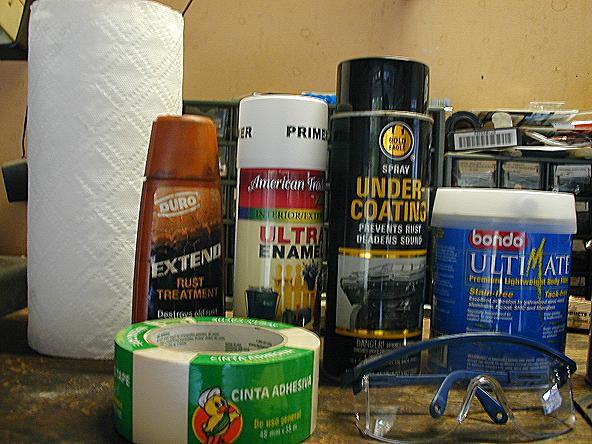
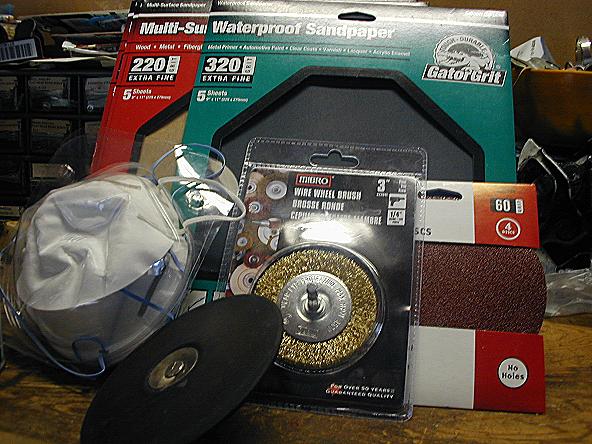
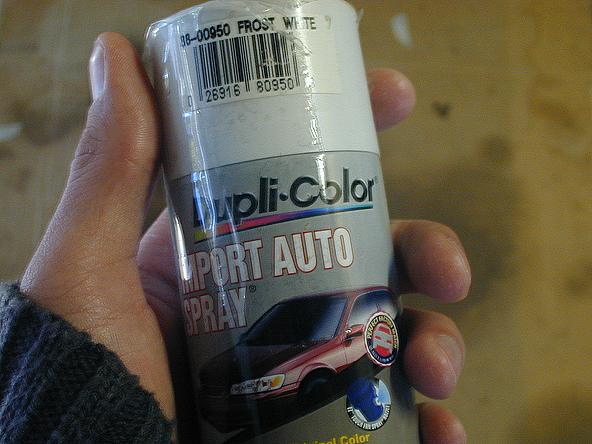
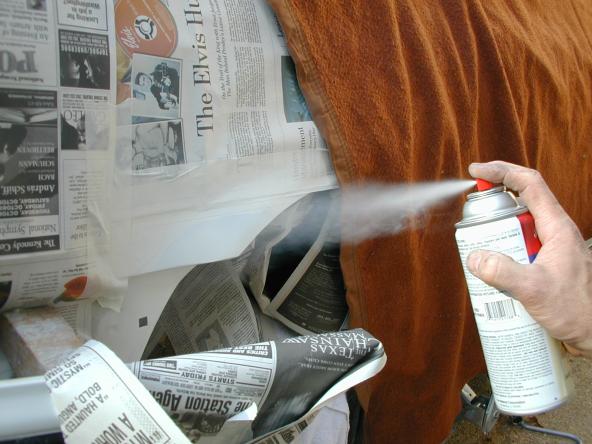
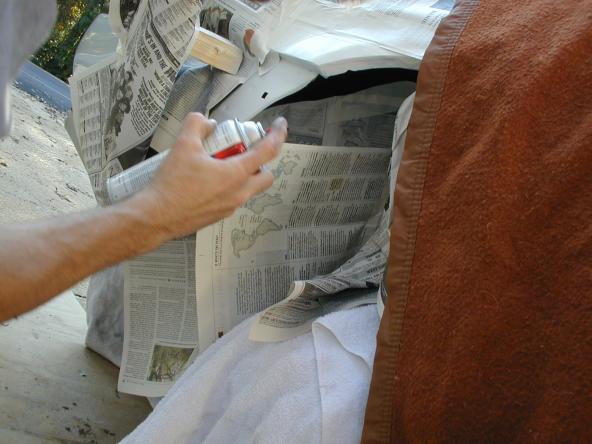
Tool List (most can be found at lowes/home depot): electric power drill, grinding disc, 60 grit paper for the disc, 3� wire wheel brush, masking tape, bondo body filler, body file, wire brush, bottle of rust neutralizer, sponge brush, chaulking, plastic spreader (to apply the bondo mix), block sander, 220 & 320 grit sandpaper, undercoating spray, primer, duplicolor auto spray paint for your color accord, clearcoat (optional), and of course� safety goggles, face masks, paper towels, and plenty of old newspapers to protect the good paint of the rest of the car!
(not all tools shown below)
Estimated Cost of Project: Assuming you have a power drill already� somewhere near 100.00. Might seem like a pretty pricey DIY � but it�s nothing when compared to having a body shop do the work for you. I had my rust repair quoted at a body shop before attempting this DIY. They gave me the price estimate of 750.00 for both sides! See they actually cut out that bad piece of rusted metal and weld in a new piece. They do a bunch of extra stuff that cranks up the benjamins. It�s not necessary. In this DIY, I will show you how to remove all of your dead rust, prevent the rust from reoccurring, and re-construct your rear quarter panel(s) to look like new. Here�s all you need to know�
Steps:
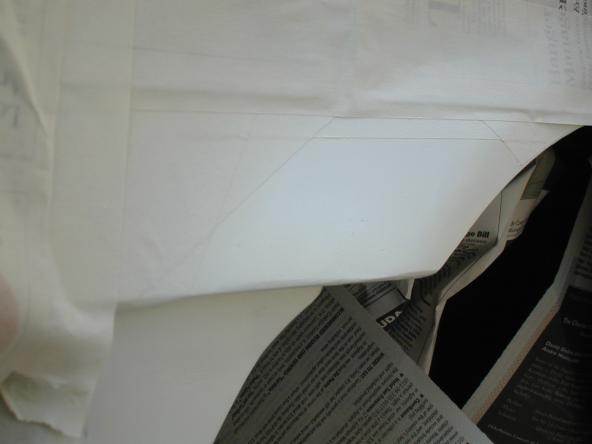
1. Starting on either side (or you might only have rust on one quarter panel to begin with), unscrew the bolts (3) holding the rear bumper to the quarter panel. There should be a little black clip that you must remove. Place a block of wood in between the bumper and the quarter panel. You don�t want that rear bumper getting in the way of your work!
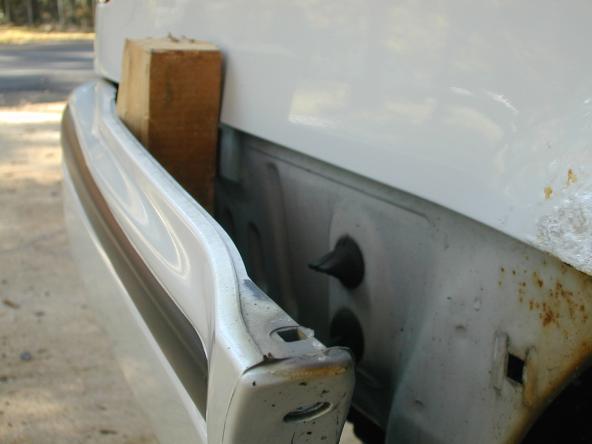
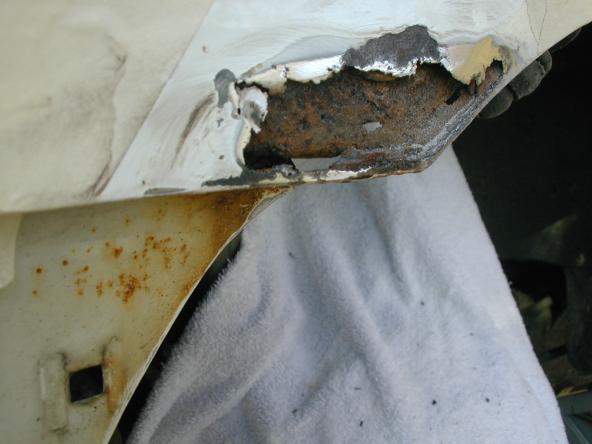
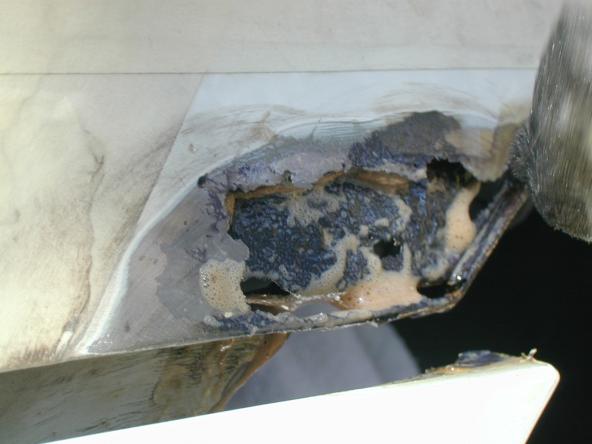
Look how bad it�s rusted under there� eww:
2. Remove the black trim molding that lines your fender.
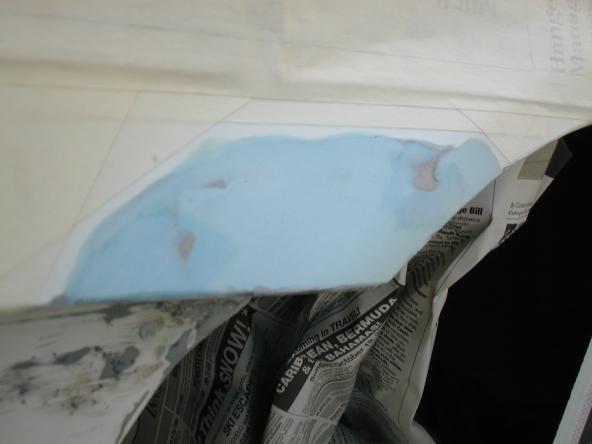
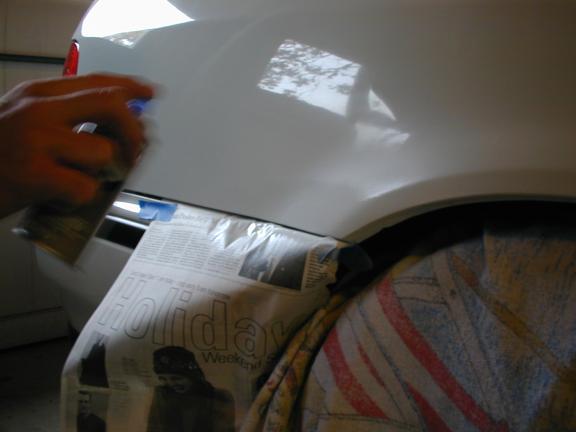
3. Using masking tape � tape off the surrounding area of your rust damage.
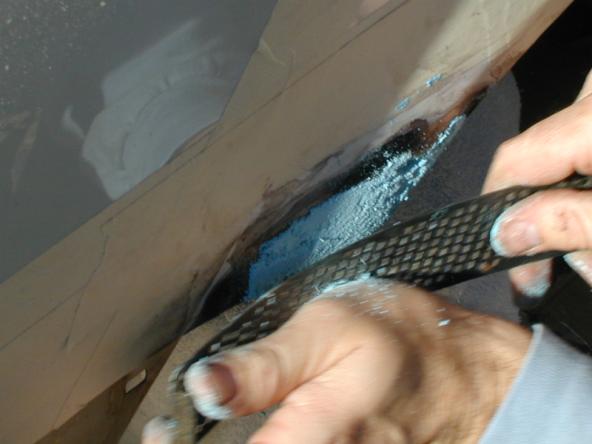
4. Attach the grinding disc (with 60 grit paper) to your power drill. Holding the disc at a slight angle, press down firmly on the drill and grind away as much of the rust as possible. Also grind away any rust on the inside of the quarter panel! It's extremely important to wear your goggles. Lose an eye, and you can kiss those Auto X dreams goodbye! lol.
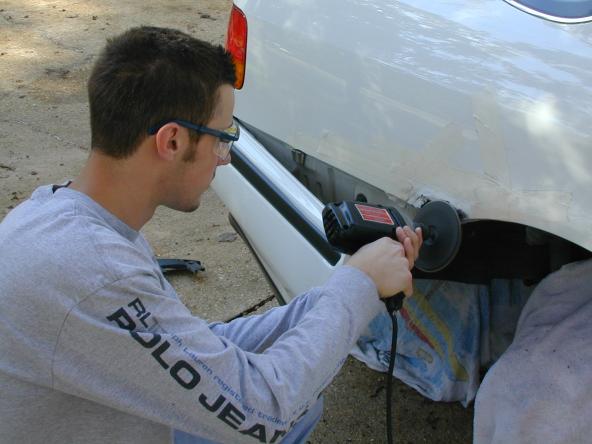
What the spot should look like after using the grinding disc:
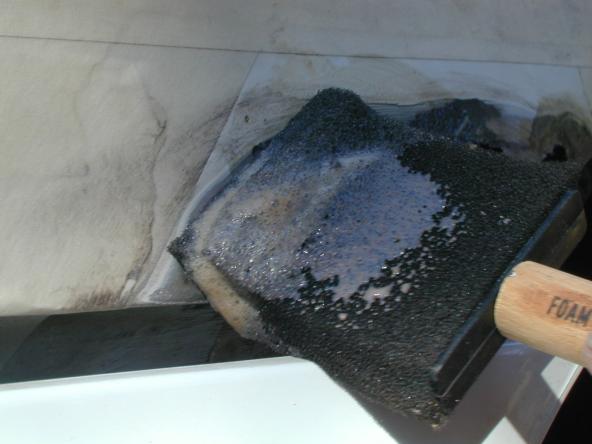
5. Next, insert the wire wheel into your drill. This will help remove even more of that rust. Use the wire wheel in pretty much the same way that you used the grinding disc. The only difference, is that the wire wheel will help you get up underneath your paint, behind the rust spot, and in all of the other hard to reach areas (that the disc couldn�t reach). It�s also more tough on the rust in general. If the grinding disc didn�t get it all � the wire wheel will! Its extremely important to wear your goggles.
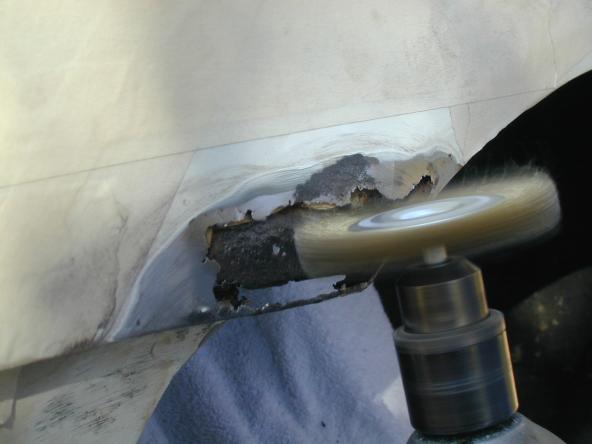
It just seems to keep getting worse!!
Written by: the one and only� me, lol.
special thanks to my dad for basically teaching me how to do this DIY...
Introduction: If you own a 4th generation accord, chances are � you�ve got the typical rust areas right at the meeting point of your rear bumper and rear quarter panel. Now this rust might not be characteristic of ALL cb7s; but i�ve always noticed at least a little on most that I�ve seen. I was one of the unlucky cb7 owners. I had some pretty ugly quarter panel rust:
It looked like that on both sides. You can tell that I ignored it and tried to hide it with spray paint; but before long - it started to bubble and crack my disguise. I remember taking my accord to a car show at my local raceway last july. The judges almost made a complete 360 degree rotation around my car when they stopped at the rust spot. I remember seeing one of the judges point at the rust and lean over to his partner. His partner said � �is that rust?... looks like rust�, and he answered with an assertive �yeeup�. So I came to the conclusion that � you can spend hundreds or thousands of dollars on oversized wheels and body kits� but the body damage is the first thing that people will notice (especially judges!). That is what will hurt you when it comes to showing your car or just enjoying your car�s appearance in general. So I decided to do something about my rust areas� and you can too!
Tool List (most can be found at lowes/home depot): electric power drill, grinding disc, 60 grit paper for the disc, 3� wire wheel brush, masking tape, bondo body filler, body file, wire brush, bottle of rust neutralizer, sponge brush, chaulking, plastic spreader (to apply the bondo mix), block sander, 220 & 320 grit sandpaper, undercoating spray, primer, duplicolor auto spray paint for your color accord, clearcoat (optional), and of course� safety goggles, face masks, paper towels, and plenty of old newspapers to protect the good paint of the rest of the car!
(not all tools shown below)
Estimated Cost of Project: Assuming you have a power drill already� somewhere near 100.00. Might seem like a pretty pricey DIY � but it�s nothing when compared to having a body shop do the work for you. I had my rust repair quoted at a body shop before attempting this DIY. They gave me the price estimate of 750.00 for both sides! See they actually cut out that bad piece of rusted metal and weld in a new piece. They do a bunch of extra stuff that cranks up the benjamins. It�s not necessary. In this DIY, I will show you how to remove all of your dead rust, prevent the rust from reoccurring, and re-construct your rear quarter panel(s) to look like new. Here�s all you need to know�
Steps:
1. Starting on either side (or you might only have rust on one quarter panel to begin with), unscrew the bolts (3) holding the rear bumper to the quarter panel. There should be a little black clip that you must remove. Place a block of wood in between the bumper and the quarter panel. You don�t want that rear bumper getting in the way of your work!
Look how bad it�s rusted under there� eww:
2. Remove the black trim molding that lines your fender.
3. Using masking tape � tape off the surrounding area of your rust damage.
4. Attach the grinding disc (with 60 grit paper) to your power drill. Holding the disc at a slight angle, press down firmly on the drill and grind away as much of the rust as possible. Also grind away any rust on the inside of the quarter panel! It's extremely important to wear your goggles. Lose an eye, and you can kiss those Auto X dreams goodbye! lol.
What the spot should look like after using the grinding disc:
5. Next, insert the wire wheel into your drill. This will help remove even more of that rust. Use the wire wheel in pretty much the same way that you used the grinding disc. The only difference, is that the wire wheel will help you get up underneath your paint, behind the rust spot, and in all of the other hard to reach areas (that the disc couldn�t reach). It�s also more tough on the rust in general. If the grinding disc didn�t get it all � the wire wheel will! Its extremely important to wear your goggles.
It just seems to keep getting worse!!


Comment