Announcement

Collapse
No announcement yet.

DCB7 : 1993 Accord LX

Collapse
X
 
  • Filter
  • Time
  • Show
Clear All
new posts

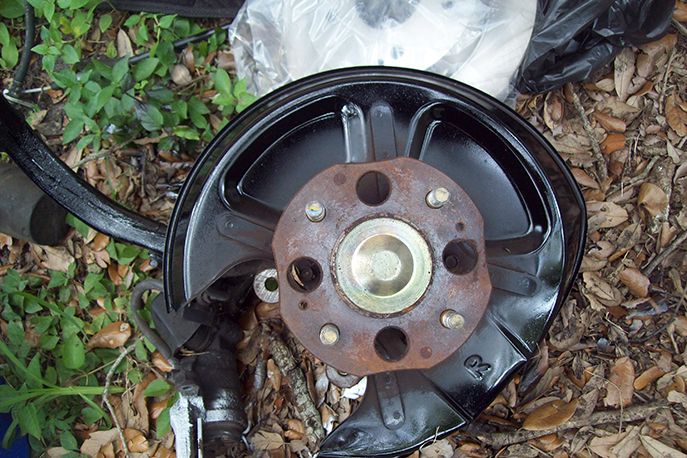
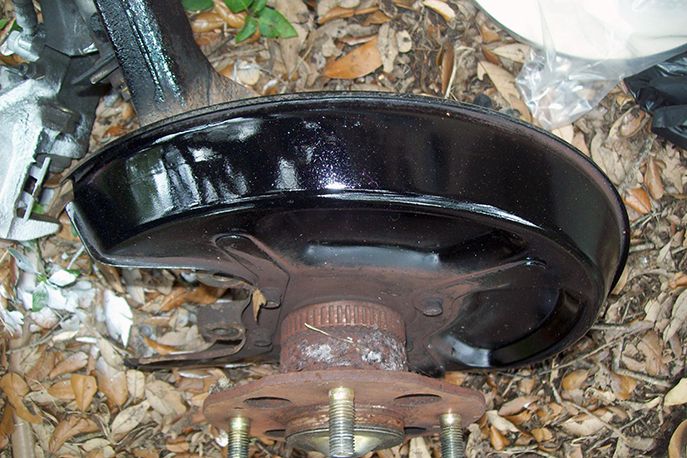
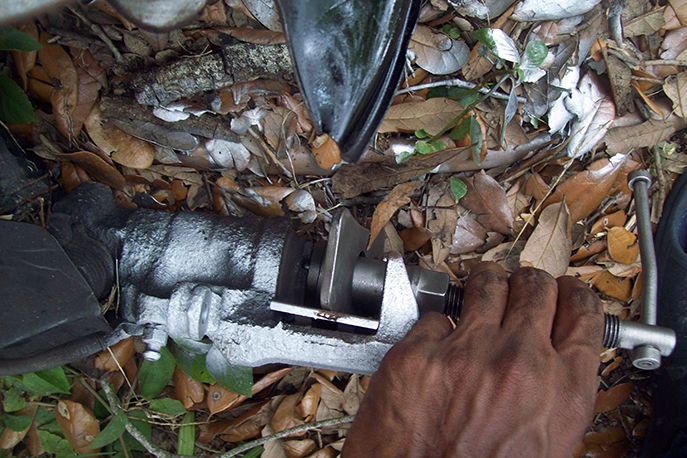
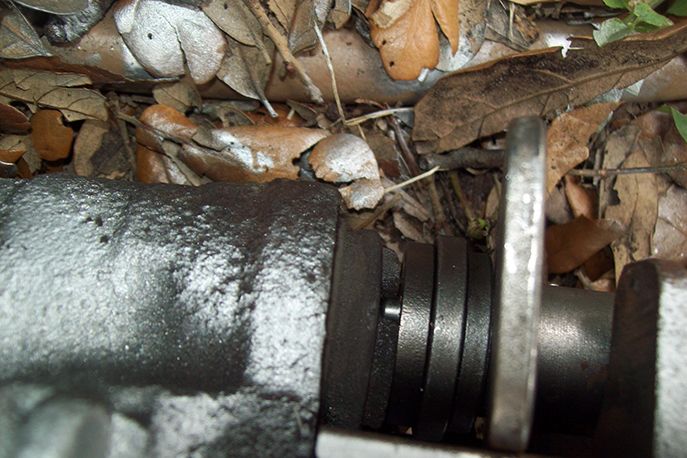
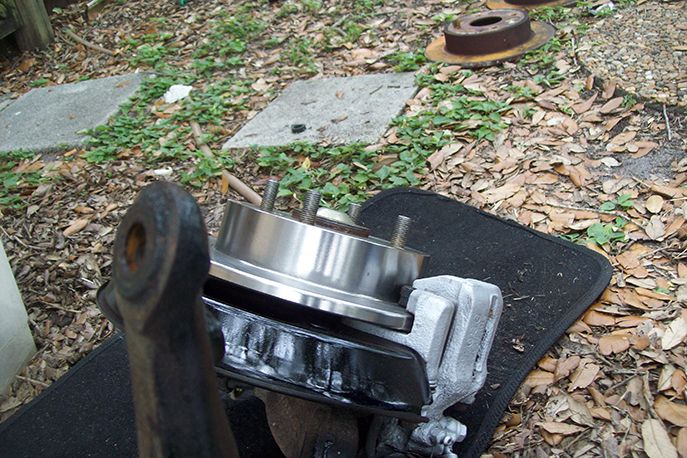
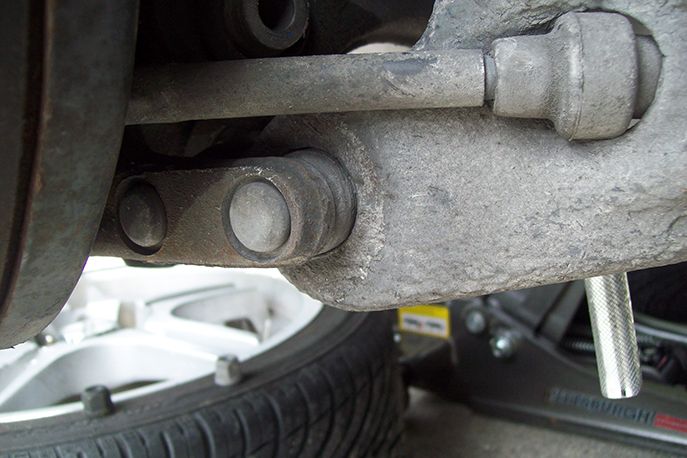
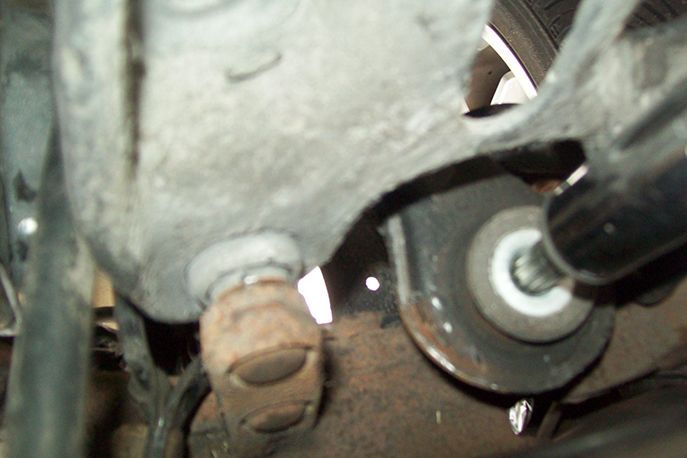
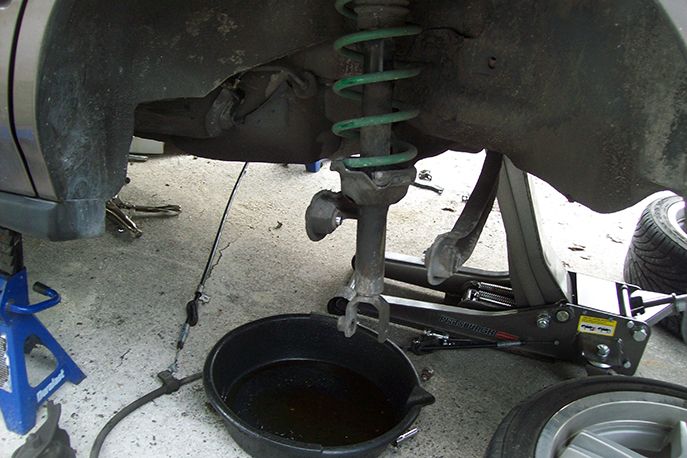
    What would happen if you pump the brakes with the caliper disconnected from the rotor:


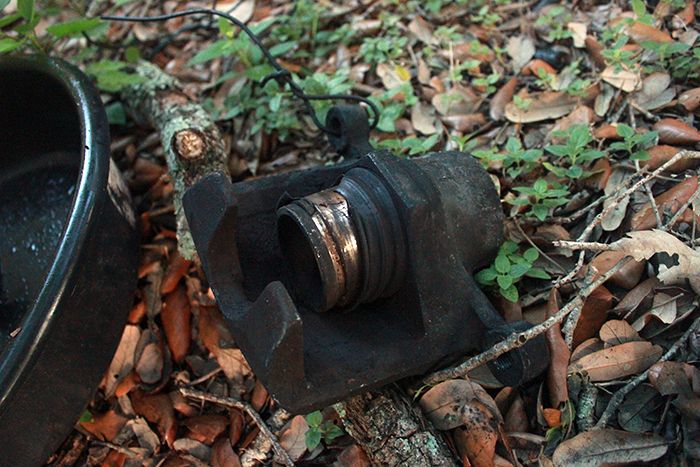
    That piston is coming out. Though my boot was already ripped.

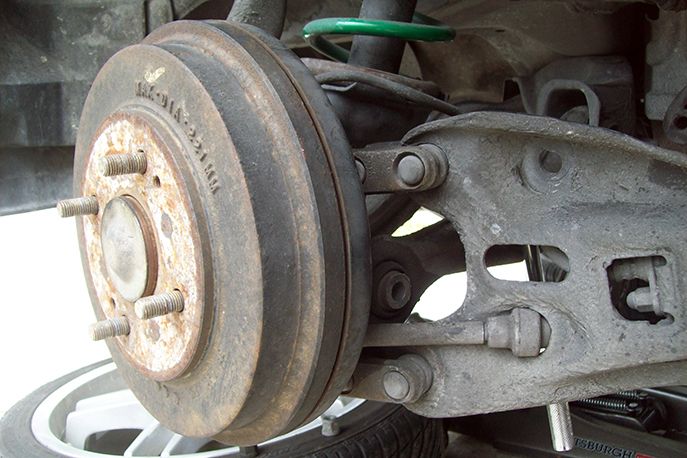
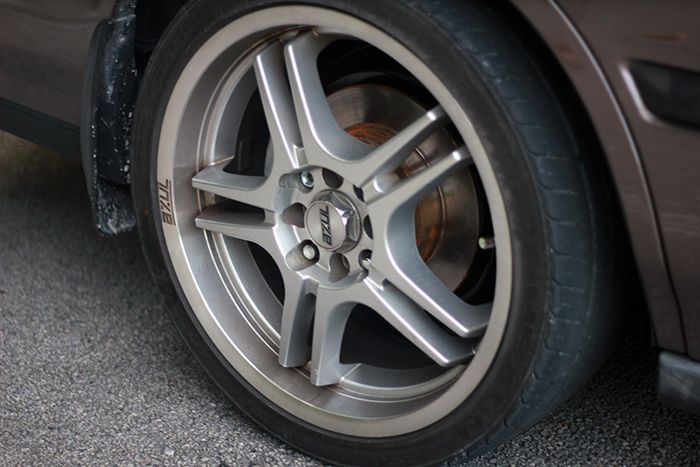
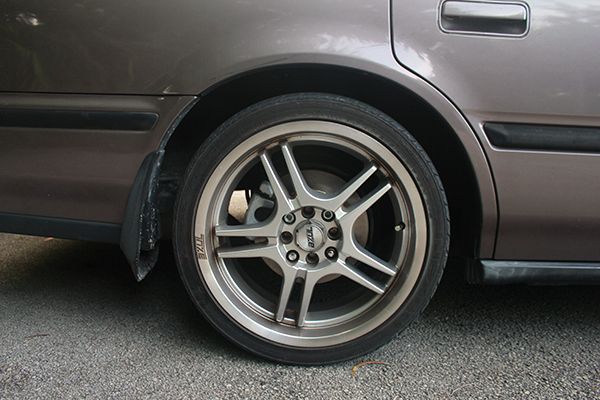
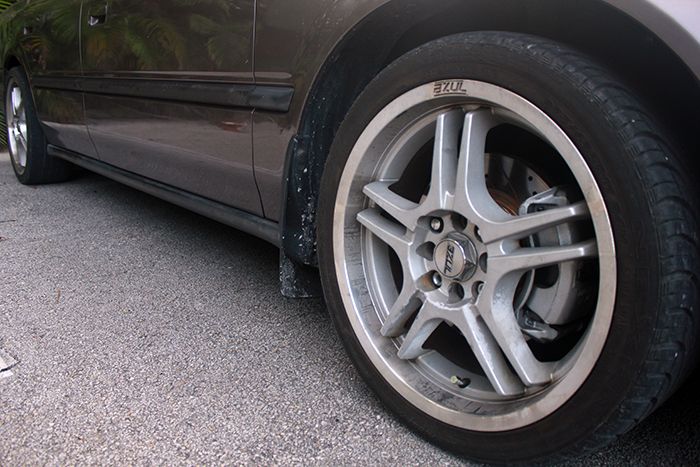
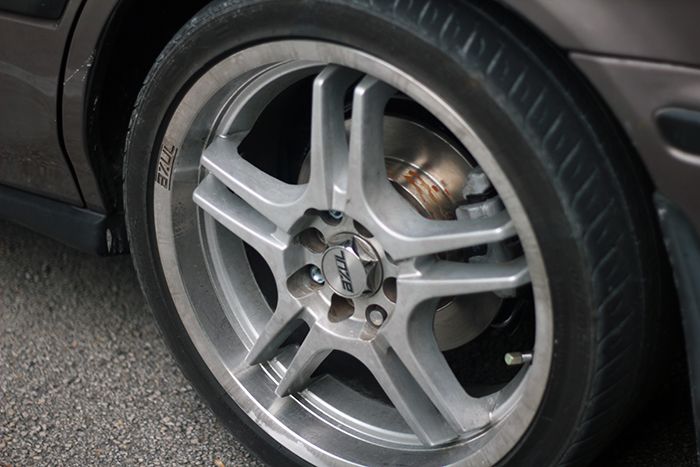
    Performance was good for a few days, till at lights I noticed my brake pedal going down, down down (like when bleeding brakes) Checked the reservoir, and it was low. Checked the wheel and brake fluid streams could be seen across the rims/tires. I tried to get it off right away, but the rim is tarnished.

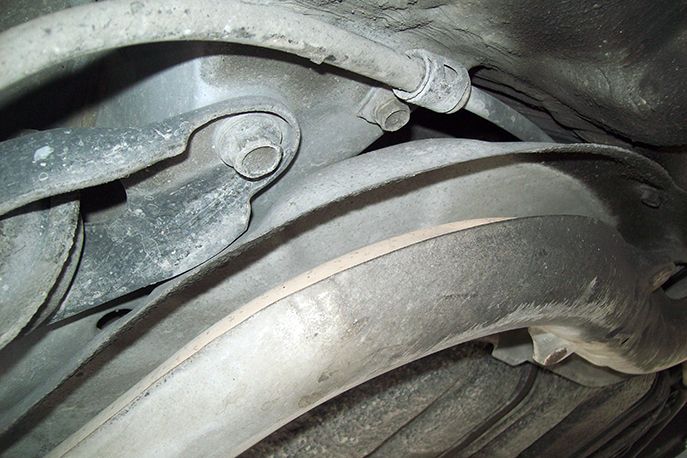
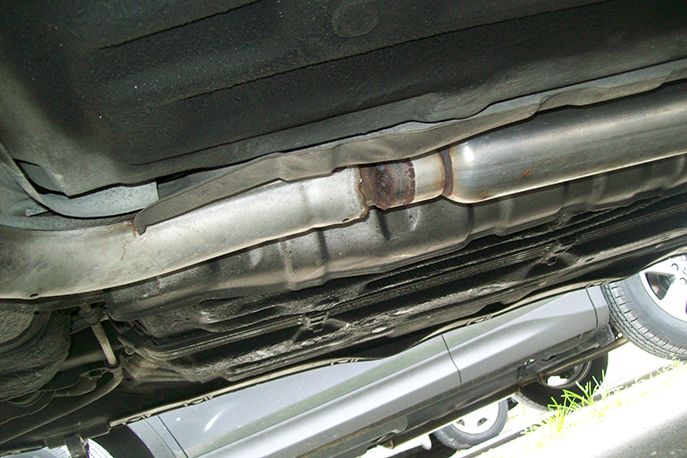
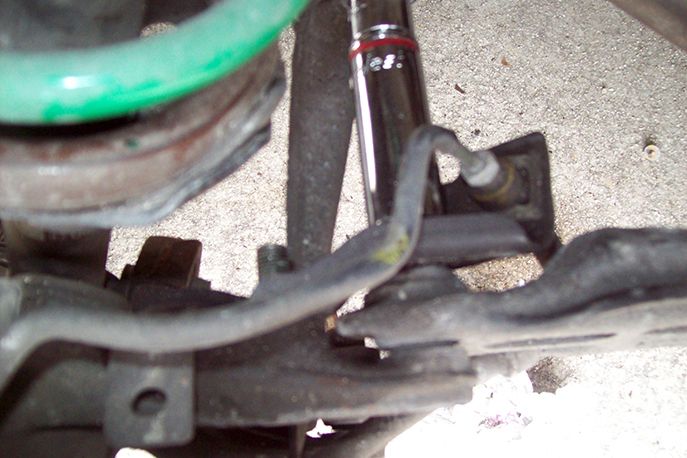
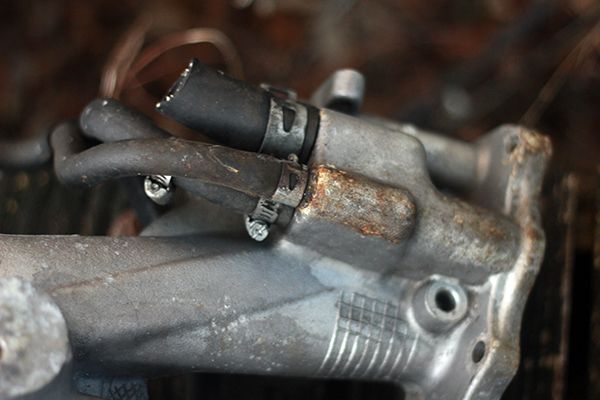
    Turned out it was the brake line. I missed this bubble


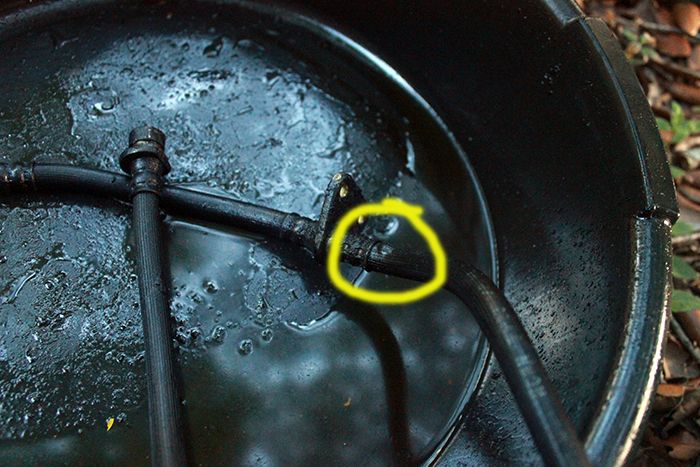
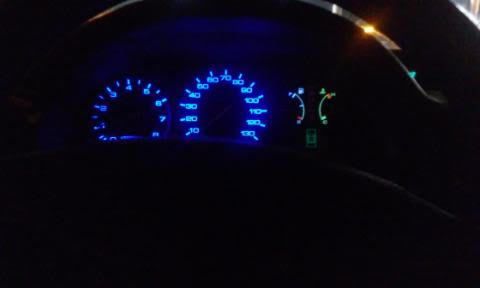
    re-bled, and now the pedal is stiff again. almost right at the top.
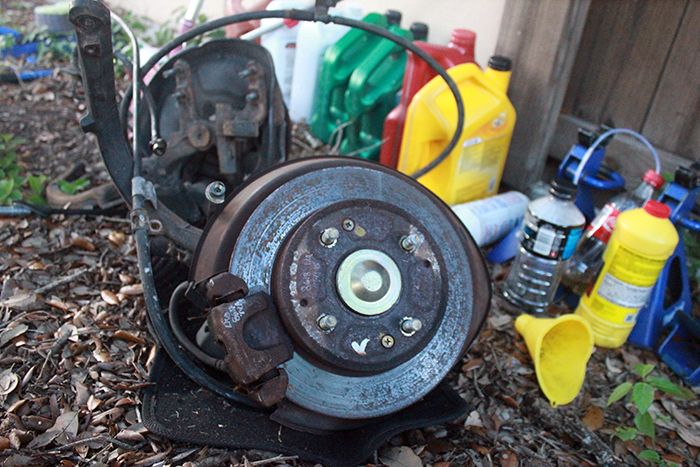
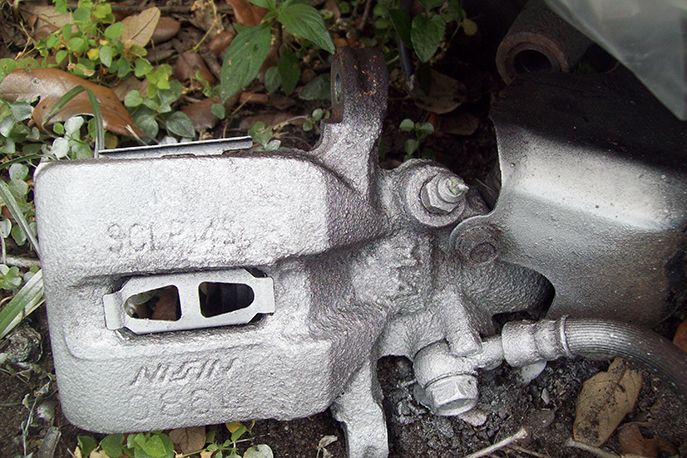
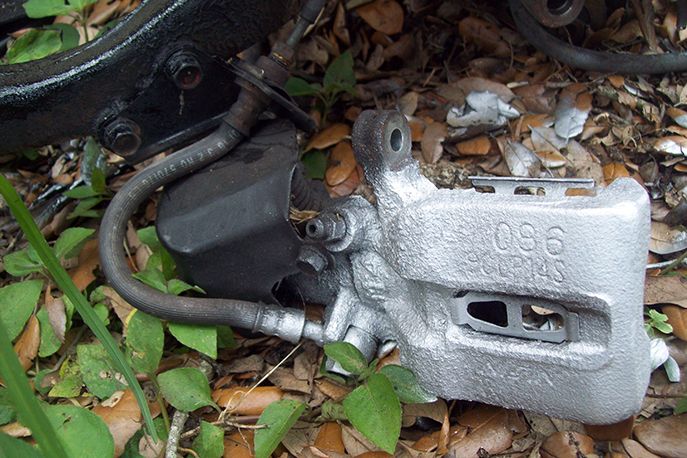
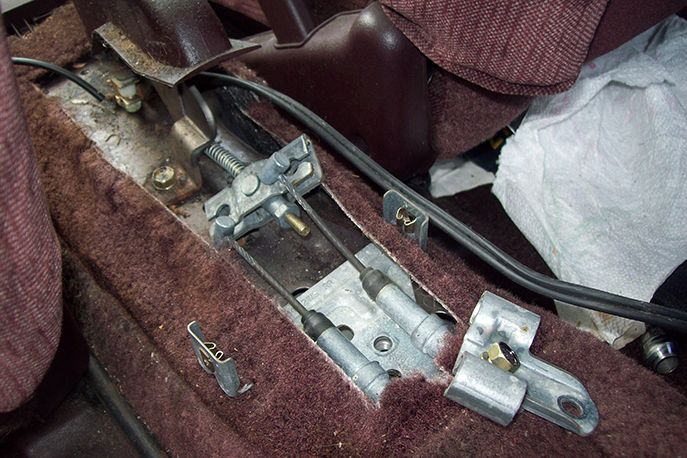
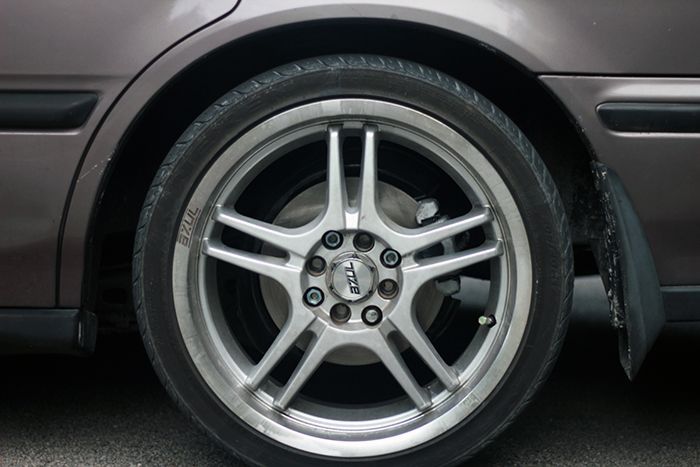
    I put the CL brake line on on that side, for some reason the banjo connection wouldn't go back into the caliper groove, so I changed the angle, skipped a bracket and used zip ties.

    I want to get stainless brake lines eventually.
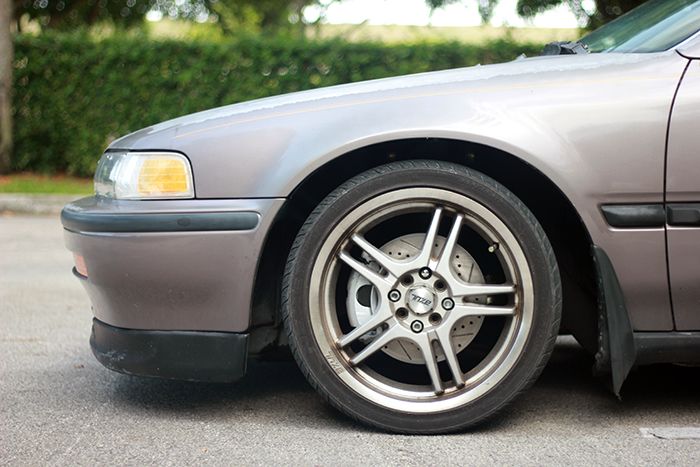
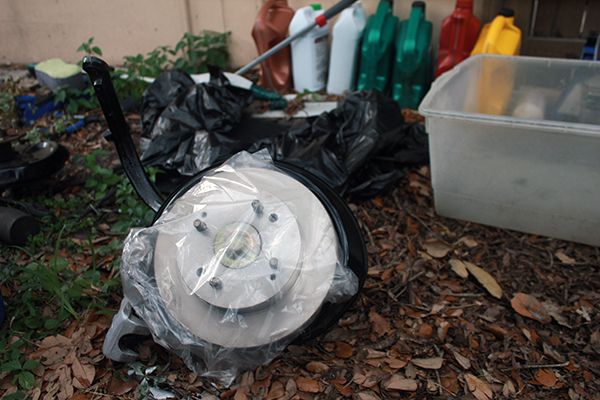
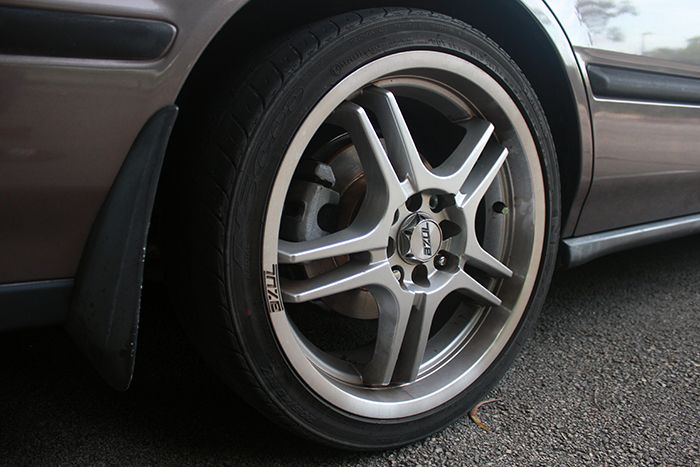
    It was my cleanest rim


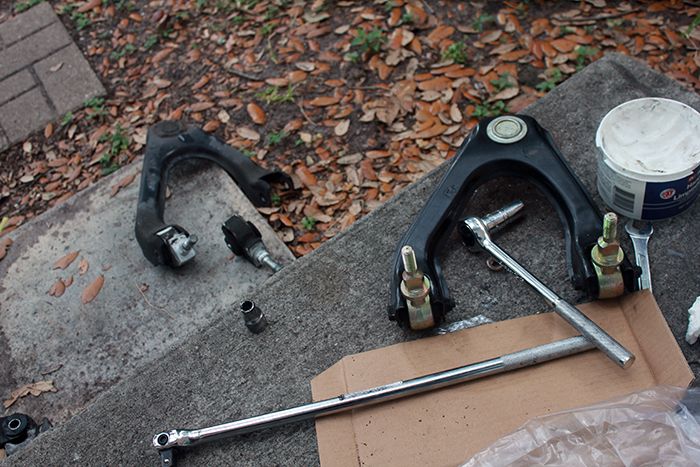
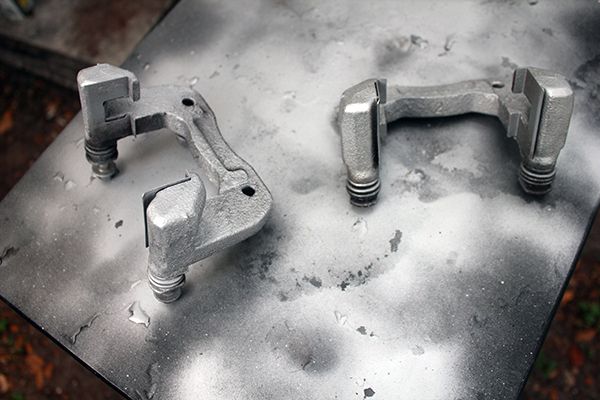
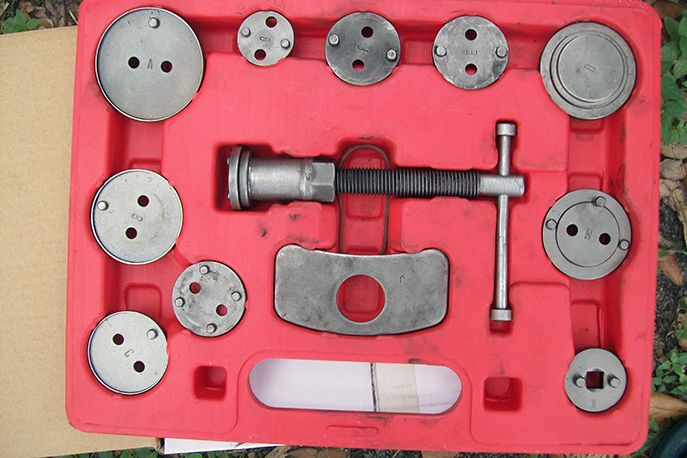
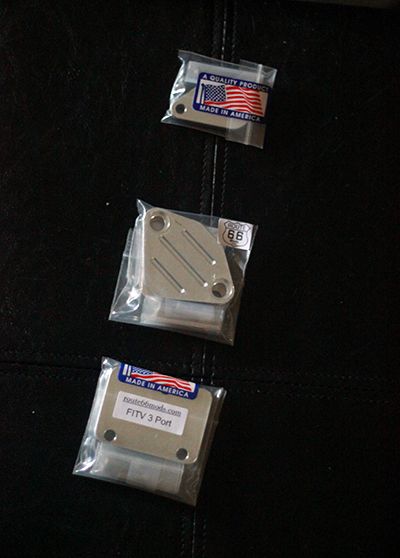
    Caught the brake fever, and started spending money I shouldn't


    After this I'll chill

    Comment


      camber kit removed

      When I did the brakes I changed one control arm and took the camberkits out. (Good riddance, the damn rattling)


      Apart from a slight pull to one side ride was great with the new bushings. After a week, the inside of my tires are eaten down, like royally fucked up. They used the camberkits to adjust toe instead of just camber, though they said they didn't. So I have it sitting mostly til I do the rear disc conversion 
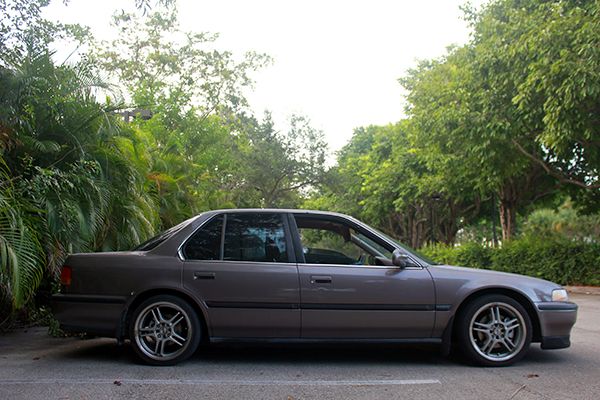
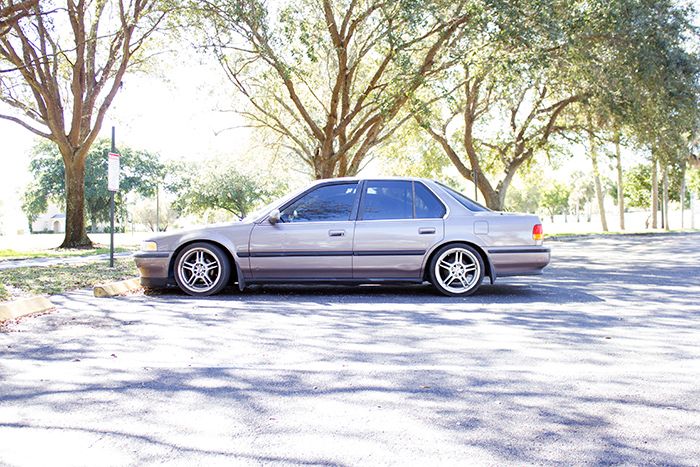
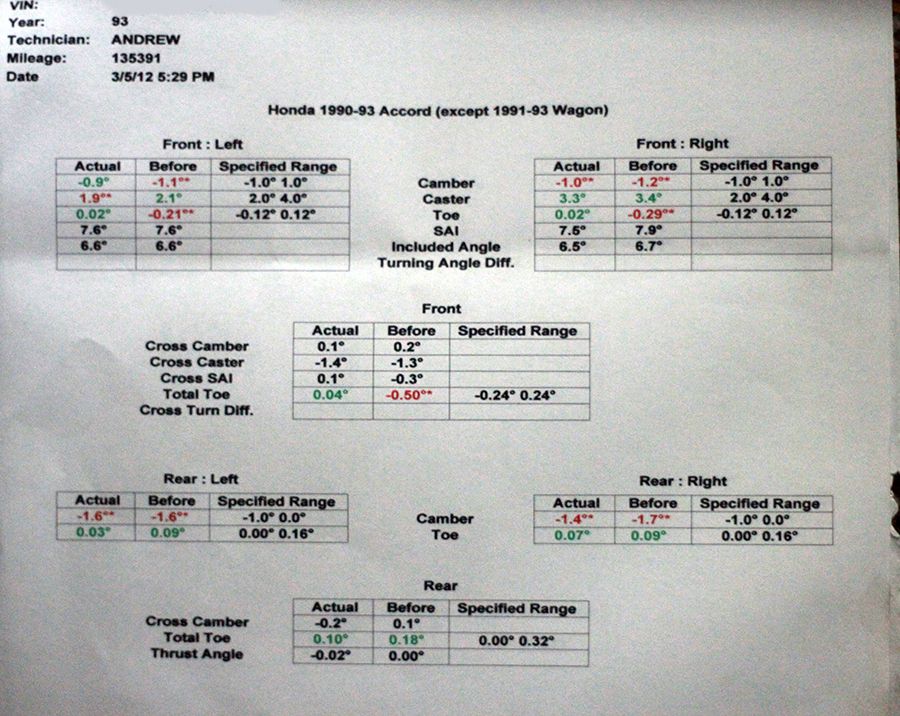
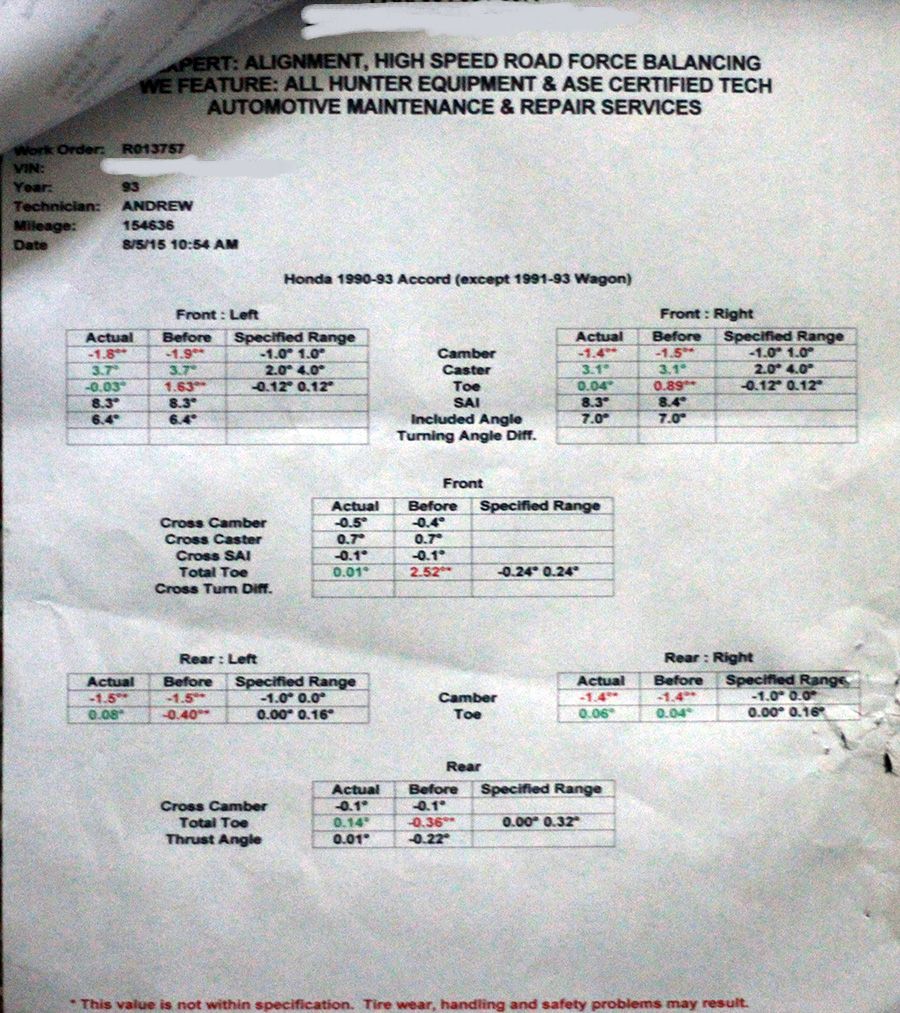
to do an alignment. Saving the little tread left to switch them to the back, put the new ones in the front.
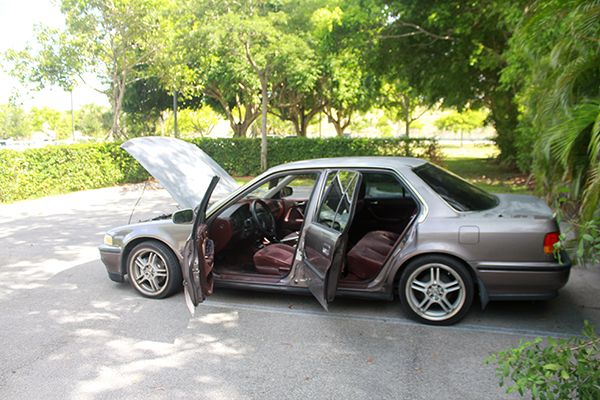
      I have adjustable ball joints (up to _1 deg.) Im going to fit into the OEM arms. With the camber kit they had to drop me to -1degrees anyway to avoid too much banging, so when I raised it I actually had slight positive camber. im thinking no camberkit with the slight drop would bring me to the middle (about -1 degrees) which is optimal for me. If not, just switch in the adjustable.

      The rears have almost no excessive inner wear with more than -1. So I'll try it.
      I want to get new tires in a couple months. The NExens served me well, but they discontinued the ones I like, and the new (good) ones have gone up in price to the level of Yokohama and Hankook, so Ill try one like that.


      Due for a thorough cleaning. been neglecting it

      Comment


        Rotors, Ceramic pads and new clips came in


        Comment


          I got the rear disc conversion done....did it by myself...it took me a while

          Ebrake lines = SOB

          Grabs good, can't say how much better than the drums they are, definitely look better, but the fronts made the difference.

          Took a few pics...I'll post another time (waiting on a fan for my laptop)

          All in all :

          Comment


            LED Cluster lights


            Modification list on first page updated

            Comment


              Rear disc conversion

              Current:


              removed old rotors and tried to clean up a little


              these were rustier than my original knuckles


              cleaned off calipers with a wire brush


              and dusted them with some silver caliper paint


              borrowed this from autozone

              tool use was self explanatory


              just made sure studs were right size for the grooves

              compressed piston


              rotor kit came with new spring clips. removed old ones and sanded out the rust


              installed new clips with grease between


              got access to a impact screwdriver, so screws weren't damaged. re'used to tighten down new rotor


              new clips fit good


              don't hate me....


              other side


              fjaklhldjojlkjfaj dajkjlkjdsliae
              Last edited by DCB7; 08-12-2015, 02:20 PM.

              Comment


                Rear disc conversion

                Process:

                http://www.cb7tuner.com/vbb/showthread.php?t=10495
                reading through this thread answered most of my questions.

                Got to work (wtf is going on with my muffler)

                Couldn't get high enough with this jack point, so used the crossmember instead

                Removal:
                Disconnected ebrake lines from the inside


                started removing ebrake lines and heat shield

                look at the welding job on my resonator


                I didn't unbolt my exhaust because one bolt was really stuck, just removed it from the hanger

                that probly made it harder than it needed to be, some of the bolts were hard to get to (major PITA)

                after some woo-sah, I finally yanked them out.


                I didn't get the trailing arm with the 'new' knuckle, so unbolted the trailing arm


                removed lower strut bolt and the one going through the control arms/knuckle


                to get the ebrake line out you have to remove (wrestle) all the brackets from it, to get it through this hole right here

                then I undid the upper control arm nut, banged it, and it dropped out

                re-install:
                This is where you need a friend. My little son helped me best as he could. I lifted the knuckle into place and he screwed the nuts on enough to hold it.


                Got the long bolt through the knuckle and control arms

                (don't get the control arms trapped up between brake lines and such) gave me some head scratching.


                This one gave me a hard time again. Jack, big screwdriver, rubber mallet : done


                The other side I did different, since the first was a fight.


                dropped the whole trailing arm and switched over on the ground
                old one off


                new rusty one on


                to re-install, I held it in place and my son put the lower strut bolt in first this time. Of course, the trailing arm gave me a hard time. extra jack: done.

                edit: reconnected ebrake line brackets, and on the inside. Realize now I adjusted it too tight, got to go in and loosen it a little
                Last edited by DCB7; 08-12-2015, 05:23 PM.

                Comment


                  Rear disc conversion

                  Complete:


                  rotated the tires


                  Driver's side


                  Comment


                    Safety!

                    Did you fix the camber?

                    Comment


                      Nah Chris, I didn't fix the camber. I took them [camberkits] out.

                      I'm going to post my alignment specs, and post updates on how the tires and handling hold up after some miles are put on it
                      Last edited by DCB7; 08-29-2015, 04:23 PM. Reason: camberkits

                      Comment


                        Nice. Was the setup from a CB or CD?
                        Be unique, like every other person.

                        CB7 Sold________________________E34 Sold________________________E39 Current

                        Comment


                          It was from a 93 EX. They tried to charge $70 for the crossmember alone, so i didn't get the sway bar.

                          Comment


                            Alignment specs

                            2.5"- 3" drop with anchor bolt camber kit


                            about 2" drop without camber kit


                            Comment


                              Block off plates

                              Comment


                                I still want to clean this up and use it


                                this too


                                Some yellowing, but current valve cover is holding up to the heat

                                Comment

                                Working...
                                X