
Its about time i did a DIY for this forum. Had this situation come up where i had to remove 2 dashes in a 2 day window, so thought for the 2nd one id take pics of it. There didnt seem to be any DIYs on this so i thought id fill the gap.
This is for any CB, but this one is a RHD CB3 UKDM NON AIRBAGGED ACCORD, but is exactly the same and a LDH version the process is just the same.
Although with only a phone, think the pictures are clear enough for someone who isnt sure on a dash swap to use them.
Tools required:
Cross head screw driver
Flat head screw driver
Thin nosed pliers
19mm socket
10mm socket
Extension
Ratchet
Magnet for those clumsy screw drops
This was done in 2 hours. Started at 3.30pm there a picture mid way somewhere of the clock. It may be done in less time, i however wasnt planning on scratching or breaking anything, and i was taking pictures.
Start with the steering wheel, pry off the H badge and spin the 19mm nut off.


Then unscrew the 2 screws for the indicator assembly. And unclip the clips. You will be left with just the steering column which does not need to come off.

Remove centre console, and gear stick knob.


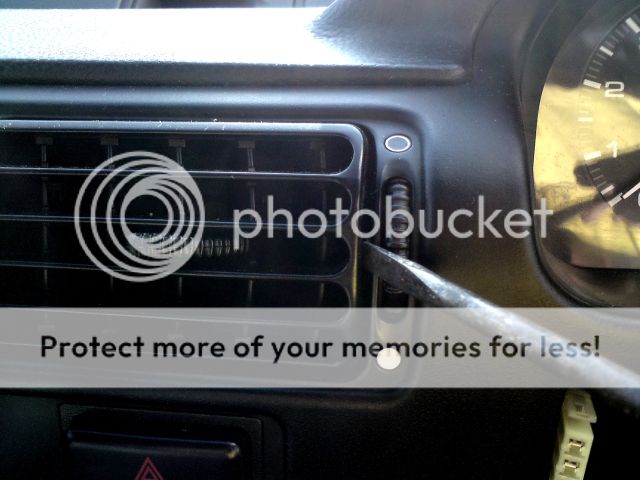
Remove the centre vents, drivers vent, buttons, and all screws for the dash trim.

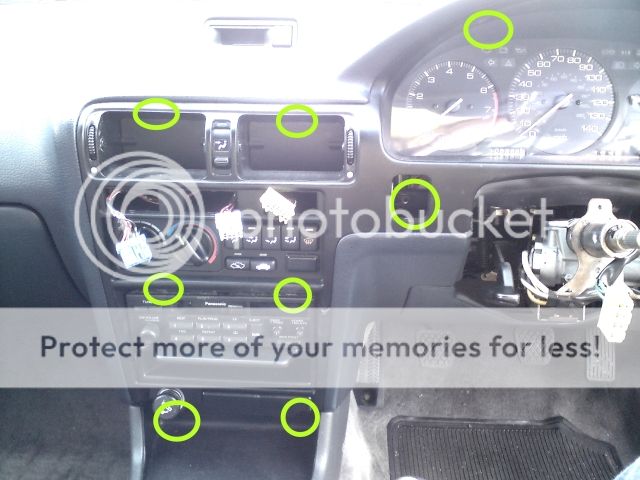


Remove the clock


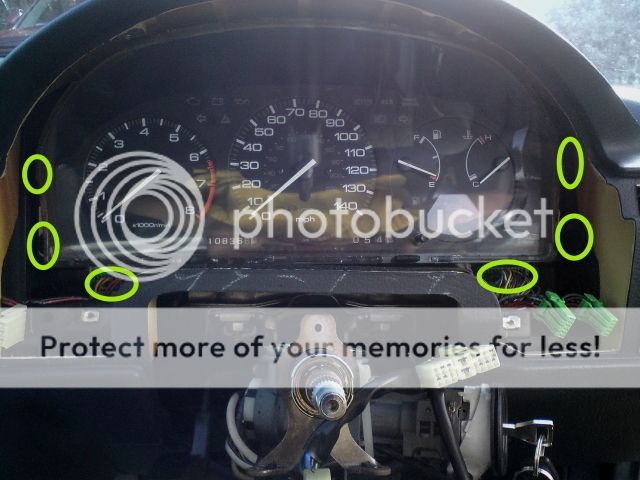
Remove the dash cluster

Remove the heat controls, keep it dangling though, as it needs disconnecting from the heat matrix later.


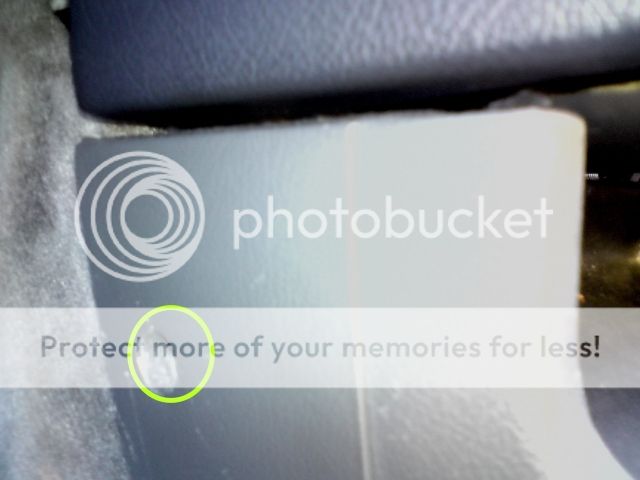
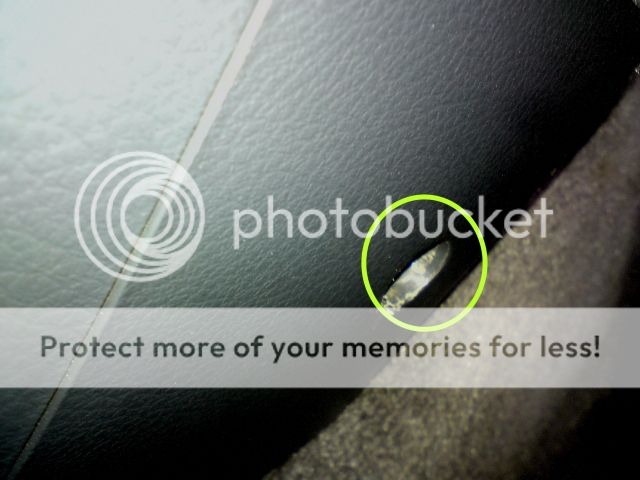
Now remove the bolts for the dash, 2 each side, 1 behind the clock and 2 down at the centre by the gear stick, take the centre concole bracket out too, as that gets in the way.


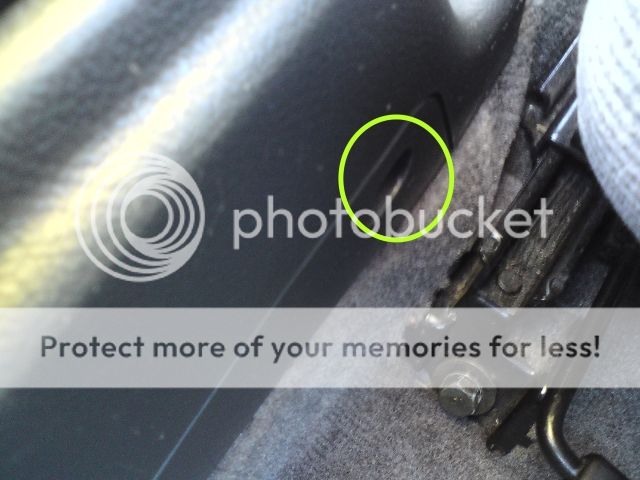
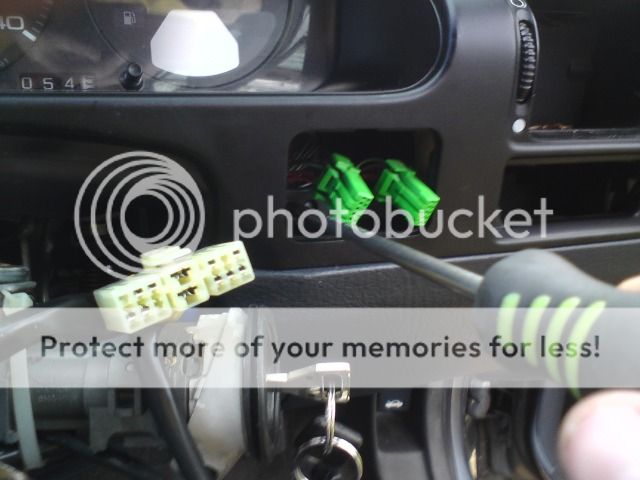
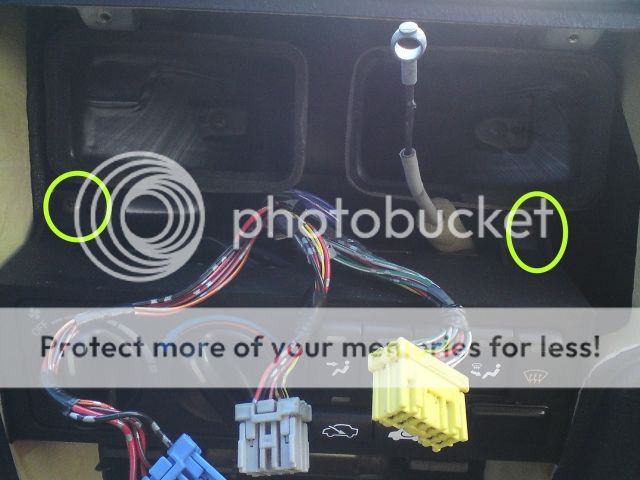
Unclip the lower steering column cover and the big connector.


Unclip the wiring loom arrow head clips, and unclip the heater control cable.

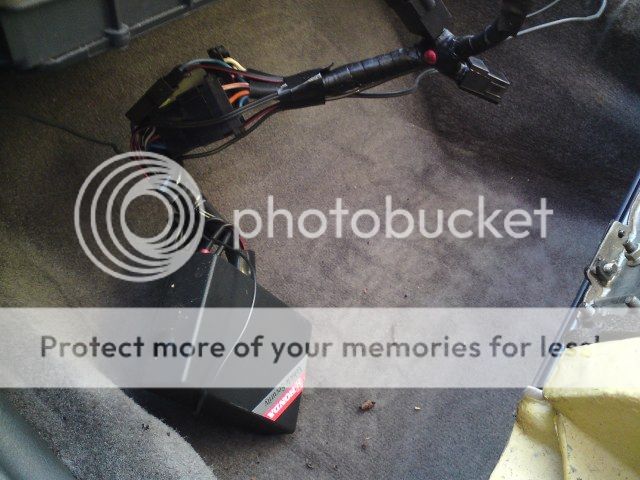
If you have an alarm, unhook that.
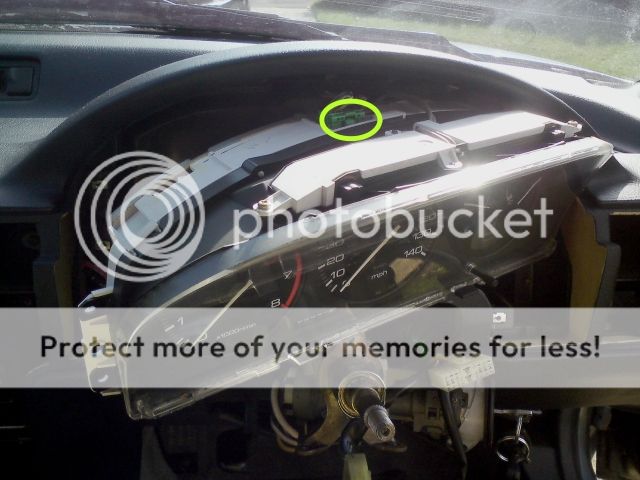
Pull the dash out.

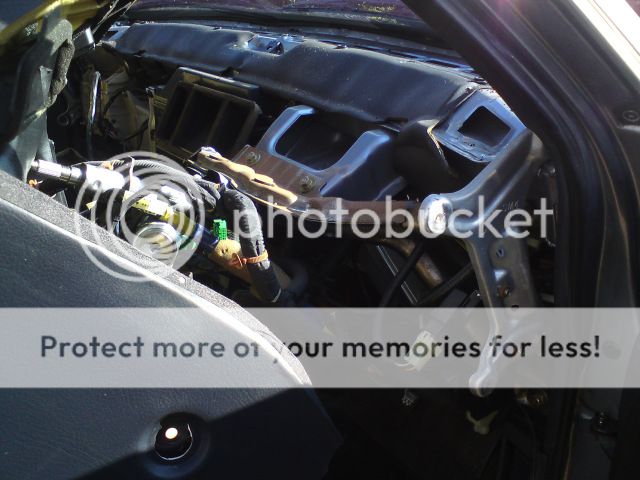


Done!


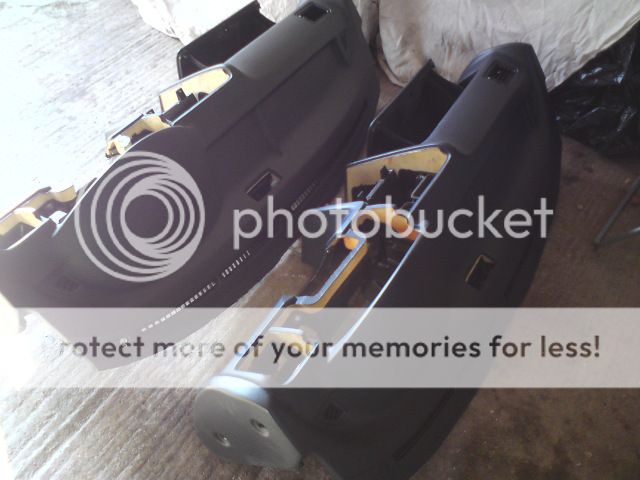
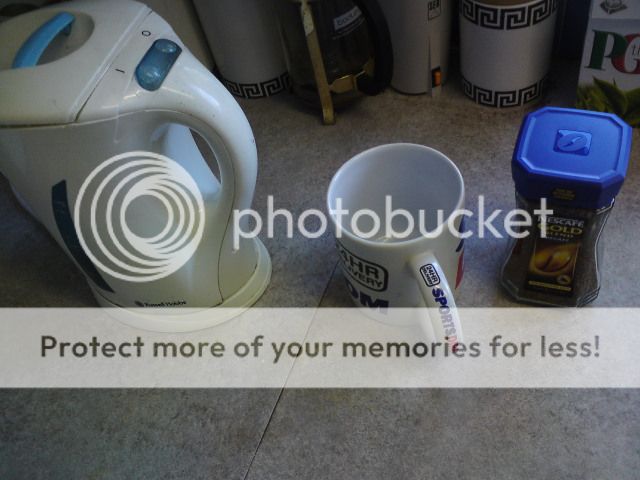
Have a cup of coffee and admire your work.

This is for any CB, but this one is a RHD CB3 UKDM NON AIRBAGGED ACCORD, but is exactly the same and a LDH version the process is just the same.
Although with only a phone, think the pictures are clear enough for someone who isnt sure on a dash swap to use them.
Tools required:
Cross head screw driver
Flat head screw driver
Thin nosed pliers
19mm socket
10mm socket
Extension
Ratchet
Magnet for those clumsy screw drops
This was done in 2 hours. Started at 3.30pm there a picture mid way somewhere of the clock. It may be done in less time, i however wasnt planning on scratching or breaking anything, and i was taking pictures.
Start with the steering wheel, pry off the H badge and spin the 19mm nut off.
Then unscrew the 2 screws for the indicator assembly. And unclip the clips. You will be left with just the steering column which does not need to come off.
Remove centre console, and gear stick knob.
Remove the centre vents, drivers vent, buttons, and all screws for the dash trim.
Remove the clock
Remove the dash cluster
Remove the heat controls, keep it dangling though, as it needs disconnecting from the heat matrix later.
Now remove the bolts for the dash, 2 each side, 1 behind the clock and 2 down at the centre by the gear stick, take the centre concole bracket out too, as that gets in the way.
Unclip the lower steering column cover and the big connector.
Unclip the wiring loom arrow head clips, and unclip the heater control cable.
If you have an alarm, unhook that.
Pull the dash out.
Done!
Have a cup of coffee and admire your work.


Comment