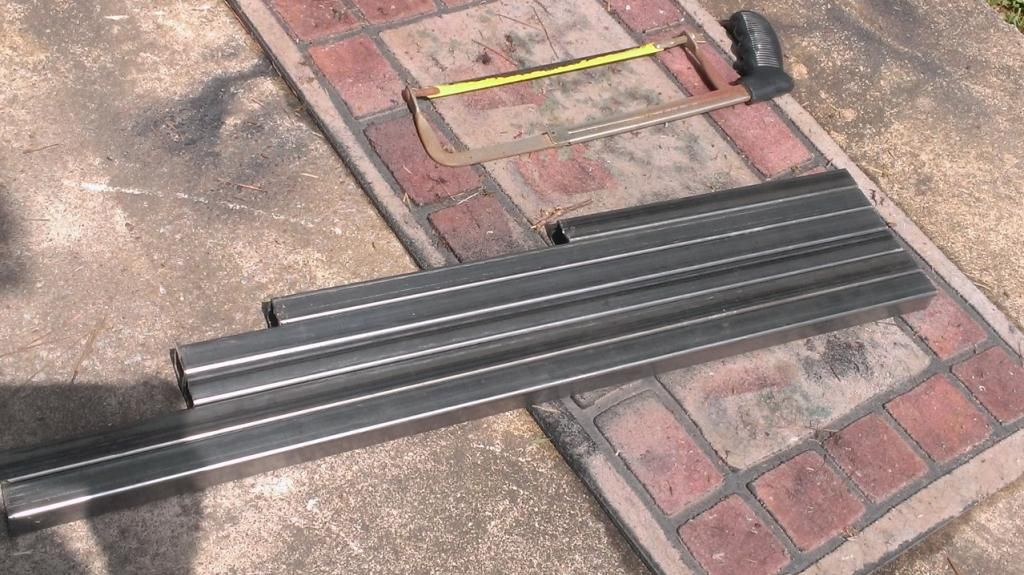
Announcement

Collapse
No announcement yet.

DIY "DIY Alignment Tool"

Collapse
X
 
  • Filter
  • Time
  • Show
Clear All
new posts

    #16
    Got the bars cut.
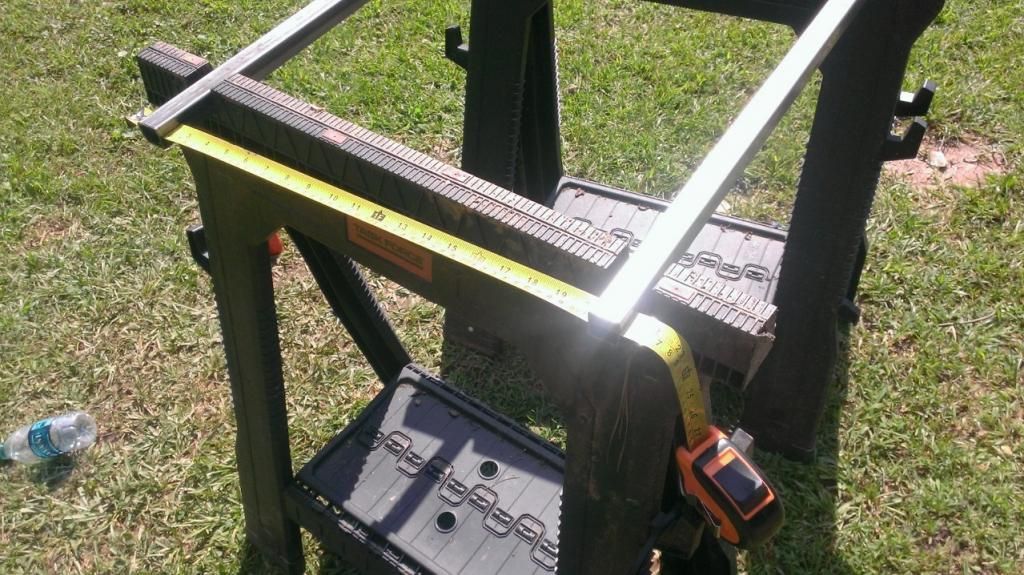
    I used a hacksaw, oil, and a tape measure. I'm going to try to make this with basic tools that anyone will have access to. I haven't drill any holes yet.

    The toe bars are 30"
    The camber/caster bar is 25"
    Other bars are scrap.


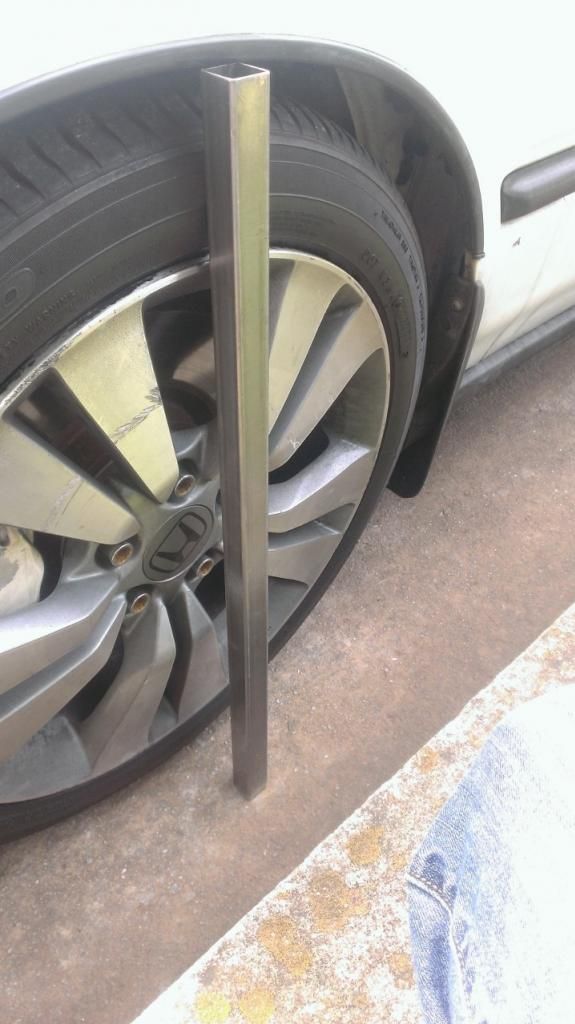
    Curb rash was there when I bought these...

    YouTube Clicky!!

    Comment


      #17
      To measure toe I use two stringlines (well, it's really fishing line). I have two jigs made from 2" X 3" timber that are longer than the wheelbase. At each end of each jig is an 'L' shaped shelf bracket that projects vertically.

      The line is attached to screws at each end of the timber, then is twisted in a spiral around the vertically projecting brackets until it reaches hub height, then is stretched between the brackets at hub height (the exact height is easily adjusted by adjusting the way in which the string is wound around the brackets). The stretchiness of the fishing line helps a lot here, in getting the string at the correct height.

      I place these stringline jigs along each side of the car and measure the distance to the centre of the wheel with a ruler, adjusting the distance until it's equal front and rear. However, the front and rear track widths aren't quite identical (and also changed by adjustments to camber angle), so you need to measure the exact track widths at hub height and account for any difference in front vs rear hub height 'track' width in order to get the stringlines perfectly parallel with the chassis centreline.

      Track width at hub height can be measured by placing a short length of tube against the centre of the wheel and then dropping a plumb line from the tube end to ground level, then marking the ground with a sharp pencil (it helps to tape some paper or cardboard to the ground). Do this at all wheels then move the car so you can measure the distances (front vs rear) between the marks. You'll probably find a few millimetre difference in front and rear hub height 'track' width.

      Note this difference down for future reference, though a small change in track width (as you might get with a camber adjustment) won't have a hugely significant affect on the measurement due to the distance between the wheel centres relative to the distance between the front and rear faces of the tyre tread. A (say) 1mm change in track width won't equate to a 1mm difference in the measured toe (at the front / rear tread faces), but a much smaller %age of 1mm, so (from my archives) a 1mm difference in front vs rear track would account for a toe mis-measurement of approximately 0.2mm at the treads.

      The exact track widths don't matter for purposes of toe alignment, only the difference in track widths.

      Toe can now be measured with a ruler, measuring from the stringline to the edges of the wheel rim. This gives a measurement at the rim which must be (with 15" rims) multiplied by 1.5 to give the toe as would be measured at the tread faces. This is not an exact X 1.5 correlation, but is very close (it's actually closer to 1.6), close enough for all practical purposes, and assumes a tyre wheel diameter of 15" (380mm) and a tyre diameter of 600mm (which will vary slightly depending on the particular tyre and how worn it is, but not enough to make a significant difference).

      I measure camber with a digital angle gauge (cheap online) and a short length of square steel tube placed across the rim. With my wheels (4 hole Prelude wheels) the centre of the wheel interferes with placing the tube across the rim, so each end of the tube has a 'pad' of aluminium pop riveted to it in order to space the tube outward (and clear the wheel centre) (the rivets being countersunk so as to not interfere).

      Of course the car needs to be on a perfectly level platform to get accurate measurements, (especially camber). It's not important for the front and rear wheels to be at the same height, but the left and right wheels need to be (i.e. RF and LF at equal height and RR and LR at equal height, even if the front and rears are not at the same height). This can be achieved by shimming under the lower wheels.

      To achieve correct wheel heights I use a very straight length of timber with pads screwed to their bottom at each end (so that surface irregularities don't affect how the timber lies on the ground), then place a long level gauge (with bubble) over the timber. Level is adjusted by placing shims under the lower end of the timber (which the wheels will later rest on). I don't use the bubble in the level as I find it more accurate to use the digital gauge placed on top of the level edge (I just use the level gauge because it's very straight).

      A word on digital angle gauges; the mechanism itself is usually quite accurate, but some cheaper ones (e.g. the one I bought, because I'm cheap...) are not entirely accurate because the base isn't exactly at 90° to the mechanism inside. So, some careful sanding of the base (emery paper on a sheet of glass) may be needed to dial them in. You can check the accuracy by taking a measurement on a flat surface and then rotating the gauge through 180° and re-reading it. The measurement in both cases should be 0°, or, X° positive and X° negative. If not then the base angle can be 'adjusted' (by sanding) until the gauge measures the same both ways.

      I also use the angle gauge to measure caster angle, though the resultant measurement assumes that the machined area on the side of the suspension 'upright' (the spot I place the gauge) is machined at exactly the same angle (relative to the actual steering axis) on both uprights (it most probably is considering that the machining of the casting will be done on CNC equipment, but damage will throw this off). When measuring caster the actual numbers are not as important as the equality of the angle side to side. As to the numbers, it's enough to know whether you have a little bit of caster, a medium amount, or a lot.

      Being able to do my own alignments has saved me what would amount to a fairly large amount of money over the years. If I couldn't do this then every time I changed something or made some adjustment it would come with a $70 price tag for an alignment, which would be severely limiting, and, I just don't trust this to the weary and bored people who would be doing the job...
      Regards from Oz,
      John.

      Comment


        #18
        Nice its good to beat the market so to speak why pay more than you have to at certain times. Just make sure your parts are all quality just incase to capitalize where they messed up that way you perfect it.

        Comment

        Working...
        X