Announcement

Collapse
No announcement yet.

Mini blinds angel eyes

Collapse
X
 
  • Filter
  • Time
  • Show
Clear All
new posts

    #61
    Originally posted by wvcb7 View Post
    wow i havent seen this thread in a while, i was gonna suggest doing it the way you did, absolutely amazing job on this. its very different, and a whole lot brighter than i thought, ....just.....wow!
    haha yah I wasn't keeping it as updated as I should've. Thanks for keeping up with it despite my lack of posting!


    Originally posted by Cb7GHOST View Post
    xmas tree oh xmas tree...
    the rods were a better approach than the acrylic cus now you have 11 hot spots instead of 2 or 3
    Actually, the 11 hot spots were exactly why I did it this way.
    Looking for light output.

    Originally posted by bk92accordex View Post
    them shits is fire good work
    tnx tnx


    Originally posted by greencb7inkc View Post
    Wow.

    With that kind of output, you could eliminate filament lights altogether. You said you used 11 LEDs in each light? Id say 15, MAYBE 20, and you could pretty much replace filament.

    Why hasnt this been done yet?

    heheh I'm glad it hadn't been done yet, cause I got to be first! Yeah, I can drive up to near dark before I really need the headlights. And even then, the LEDs actually do a decent job lighting street signs. If I flick 'em on and off, I can definitely see the street signs get darker/brighter.


    Originally posted by psycobone View Post
    dammm that shit is fckin hot!!!... it looks really nice just with the leds.
    haha I always drive with 'em now. I'll have to wire it up a little better so that they automatically shut off when my alarm's armed. I've accidentally left 'em on a couple times already.


    Originally posted by Boost_Lee View Post
    nice job

    +1 for bein original
    Thanks man! I'm hoping to make some "original" tail lights pretty soon, too.

    Comment


      #62
      dayyyuummmmm! That is something feirce you are kicking there man. Bloody awesome! Cant wait to see tails!!!
      Confucius say...when god gives you gators...make Gatorade

      Comment


        #63
        Ok. what kind of resistor did you use? i burned way too many led's tryna figure it out.

        Comment


          #64
          @ TristansCB7, hahah appreciate it, thanks for the interest in the tails too.

          @ Chords, it's simpler than you'd think. Google it. Here's two links that I came up with typing 'led calculator.'

          single LEDs
          LEDs in series

          Hope it helps!


          As for the lights....

          The driver's side rightmost LED burnt out. Also, since my LEDs are in series with three LEDs, the other two LEDs are getting inappropriate current and are now blinking.


          So, I haven't used them for a while. I'll have to take the headlights off and take them apart again to replace that LED. I'm debating on replacing all the LEDs with more "reliable" ones from a place like superbrightleds. But, besides costing a lot more, the superbrightleds aren't rated quite as bright. So yeah, we'll see.

          Also hoping to cut out some acrylic pieces for my tail lights soon.

          Comment


            #65
            looks good man............you should make a DIY on it =]


            Purchased from: 90-JDMCB7, cb95spd, 92_dr_p, ukaccord92, slammed4thgen, 93a-lude, h22anow, cb7addicted, H22WAGON93, tonymontana1204, agol, Joshy

            Sold to: di2accord

            Comment


              #66
              Looks awesome makes me want to get a pair cut out for myself.

              86 4Runner - 22RE 5spd, 4" Lift, 35x12.5R15 BFG Km2's, 4.10 gears
              "The Turtle"
              DD/Trail Rig/Mud Bug

              Comment


                #67
                Very cool idea, the finish product looks nice!!
                1992 Accord LX - SOLD

                Comment


                  #68
                  @ KRIS05VVTi, hahah yeah I'll give that thought. I'm actually writing a DIY for something else, should be up sometime tomorrow.

                  @ 93F22A6, go for it man! It's not too hard to do, just requires some patience. And, of course, the feeling of doing it yourself is great.

                  @ maroonaccord2.2, haha appreciate it man!


                  So last Saturday, I took my headlight off and baked it back apart again. I used acetone to dissolve the superglue holding the LEDs in, and then popped three new LEDs in the driver's side eye brow.

                  Fully functional and back to normal!


                  I need to take some pictures for something else, so I'll try to snap a couple more of the angel eye brows tonight.

                  Comment


                    #69


                    So after taking everything apart and replacing three flickering LEDs on Saturday, two more are now flickering.

                    I seriously gotta find a better source of LEDs.


                    Chubbykai and I took these pictures just now in the parking structure.

                    Comment


                      #70
                      As I mentioned in an earlier post, a couple sets of three LEDs were blinking in my old LED array.

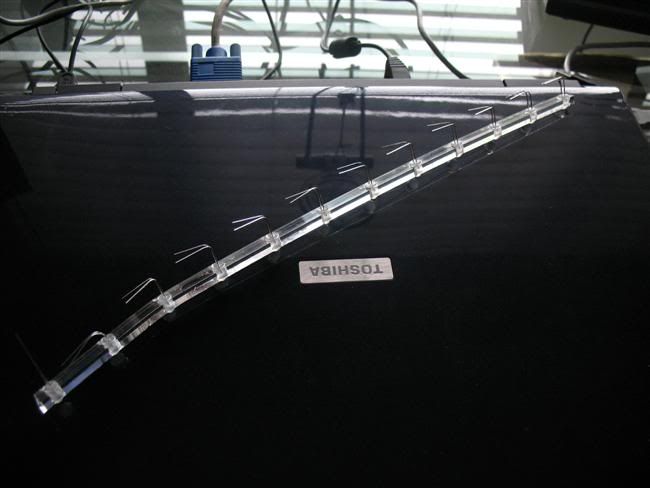
                      In an attempt to limit variables, I laser cut a couple sets of acrylic pieces. Sadly though, due to crappy home depot acrylic, all the pieces bowed, with the centers rising about 8 mm. That bow was clearly visible.

                      On break, without access to the cutter, I tried heating the bowed pieces in the oven to flatten them. I had limited success.

                      I actually had even less success than I first thought, as I later realized that somehow, the acrylic had shrunk lengthwise (differing for each piece, between .2 and 1 inch) in the oven. Go figure.


                      So now the couple acceptable acrylic pieces were slightly too short, and I had made a complete mess of a bunch of other ones in the oven. Whatever. Plowing on, I grabbed the best two pieces and filled them with more expensive 12 volt LEDs. I was reducing variables again, by losing the resistors, and I was hoping that the LEDs would be of slightly higher quality.

                      I rushed the reassembly process and botched the cleanliness.

                      FAIL.


                      With a new idea, I decided I'd try again. I fumbled around with the oven to try and flatten more pieces, got two acceptable ones, and continued on. This time, though, I took pictures.


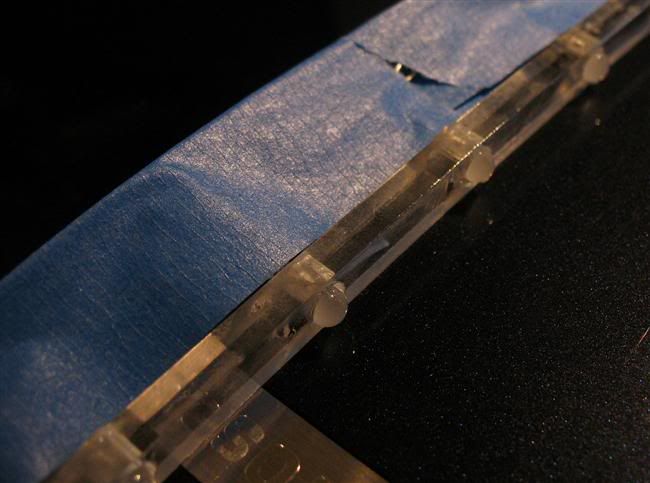
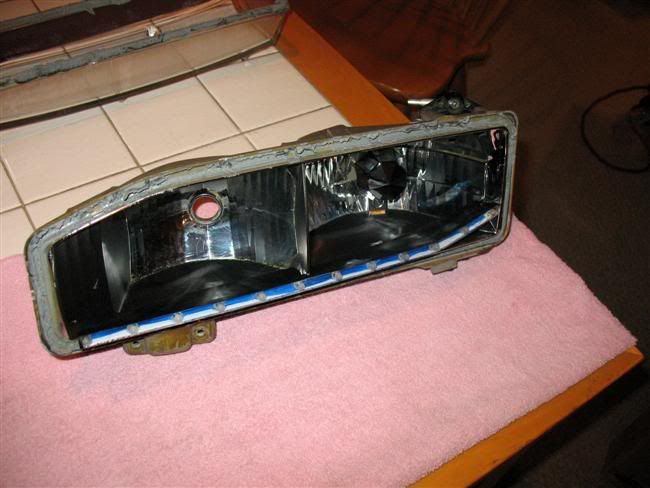
                      New, 12 volt LEDs. Wired in parallel, with a 20 gauge buss wire connecting all the leads.


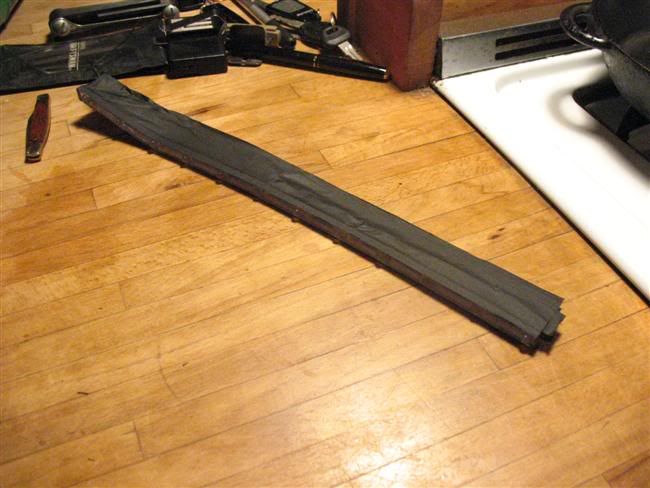
                      Connections isolated with two pieces of painter's tape.


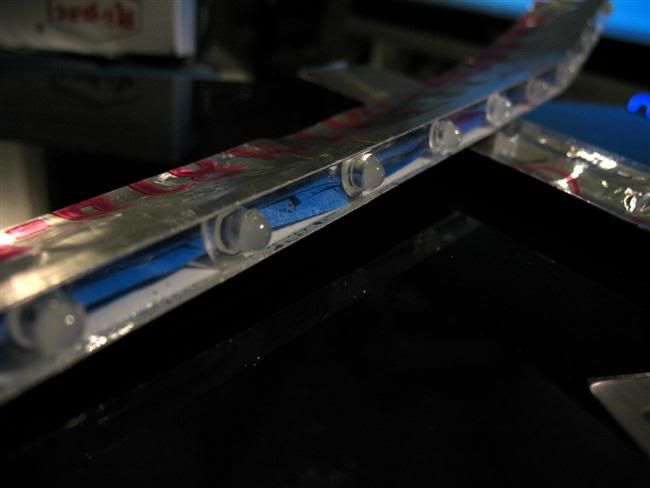
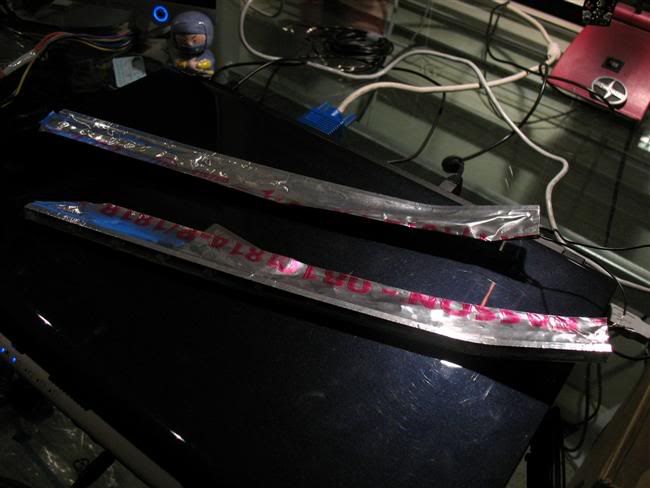
                      To try to improve cleanliness, I used aluminum duct tape over the two flaps of painter's tape.


                      I then painted the tape black, and stuck them in the headlights. I also made two small holes for the leads to exit the housing.


                      This time, the LEDs are on the bottom of the headlights. A little more like the B8 Audi A4. So everything's going good on the install and I spend a fair amount of time keeping everything tidy. Finish the install, flick the cabin switch, and BAM, they all light up.

                      Cheerfully, I set out to my friend's house.

                      30 minutes later, as I'm pulling up to my friend's door step, he comments positively on the lights but asks why one of the LEDs is burnt out.


                      I am properly pissed off. I'm now just thinking about using a premade, and hopefully reliable, LED bar of sorts. But at the moment, I should be spending time on other projects. These LEDs have been taking TOO much time out of an already short winter break.


                      blah.

                      Comment


                        #71
                        this is a good idea,ever thought of using ebay retro fit,with the leds?
                        it would look very new school audi....anyway nice bra

                        Comment


                          #72
                          WOW, this is some very unique sh!t, keep up the good work!
                          South Texas M_thaf_cka, that's where I stay!

                          Check out my Frost White CB
                          http://www.cb7tuner.com/vbb/showthre...ight=SpdJnky93

                          Comment


                            #73
                            i wonder how the r8's string of leds are ran.

                            Comment


                              #74
                              let me know when you sell a set and a price i want some right now

                              Comment


                                #75
                                as i scrolled thru this thread i though to myself w8 he shud put them on the bottom and as i made it to page 4 he did
                                Summer 11' Big plans (Bodywork/paint/rims etc..) in Progress STAY TUNED

                                CLICK THE PIC

                                Comment

                                Working...
                                X