
Just so you all know, I'm a fairly good photographer, but I'm somewhat of a n00b at Photoshop. I just haven't had the time to sit down and learn it. Between work, working on the car, spending time with a new nephew and taking photographs whenever I can, I just haven't been able to make much time to learn the ins and outs of the software. Weird, since I'm sort of a software nerd. (I have a degree in Network Engineering.)
Anyway, I wanted to post this up here to show a small progression in editing of an older image I took. The subject was my sister-in-law's brother-in-law. (Long story.) He never even realized I took the photo until I told him about it a year later.
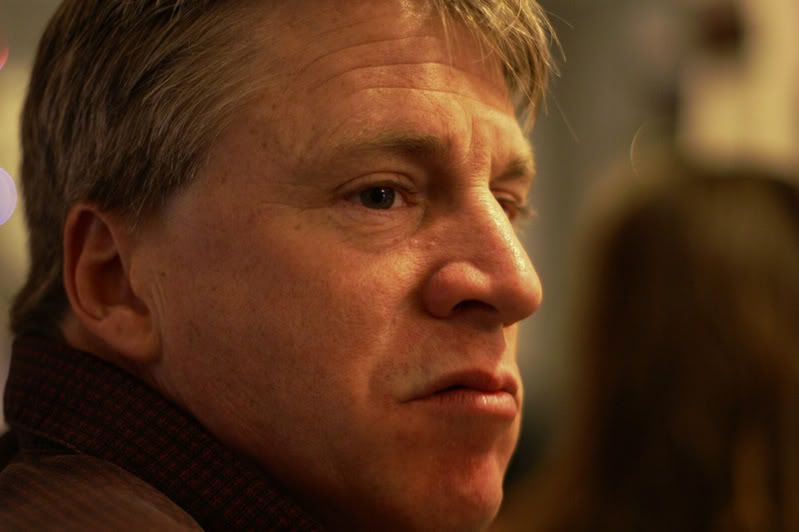
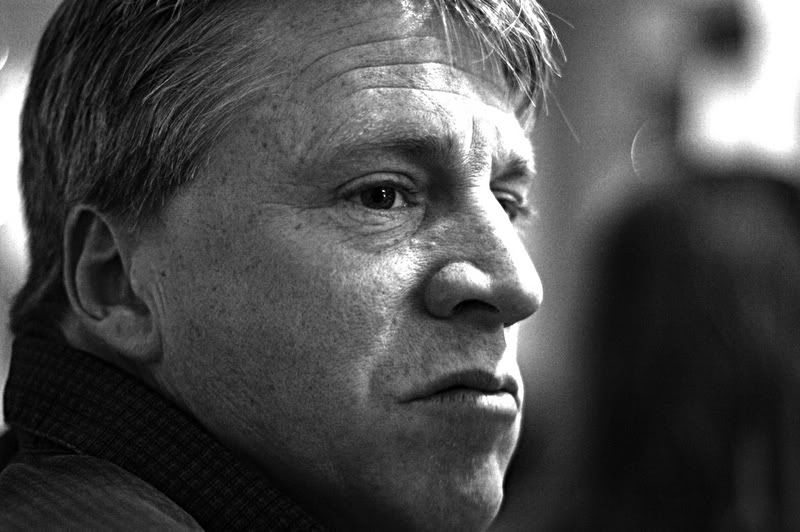
My first try wasn't stellar, to say the least. Working from the original, I first converted it to B&W in the Channel Mixer. I turned the red channel way down, and used mostly blue & green channels. I feel this gives a much more visually impressive image. It tends to have more contrast, and offers much deeper shadows as opposed to the almost completely neutral red-dominated default. Once converted, I added a Curves layer, then sharpened the image. It was a step in the right direction, but note the blown-out highlights on the forehead and nose. There isn't much I can do about the nose, as the highlights were a bit blown in the original, and you can never recover info that's destroyed to begin with. I haven't gotten good enough at cloning to try to replicate that info yet, either.
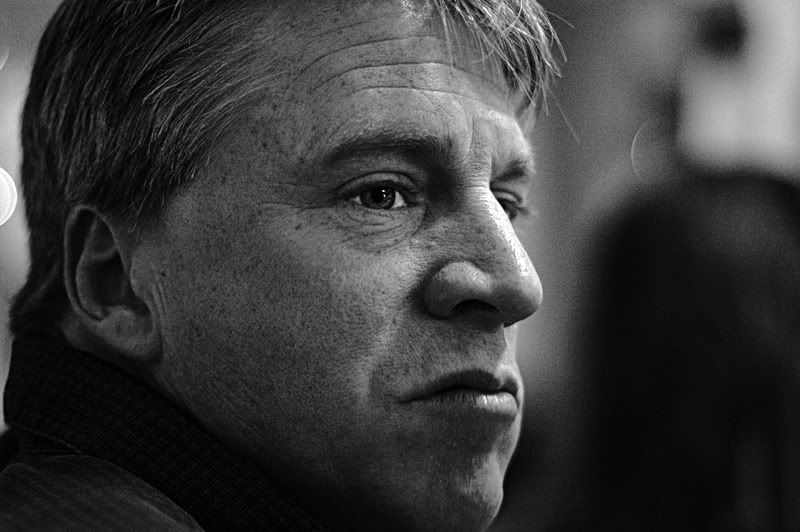
I'm much happier with the results I got the second go-around. I used a little bit of the Dodge tool in the eyes to make them stand out, and a bit of the Burn tool to fill out the eyebrows, as the right one got a bit clipped due to the lighting. I used the Curves tool again, only with a more complicated curve this time to preserve the highlights. I sharpened again using the Unsharp Mask tool, only I played with the settings a bit to achieve the best effect. I ended up with settings of: Amount - 80%, Radius - 3.1 and Threshold - 0.
Anyway, I wanted to post this up here to show a small progression in editing of an older image I took. The subject was my sister-in-law's brother-in-law. (Long story.) He never even realized I took the photo until I told him about it a year later.
My first try wasn't stellar, to say the least. Working from the original, I first converted it to B&W in the Channel Mixer. I turned the red channel way down, and used mostly blue & green channels. I feel this gives a much more visually impressive image. It tends to have more contrast, and offers much deeper shadows as opposed to the almost completely neutral red-dominated default. Once converted, I added a Curves layer, then sharpened the image. It was a step in the right direction, but note the blown-out highlights on the forehead and nose. There isn't much I can do about the nose, as the highlights were a bit blown in the original, and you can never recover info that's destroyed to begin with. I haven't gotten good enough at cloning to try to replicate that info yet, either.
I'm much happier with the results I got the second go-around. I used a little bit of the Dodge tool in the eyes to make them stand out, and a bit of the Burn tool to fill out the eyebrows, as the right one got a bit clipped due to the lighting. I used the Curves tool again, only with a more complicated curve this time to preserve the highlights. I sharpened again using the Unsharp Mask tool, only I played with the settings a bit to achieve the best effect. I ended up with settings of: Amount - 80%, Radius - 3.1 and Threshold - 0.


Comment