
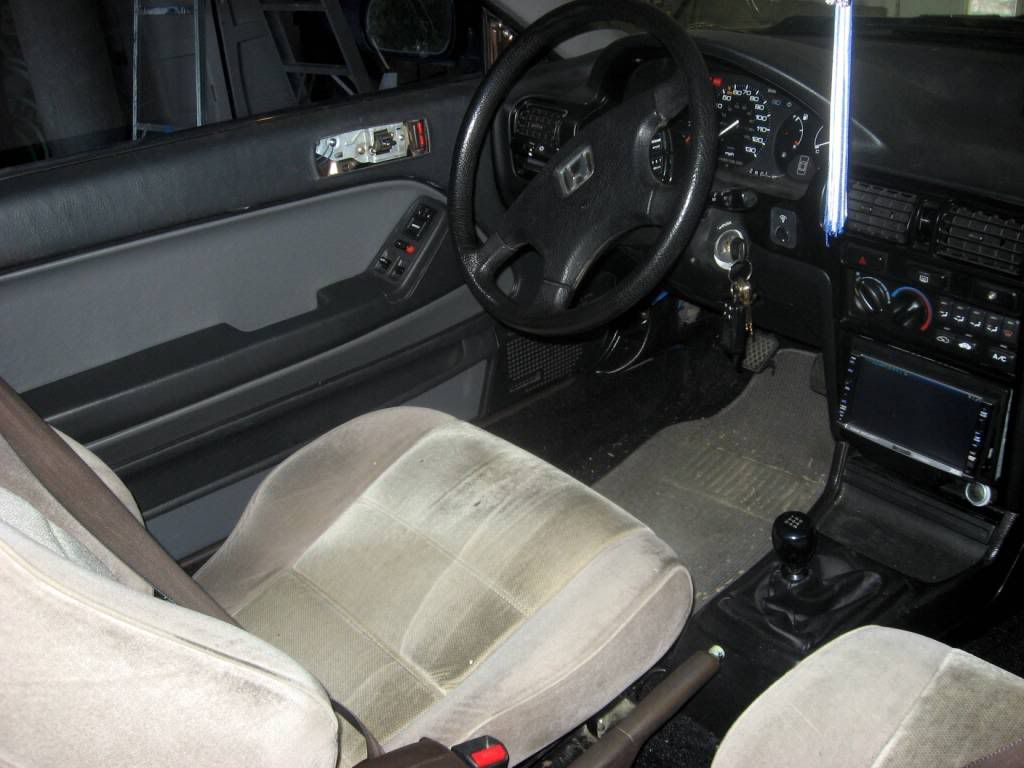
Interior
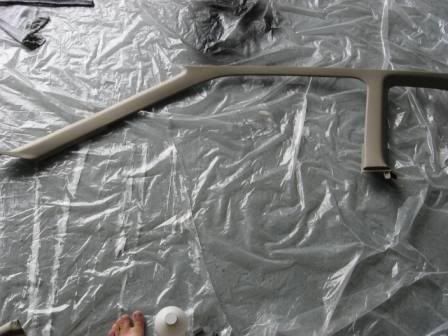
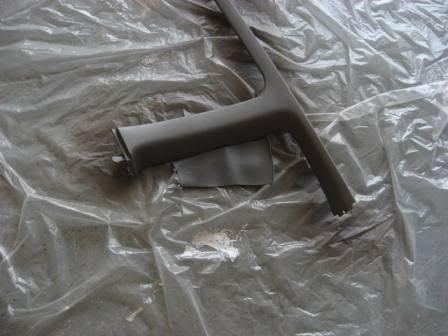
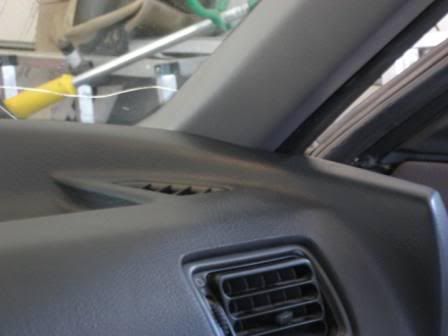
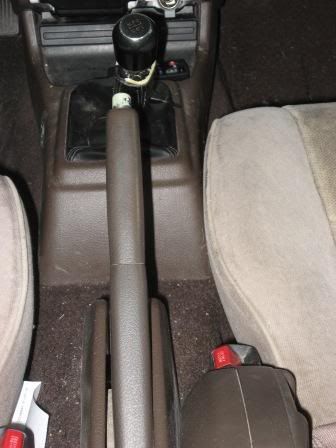
General Pictures:
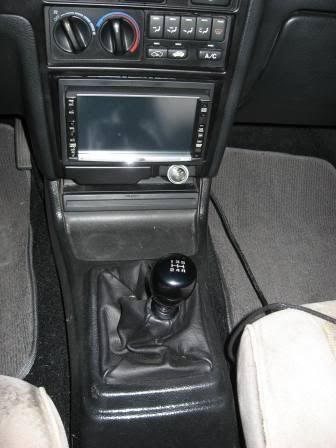
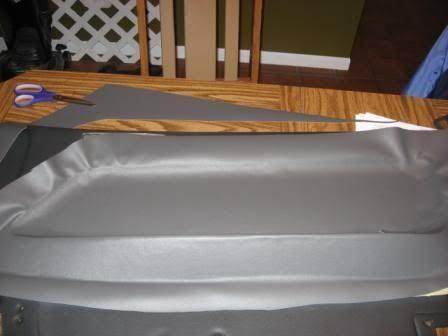
These are general pictures of before during and after for the first attempt of my interior redo.
Note that the interior redo will be updated here from now on and not on the interior redo thread I started a while back!
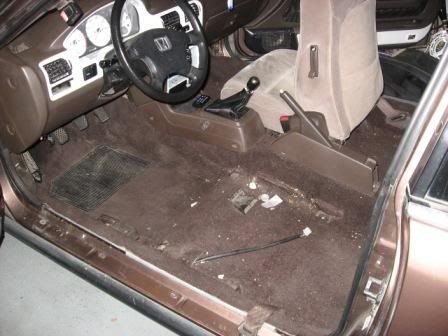
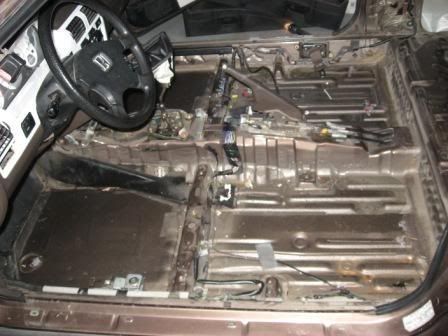
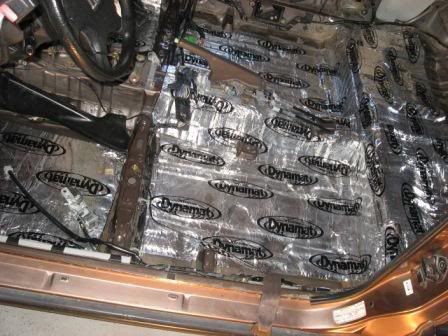
Floor
Before
Nothing
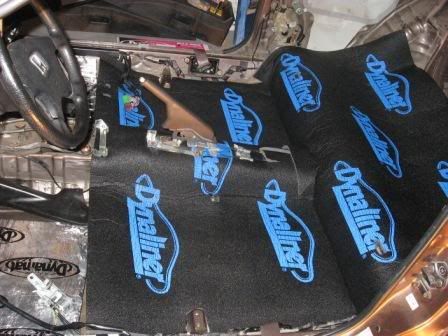
Dynamat
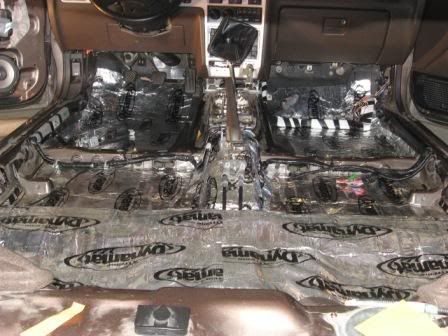
Dynaliner
After

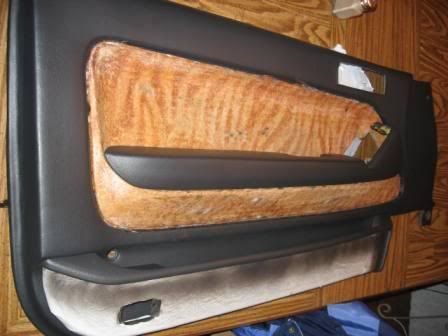
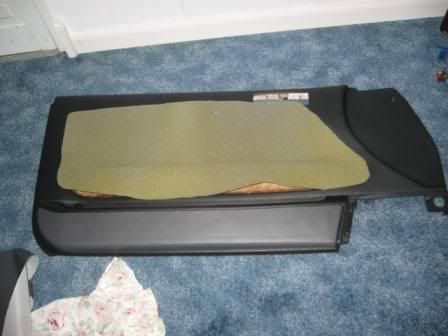
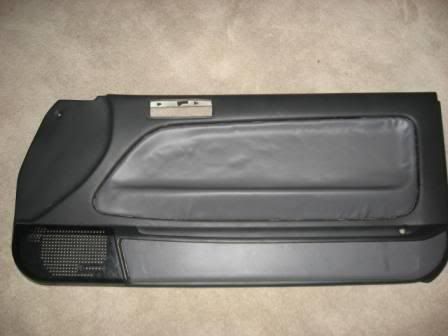
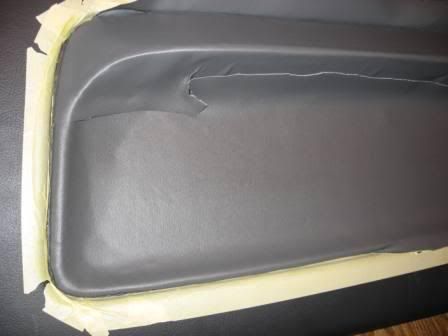
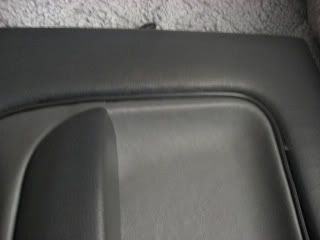
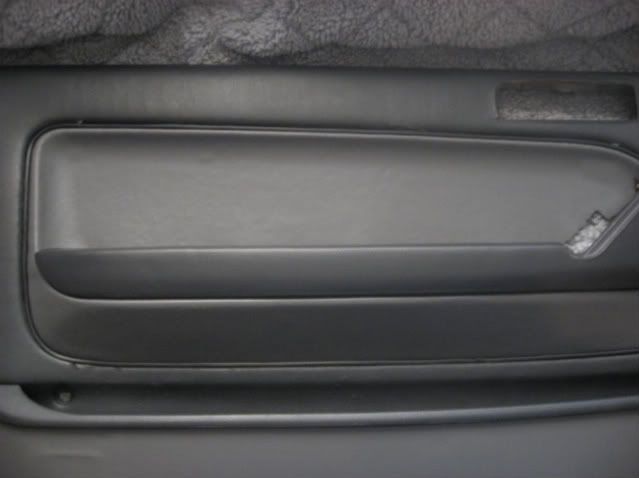
Doors
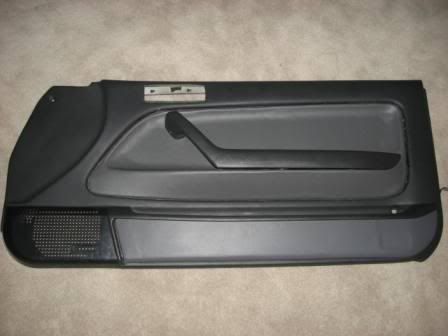
Before

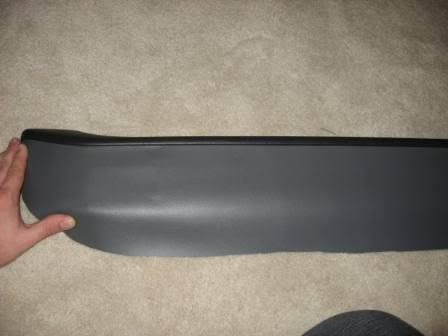
After
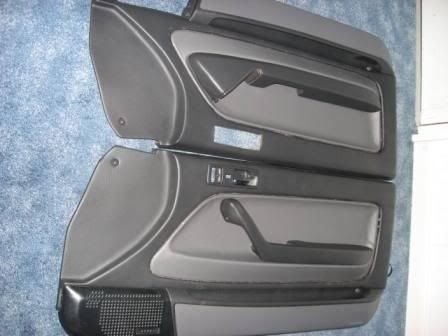
Other door panel done tonight. Here are both side by side.
I am still missing some parts but I will put them in the car someday.
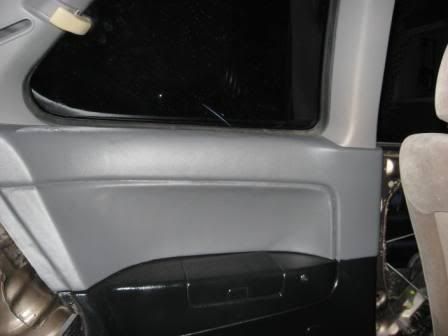
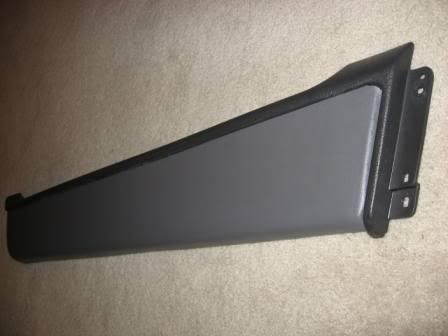
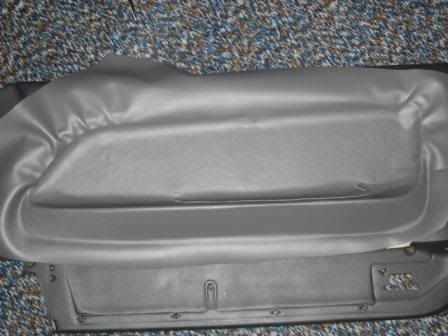
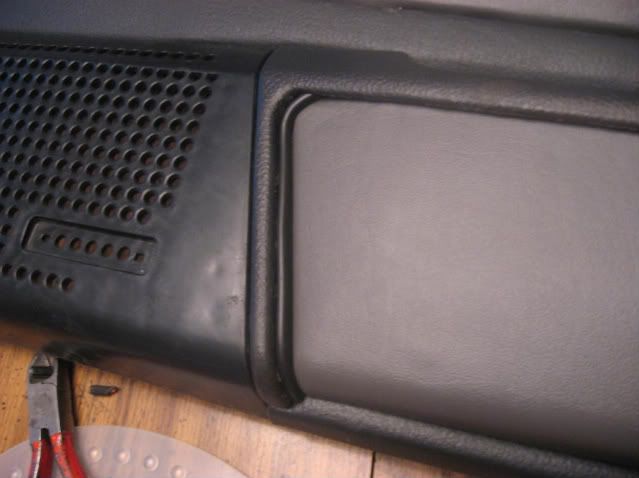
Rear Quarter Panel
Before
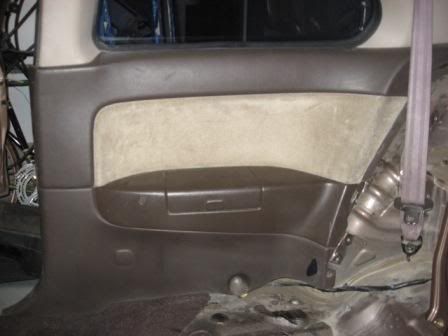
After

General Pictures:
These are general pictures of before during and after for the first attempt of my interior redo.
Note that the interior redo will be updated here from now on and not on the interior redo thread I started a while back!
Floor
Before
Nothing
Dynamat
Dynaliner
After
Doors
Before
After
Other door panel done tonight. Here are both side by side.
I am still missing some parts but I will put them in the car someday.
Rear Quarter Panel
Before
After


Comment