
Originally posted by Jarrett
View Post
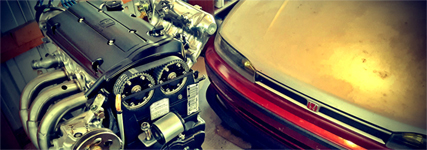
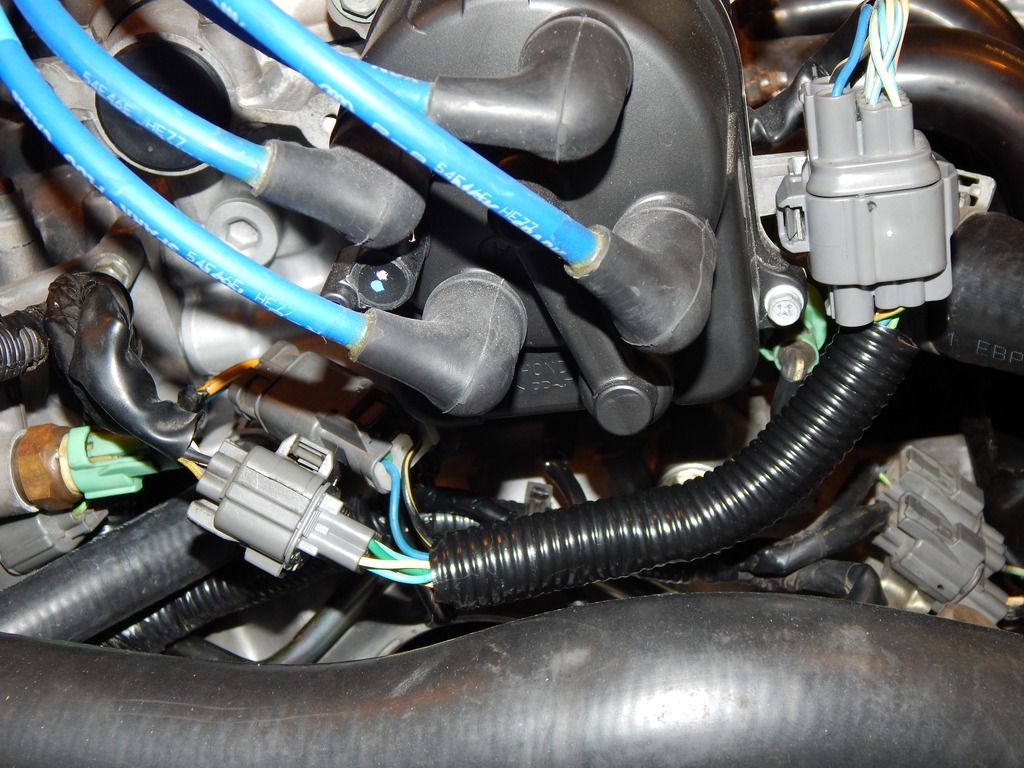
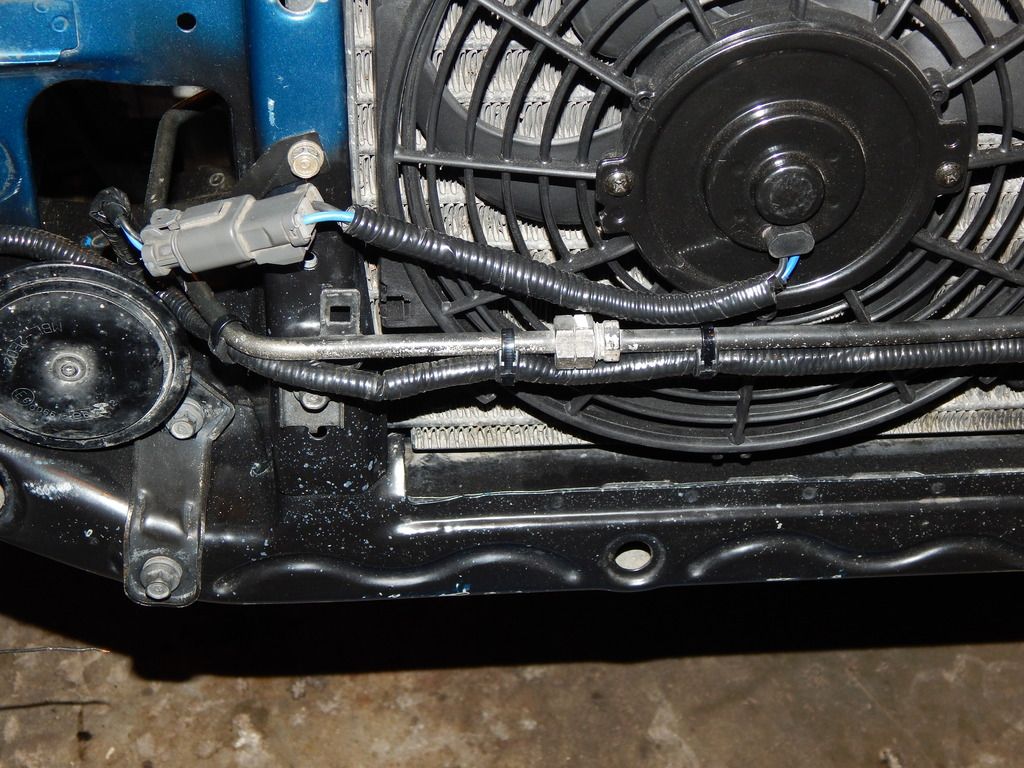
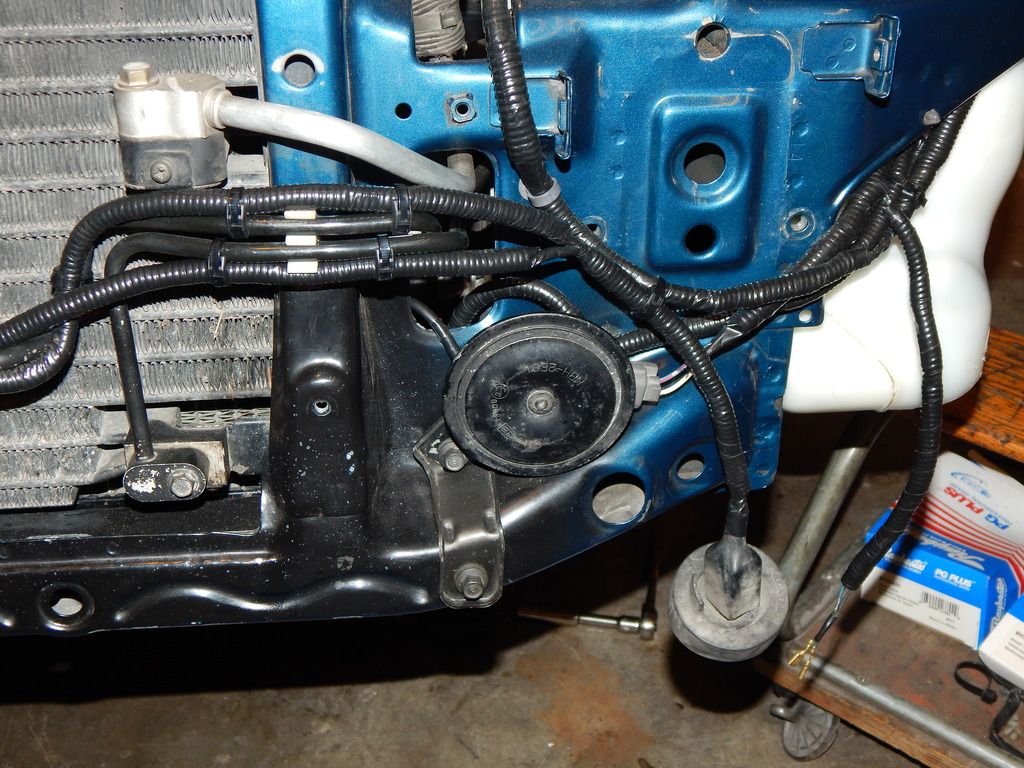
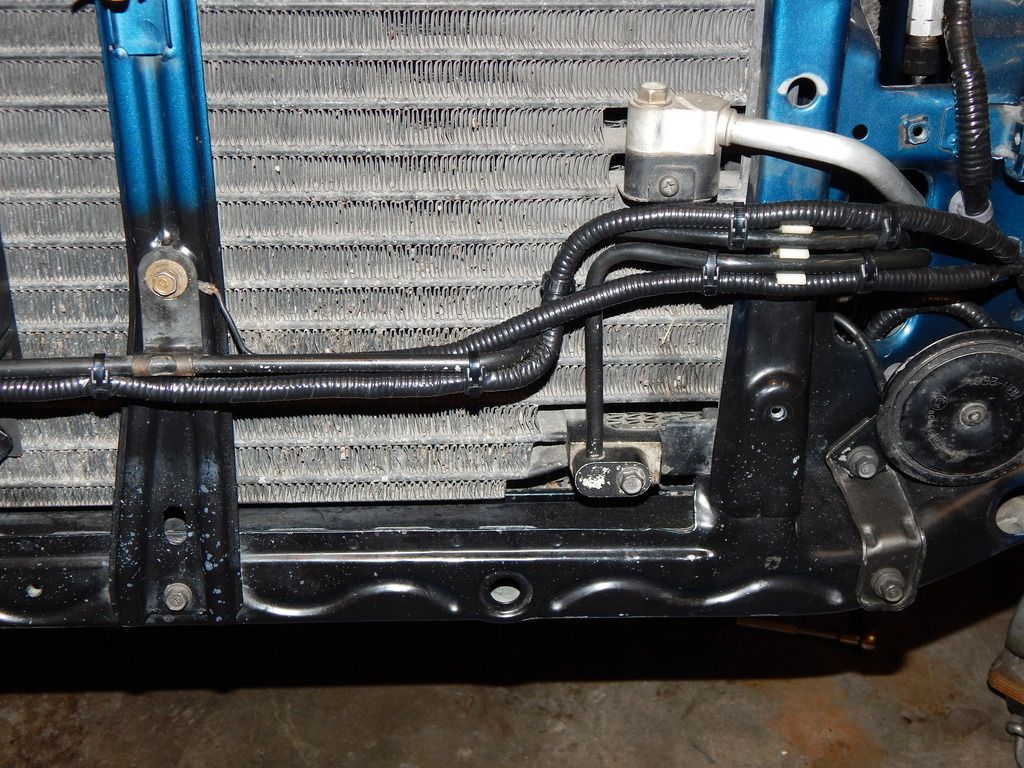
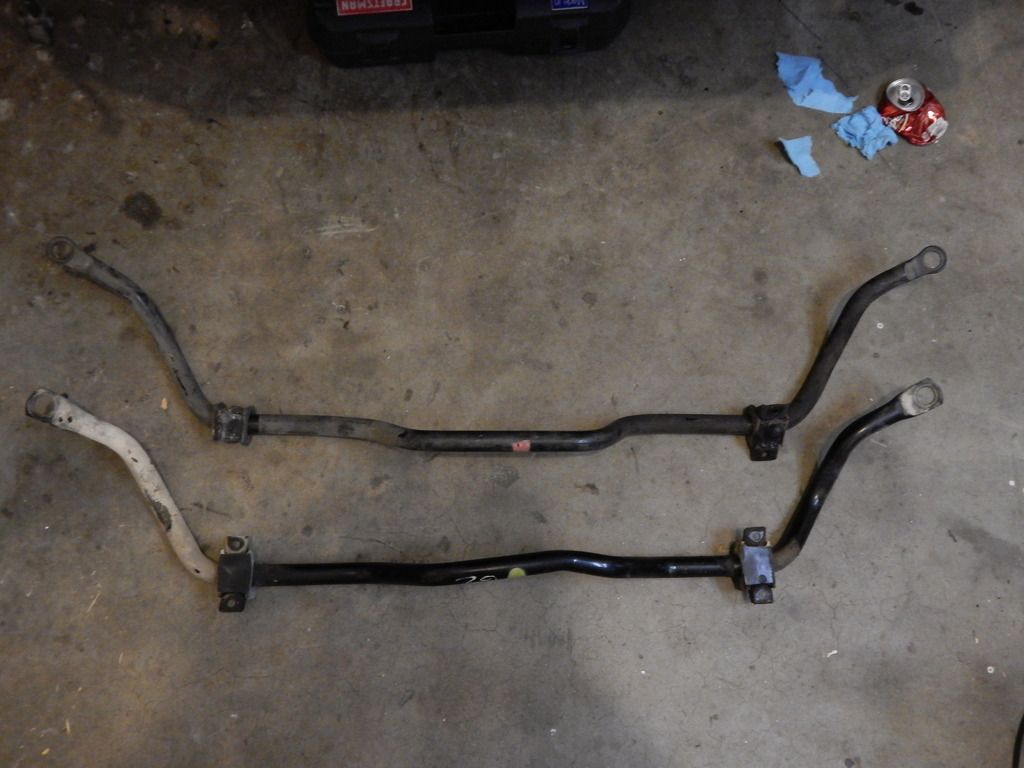
I'm trying to use this MR thread as a record of the work accomplished. I've never taken pictures of my other projects on cars from beginning to finish, and wanted to actually have a visual/written record of how this car has progressed. I always try to get the pictures when I start on the projects but once I'm in the middle of them I usually forget to take pictures.
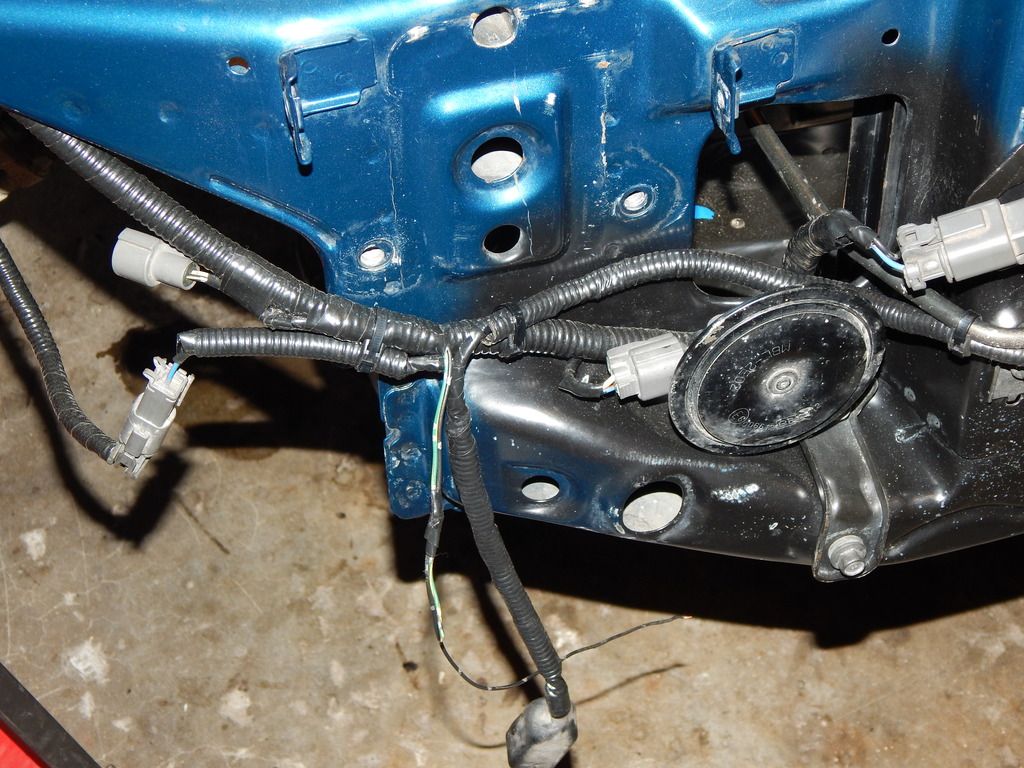
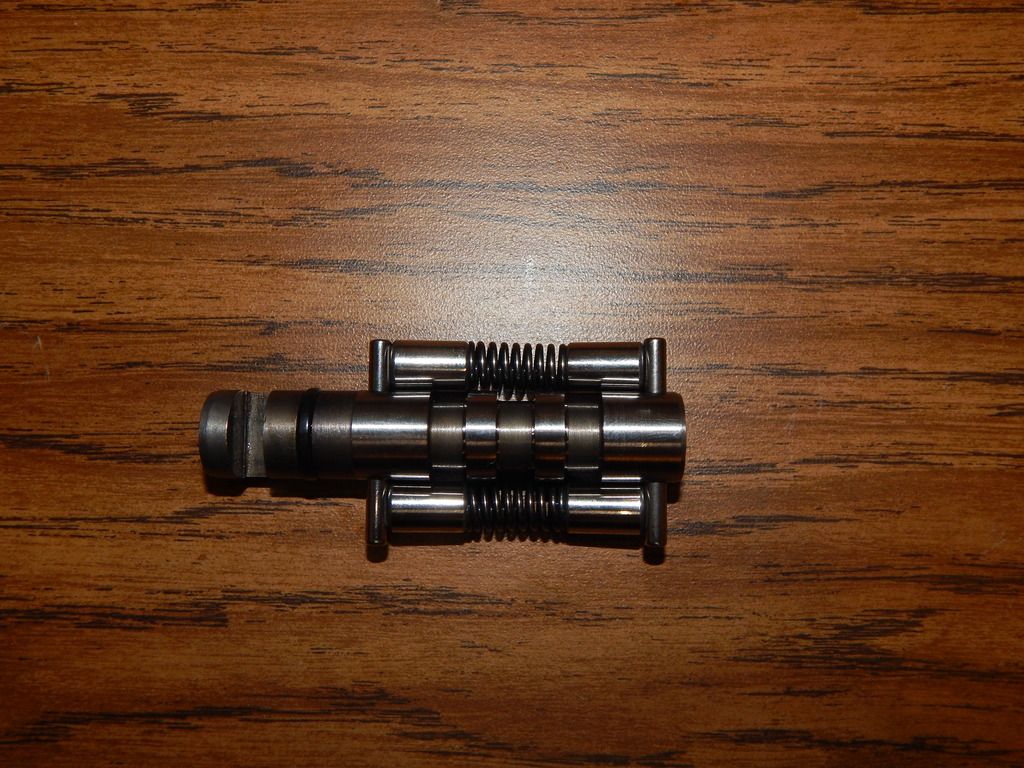
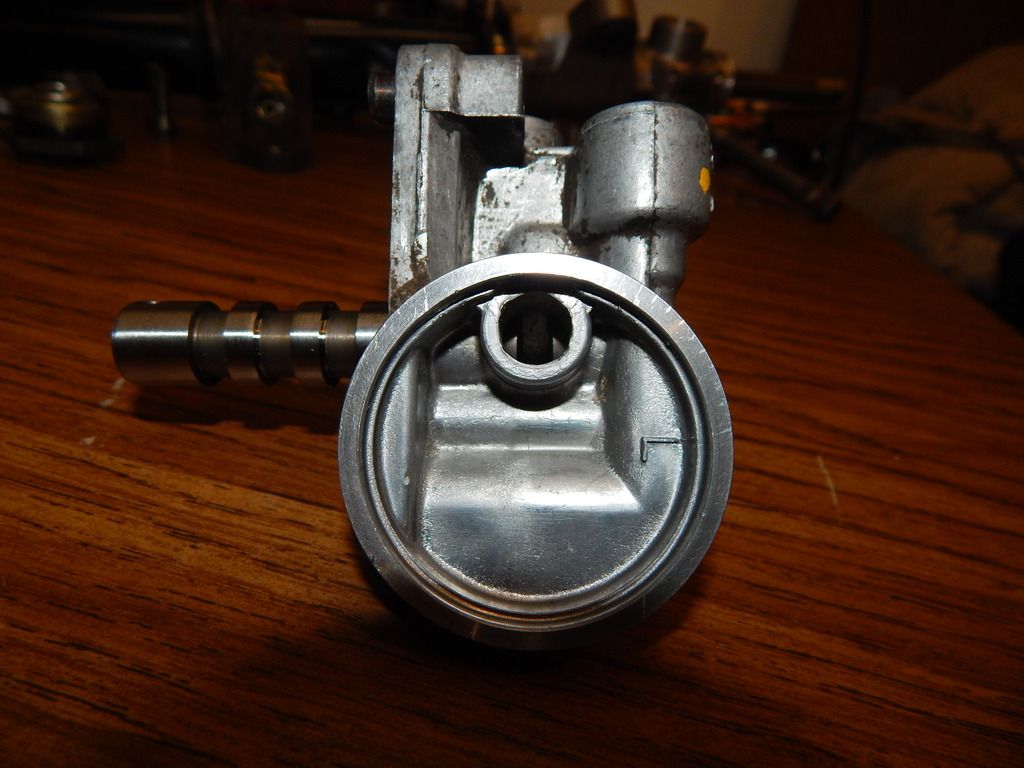
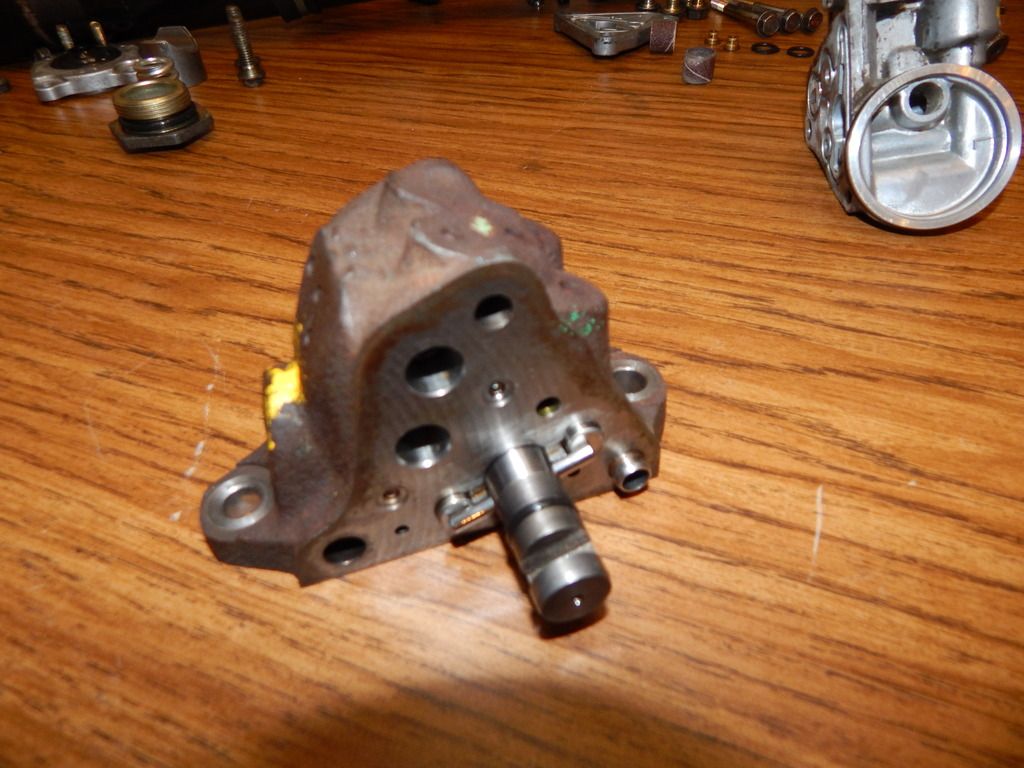
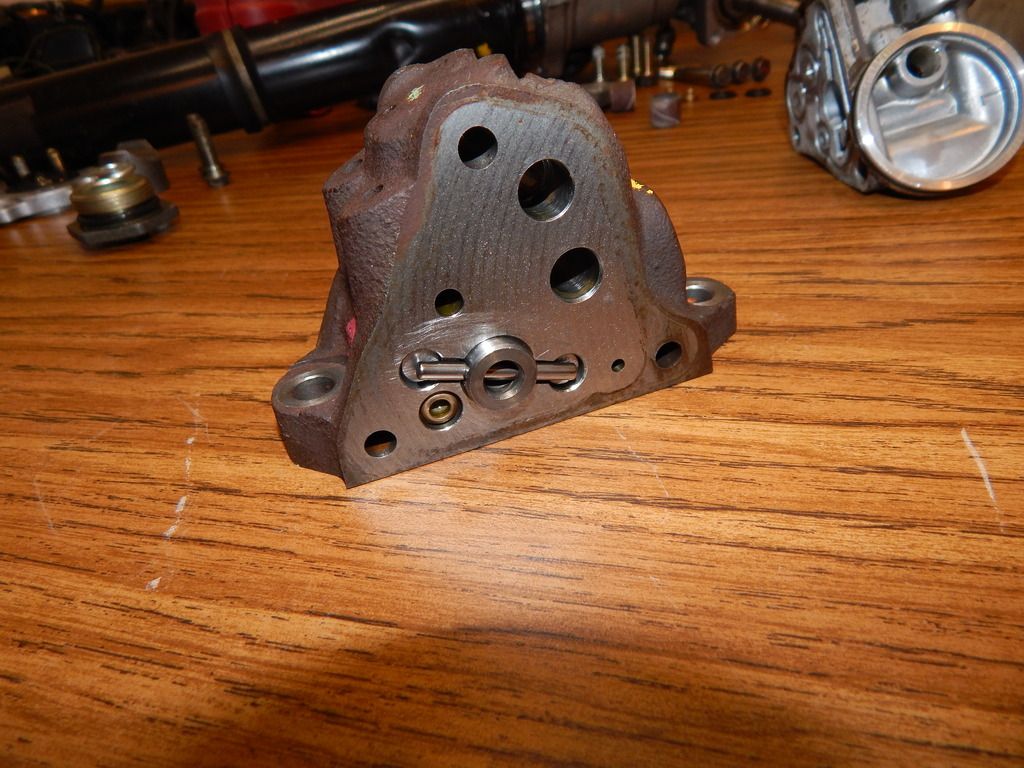
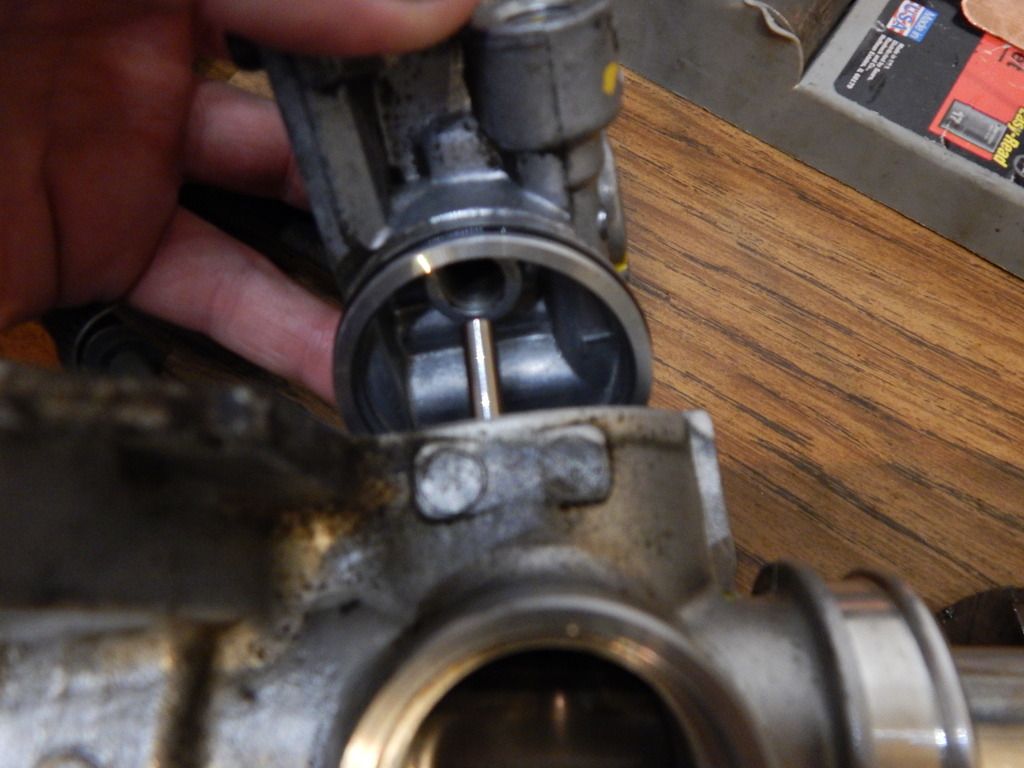
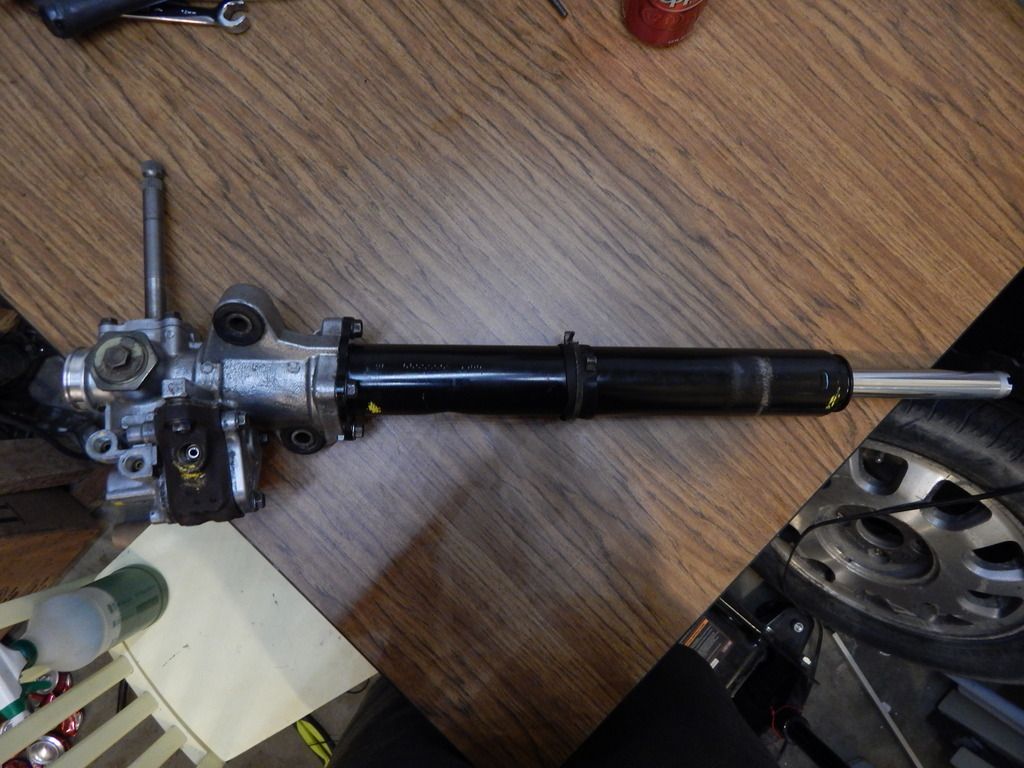
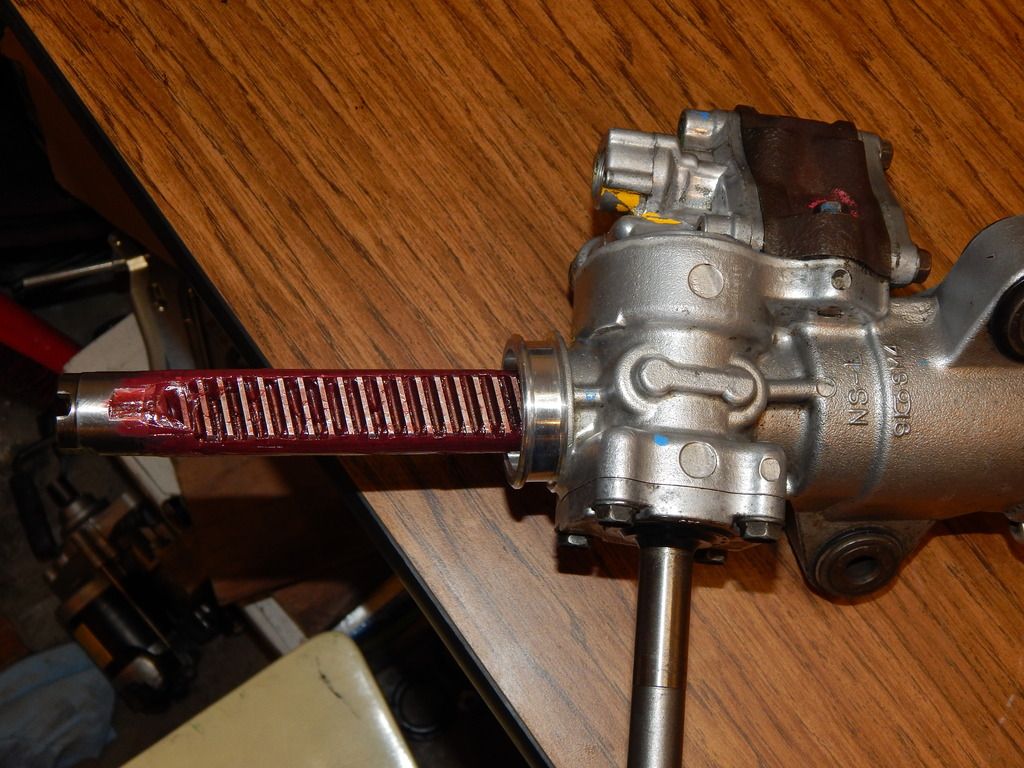
 . This is a rack that I half converted before. I had just taken off the valve body, dropped all the valves out and put it back together and looped the lines. This left me with some play in the steering wheel. Like to drive straight I would have to constantly work the wheel back and forth ever so slightly. Really annoying let me tell you! So this is everything that will be going back into the rack with the exception of 1 valve which again is in my other garage. I'll get some pictures of it once I'm reassembling things. Also I had the black tube off the rack and pinion but I slid it back on, and couldn't get it off again for the life of me. So I just slid it mostly together again for the pictures.
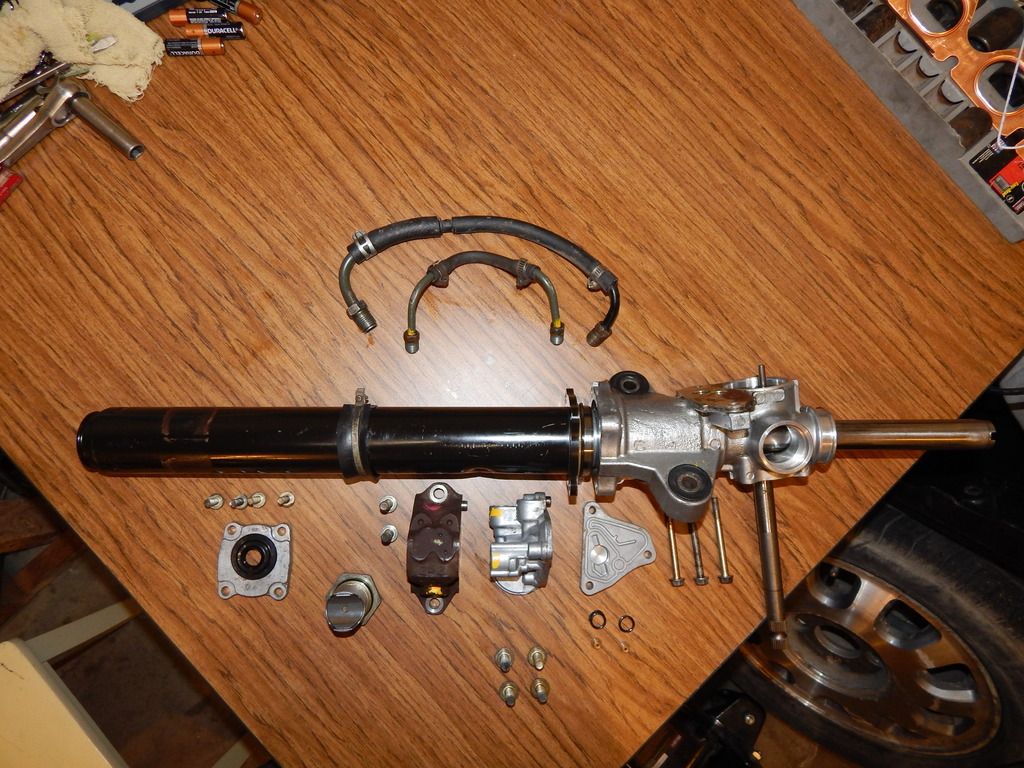


Comment