Announcement

Collapse
No announcement yet.

Raf99 : 1993 Accord EX

Collapse
X
 
  • Filter
  • Time
  • Show
Clear All
new posts

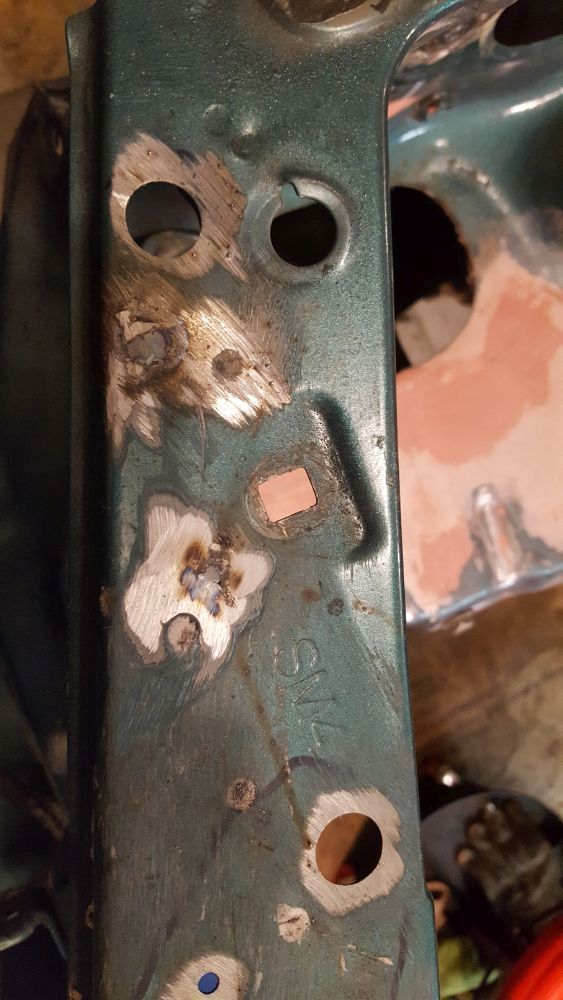
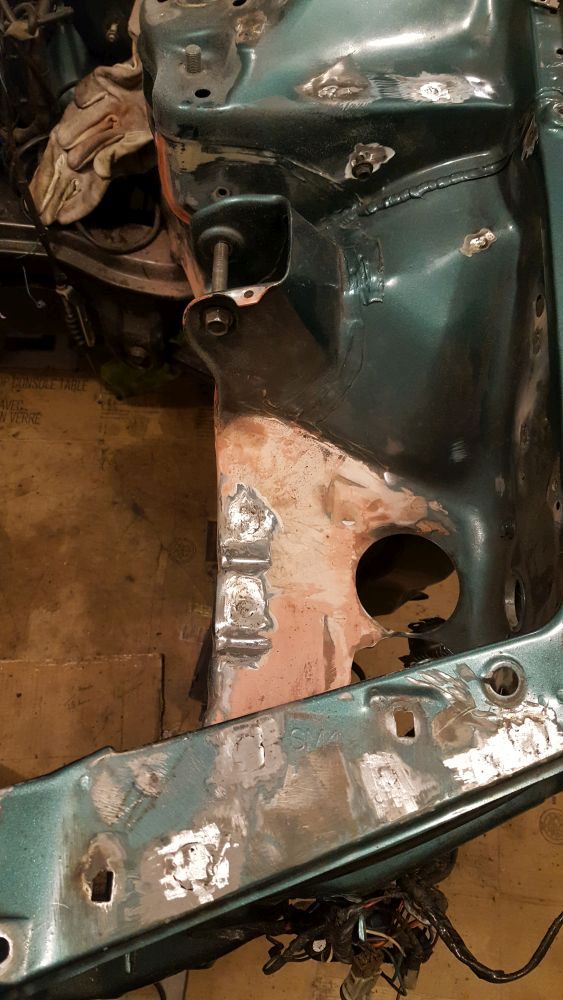
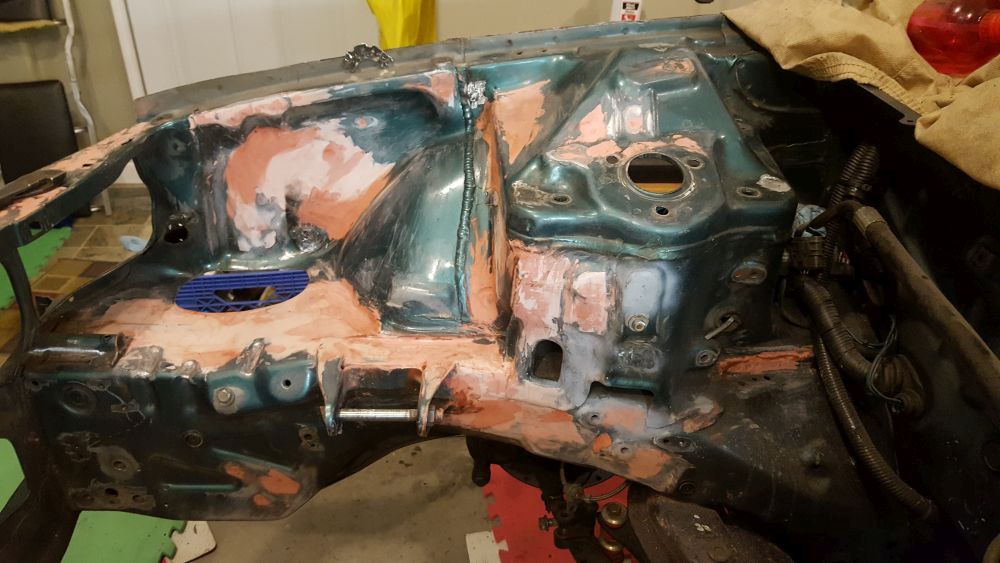
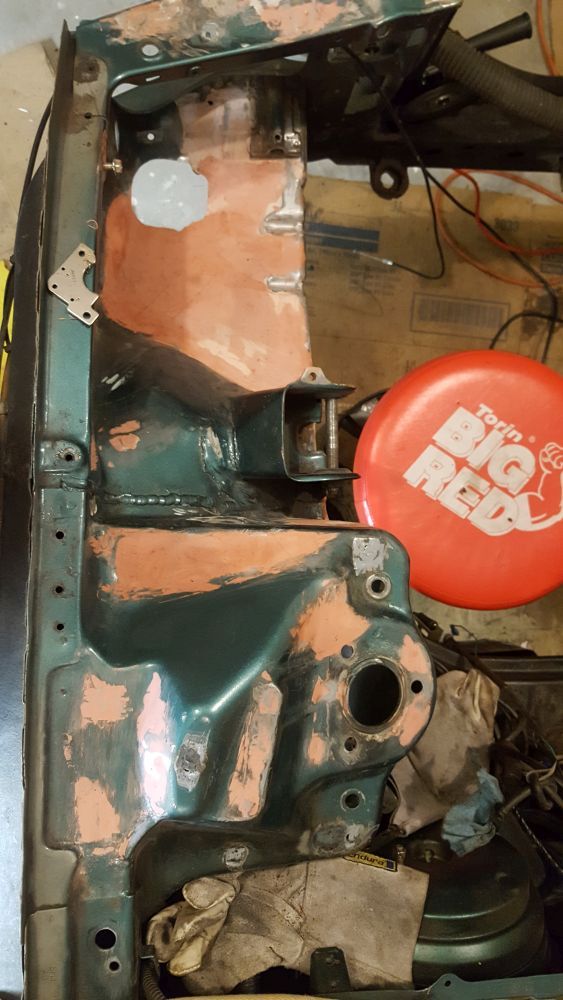
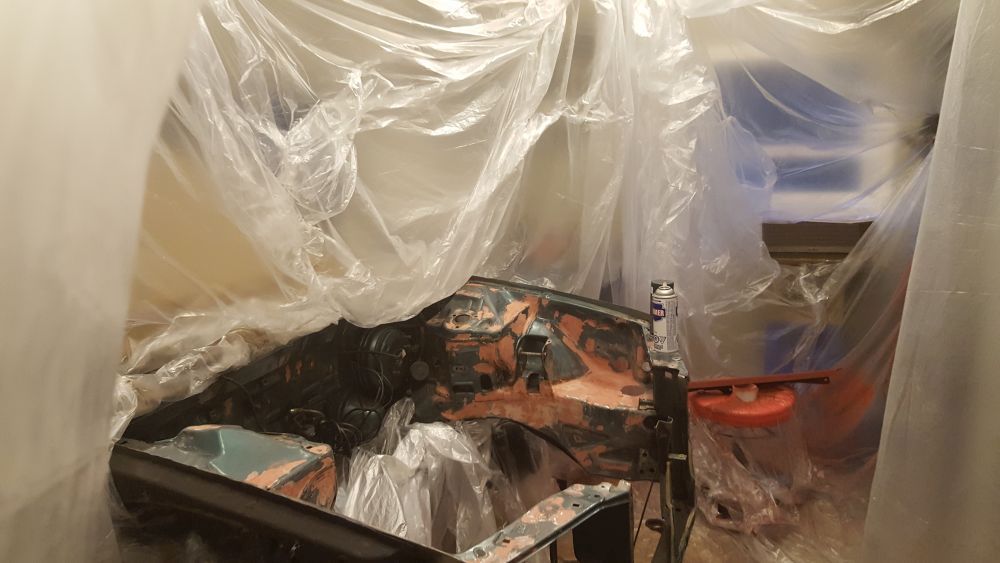
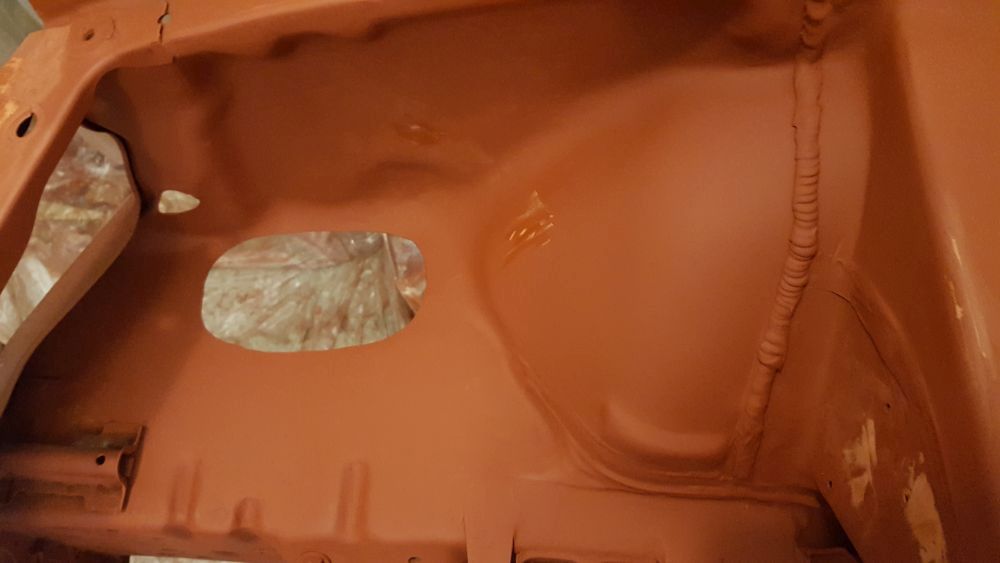
    Once I got better at welding I didn't have to do so much grinding. And started to tackle holes like this one.


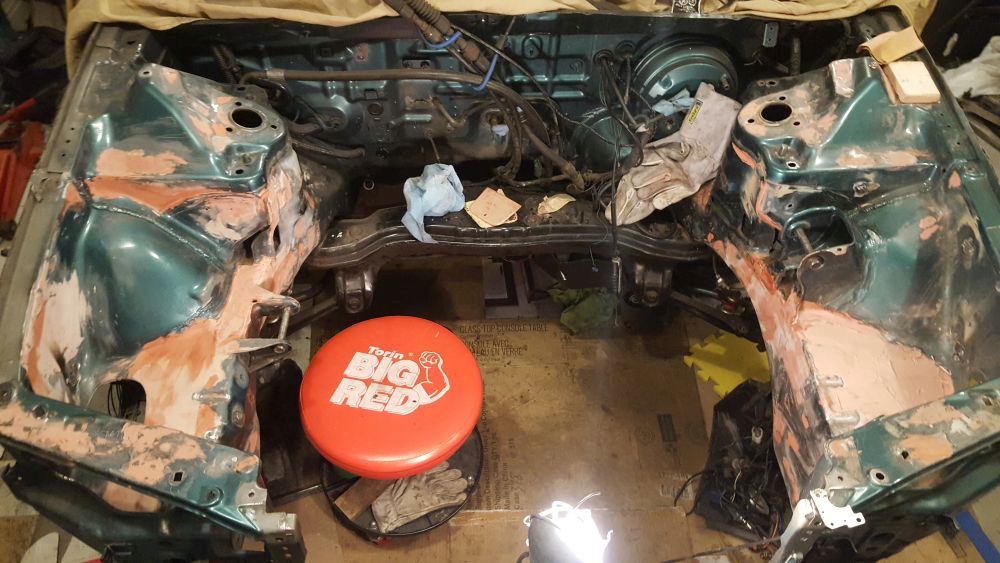
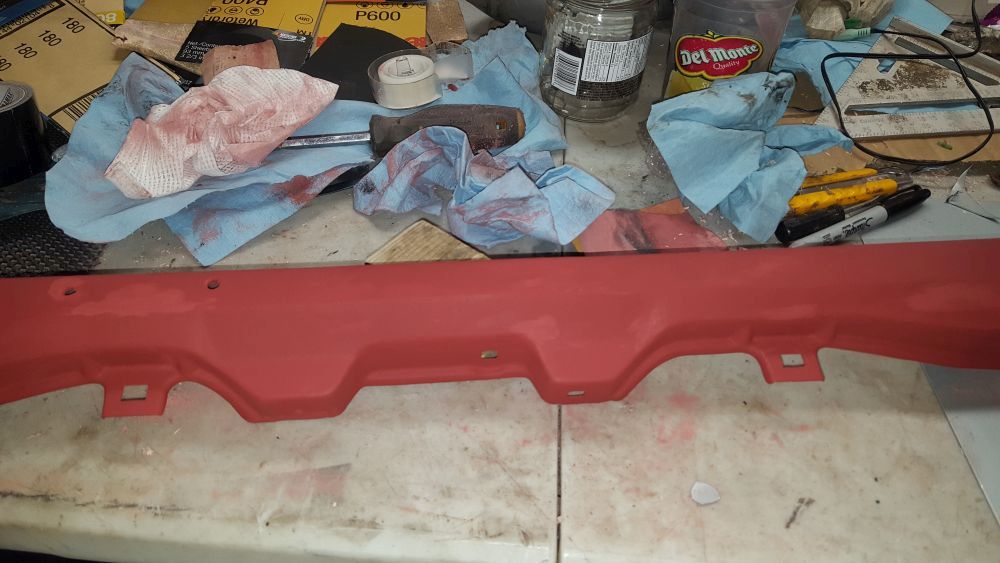
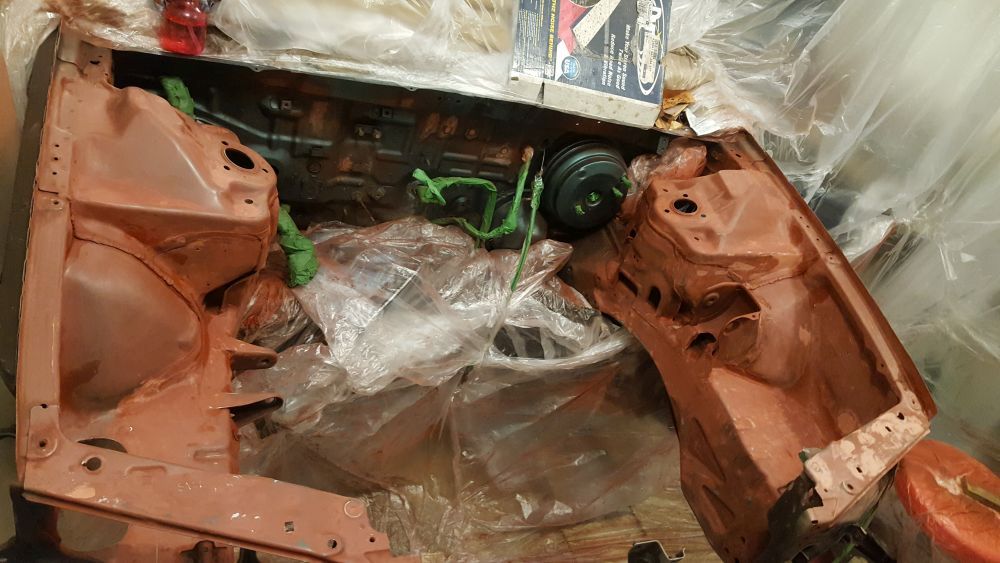
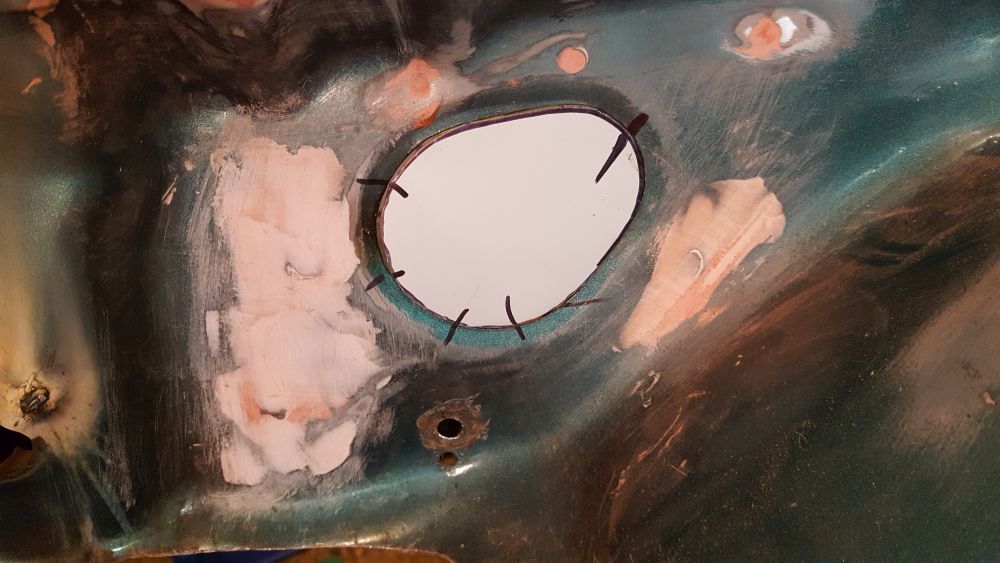
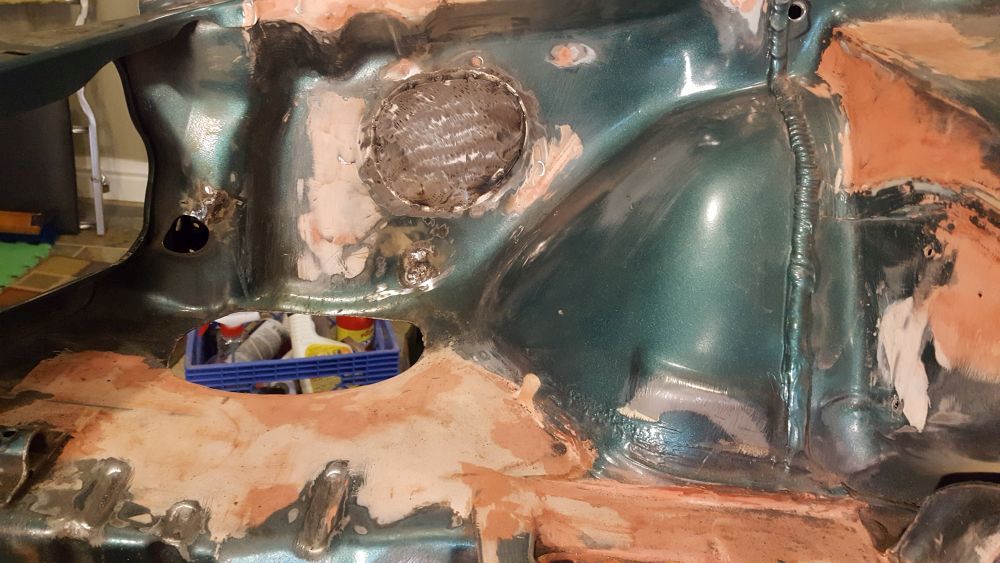
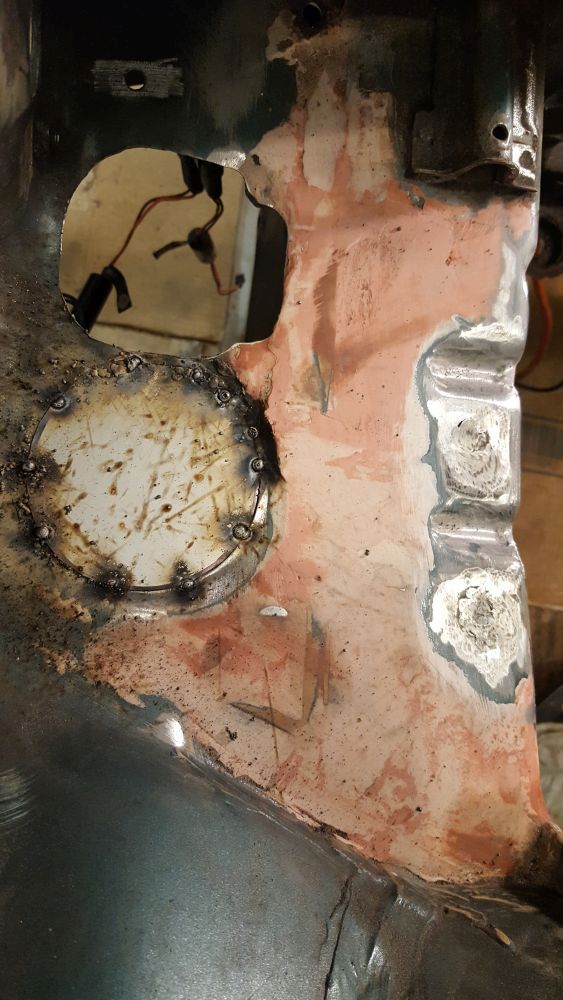
    At this point it's a matter of welding up holes, grinding them down and putting some bondo on them. But I still had to figure out how to do the larger holes. So I got some sheet metal and figured those out too.


    Comment


      Nice work. Did you ever read in your research about using a piece of copper as a backing for filling the small to medium holes.... I have a copper pipe that i flattened out about 2 inches of the end and created a xort of copper spoon. used it to fill a lot of holes in my bay.

      Also make sure to completely weld all the seams around your fill pieces of metal. If you don't there is a chance that the seam could crack and moisture will get in and start to rust under the body fill. Be very careful about the amount of heat you are putting into the body panels while welding. it doesn't take much to warp them. I always use the clock method when stitch welding with a mig, 12 - 6 - 3 - 9 and give it time to cool. TIG is a bit easier as you can control the heat a bit better.


      by GhostAccord, on Flickr
      MR Thread
      GhostAccord 2.4L Blog

      by Chappy, on Flickr

      Comment


        Originally posted by GhostAccord View Post
        Nice work. Did you ever read in your research about using a piece of copper as a backing for filling the small to medium holes.... I have a copper pipe that i flattened out about 2 inches of the end and created a xort of copper spoon. used it to fill a lot of holes in my bay.

        Also make sure to completely weld all the seams around your fill pieces of metal. If you don't there is a chance that the seam could crack and moisture will get in and start to rust under the body fill. Be very careful about the amount of heat you are putting into the body panels while welding. it doesn't take much to warp them. I always use the clock method when stitch welding with a mig, 12 - 6 - 3 - 9 and give it time to cool. TIG is a bit easier as you can control the heat a bit better.
        So I did try a 1" copper cap but it was too hard to hold it while tacking or welding. I used magnets to help me out and in the end was cutting / dremel pieces to squeeze to fit to make tacking easier. Some pieces I should of welded all the way around, yep. It was also very easy to blow through the metal. Quite the challenge actually on some parts. Other sections like bolt holes were as you just had to fill them up. The top of the shock towers involve welding from the bottom too. I did take heat consideration into thought, I watched a lot of youtube videos and practiced on spare parts too.

        I'd definitely say I'm not a professional welder 
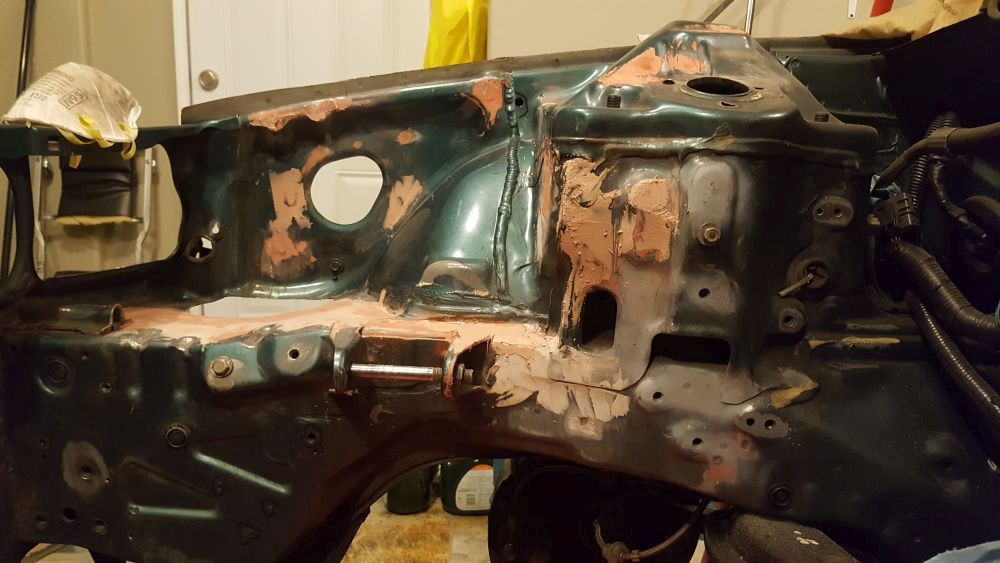
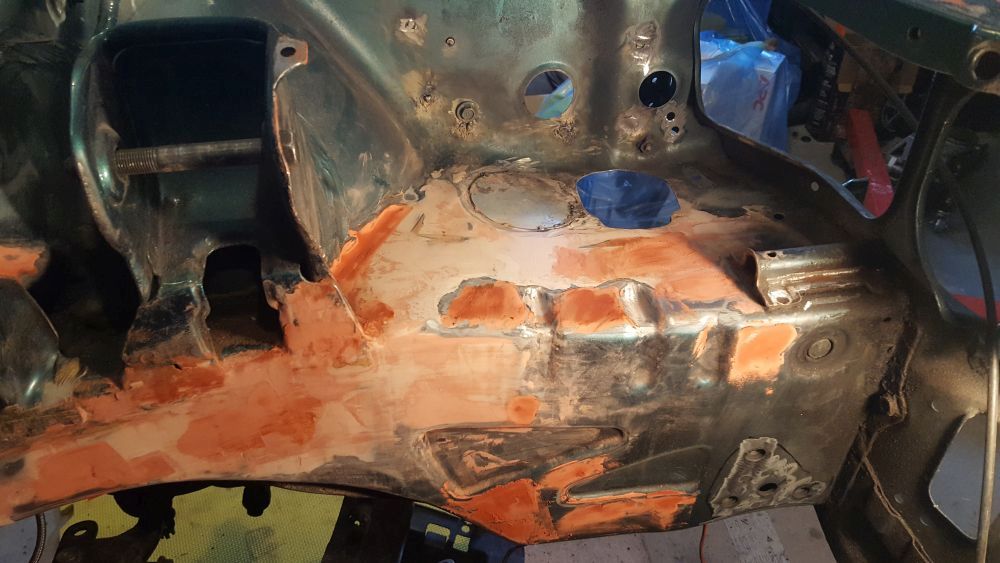
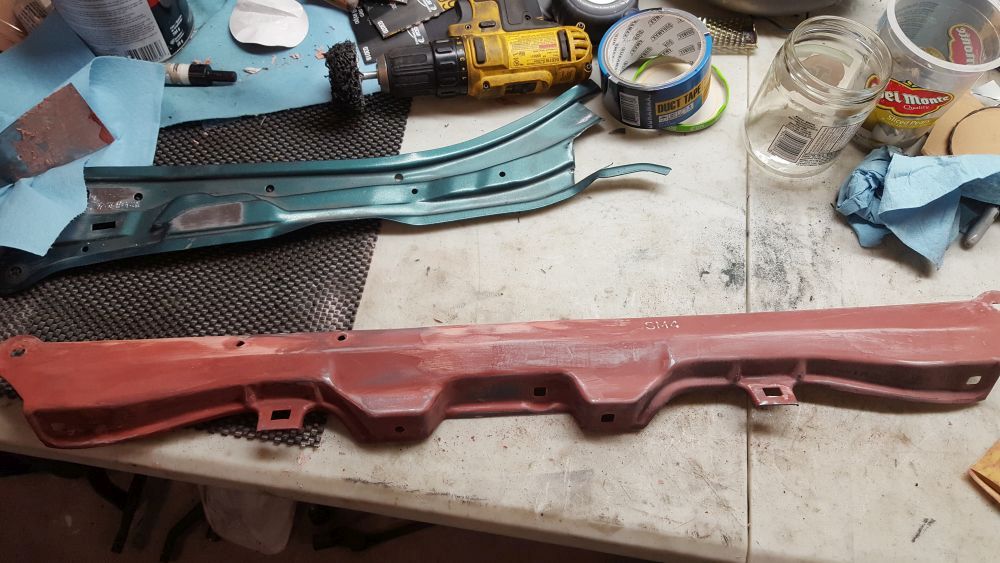
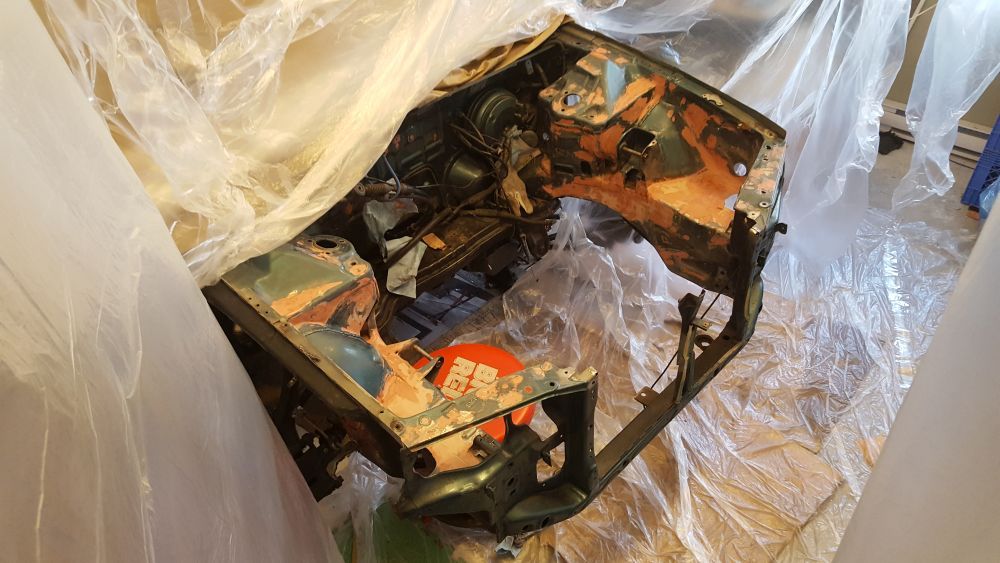
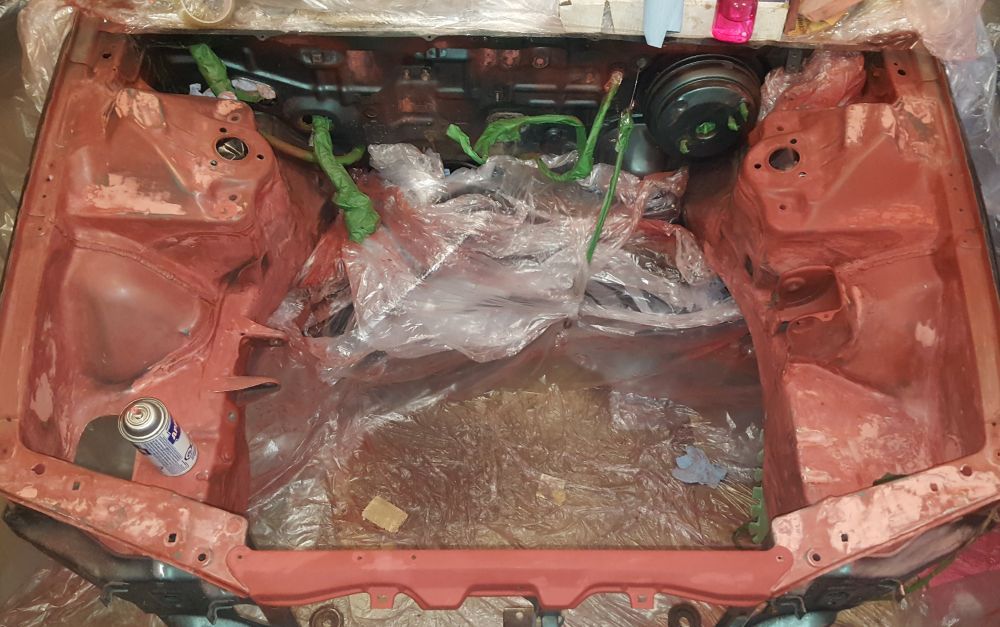
Most people tell me that if I had a better welder, and used gas I'd have far better results. Also that it's hard with such thin metal. I do want to learn how to weld larger stuff, like exhausts. Practice.... makes perfect here.

        Comment


          Welding took me through a long learning experience. From the type of wire, to the location of the weld, ground placement, tip angle, and most important sound. I still have so much to learn, can't wait!

          After finishing all of the welds I wanted to do I started focusing on the body work. Body work is my weakest point. I don't enjoy it to be honest because my results always sucked. I'll have to see if I can educate myself more.

          Below is the leveling out areas of interest, grinding away other areas, etc. The goal of the body work (bondo) is to not plaster it on, but make it level.

          Over the weeks, things slowly progressed. A picture doesn't do justice here. And I think only those who have done this will relate. It's a lot of work doing this, and you find yourself trying to perfect areas. Sculpting almost....

          I also have not painted with a gun before. I will need to learn how to complete this project. I'm excited. Hey Ghost, do you know how much it will cost for enough primer, base, clear to do this bay?


          This piece I am trying to make perfect!

          Comment


            Practice makes perfect...... well better at least. lol

            What is that you are using for filler? Looks like Mastercraft spot putty. I haven't pulled the trigger on what body filler/sealer to use just yet. I am like you, body work is not my favorite. Just like crack filling for home renos. PITA Takes a lot of time and patience. Prep work from the bottom up is the key to every good paint job.
            MR Thread
            GhostAccord 2.4L Blog

            by Chappy, on Flickr

            Comment


              Raf99, you got me impressed. That’s allot of hard work. It’ll turn out nice for sure.
              5 studded & leather clad - Praise The Lowered

              ~Mark~

              Comment


                Originally posted by GhostAccord View Post
                Practice makes perfect...... well better at least. lol

                What is that you are using for filler? Looks like Mastercraft spot putty. I haven't pulled the trigger on what body filler/sealer to use just yet. I am like you, body work is not my favorite. Just like crack filling for home renos. PITA Takes a lot of time and patience. Prep work from the bottom up is the key to every good paint job.
                Yep, think we are on the same page. Starting off with mid level body fill (Canadian Tire crap) and cheap primer to start off with. After all most of it will be sanded off. And yes, using spot puddy to fill in areas too. And takes a lot of time and patience depending how perfect you want it.

                Originally posted by NH-503P-3 View Post
                Raf99, you got me impressed. That’s allot of hard work. It’ll turn out nice for sure.
                Thanks! Almost as much work as you are putting into yours I may turn out ok as this is my first time. I wasn't even going to post this on here but decided to for the few who still visit. Let me post some more photos ...

                Comment


                  Funny how weeks have passed in these photos but it's hard to tell.


                  Oh, and I had to figure out how to make a paint booth. So my plan was....

                  1. Buy painters plastic roll
                  2. Tape off a square area around the bay. Basically making a room with the plastic
                  3. Use a box, a furnace filter, and an old window fan I had, make a vent for the area to vent outside
                  4. Build this contraption. The box has the fan inside with a filter before the fan. There is a 10' long plastic tunnel on the end of it which goes outside. The point of this was to simply move the paint fumes/particles out of the area of painting area.


                  Now we are starting to get into the prime and sand, fix any issues and work my way up past 600grit. Oh and you can't tell from the pic, but all of this is as smooth as a baby's bottom!! Sooo sooo smooth. It's nice to rub her

                  Comment


                    Very nice work! You’re brave doing all that with fluxcore, man. It’s much easier with .025 and gas. Are you doing anything fancy with the paint scheme?

                    Comment


                      Originally posted by F22Chris View Post
                      Very nice work! You’re brave doing all that with fluxcore, man. It’s much easier with .025 and gas. Are you doing anything fancy with the paint scheme?
                      Thanks, that's what everyone else said to me too about welding. It just took a lot more grinding and prep work. Ahh color scheme. I was going to paint it the color of my 04 TSX which I think is a black pearl. I really gave lots of thought and looked at tons of examples but in the end I decided to go OEM look for a few reasons:

                      1. To change to another color requires a lot more work! I'd have to sand every tiny little area etc. And more primer, paint, etc.
                      2. It's not my style. A bright color In my opinion screams "hey look at me!" While I've seen people do black and it just looks too dark or like I'm trying to hide something.
                      3. OEM color looks proper. And can't go wrong with it.

                      I dunno. Maybe next time. & Another color = show car to me. Where the engine is Chrome etc. I just don't consider myself at that level yet.

                      Comment


                        I want to do this to my lude, but instead of welding I've been thinking about brazing. I don't need the strength of a weld for a cosmetic mod. Plus I could simply use a torch, instead of a gun. In for paint work.

                        YouTube Clicky!!

                        Comment


                          That is some awesome work! I'm really looking forward to seeing how it all lays out and comes together. I like that you decided to be subtle with the bay color.

                          Comment


                            Lately I've been digging this forum over FB! There's a turn off to how quick a photo or question/topic disappears in there. It's like every 2 days it's someone wanting to see engine bays etc. Your ride is only appreciated for a week maybe.

                            Anywho, MORE PHOTOS! (you folks are almost caught up)

                            We are at the primer / sanding / touch ups phase, and it's soooooo smooth!!!

                            Comment


                              Project car goals in here, very nice!

                              I'm going with a lighter color in my bay (Toyota's 4V6 Quicksand, as a complimenting contrast to a dark blue exterior). Half for show, half for function - it's easier to work on the engine later on when you've got a nice bright color in there to reflect some light around.

                              Accord Aero-R

                              Comment


                                At the touch-up phase. Just minor stuff now, paint will hopefully happen this week.


                                Comment

                                Working...
                                X