
i think i might try the sides and rear, maybe next week if i can get to the store
-
-
damn he has one of those gaming-chair-sitty-rocking on the floor thingys. wonder why my girlfriend wont let me have one? Godspeed.
Comment
-
Looks nice. I'll have to try this. !!!!!!!!!!!!!!!!!!!
Comment
-
doing this to the rear lip tomorrow, ill take a bunch of pis :P
going to do them with my rear mud guards on, i like my mud guards, but if it comes down to it, ill take em off to put the rear on.
Comment
-
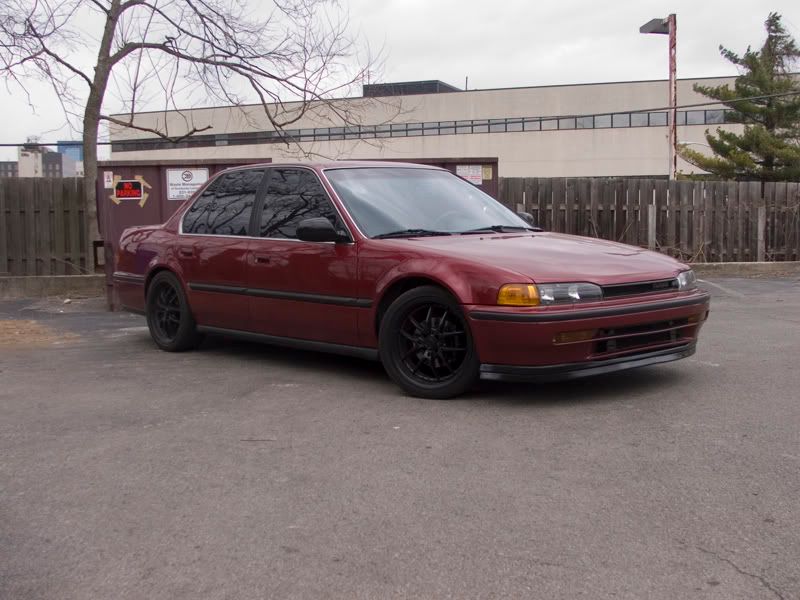
Now thats unique bro...nice !!!!!!!!!accordtypeR aka Seve aka The Godfather.

My Old Baby....................My New Baby
SOLD TO..grumpy93, iceplaya123, slr_theking, tn_accordsComment
-
finally got a chance to do the rear
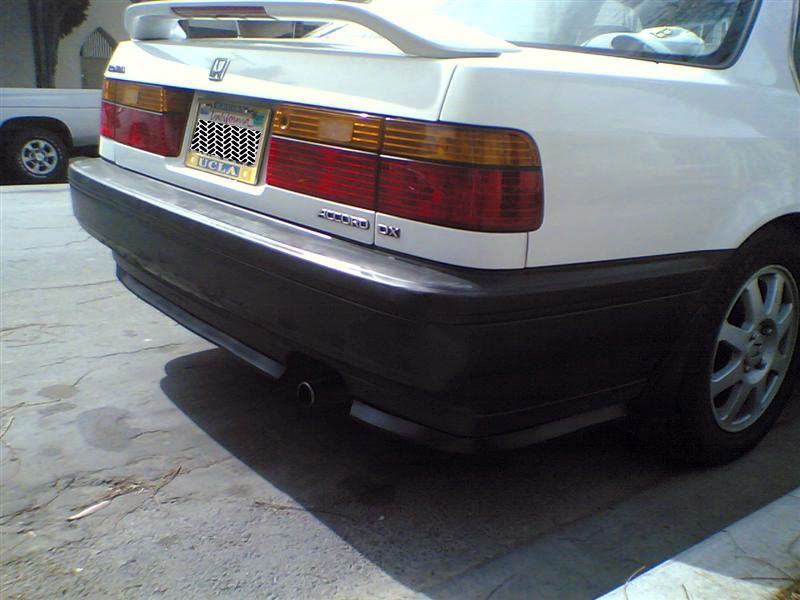
spray painted it flat black also
my DIY of rear lip ;p
http://www.cb7tuner.com/vbb/showthread.php?t=70375Comment
-
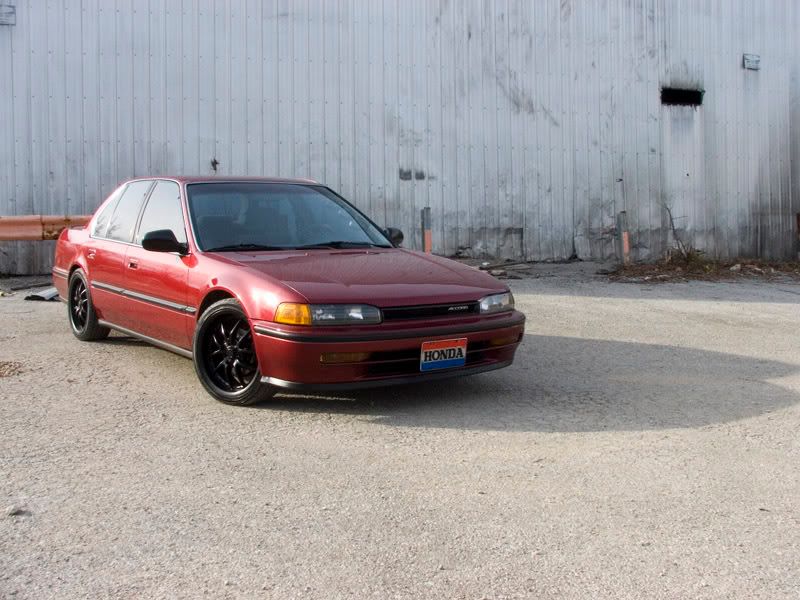
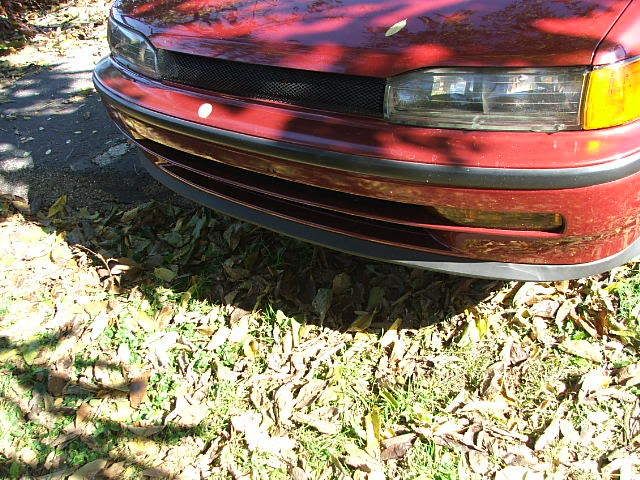
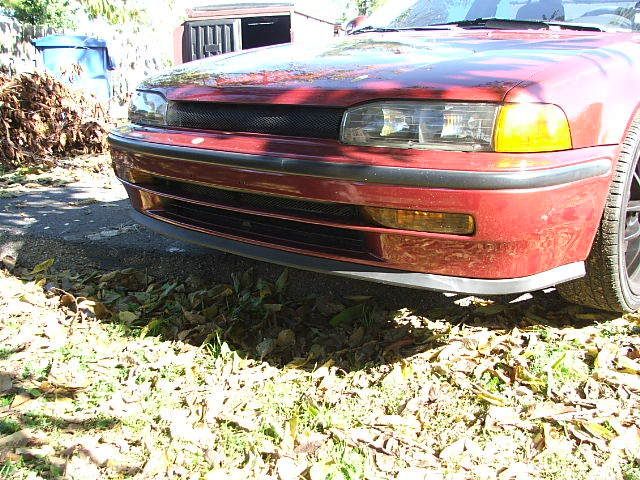
did my DYI for the front lip today.mad props for DYI it looks better then I thought it would . thanksFrom stock to not
Comment
-
do the rear lip now ;pComment
-
held the bottom to the side and it just jutts out from the side. im not goin to do itComment
-
it juts out from the side?
as in flares out too much or it'd just move when drilling?Comment
-
i will get my cb in the air tommorrow and take a pic of what i meanComment
-
I think I'm going to use this diy on my civic because they don't makes front lips for anything but the crx's and si modles.Comment
-
Originally posted by chessboxer
I give you props on that....looks ALMOST like OEM! ..."ALMOST"
Comment
-
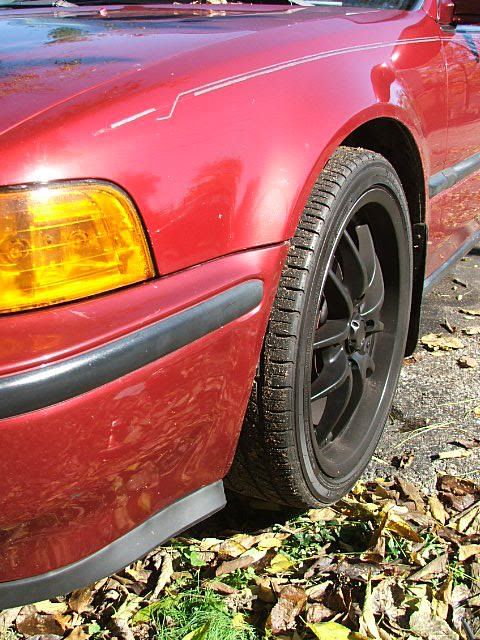
well, i tried a new diy lip today that involved mounting an ex lip upside down, then attaching it to the bumper and then attaching the diy lip to it, so as to hide my fmic. im not completely happy with it, as it comes up just a little in the middle, but for the most part, it works for now, and for less than 30 bucks, it works for me, at least until i can convince myself i should spend 100 for a new lip.
 2010 Taurus SHO - Livernois Goodies
2002 BMW 330 CI Convertible - HUNK OF JUNKComment
-
it doesnt look half bad ;p
do the rear like me now :PComment


Comment