
This process was done in a 93 Accord ex with an F22a1 out of a 91
This Diy should be done at your own discretion, I am in no way responsible for any damage done to you, your car, your family, or even your mom for that instance by you or your dumb actions after doing this DIY
On with the DIY. Its pretty self explanitory, but for those that like pics I got them for you........(cou-reese-gh)
Total time should be about less than an hour depending on if you have everything ready already. I didnt so it took about an hour.
The best/only time to do this is when you are going to do your oil change. Car must be warmed up before you can do this, so be careful because you might get burned.
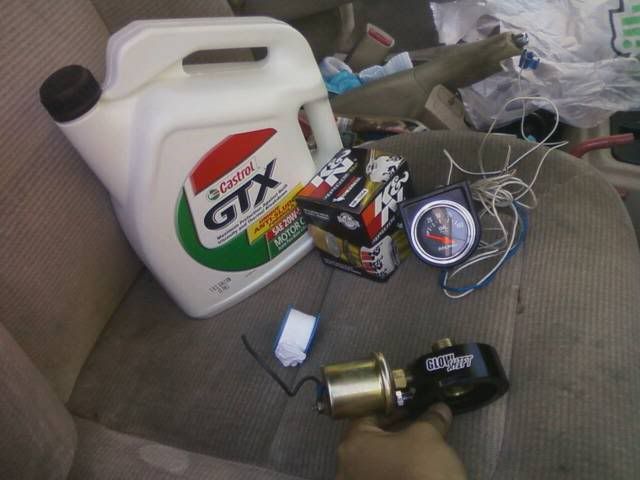
Tools
Continuity tester
17 mm ratchet, or wrench
4 quarts of Oil
Oil Filter
Glowshift adapter
OIL PSI gauge
wire
fuse
black tape
teflon
rag
gloves
Jack and stands
Step one.
You will need to check under the fusebox and check which plug has no power while the car is off, but has power while the key is on and the power goes through. To do this, grab your continuity tester and go to your kick panel fuse box and check them.

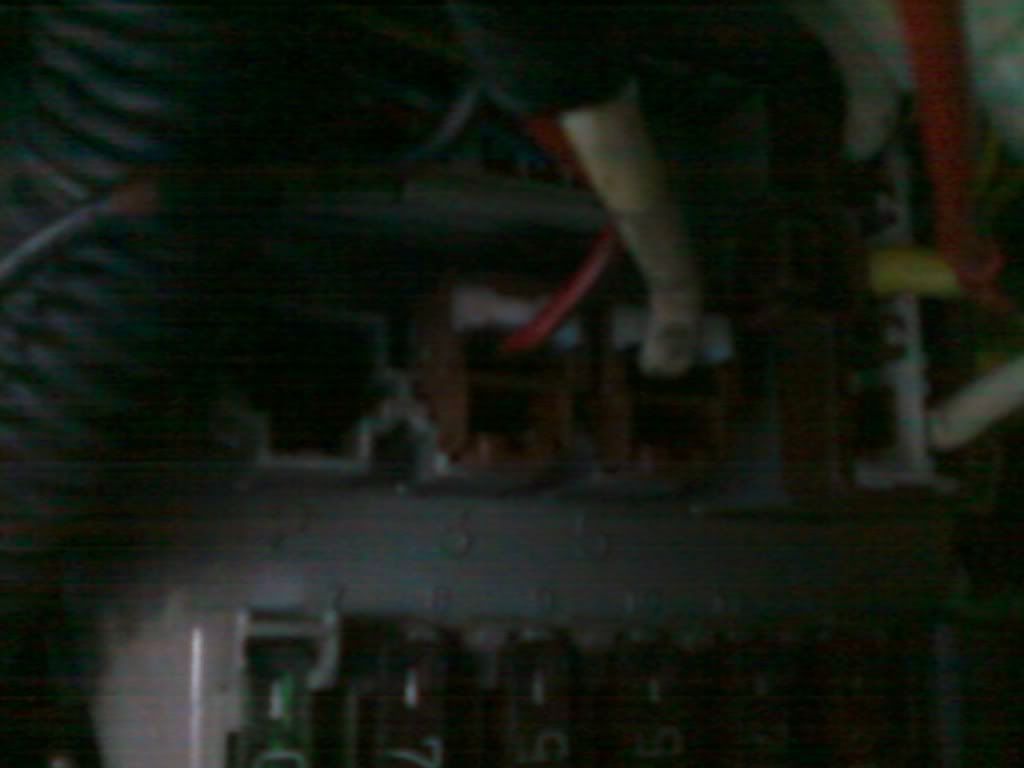
mine was the one on the left. I have foglights and the harness plugs take up the other two plugs so I couldnt use those anyway.
Step two
Now that you found it Disconnect the negative battery terminal, you are working with electrical components so you will need to disconnect it for a bit so that you do not create a short somewhere and catch your car on fire.
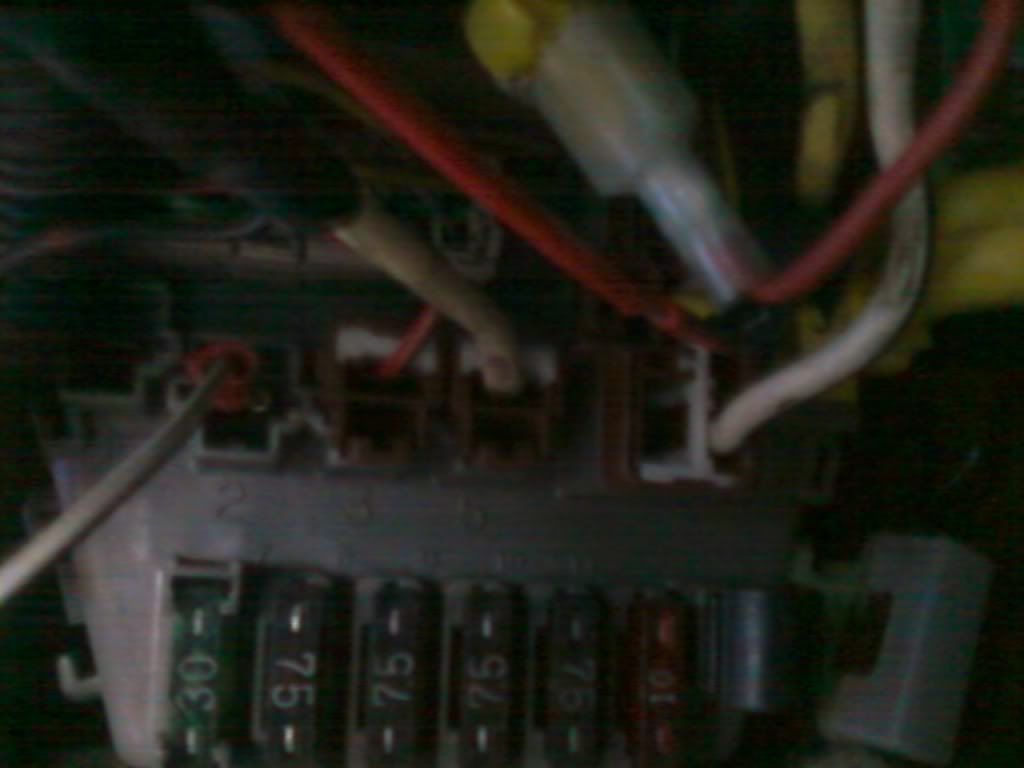
connect your wire using a speaker terminal. should slide right in.
Step three
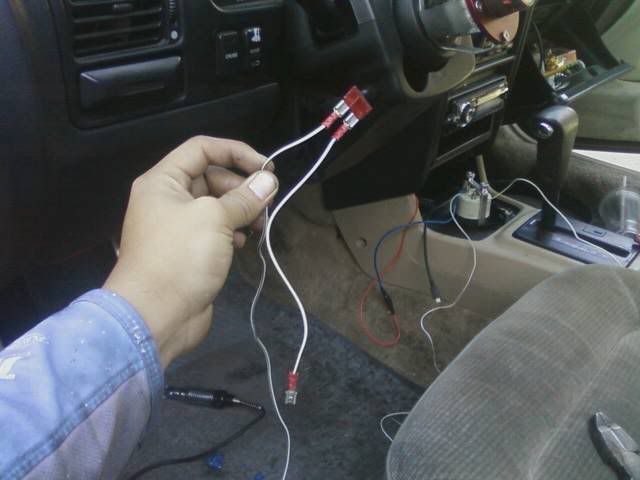
Whenever you are working with anything electrical it is best if you add a fuse just in case a power surge occurs.
it should be within 12 inches of the power connector. meaning cut the wire and add a fuse somewhere between the connection and 12 inches out like so:
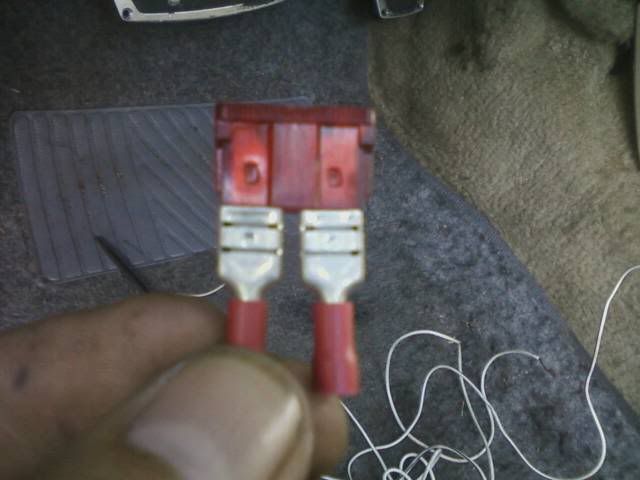
tape up the terminals because you are going to be putting it where it can potentially catch fire if it touches ground. I dont have a pic of this but its pretty self explanitory.
Ground your ground cable. make sure its a good ground. A bad ground can cause no reading or bad reading.
Step four
Oil change time. Open your oil filler cap and remove the dipstick. This allows for all the oil to be removed while youre doing your oil change. Remember your car has to be warm or else youre not going to be draining all your oil and when you add your 4 new quarts its going to be over 4 quarts because you only really drained 2.
My car is lowered and I cant do my oil change without raising my car a really good amount.
Raise your car until you feel its high enough and you can do your oil change and place your jackstands in place. In my case I have to remove my tire to do my oil change since I have a really crappy jack.
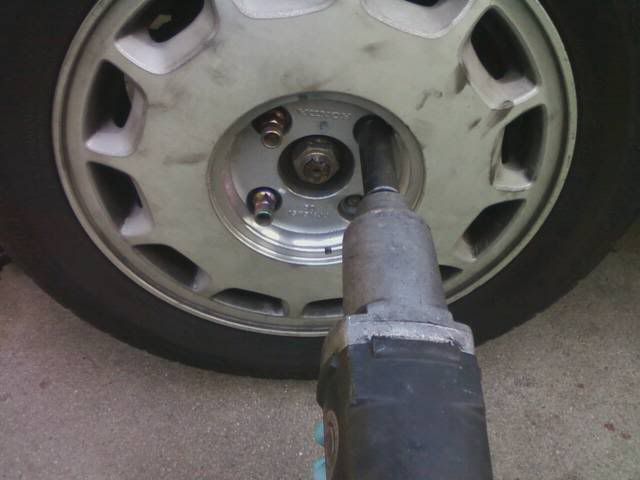
some of you with better jacks this is not required.
Step five
Place your oil pan in place and remove the oil drain plug using your 17mm wrench or ratchet.


Leave it in place for a couple of minutes or until no more oil is coming out.
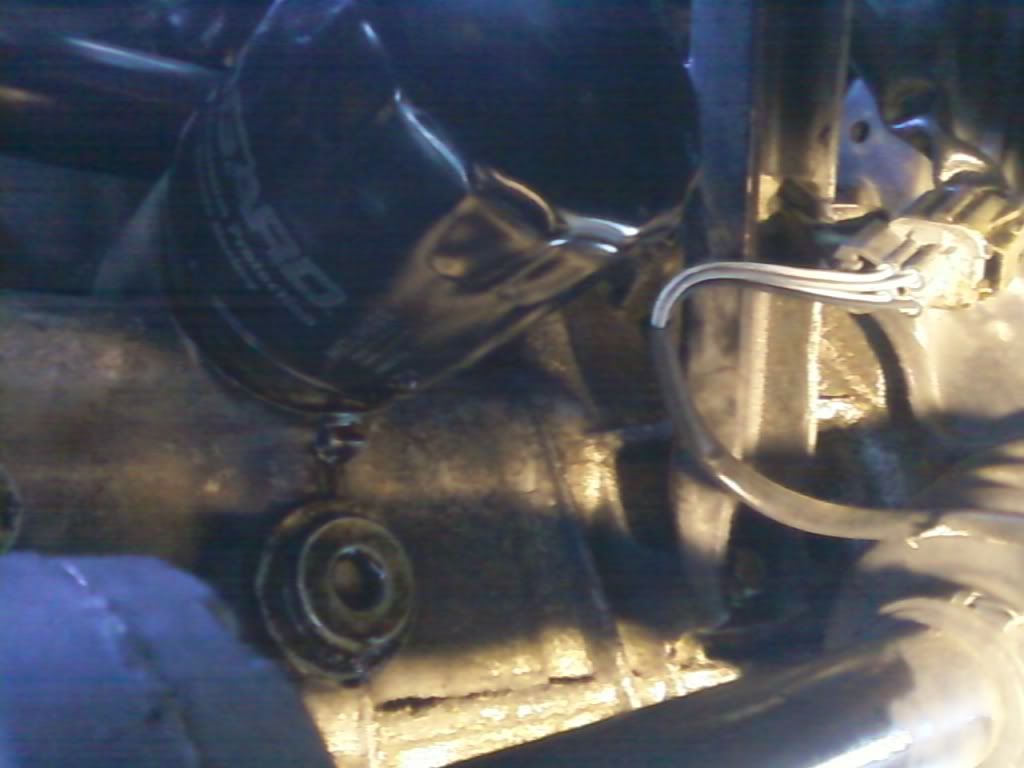
next step is removing the oilf filter. You should not need an oil filter wrench. If you need one it means your filter is on too tight. do not over tighten your filter.
Now take your handy dandy rag
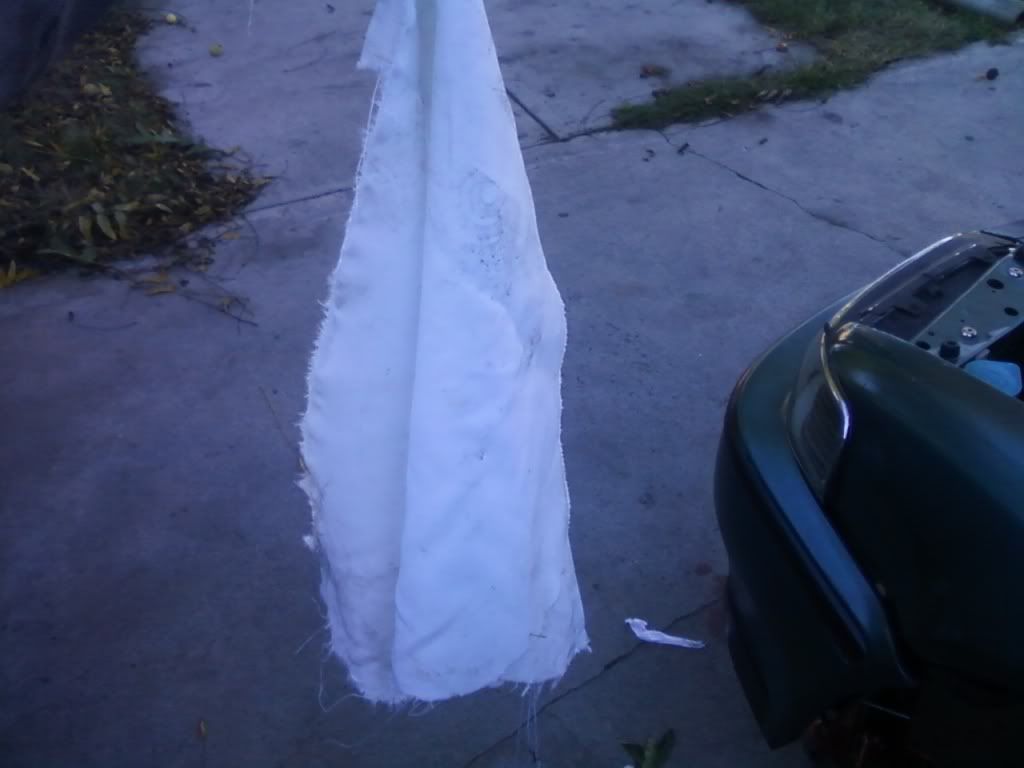
and clean the oil filter area. This needs to be free of any oil because it looks better and if its dirty it can cause the adapter not to stick.
Step six
Take your glowshift adapter, sender unit, and teflon tape. You need to use teflon tape because if you dont, you can almost guarantee it will leak oil out.
Also use teflon on the two other boltes that come with the adapter. these also leak in case you dont put any teflon on them.
when putting teflon on something like the sending unit do not cover the sending unit hole. This is what allows the oil to go in and send the pressure reading to your unit
Now assemble your sending unit onto the adapter and also install the two bolts.

Step seven
Now would be a good time to run a wire through the fender wall and connect it to the sending unit. This wire, since it passes through the fire wall has to have a grommet between the firewall. Find a hole and run the wire to the sending unit and attach it. use a butt connector, sawter, or justt tape it if you dont have any choice. Like i did.

Step eight
Now its test fitting time. Test the glowshift adapter on to the area that was cleaned earlier. where the oil filter goes.
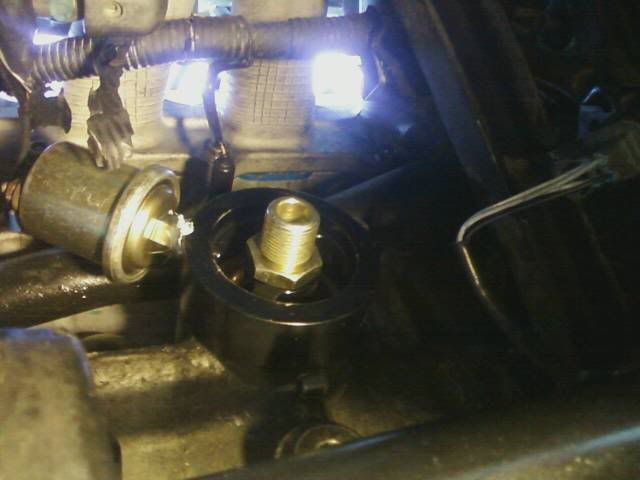
Make sure the sender unit is not in the way of anything, and that the cable is not bent in any way.
that was just a test fit, do not tighten it yet. remove the adapter and add oil to the side with a gasket. you have to lube it up just like any oil filter.
now youre ready to attach it on to the car.
take your adapter and install and tighten the nut down. to be honest, IDK what size the nut was, and I used an adjustable wrench and tightened it as best as I could. Next oil change I will tighten it more when I find out what size it is.
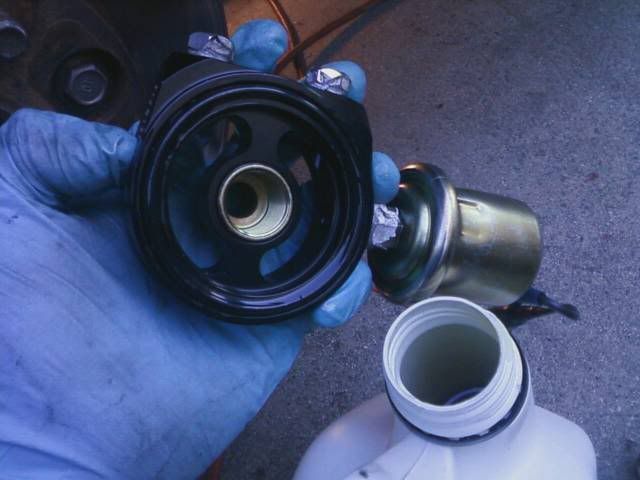
Now you can install your oil filter. For this oil change I used a K&N oil filter. Its expensive, but atleast you know your oil is clean. also only tighten by hand.
before you put it on also lube up the gasket.
Step nine
clean your oil drain plug and reattach it to the oil pan with your hand, then tighten it hand tight and then some. too hard can cause it to be stuck for your next oil change. replace your oil drain plug gasket if necessary.
Step ten
ADD OIL!!!
I dont know how many times people forget to add oil, but I do know it happens.
Then reconnect your battery terminal, insert you dipstick add oil if necessary and put your oil cap on.
start your car and check it out. Check for leaks. your car will smell like burned oil, but its because of the oil that is burning of the downpipe
Good Luck!!!
This Diy should be done at your own discretion, I am in no way responsible for any damage done to you, your car, your family, or even your mom for that instance by you or your dumb actions after doing this DIY
On with the DIY. Its pretty self explanitory, but for those that like pics I got them for you........(cou-reese-gh)
Total time should be about less than an hour depending on if you have everything ready already. I didnt so it took about an hour.
The best/only time to do this is when you are going to do your oil change. Car must be warmed up before you can do this, so be careful because you might get burned.
Tools
Continuity tester
17 mm ratchet, or wrench
4 quarts of Oil
Oil Filter
Glowshift adapter
OIL PSI gauge
wire
fuse
black tape
teflon
rag
gloves
Jack and stands
Step one.
You will need to check under the fusebox and check which plug has no power while the car is off, but has power while the key is on and the power goes through. To do this, grab your continuity tester and go to your kick panel fuse box and check them.
mine was the one on the left. I have foglights and the harness plugs take up the other two plugs so I couldnt use those anyway.
Step two
Now that you found it Disconnect the negative battery terminal, you are working with electrical components so you will need to disconnect it for a bit so that you do not create a short somewhere and catch your car on fire.
connect your wire using a speaker terminal. should slide right in.
Step three
Whenever you are working with anything electrical it is best if you add a fuse just in case a power surge occurs.
it should be within 12 inches of the power connector. meaning cut the wire and add a fuse somewhere between the connection and 12 inches out like so:
tape up the terminals because you are going to be putting it where it can potentially catch fire if it touches ground. I dont have a pic of this but its pretty self explanitory.
Ground your ground cable. make sure its a good ground. A bad ground can cause no reading or bad reading.
Step four
Oil change time. Open your oil filler cap and remove the dipstick. This allows for all the oil to be removed while youre doing your oil change. Remember your car has to be warm or else youre not going to be draining all your oil and when you add your 4 new quarts its going to be over 4 quarts because you only really drained 2.
My car is lowered and I cant do my oil change without raising my car a really good amount.
Raise your car until you feel its high enough and you can do your oil change and place your jackstands in place. In my case I have to remove my tire to do my oil change since I have a really crappy jack.
some of you with better jacks this is not required.
Step five
Place your oil pan in place and remove the oil drain plug using your 17mm wrench or ratchet.
Leave it in place for a couple of minutes or until no more oil is coming out.
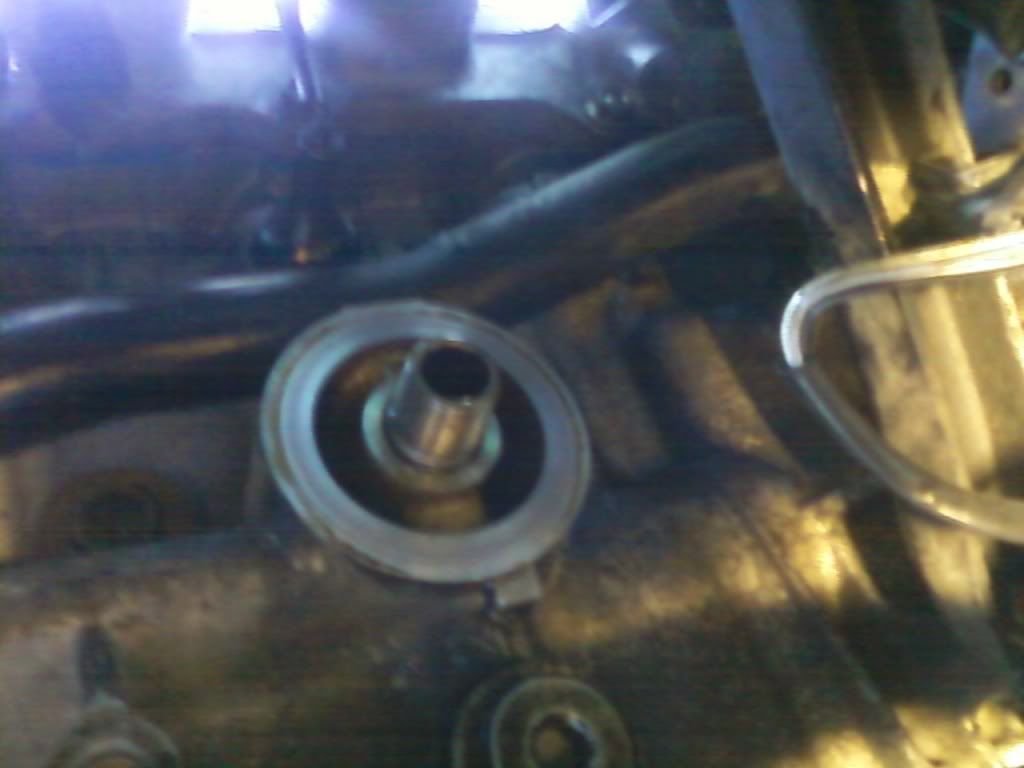
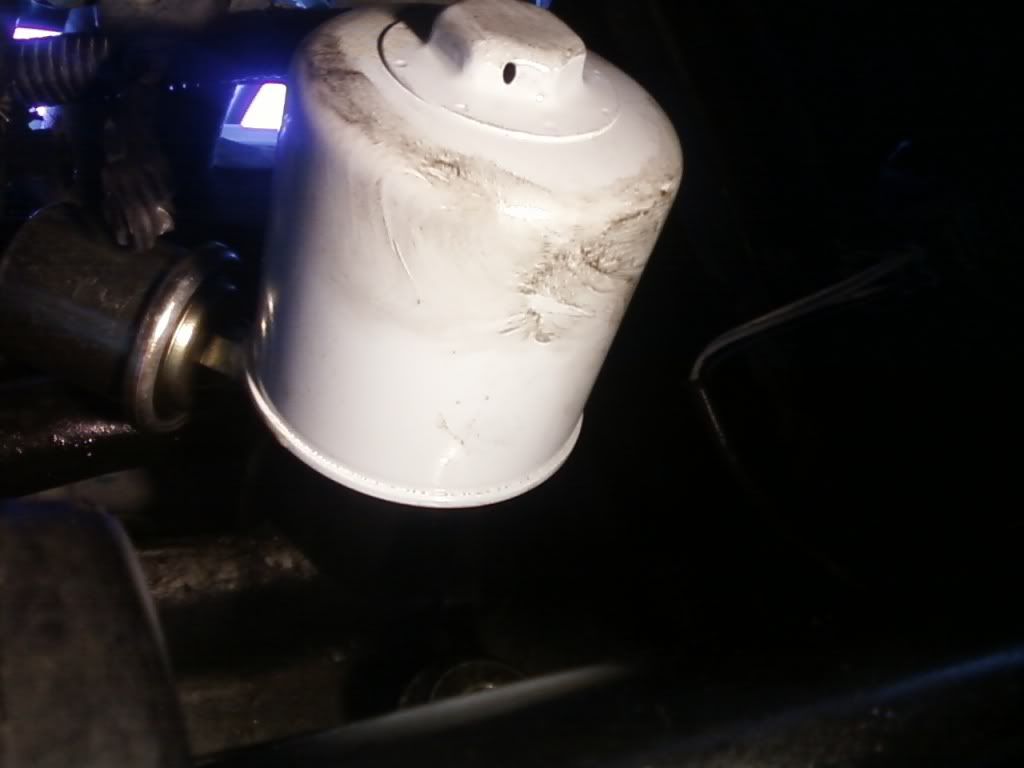
next step is removing the oilf filter. You should not need an oil filter wrench. If you need one it means your filter is on too tight. do not over tighten your filter.
Now take your handy dandy rag
and clean the oil filter area. This needs to be free of any oil because it looks better and if its dirty it can cause the adapter not to stick.
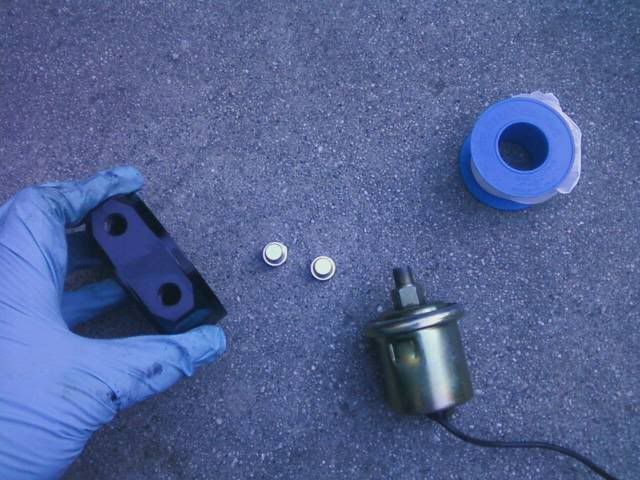
Step six
Take your glowshift adapter, sender unit, and teflon tape. You need to use teflon tape because if you dont, you can almost guarantee it will leak oil out.
Also use teflon on the two other boltes that come with the adapter. these also leak in case you dont put any teflon on them.
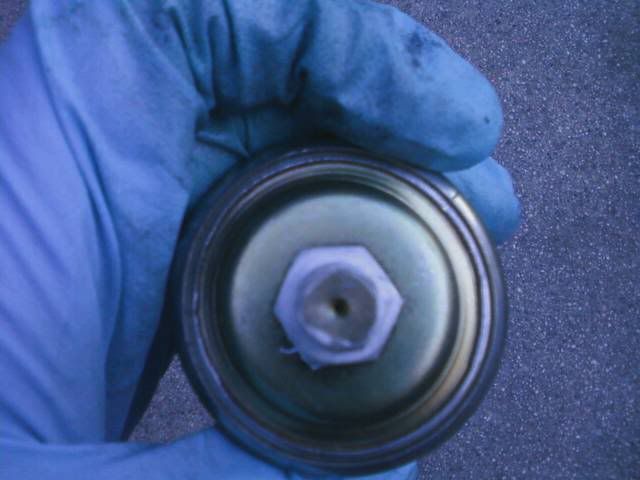
when putting teflon on something like the sending unit do not cover the sending unit hole. This is what allows the oil to go in and send the pressure reading to your unit
Now assemble your sending unit onto the adapter and also install the two bolts.
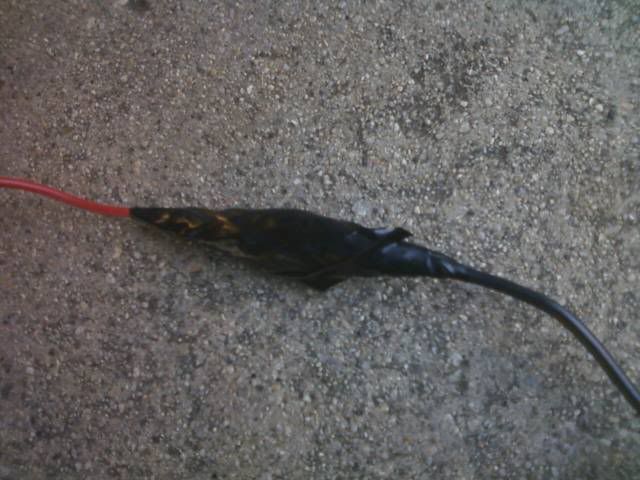
Step seven
Now would be a good time to run a wire through the fender wall and connect it to the sending unit. This wire, since it passes through the fire wall has to have a grommet between the firewall. Find a hole and run the wire to the sending unit and attach it. use a butt connector, sawter, or justt tape it if you dont have any choice. Like i did.
Step eight
Now its test fitting time. Test the glowshift adapter on to the area that was cleaned earlier. where the oil filter goes.
Make sure the sender unit is not in the way of anything, and that the cable is not bent in any way.
that was just a test fit, do not tighten it yet. remove the adapter and add oil to the side with a gasket. you have to lube it up just like any oil filter.
now youre ready to attach it on to the car.
take your adapter and install and tighten the nut down. to be honest, IDK what size the nut was, and I used an adjustable wrench and tightened it as best as I could. Next oil change I will tighten it more when I find out what size it is.
Now you can install your oil filter. For this oil change I used a K&N oil filter. Its expensive, but atleast you know your oil is clean. also only tighten by hand.
before you put it on also lube up the gasket.
Step nine
clean your oil drain plug and reattach it to the oil pan with your hand, then tighten it hand tight and then some. too hard can cause it to be stuck for your next oil change. replace your oil drain plug gasket if necessary.
Step ten
ADD OIL!!!
I dont know how many times people forget to add oil, but I do know it happens.
Then reconnect your battery terminal, insert you dipstick add oil if necessary and put your oil cap on.
start your car and check it out. Check for leaks. your car will smell like burned oil, but its because of the oil that is burning of the downpipe
Good Luck!!!


 )
)

Comment