
alright guys, i noticed that every body wants a diy with pix, not sure why, its a really simple deal the way i did it, but here you go!
OK, now i did this a little different. I put the CD5 lip under my OEM ex lip, and it looks sooooooooooooo sexxi. i mean, my car looks slammed and my suspension isnt even on yet! lol. so, here we go. sorry, not pix ALL the way through, but a few simple ones along the way.
THINGS NEEDED:
Power Drill
Self Tapping Sheet metal screws
Dremel Tool With Cutting Attachement or Hacksaw
Blood, Sweat, Tears, And Tetnis shot ready in siringe.
1) Remove the Grille
2) Remove all the screws holding the front bumper on, and remove the bulbs and wiring from the bumper lights, and fogs if you have them.
3) With the help of a friend, remove the front bumper and set it gently on the ground.
3) Measure the lip, find dead center, lay the bumper back on the car so it is centered, and mark where the center of the lip is on both the lip and the bumper or OEM lip, so that you know when the lip is perfectly aligned.
4) Take the bumper back off, lay it on the ground, get ready to drill!
5) Now, you'll need a friend for this part, or a few good clamps. If you have a friend or family member on hand, have them hold the lip down on the bumper while you drill the self tapping screws into the OEM lip/bumper. If no one is around, just clamp the lip down, and be careful not to bump it. MAKE SURE TO KEEP CHECKING TO MAKE SURE THE LIP HASNT MOVED!!! It could slide around, and you might have it off center, or the edges might not sit flush with the OEM lip.
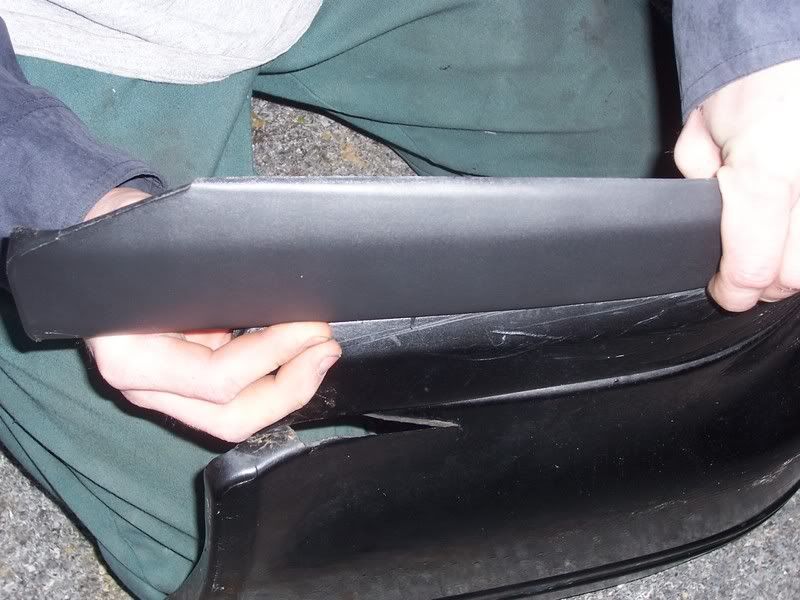
Bending that lip to make it fit the contour of the cb7 bumper:
NOTE: If your putting the CD5 accord lip on your OEM lip, BE VERY CAREFUL WHERE THE SCREWS GO!!!! The OEM lip DOES NOT have very much plastic on the bottom to drive the screws into, and if you miss, you'll mess up BOTH lips and your day.

6) Once all screws are in place, Lay the bumper back on the car and make sure every thing is lined up. You will notice about 2 inches of CD5 lip hanging off the OEM lip pointing at the tires, and thats how its supposd to be. Your about to fix that.
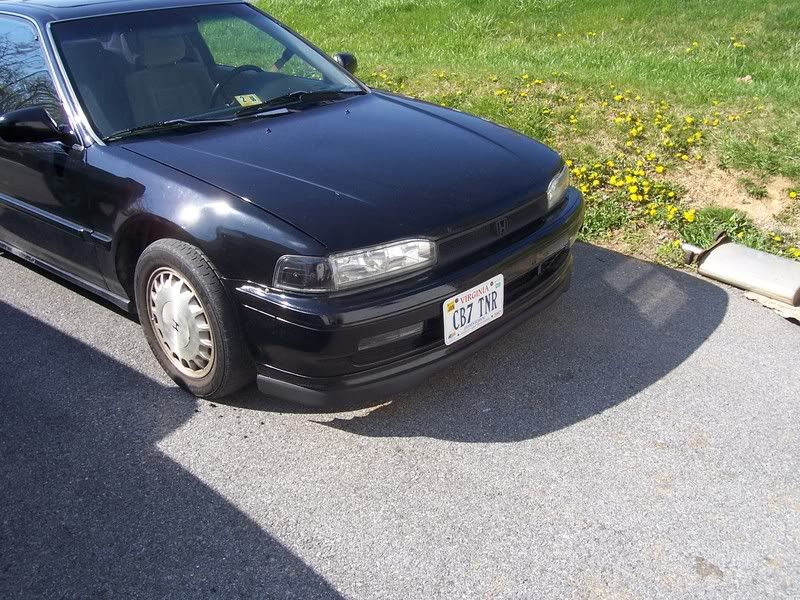
Pic of my bumper laying there, please excuse the sorry state of the bumper...the previous owner got in a fender bender with 'er.
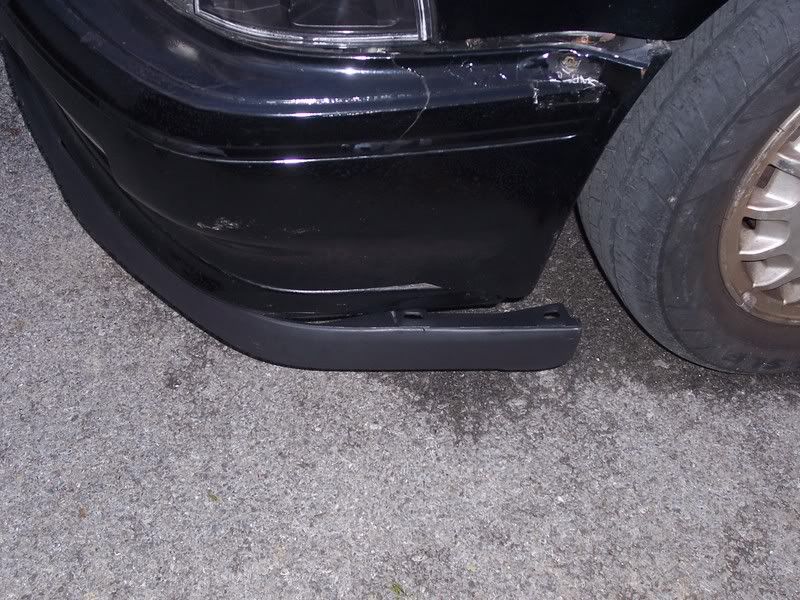
7) Now, lay the bumper back on the ground, and with the dremel tool with cutting wheel, or hack saw, carefully cut off the excess lip. You may want to take a ruler and knife and etch a light line in the lip so that you make a straight cut.
8) Once finished removing the excess lip, reinsert the bulbs and wiring for the bumper lights and fogs if you have them. Put in the screws that hold the bumper in place.
9) Re-install the Grille
10) Slam that hood, stand back, and smile. Dont forget to give your self that tetnis shot, im sure you scratched up on a rusty edge at somepoint in all this!
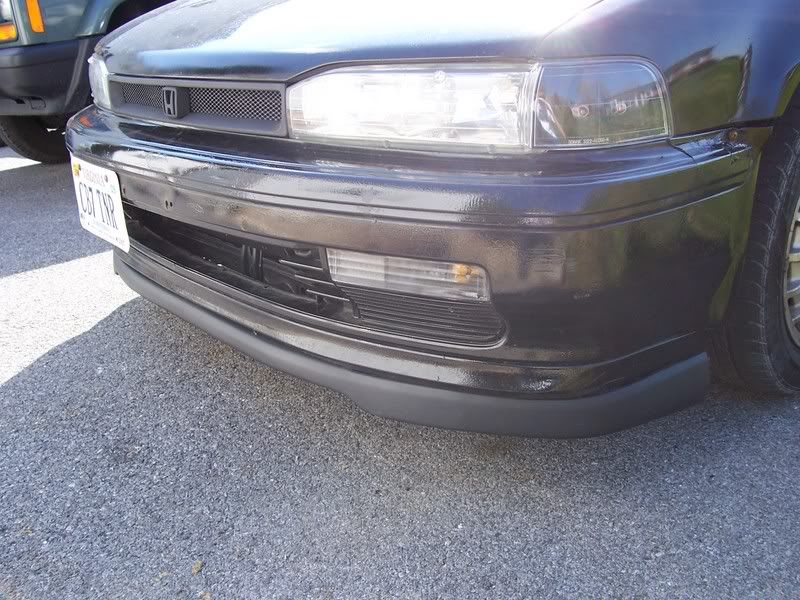
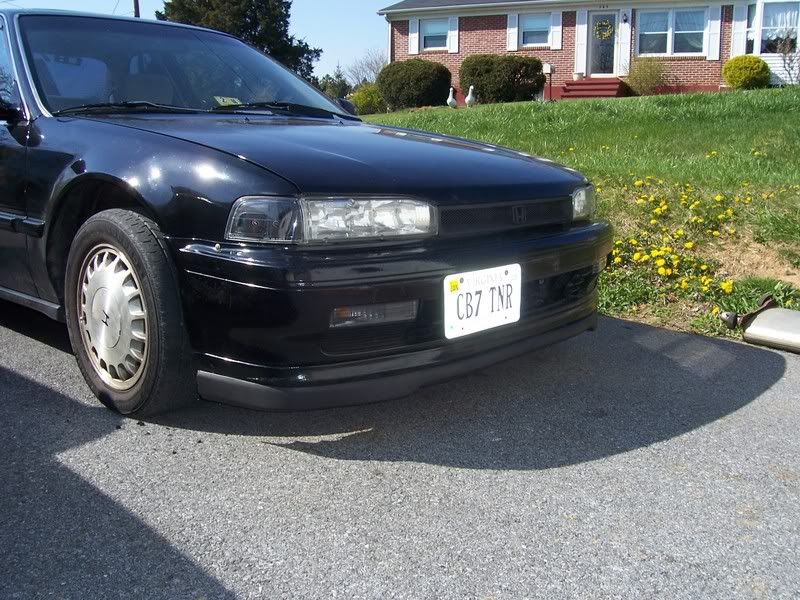
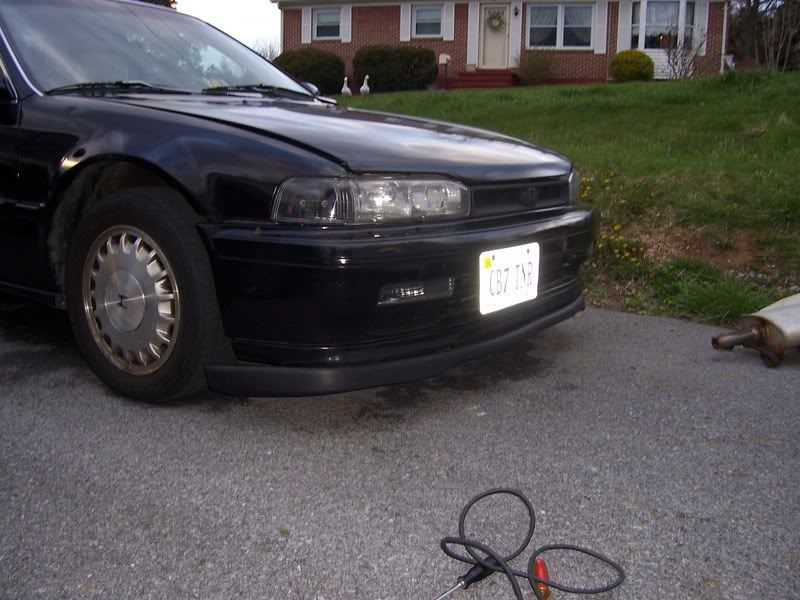
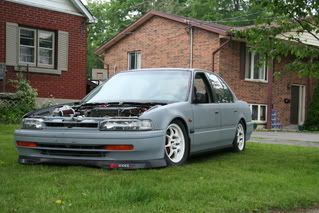
finished product-mine looks shitty caus it was getting dark, but ill get better pix tomorrow, and you'll see how good this looks!
OK, now i did this a little different. I put the CD5 lip under my OEM ex lip, and it looks sooooooooooooo sexxi. i mean, my car looks slammed and my suspension isnt even on yet! lol. so, here we go. sorry, not pix ALL the way through, but a few simple ones along the way.
THINGS NEEDED:
Power Drill
Self Tapping Sheet metal screws
Dremel Tool With Cutting Attachement or Hacksaw
Blood, Sweat, Tears, And Tetnis shot ready in siringe.
1) Remove the Grille
2) Remove all the screws holding the front bumper on, and remove the bulbs and wiring from the bumper lights, and fogs if you have them.
3) With the help of a friend, remove the front bumper and set it gently on the ground.
3) Measure the lip, find dead center, lay the bumper back on the car so it is centered, and mark where the center of the lip is on both the lip and the bumper or OEM lip, so that you know when the lip is perfectly aligned.
4) Take the bumper back off, lay it on the ground, get ready to drill!
5) Now, you'll need a friend for this part, or a few good clamps. If you have a friend or family member on hand, have them hold the lip down on the bumper while you drill the self tapping screws into the OEM lip/bumper. If no one is around, just clamp the lip down, and be careful not to bump it. MAKE SURE TO KEEP CHECKING TO MAKE SURE THE LIP HASNT MOVED!!! It could slide around, and you might have it off center, or the edges might not sit flush with the OEM lip.
Bending that lip to make it fit the contour of the cb7 bumper:
NOTE: If your putting the CD5 accord lip on your OEM lip, BE VERY CAREFUL WHERE THE SCREWS GO!!!! The OEM lip DOES NOT have very much plastic on the bottom to drive the screws into, and if you miss, you'll mess up BOTH lips and your day.
6) Once all screws are in place, Lay the bumper back on the car and make sure every thing is lined up. You will notice about 2 inches of CD5 lip hanging off the OEM lip pointing at the tires, and thats how its supposd to be. Your about to fix that.
Pic of my bumper laying there, please excuse the sorry state of the bumper...the previous owner got in a fender bender with 'er.
7) Now, lay the bumper back on the ground, and with the dremel tool with cutting wheel, or hack saw, carefully cut off the excess lip. You may want to take a ruler and knife and etch a light line in the lip so that you make a straight cut.
8) Once finished removing the excess lip, reinsert the bulbs and wiring for the bumper lights and fogs if you have them. Put in the screws that hold the bumper in place.
9) Re-install the Grille
10) Slam that hood, stand back, and smile. Dont forget to give your self that tetnis shot, im sure you scratched up on a rusty edge at somepoint in all this!
finished product-mine looks shitty caus it was getting dark, but ill get better pix tomorrow, and you'll see how good this looks!


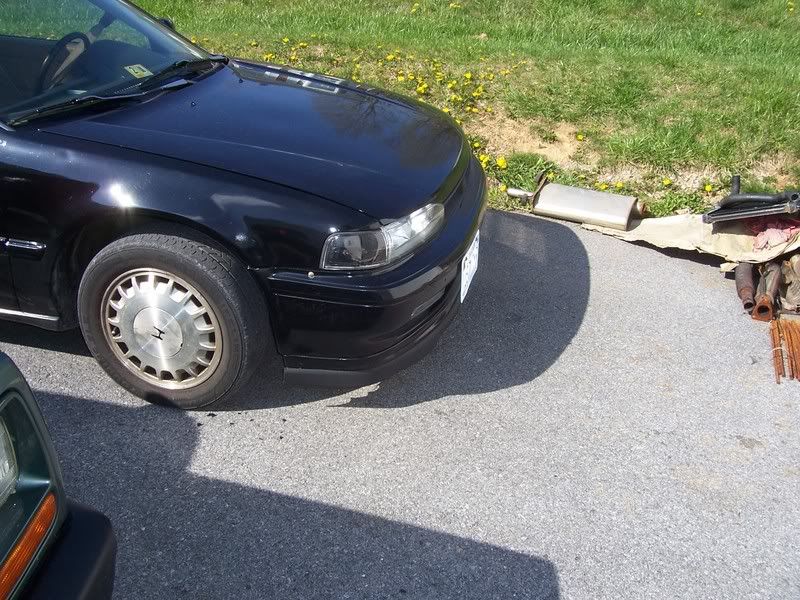
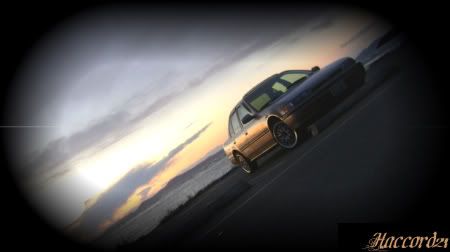
 Btw is that your old muffler in the second pic?

Comment