Announcement

Collapse
No announcement yet.

MY 93 SE Project.

Collapse
X
 
  • Filter
  • Time
  • Show
Clear All
new posts

    MY 93 SE Project.

    Hello every one being on this site and reading most of the members ride threads and project threads, I enjoy reading and they inspire me to keep this project fresh and always thinking of new ideas on what to do next.

    I have a long list of members that I should thank for helping me stay motivated by seeing what their hard work has paid off, so I hope I can do the same with other fellow members.

    I'm sorry for starting this thread halfway throughe i hope you can still enjoy what's left of it.
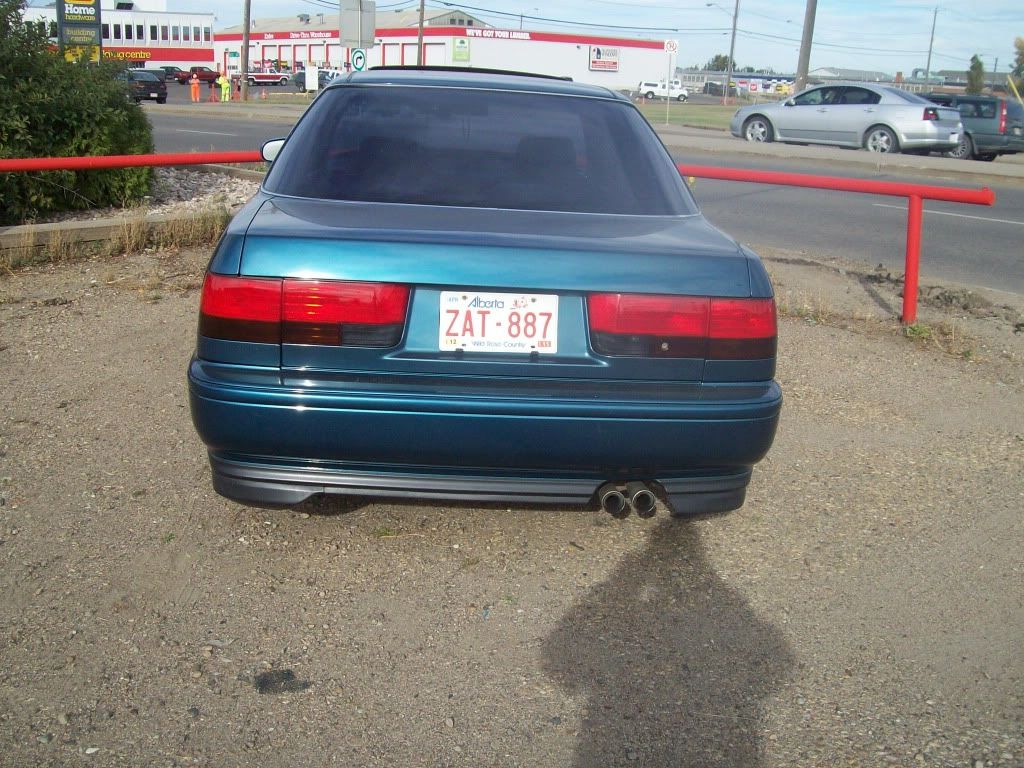
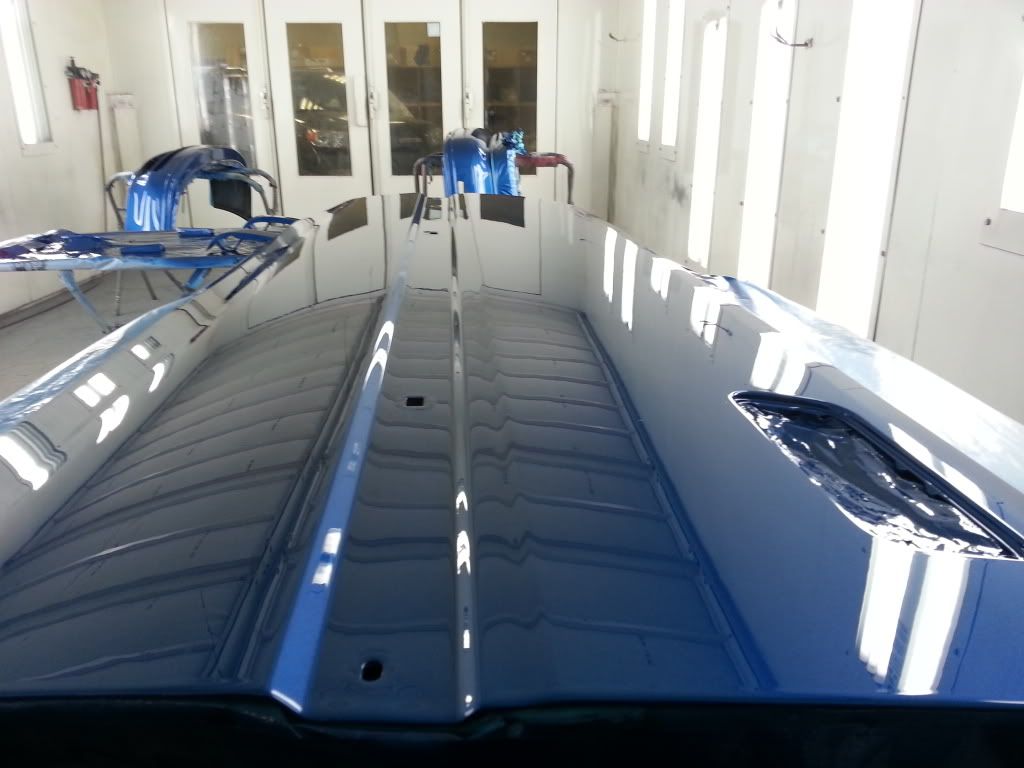
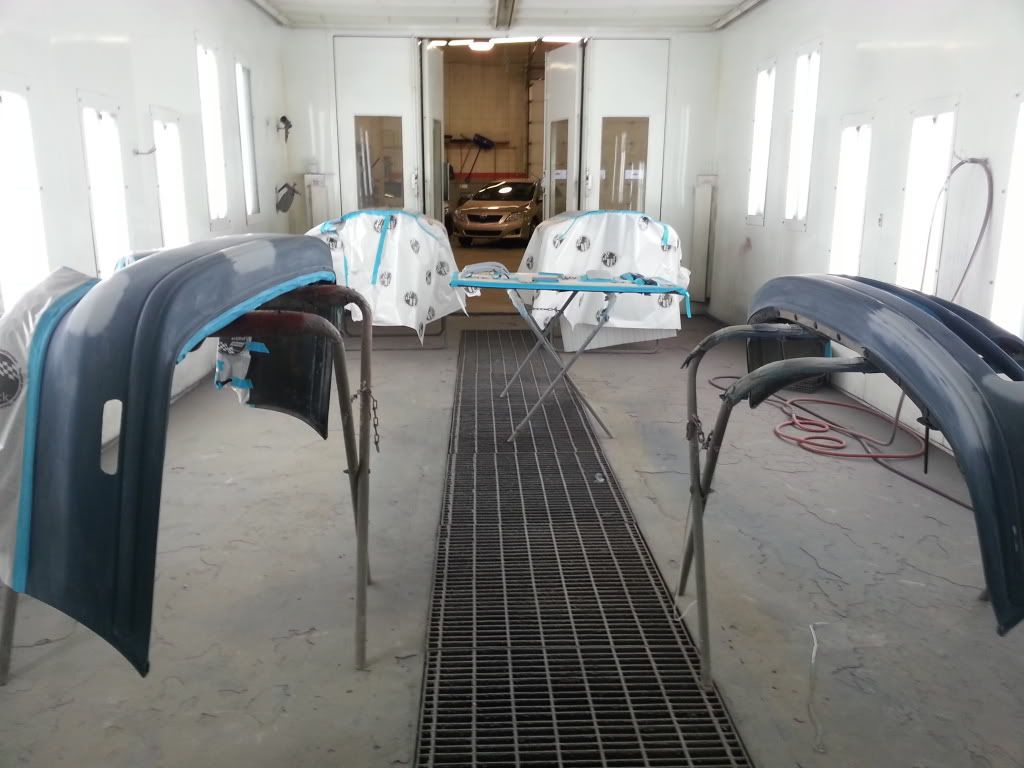
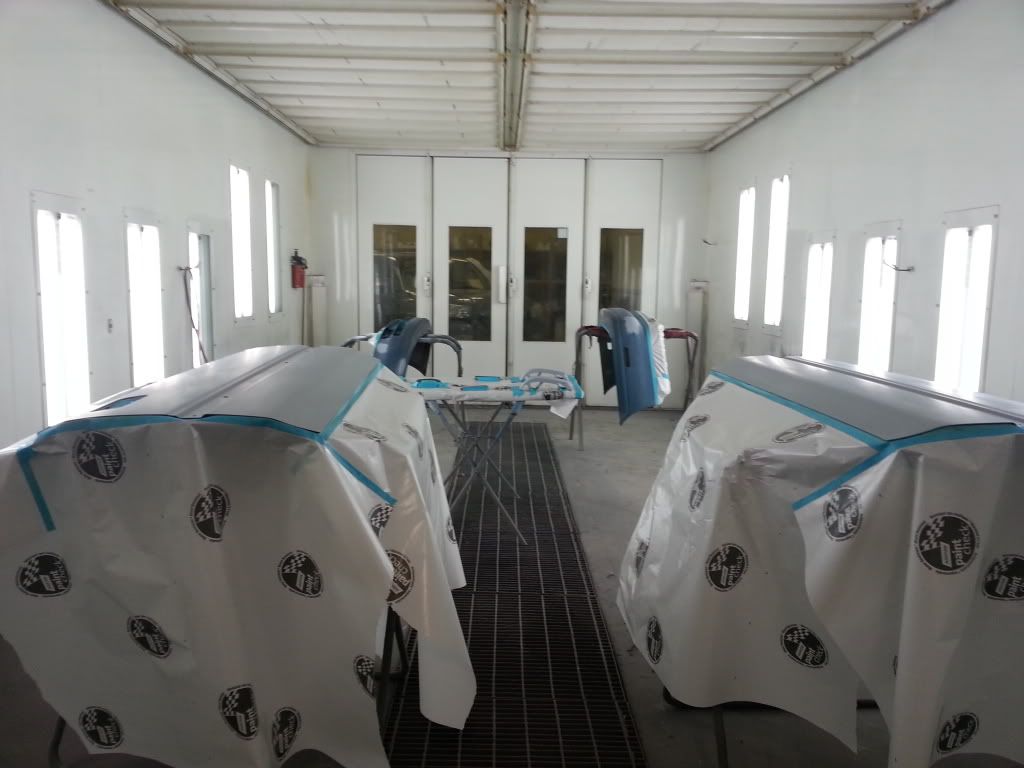
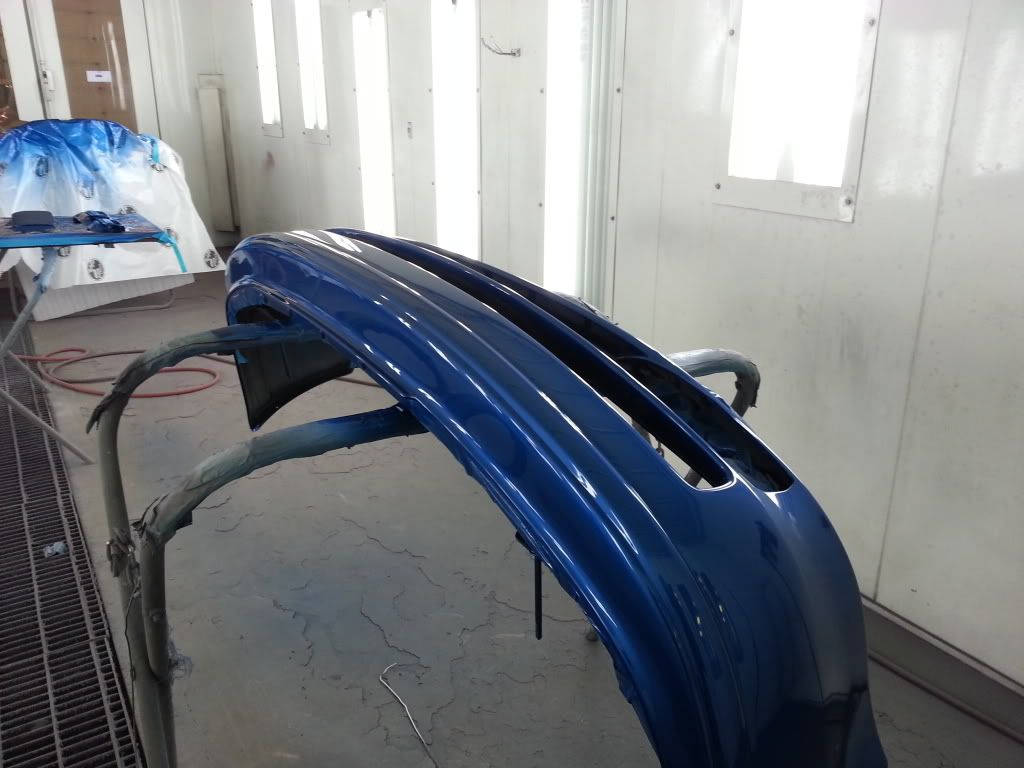
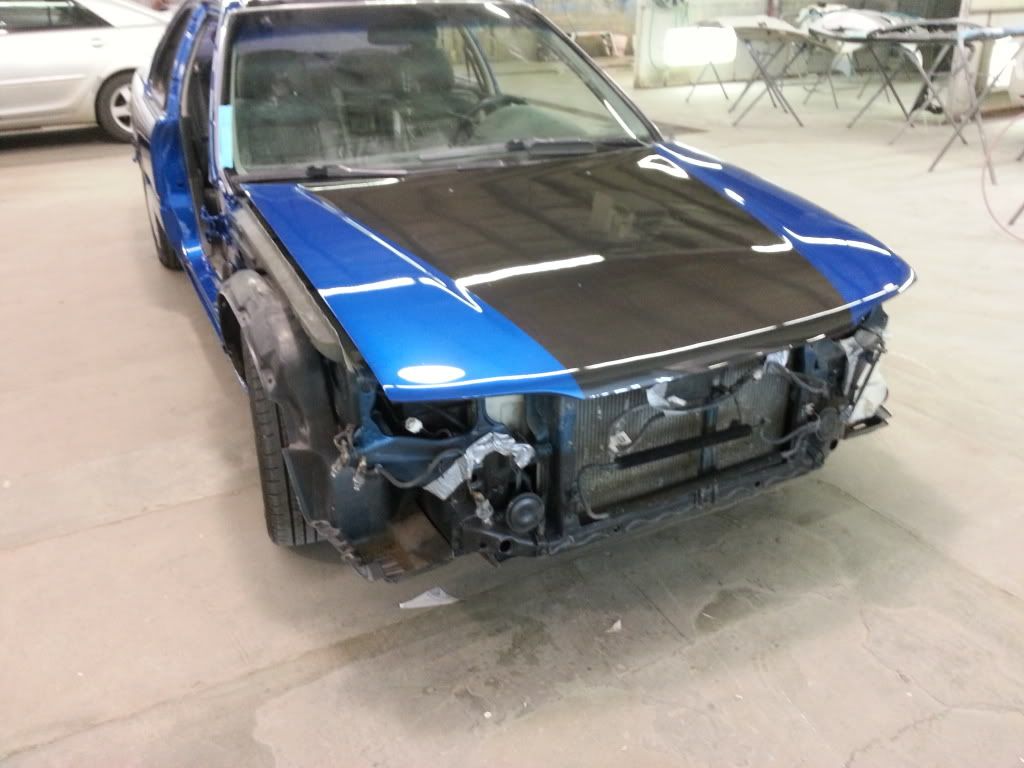
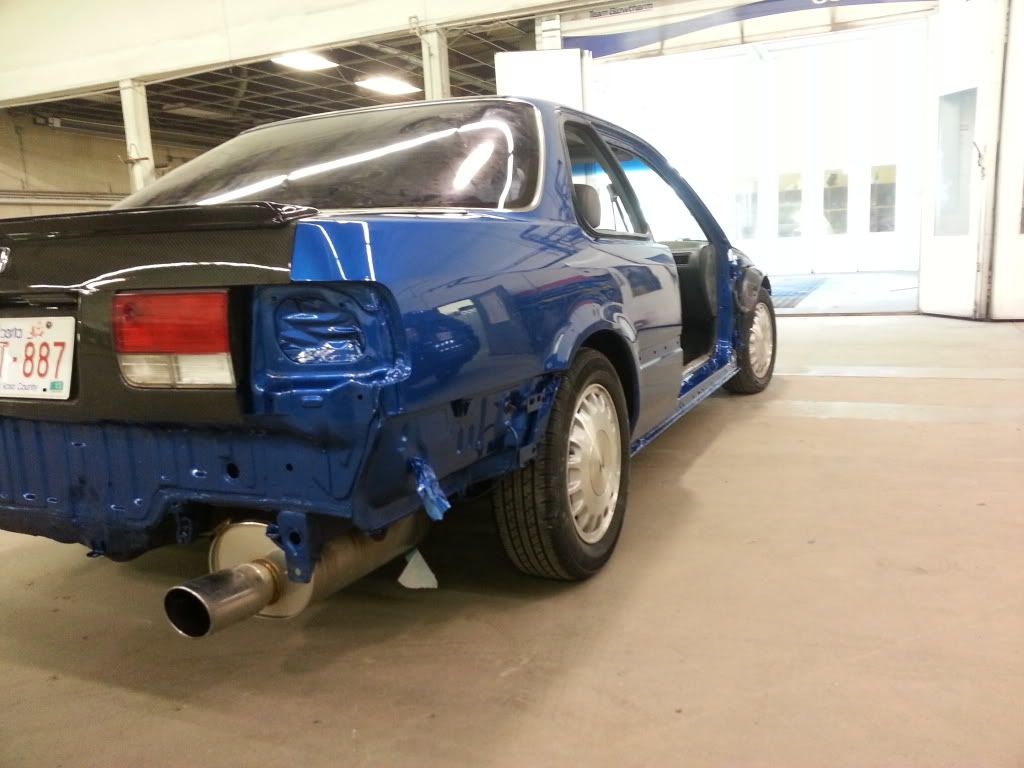
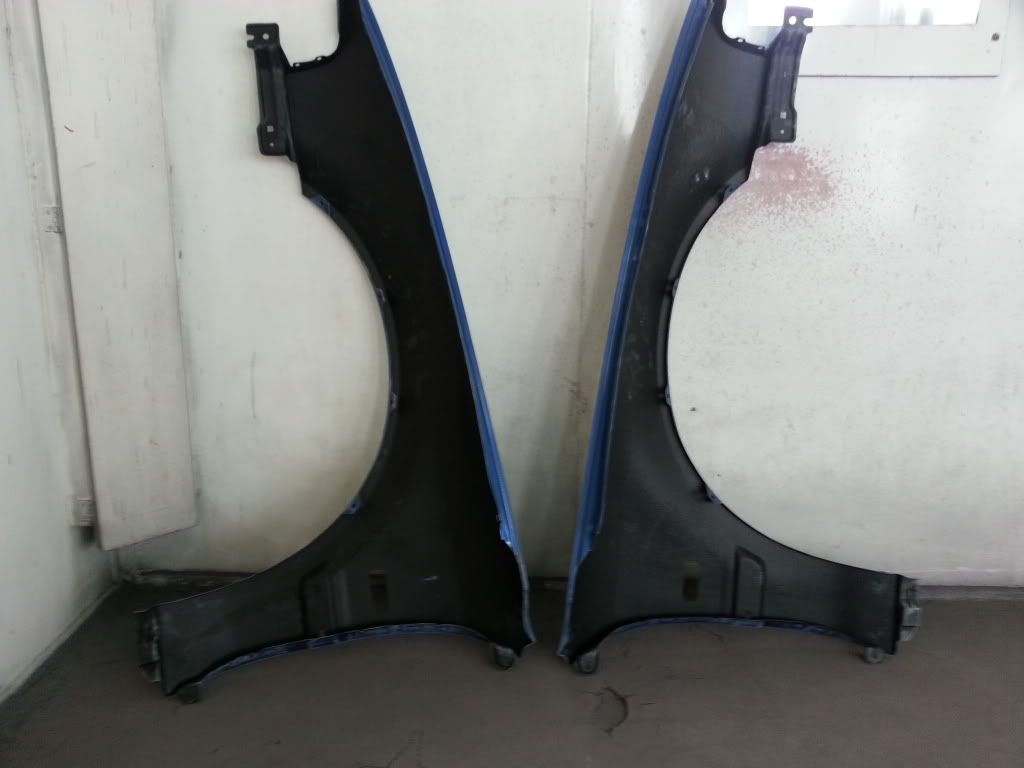
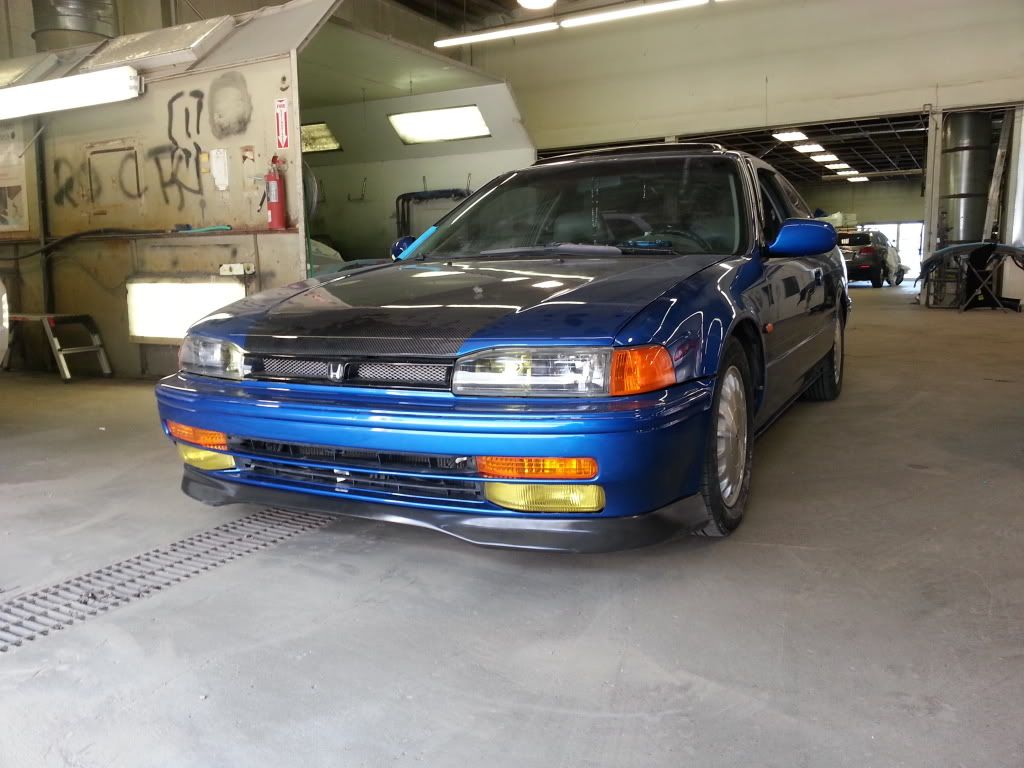
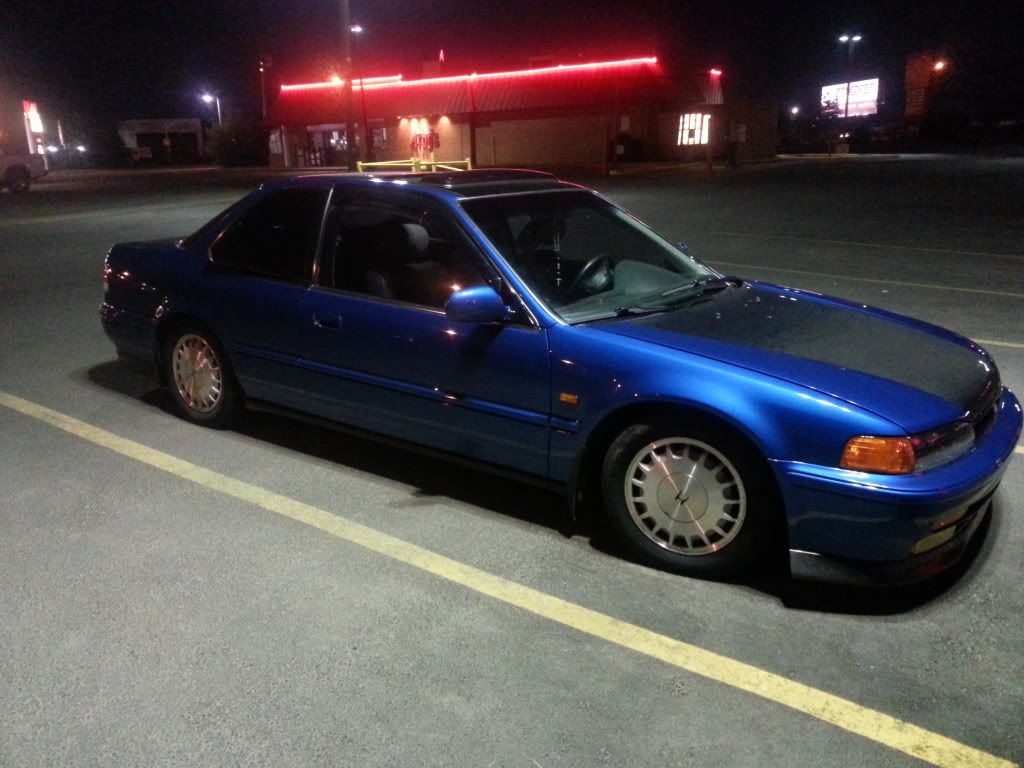
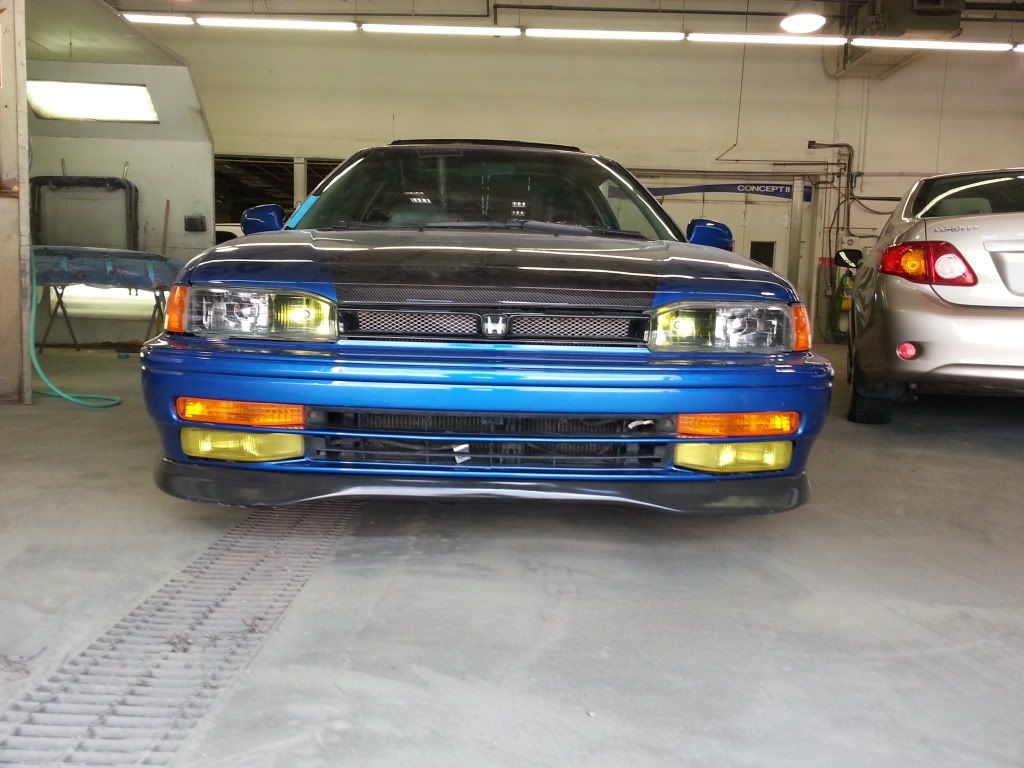
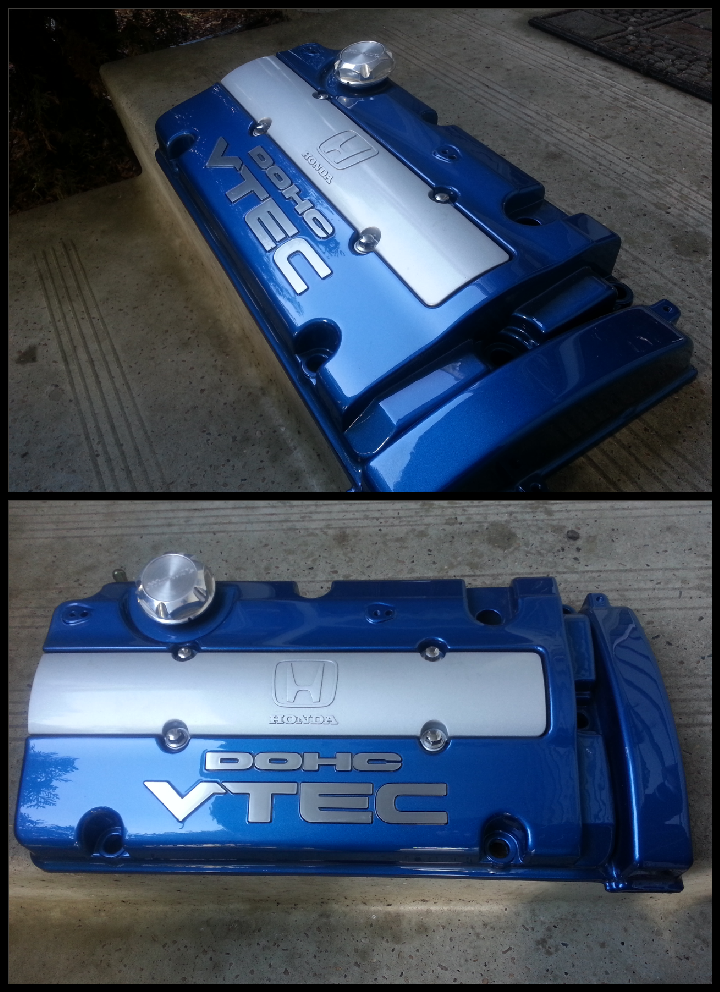
    H22 swap done. ABS delete done. Auto to 5spd done. Body work and color change here we go.


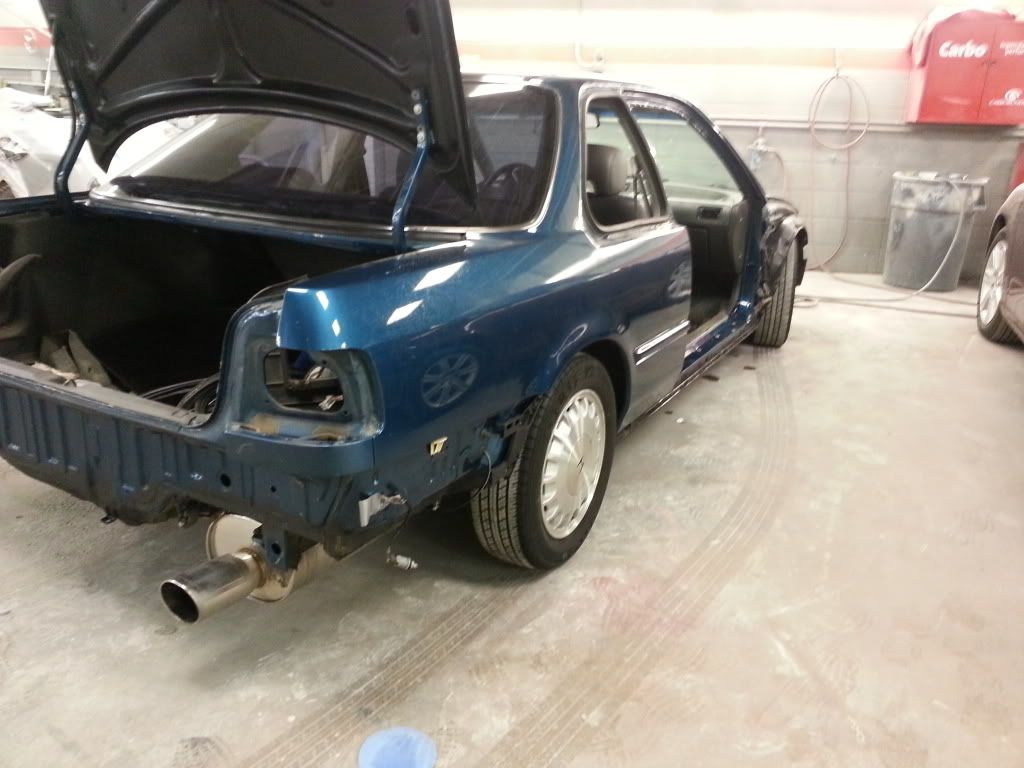
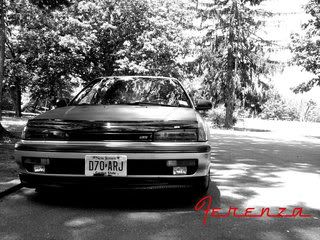
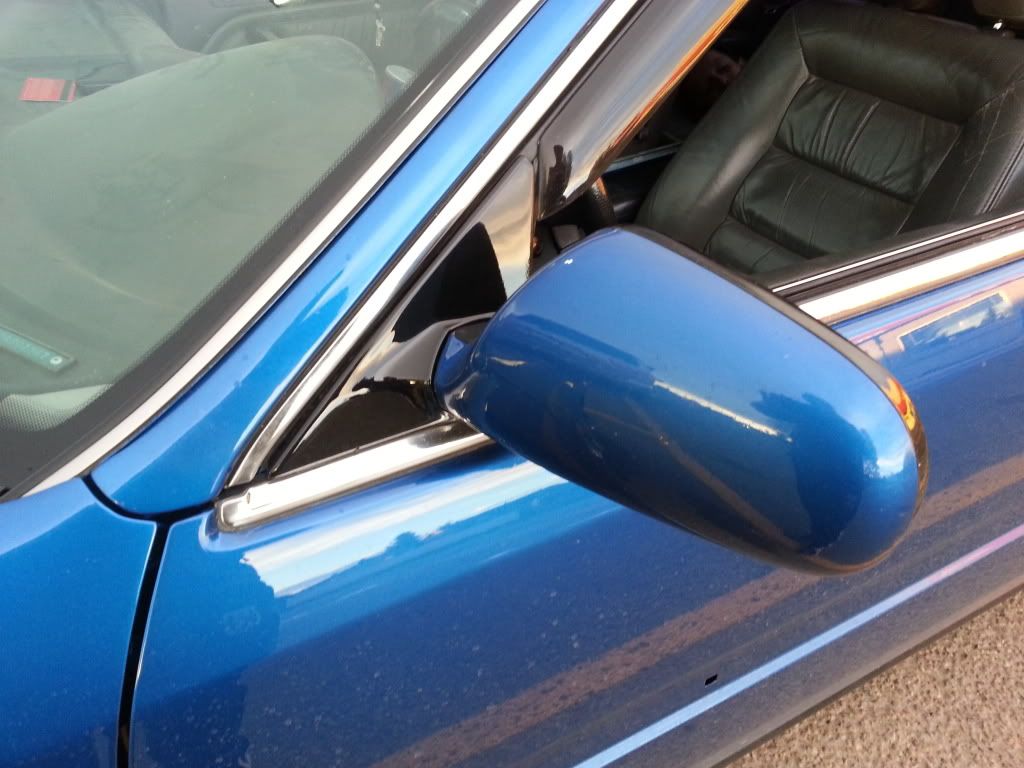
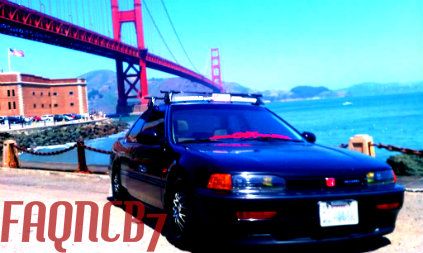
    this is what the car looked like before anybody work and paint was done to it.overall the car was about 90 percent rust free which is pretty damn good considering this is a northern Canadain car with almost 400,000 KM on the odometer.

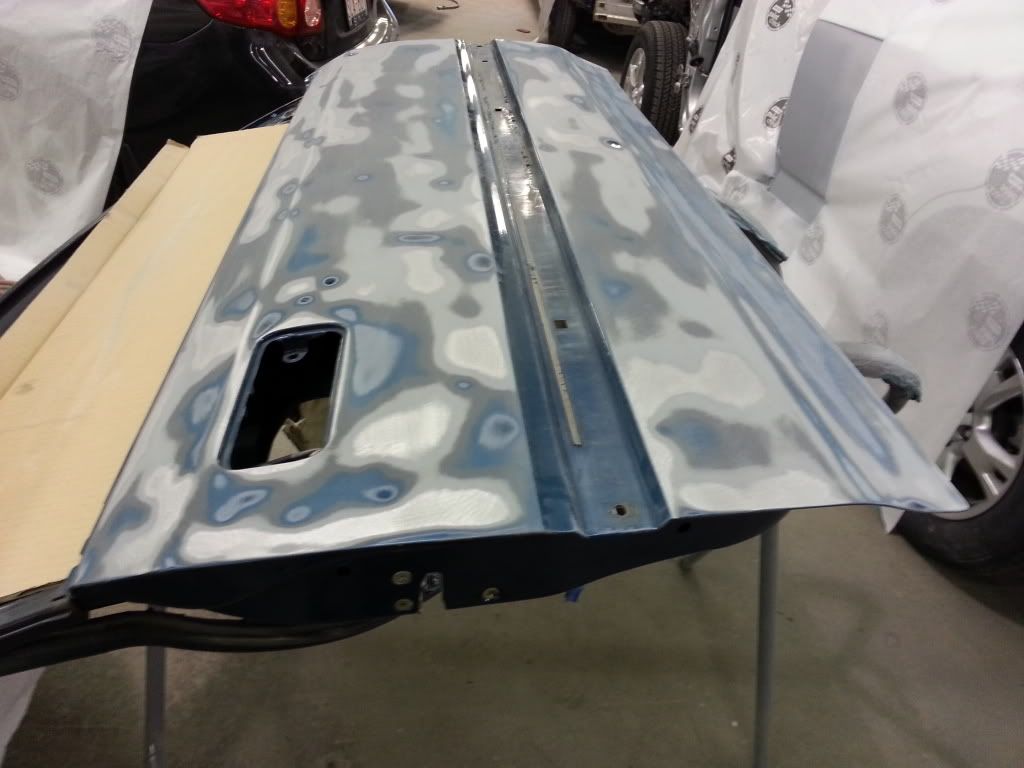
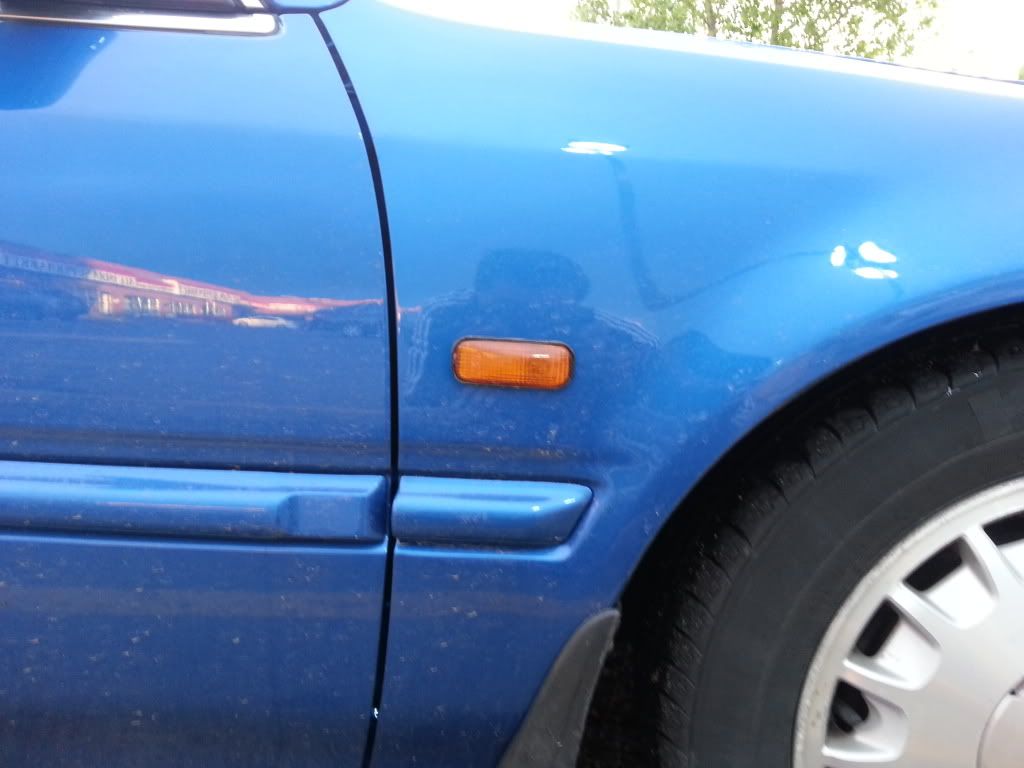
    This is the passenger side door as you could see there is well over a dozen dents on this door alone, the driver side door was in a little better shape but I had to pull the bottom lip up so i could clean and repair the rust.

    after doing some light body work, hammer and dolly i apply body filler on the whole top half of the door the bottom half wasn't that bad.


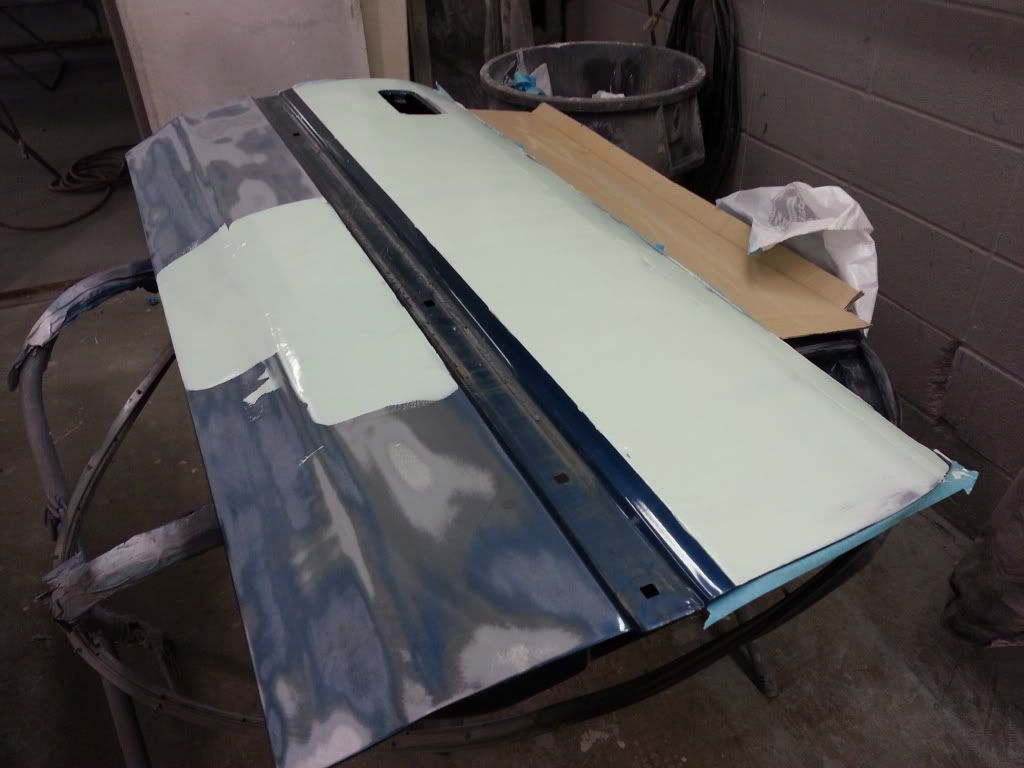
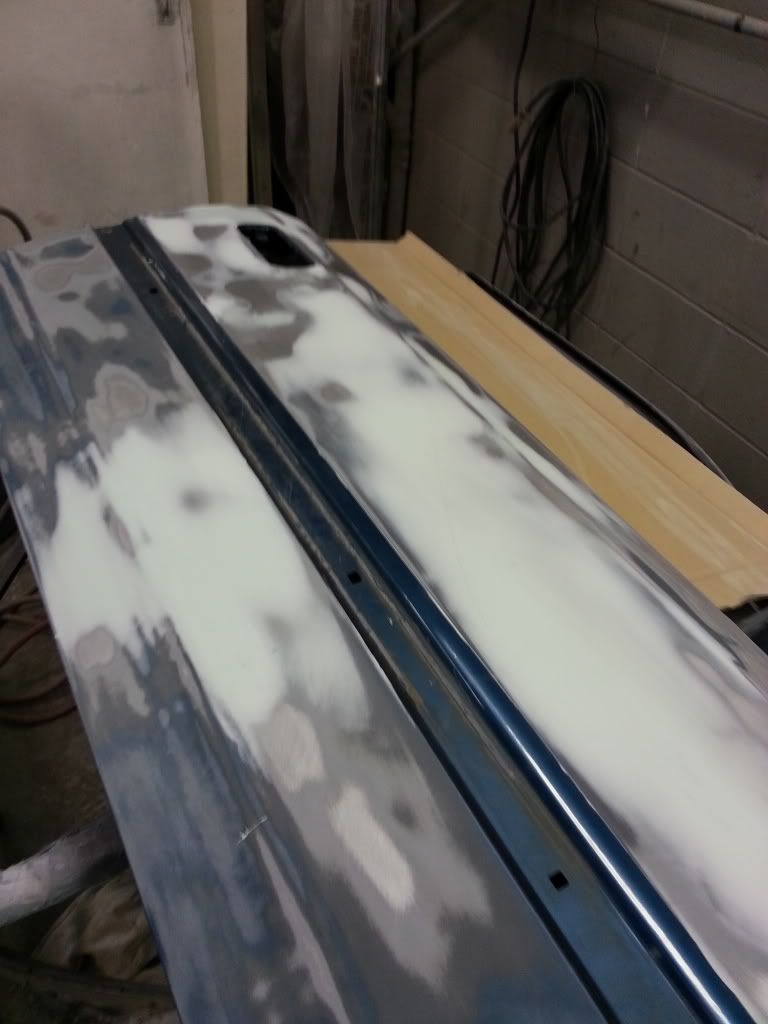
    getting better but more filler work is needed.
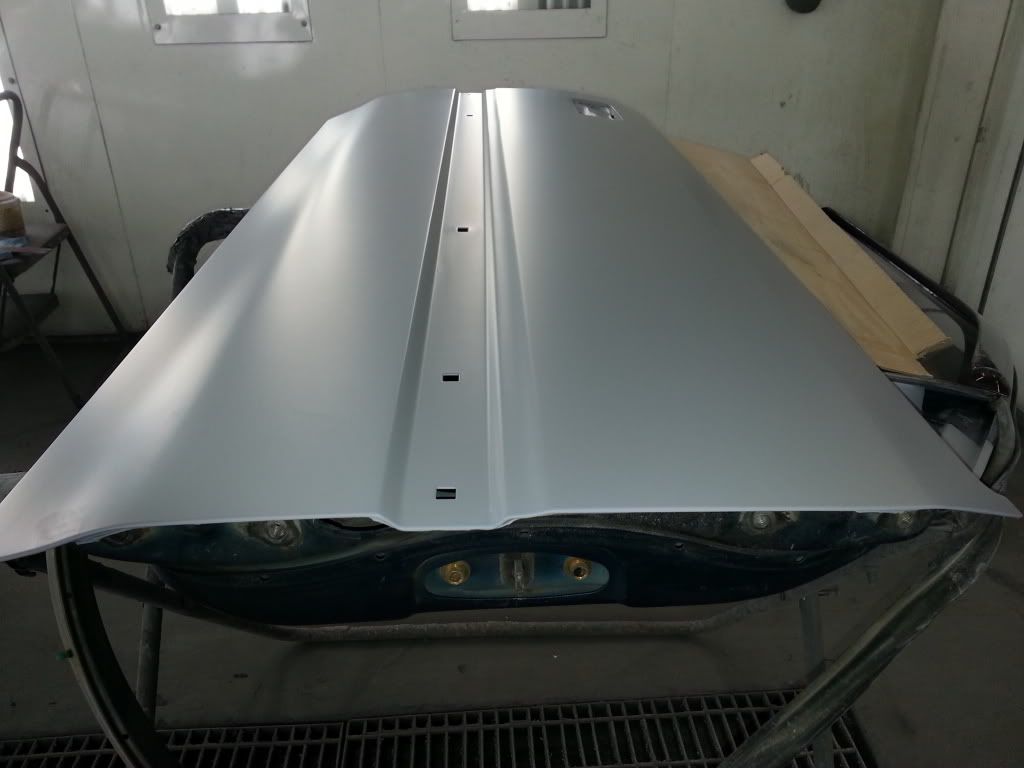
    End result a pretty good looking door.


    #2
    I love projects like this! Your attention to detail seems pretty high and the work looks great! Get more pictures of this thing up!
    My Members' Ride Thread - It's a marathon build, not a sprint. But keep me honest on the update frequency!

    Comment


      #3
      Nice progress. Cant wait to see where this goes.

      Comment


        #4
        That looks totally fresh. I like. Are you reapainting it the original car color?

        ShiroiKinCB

        Comment


          #5
          Beautiful paint job.
          So much attention to detail
          Very nice work

          Comment


            #6
            I wanna ABS delete

            that's a sexy door

            C-3PO's MRT USDM yo!

            then i see my baby, suddenly I'm not crazy,
            It all makes sense when i look into her eyes

            Comment


              #7
              Originally posted by ShiroiKinCB View Post
              That looks totally fresh. I like. Are you reapainting it the original car color?
              thank you for the comments so far guys, the color is from toyota paint code (8t7)
              Some more pictures.

              I completely forgot about the fenders so now they need to be painted after.


              I would have painted the mouldings but unfortunately I damage the driver side molding, now it has to wait till I find a replacement.

              Some after photo pics after paint.


              while the headlights were off the vehicle I decided to black house and yellow stain the high beam side.


              I mixed yellow candy with clear for this thanks to kleendesign for the tip!

              Well that's it for now I will post some more photos soon.

              Comment


                #8
                Your doing some nice work! Can't wait to see what's next.
                "My FOR SALE thread - Click here"

                MEMBERS RIDE

                99 SILVERADO

                WHEEL FLIP

                Comment


                  #9
                  Sorry guys its been awhile since my last update here's a few photos.


                  Not the best picture but I cut the holes for the side marker lights and undercoated inside the fenders.

                  I also two tone the mirrors.


                  I friend gave me a set of ST sway bars here's the front one painted next to the oem one, I have no idea how it got this bent??


                  I just wanted to share this pic with you guys, I redid my suspension with energy suspension bushings but when I got my kit it was missing one of the eight end link bushings.
                  But I had a brand new generic kit that I had around so I stole one bushing while the replacement one came, this is what just one summer of use did to the no name bushings.

                  Guess which one it is? Any one thinking of upgrading to poly bushings its well worth the money.

                  This is what I will be working on next I picked this set of rims for $200 the guy did a cheap job spray painting these with some chrome spray can paint.


                  This is one rim stripped and painted the color is not yet decided, the lips will be polished but just an idea what it might look like.

                  Well that's it for now hope you guys enjoyed!

                  Comment


                    #10
                    That's a nice lookin ride keep up the good work
                    MRT: http://www.cb7tuner.com/vbb/showthread.php?t=196248

                    Comment


                      #11
                      Looking good so far, I cant wait until I send my to the Paint booth :-).

                      1992 Honda Accord EX My Ride Thread H23A BLUE TOP Complete

                      Comment


                        #12
                        It's been awhile since my last update. Here are a few pictures of the car put together I still have to do some minor adjusting Of the fenders and door gaps and hook up the side marker lights.


                        I also redid my valve cover painted It the same color as the outside.


                        I got bored of the grey interior so I decide to change it up a bit by adding some black, instead of painting it all black I decided to keep some grey making it two tone also by doing this with keeping the grey I can keep the seatbelts as they are and they won't look out of place. I still have to do the front seats, carpet, and dash here is what the back looks like.


                        well that's it for now guys I hope you enjoyed hopefully the next update won't be as long thanks for Looking.

                        Comment


                          #13
                          Gorgeous! Great work!

                          Comment


                            #14
                            Did you use SEM products for the interior? I have the non-aerosol variety to do my interior plastics in whenever I get the chance. I didn't think about dyeing OEM leather, though. Is that what you've done?
                            My Members' Ride Thread - It's a marathon build, not a sprint. But keep me honest on the update frequency!

                            Comment


                              #15
                              Thanks for the comment SEgirl, hey Jarrett yes I used sem and some other aerosol cans I will get you more info when I'm done work Later on today.

                              Comment

                              Working...
                              X