
The first time I installed LEDs was on my '04 TSX back in 2008. At the time LEDs were just becoming popular but still pretty pricey so I only changed out the exterior bulbs. Fast forward to today it's rare not to see any car without some LEDs (for better or worse). These first gen bulbs didn't seem to last as claimed with many LED elements burnt out which really surprised me. I marked the burnt out elements with a red sharpie:
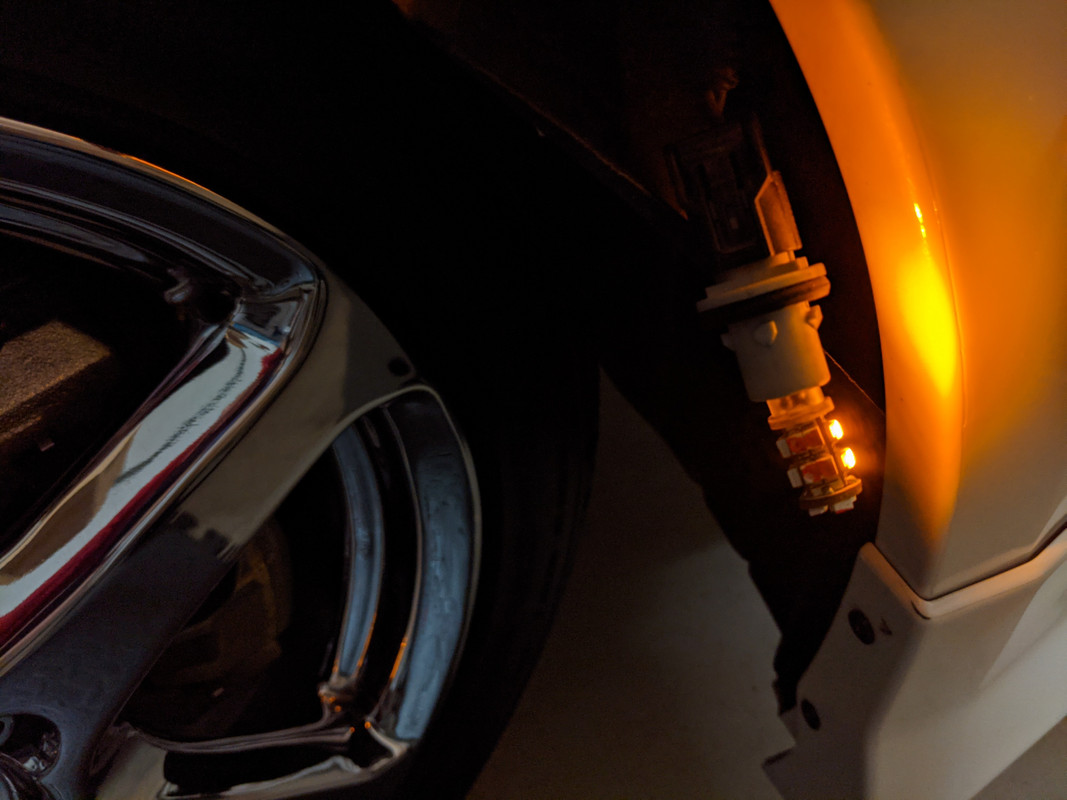
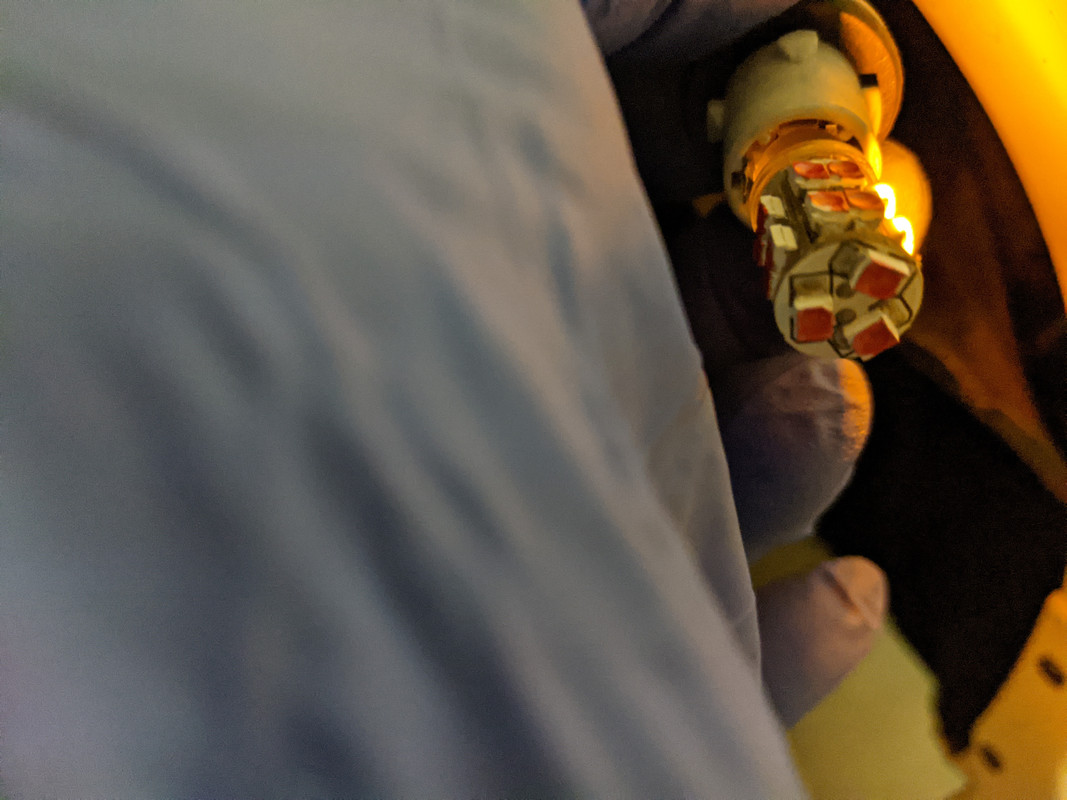
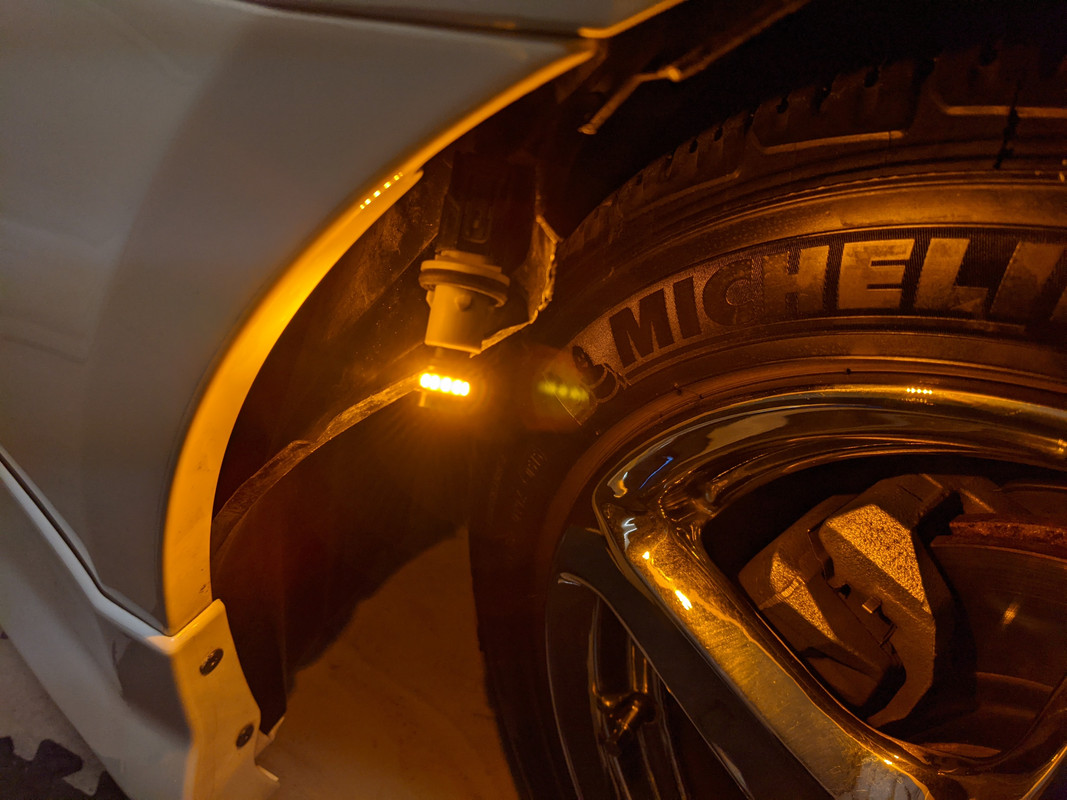
The front side lights had the most defective bulbs so needless to say after replacing them it was a major difference:
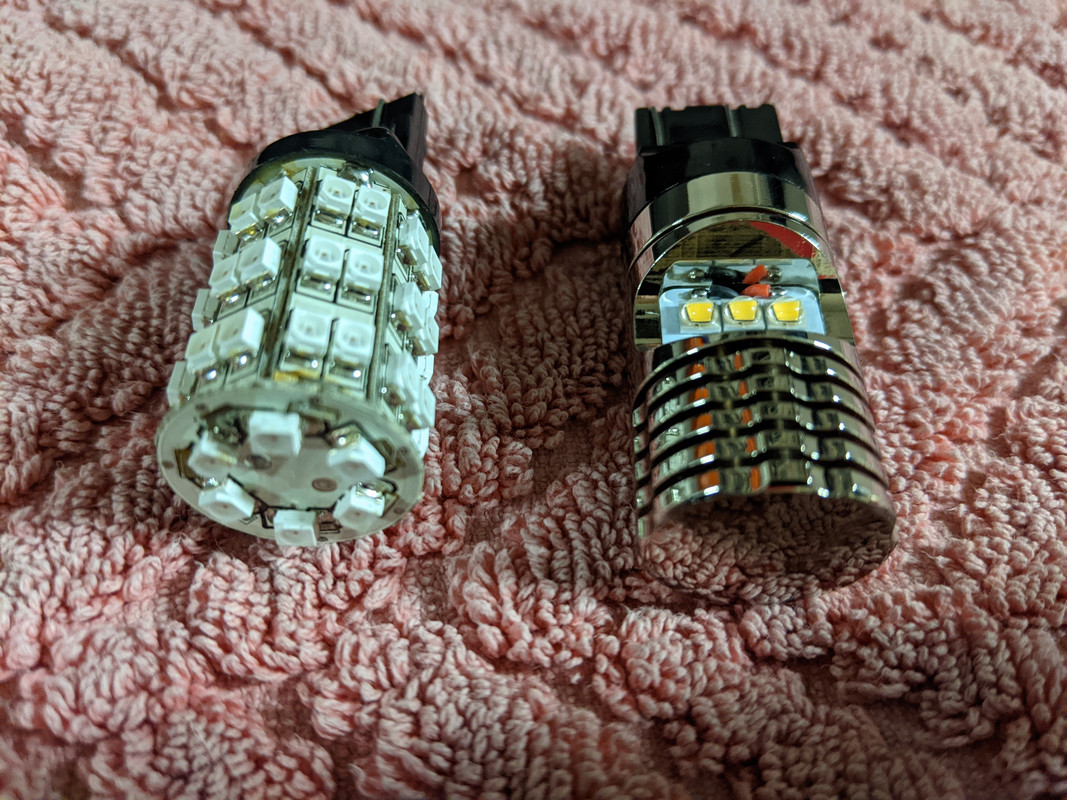
In any event the latest generation of LEDs are far more efficient, brighter and hopefully more reliable.
Side by side comparion with '08 version on left and latest on right:
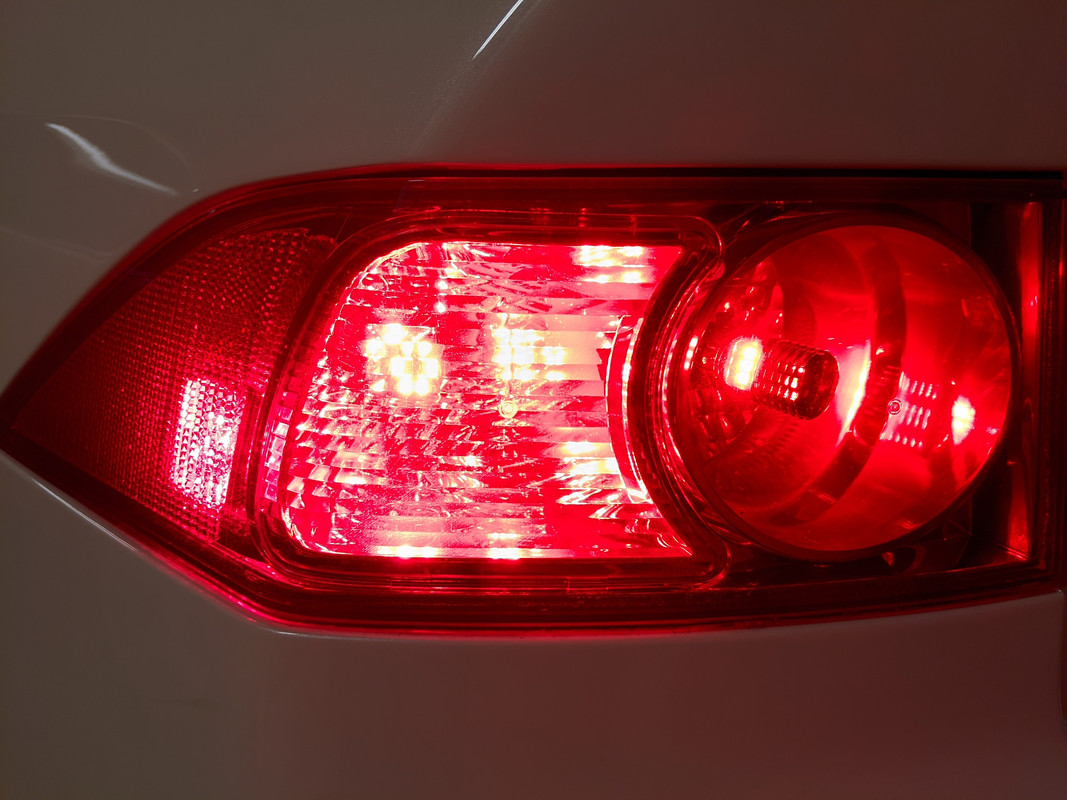
Here's comparison of the rear:
2008

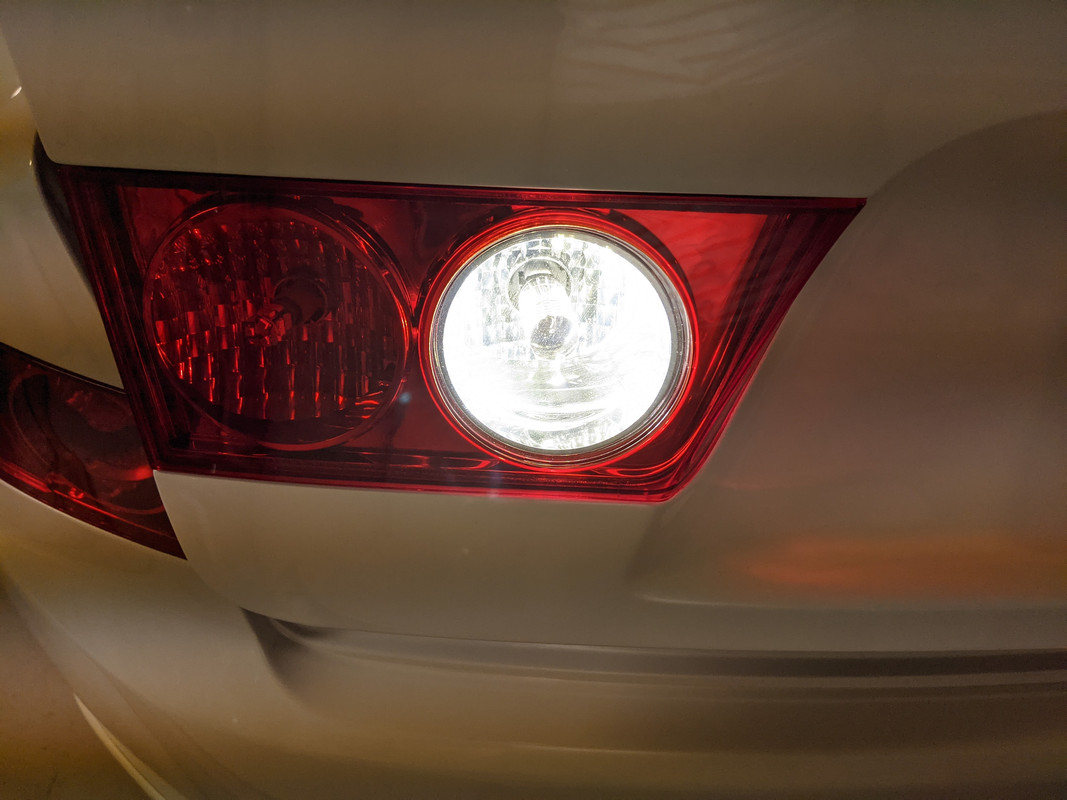
2021
These new high output reverse bulbs make a world of difference when backing into a dark garage especially compared to the previous version
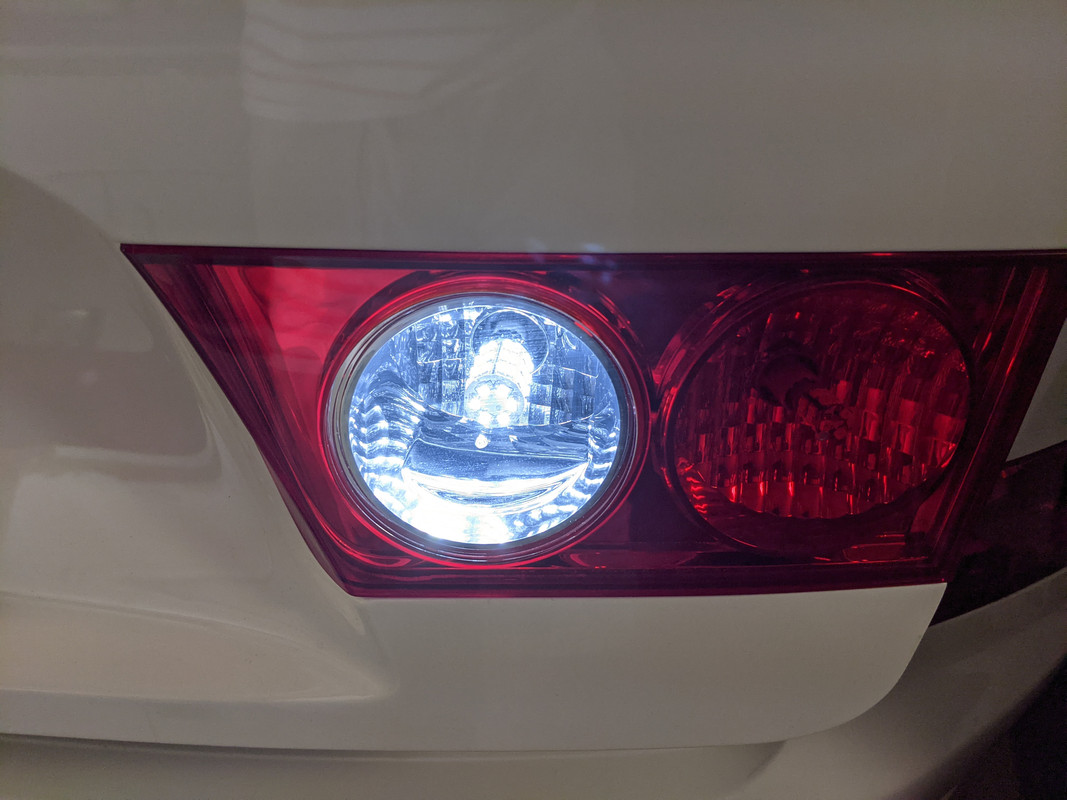
2021
2008
All this brings me to the interior. As mentioned I hadn't installed any LEDs inside before so I wasn't fully prepared for the amount of light output especially from the overhead console.
I've noticed in cars equipped with factory LED reading lamps the lenses provide a much narrower focused beam which is ideal for reducing glare .
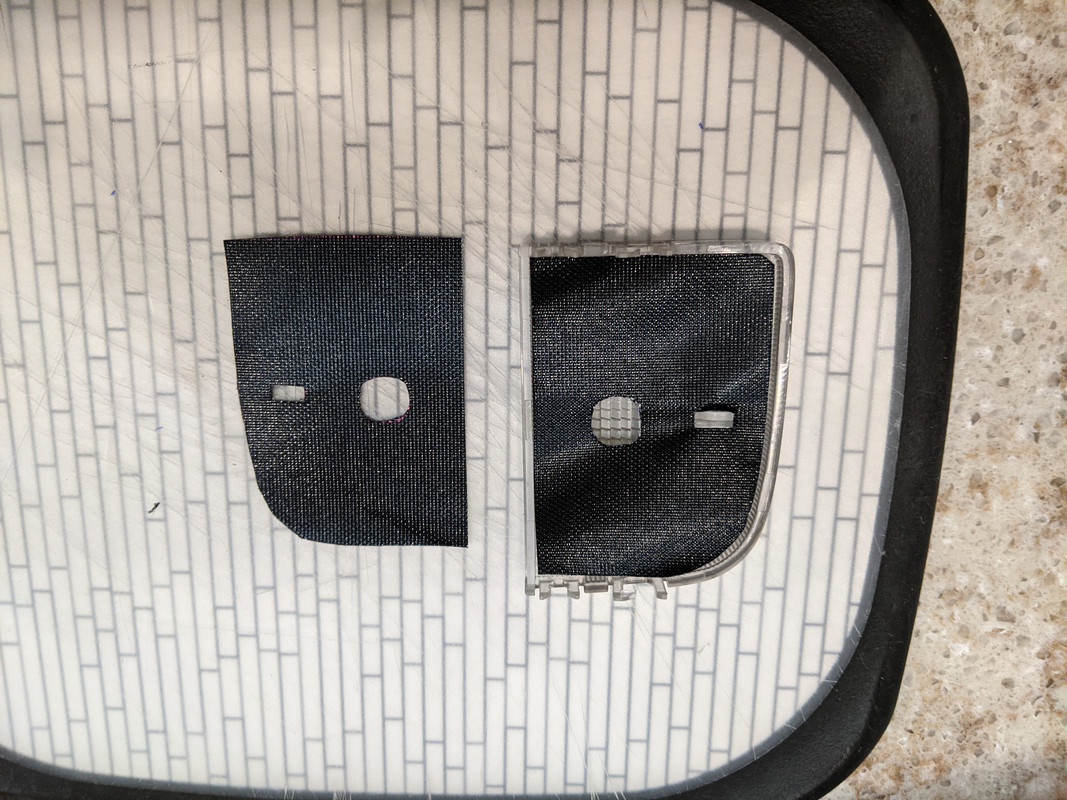
My problem was how to emulate that while using the stock lenses since retrofitting wasn't feasible for me. My solution was to create shield to seal off as much of the stray light as possible. It's not as perfect at creating a narrow pencil beam as the factory did but it comes close in eliminating much of the glare I experienced before installing these "shields."
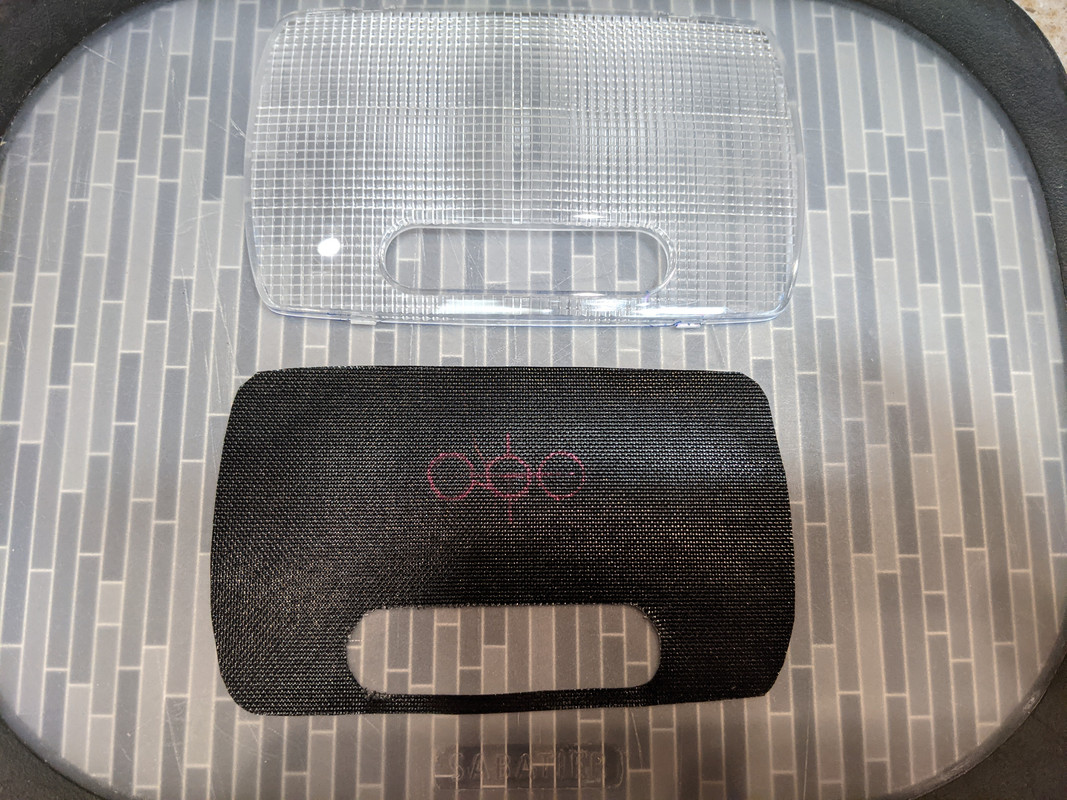
I hit on the idea after finding this on Amazon and first using it for it's intended purpose lining a new toaster to keep it clean. It has some exceptional qualities that lend itself perfectly for this project (and with some imagination for other projects too). It's as thin as paper, non-stick, very flexible, cuts easily with normal scissors, completely opaque, withstands extremely high temps (Heat Resistant to 500� F / 260� C) and best of all relatively inexpensive. Three sheets (23 x 16.25 inches) cost about $12 and will do several ovens, warming trays and more reading lamp mods than you'll ever need.
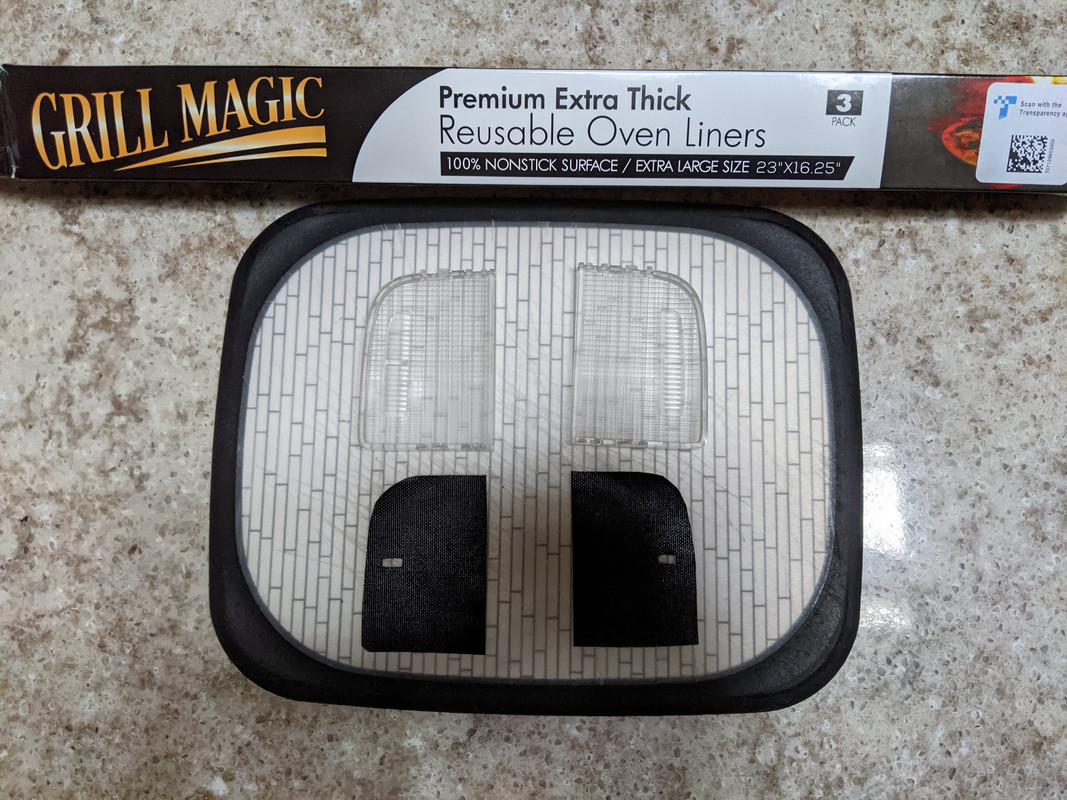
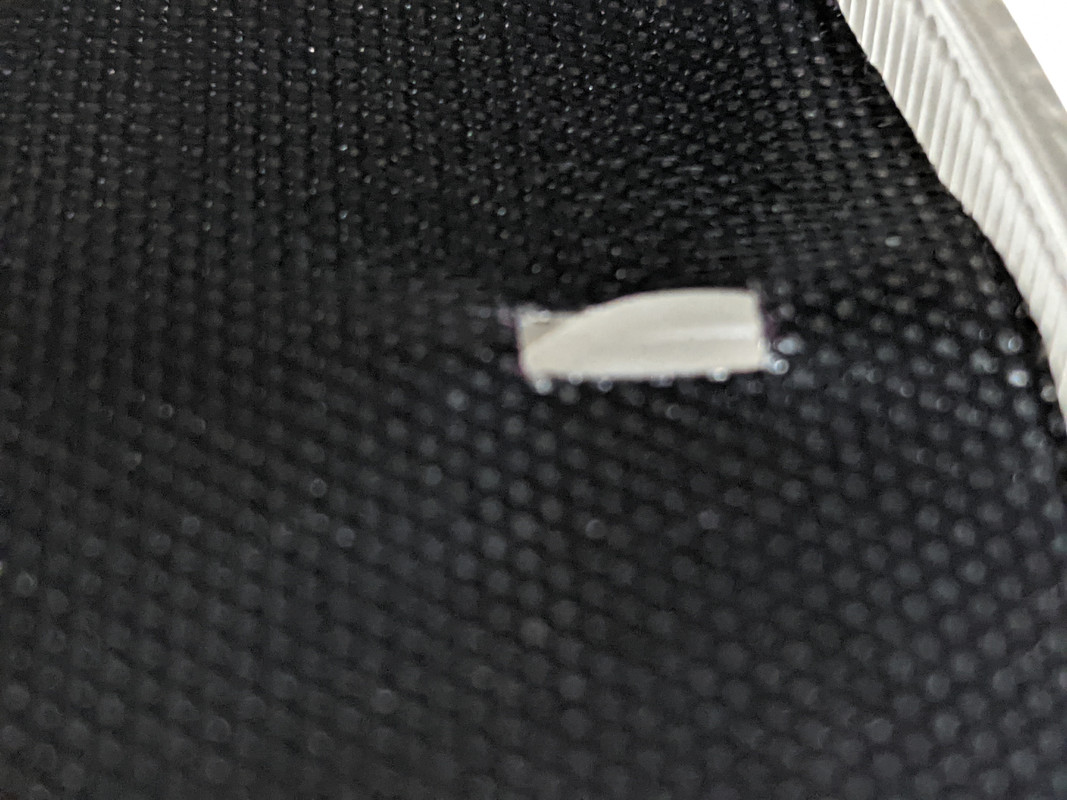
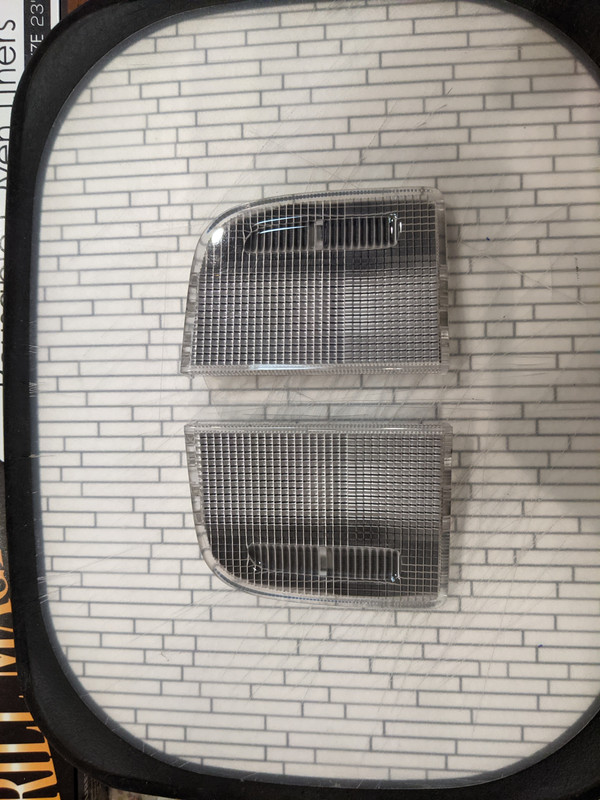
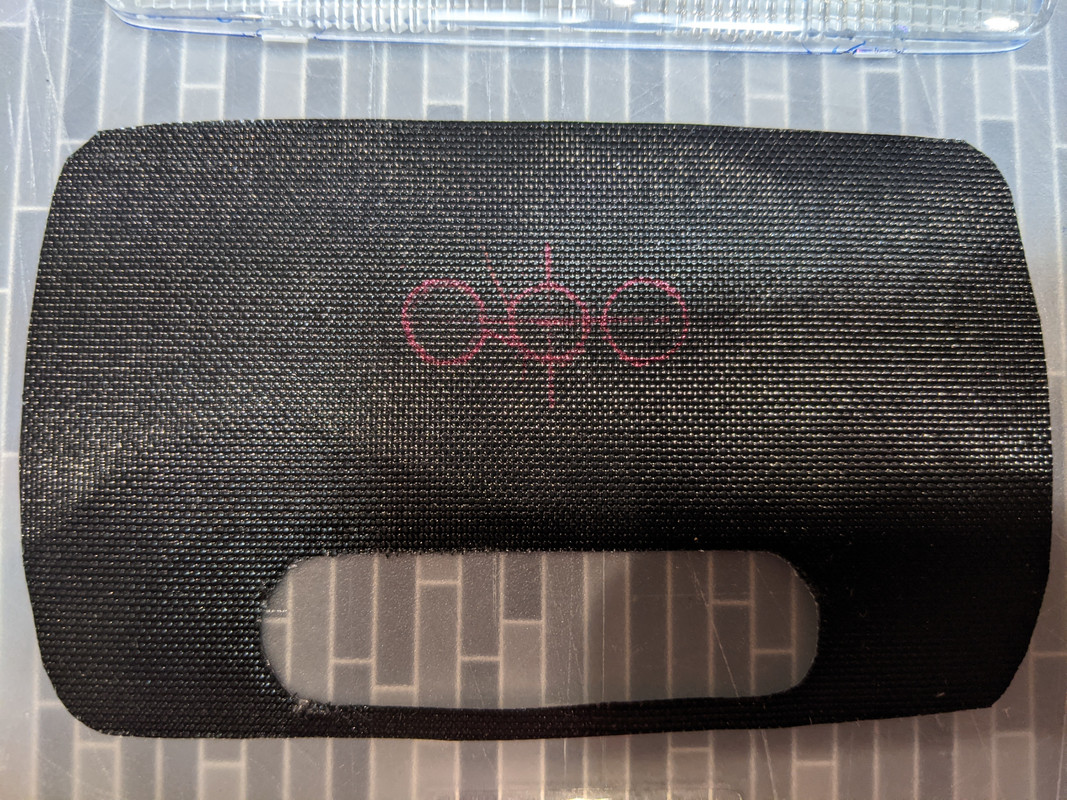
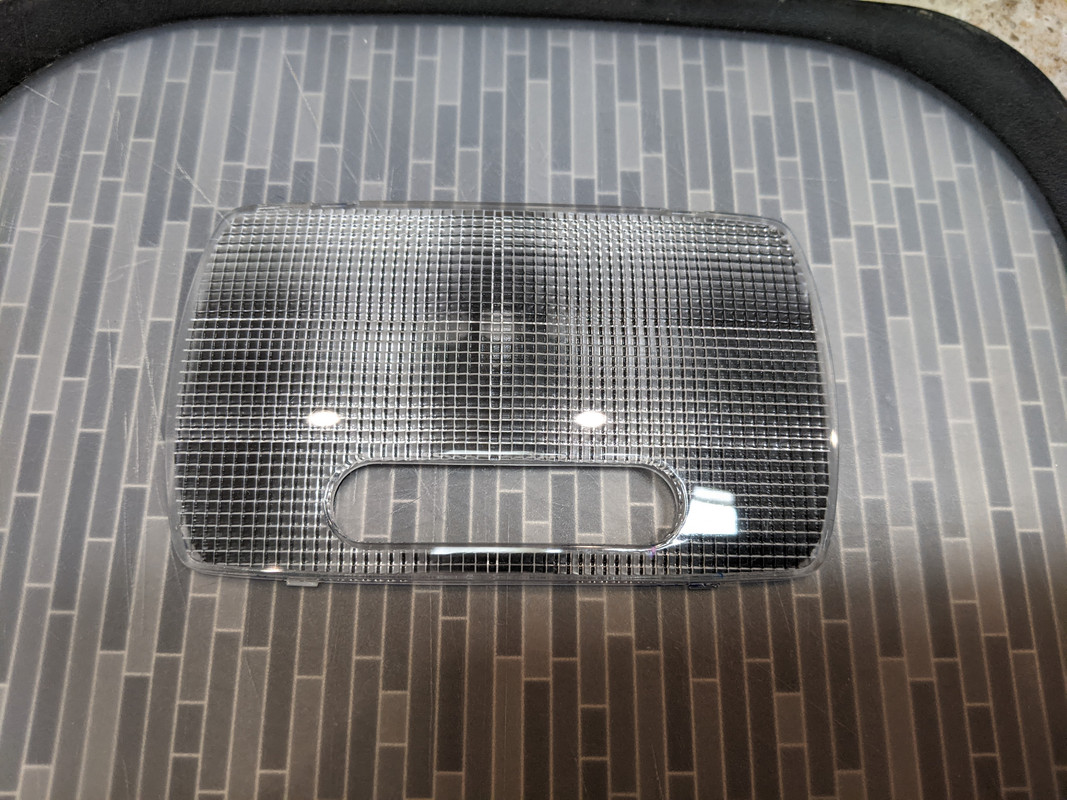
In the TSX the overhead lamps were used across several years and models including Accords. This particular style uses the lens as part of the switch, Notice the small protrusion sticking up in the center. This "nub" presses against the actual switch when you press the lens up to turn the light on/off. So it's necessary to cut around it which unfortunately allows a tiny amount of light to pass but you'll never notice during use. I made all the intricate circular cuts using a pointed X-acto knife which worked quite well on a cutting board. After tracing the lenses out using a pencil and I cut well within the line and laid it into the lens to check for fit. After a several tries you get the feel for it and eventually can trim it down to where it lies flat and close to the inside walls of the lens. Don't worry if you screw up as these parts a very small and use minimal material. Once you have all the cuts done properly and the fit checks it's just a matter of using the first shield as a temple to create the other side which is a mirror image. My description probably makes it sound harder than it is...
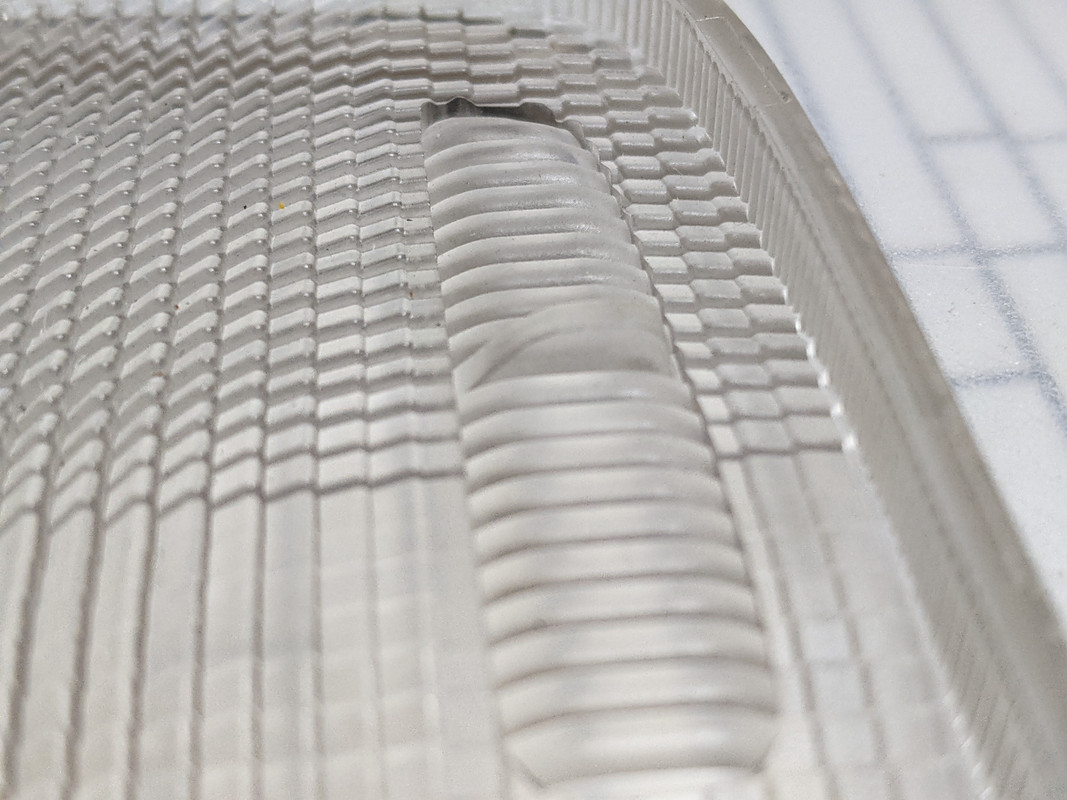
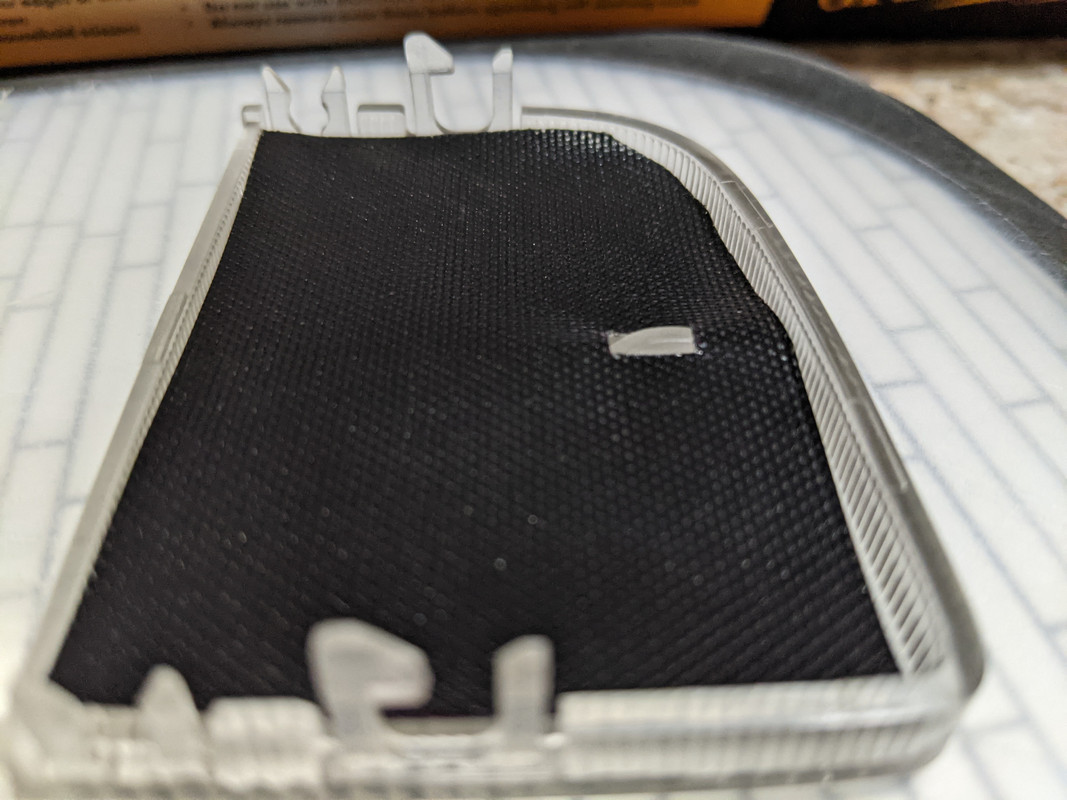
Next it was just a matter of locating the center of the cylindrical shaped bulb and removing a circle which would provide a more focused beam.
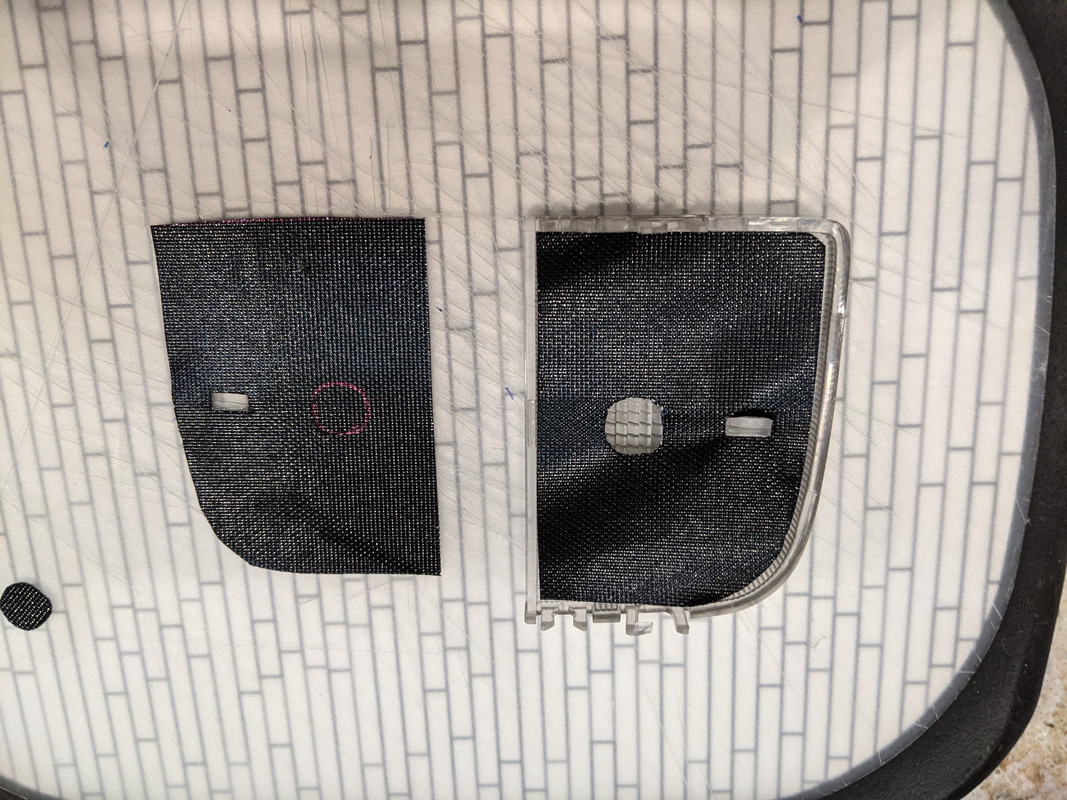
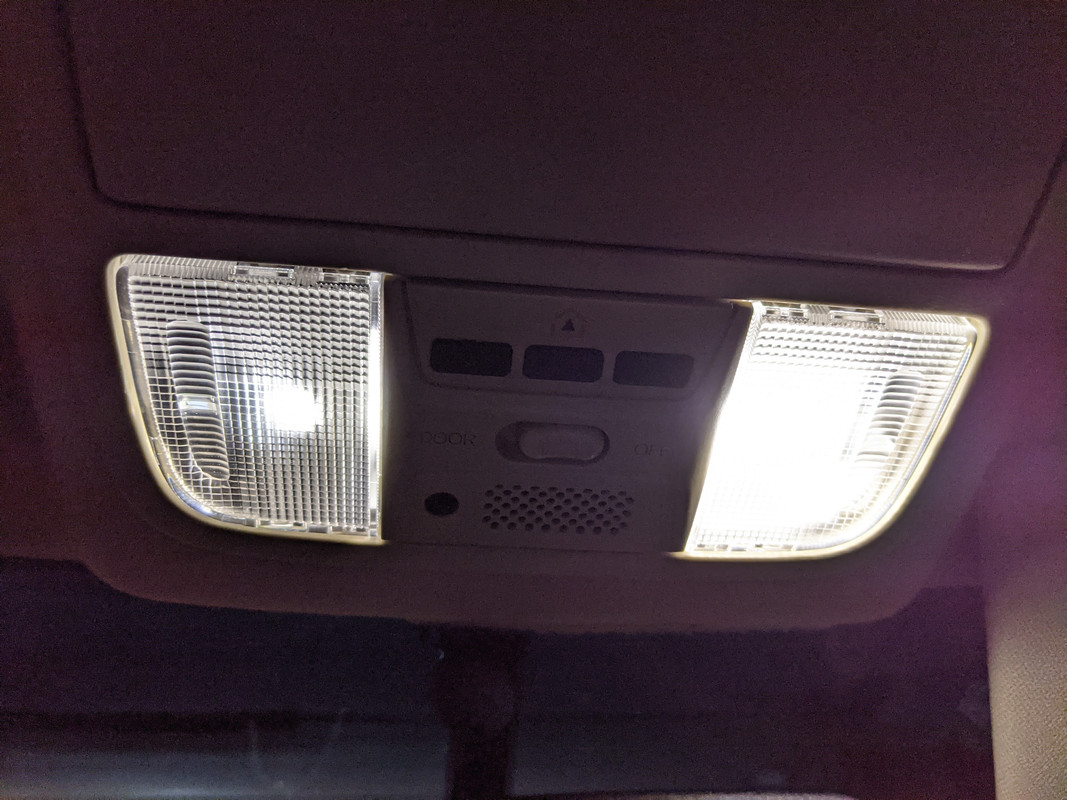
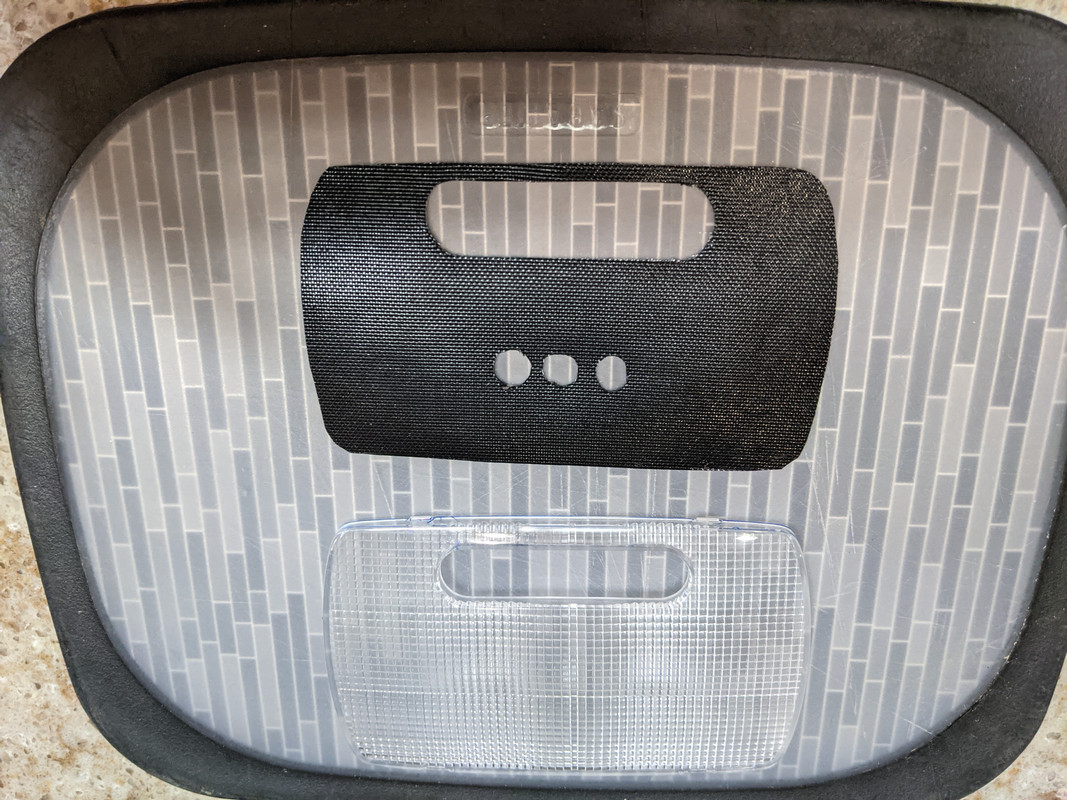
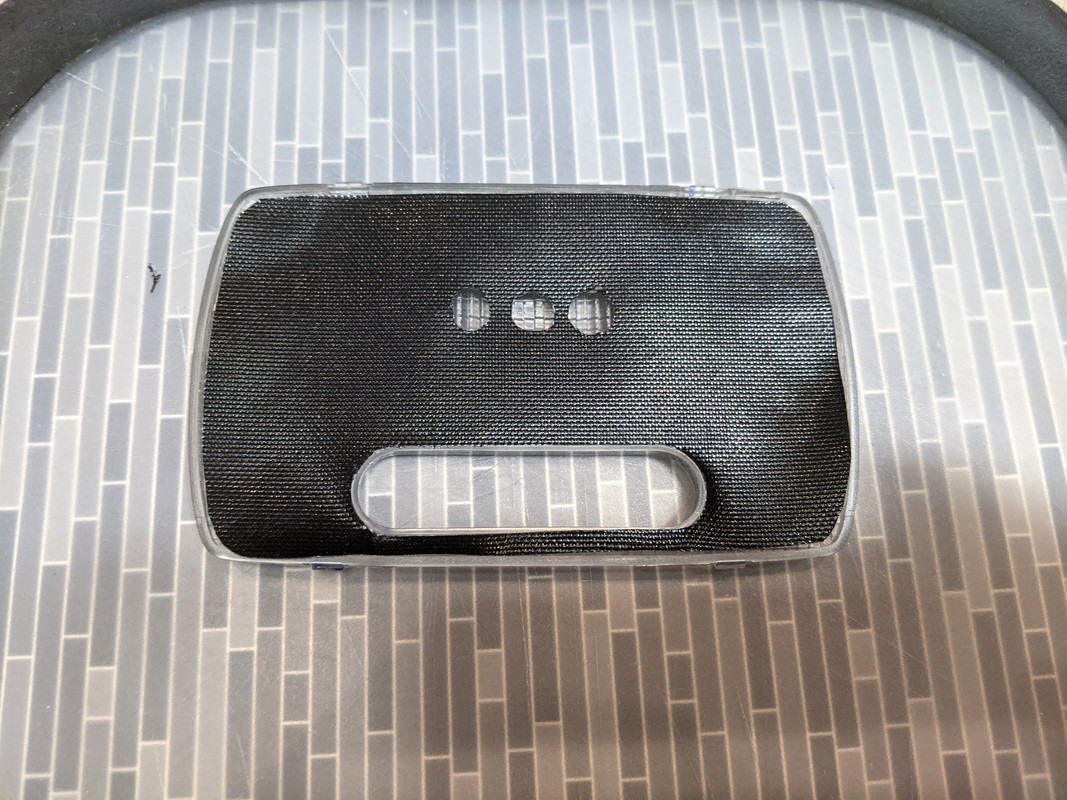
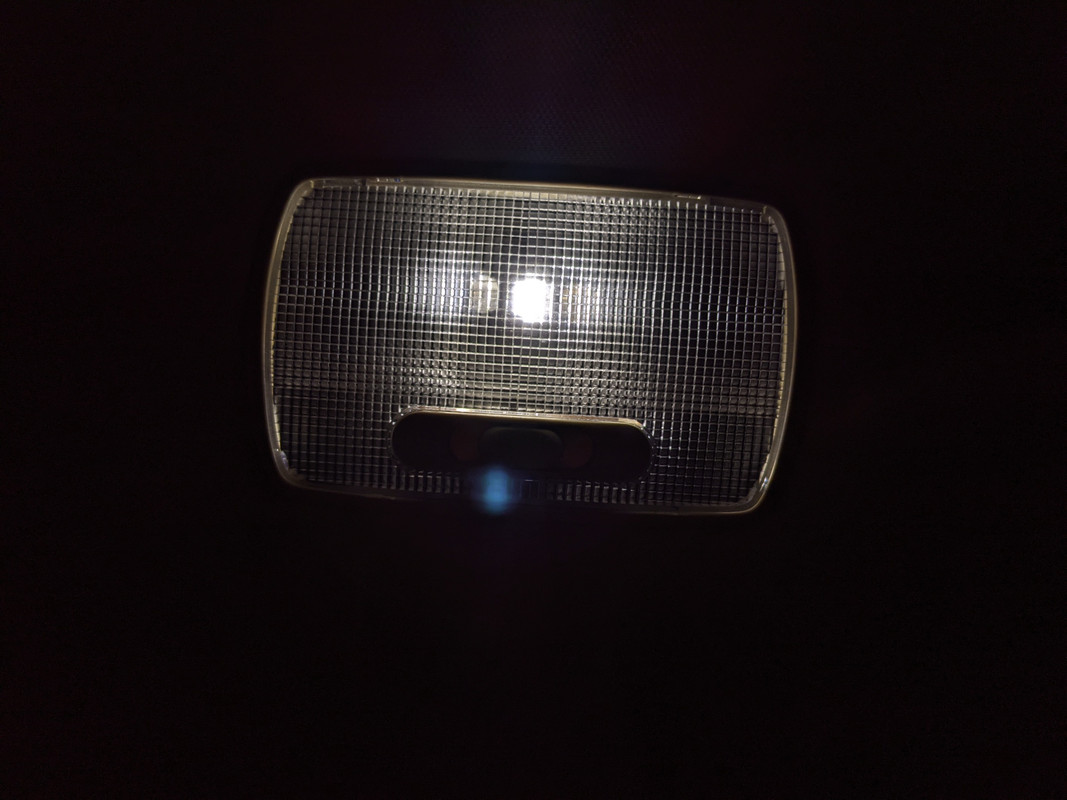
This is how is appears from inside the car
So here is a comparison of the overhead reading lamps with the modded version on the left and without the shield on the right:
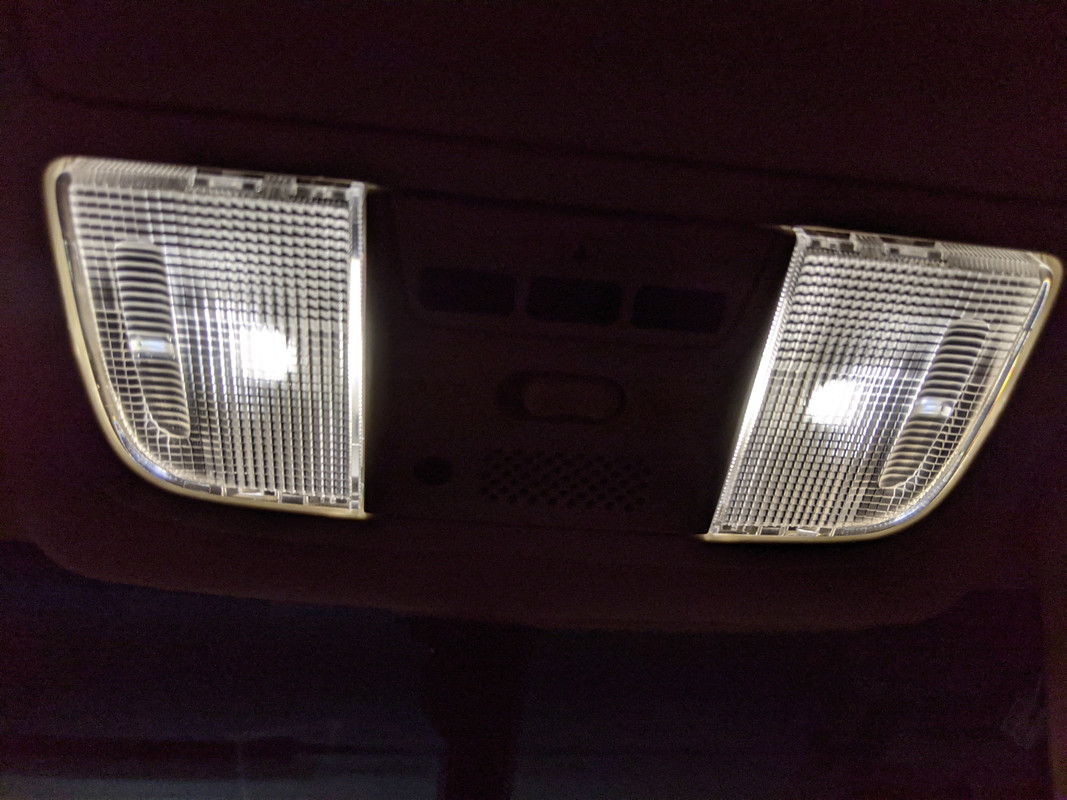
Both sides modded:
After I finished I was so impressed with the results and couldn't help notice how bright the rear dome light was so I decided to go after it too...

The front side lights had the most defective bulbs so needless to say after replacing them it was a major difference:
In any event the latest generation of LEDs are far more efficient, brighter and hopefully more reliable.
Side by side comparion with '08 version on left and latest on right:
Here's comparison of the rear:
2008
2021
These new high output reverse bulbs make a world of difference when backing into a dark garage especially compared to the previous version
2021
2008
All this brings me to the interior. As mentioned I hadn't installed any LEDs inside before so I wasn't fully prepared for the amount of light output especially from the overhead console.
I've noticed in cars equipped with factory LED reading lamps the lenses provide a much narrower focused beam which is ideal for reducing glare .
My problem was how to emulate that while using the stock lenses since retrofitting wasn't feasible for me. My solution was to create shield to seal off as much of the stray light as possible. It's not as perfect at creating a narrow pencil beam as the factory did but it comes close in eliminating much of the glare I experienced before installing these "shields."
I hit on the idea after finding this on Amazon and first using it for it's intended purpose lining a new toaster to keep it clean. It has some exceptional qualities that lend itself perfectly for this project (and with some imagination for other projects too). It's as thin as paper, non-stick, very flexible, cuts easily with normal scissors, completely opaque, withstands extremely high temps (Heat Resistant to 500� F / 260� C) and best of all relatively inexpensive. Three sheets (23 x 16.25 inches) cost about $12 and will do several ovens, warming trays and more reading lamp mods than you'll ever need.
In the TSX the overhead lamps were used across several years and models including Accords. This particular style uses the lens as part of the switch, Notice the small protrusion sticking up in the center. This "nub" presses against the actual switch when you press the lens up to turn the light on/off. So it's necessary to cut around it which unfortunately allows a tiny amount of light to pass but you'll never notice during use. I made all the intricate circular cuts using a pointed X-acto knife which worked quite well on a cutting board. After tracing the lenses out using a pencil and I cut well within the line and laid it into the lens to check for fit. After a several tries you get the feel for it and eventually can trim it down to where it lies flat and close to the inside walls of the lens. Don't worry if you screw up as these parts a very small and use minimal material. Once you have all the cuts done properly and the fit checks it's just a matter of using the first shield as a temple to create the other side which is a mirror image. My description probably makes it sound harder than it is...
Next it was just a matter of locating the center of the cylindrical shaped bulb and removing a circle which would provide a more focused beam.
This is how is appears from inside the car
So here is a comparison of the overhead reading lamps with the modded version on the left and without the shield on the right:
Both sides modded:
After I finished I was so impressed with the results and couldn't help notice how bright the rear dome light was so I decided to go after it too...
Comment