
I thought I would post a review, as well as a DIY.
Okay, the tool I am reviewing is from EUROEXPORT, Inc. located in West Palm Beach, Florida.
Here is a picture from the site.

I went with this option because I did not want to pay someone to do it and it would be cheaper to do the valve job with them removed.
The other option I had was use the valve spring compressor that Honda uses.
Here is the break down of the cost to use this compressor:
- KD Tools KD383 Valve Spring Compressor $83 Shipped
- 07MAF-PR9010A $11.61 + shipping (Majestic)
- 07757-PJ1010A $53.85 + shipping (Majestic)
Total: $148.46
The tool from EUROEXPORT is part number: 30010 and only costs $69.95 + shipping. LINK
Big difference in price.
Okay, on to the DIY.
Tools needed:
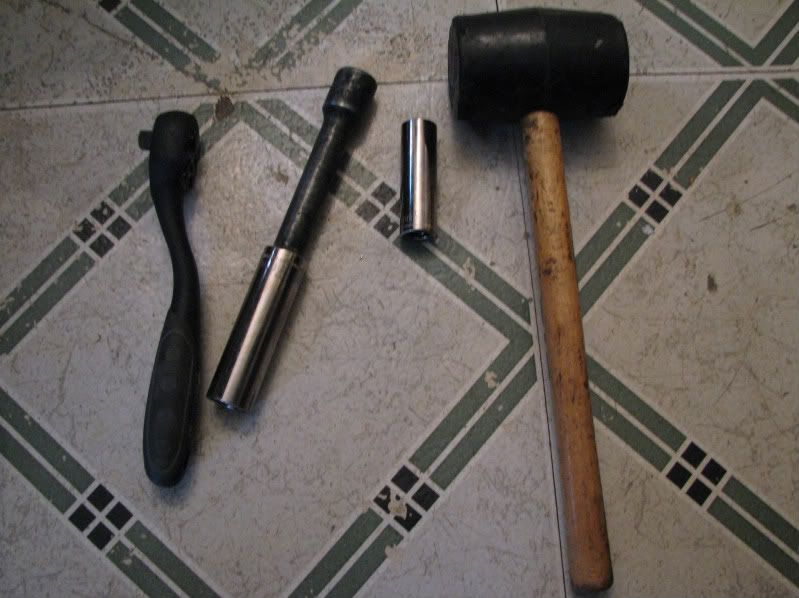
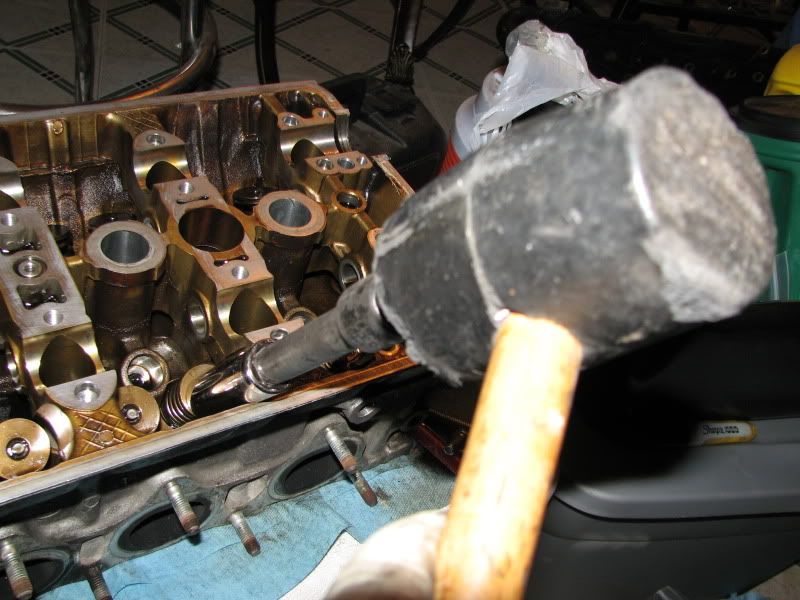
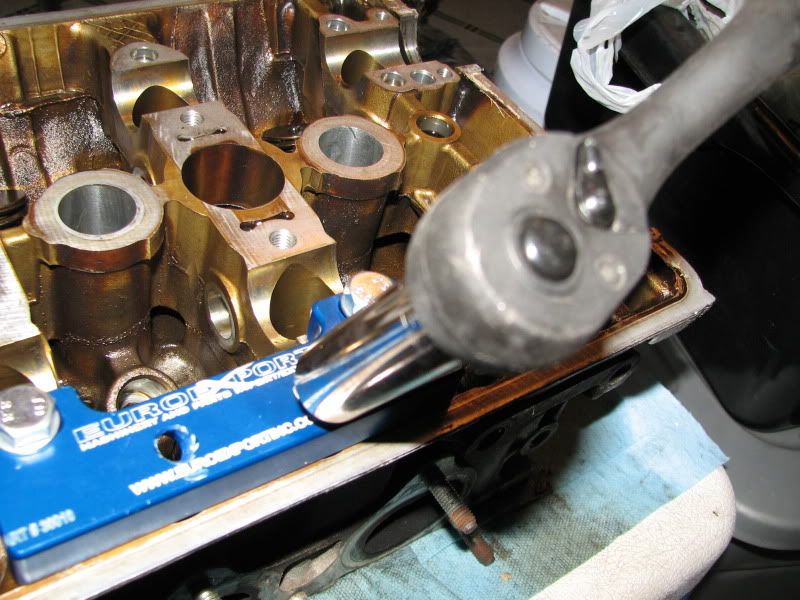
*Ratchet, 14mm Deep-Well Socket, 17mm Socket, 6" Extension, Rubber Mallet*
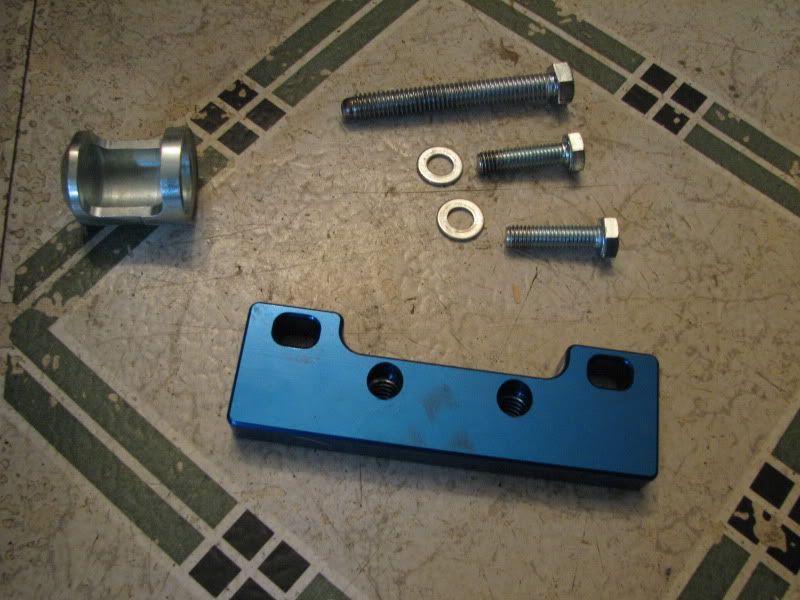
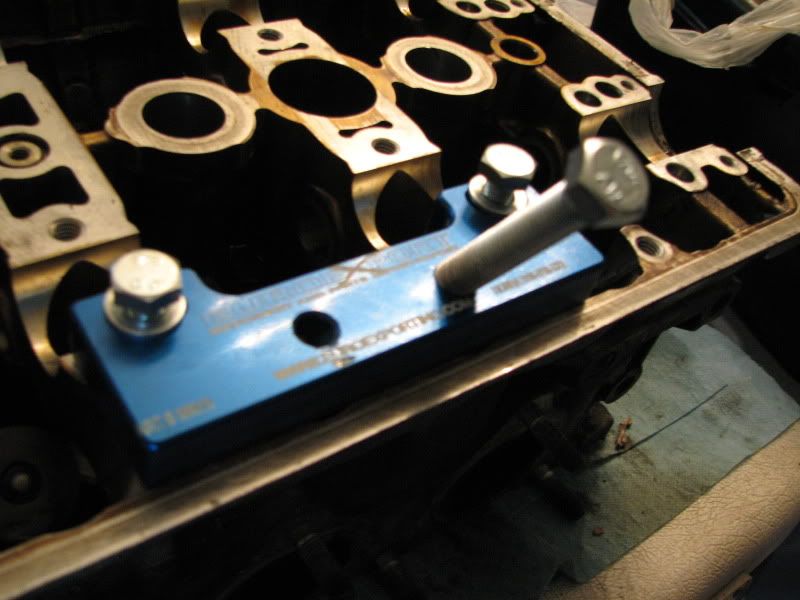
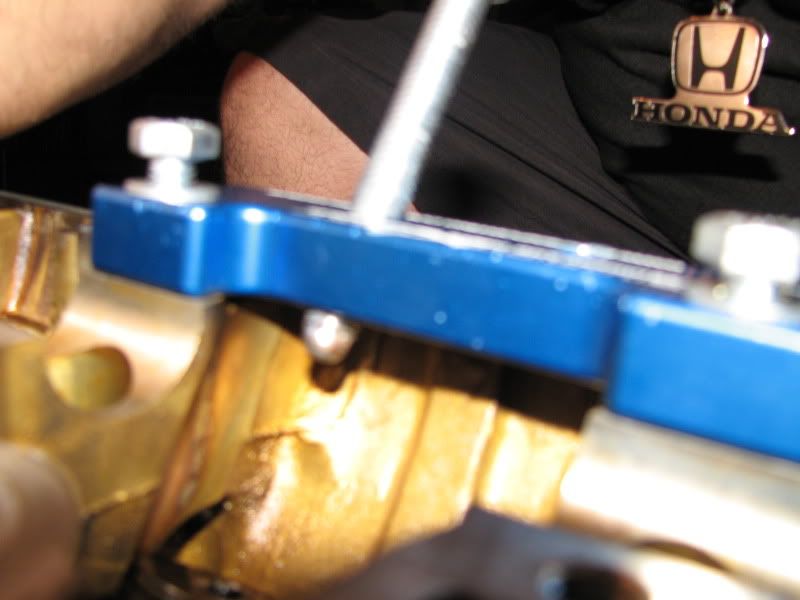
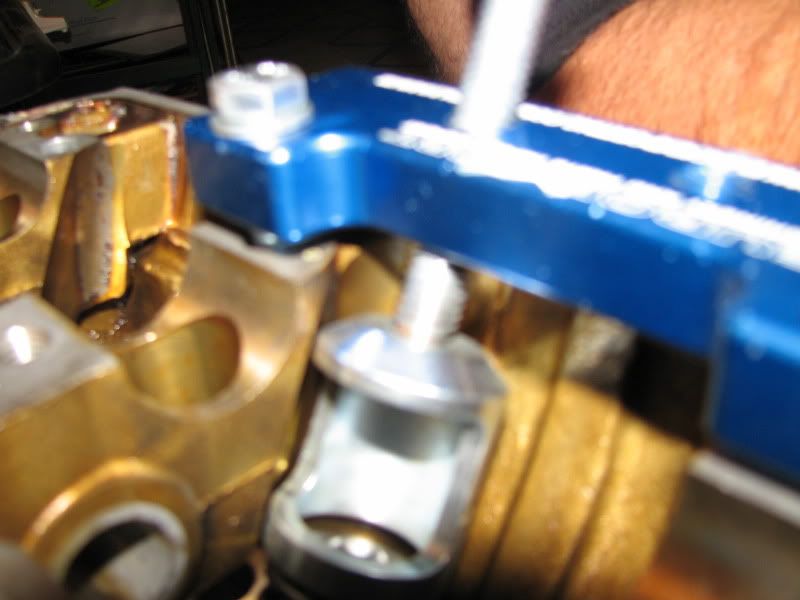
*EUROEXPORT 30010 Valve Spring Compressor*
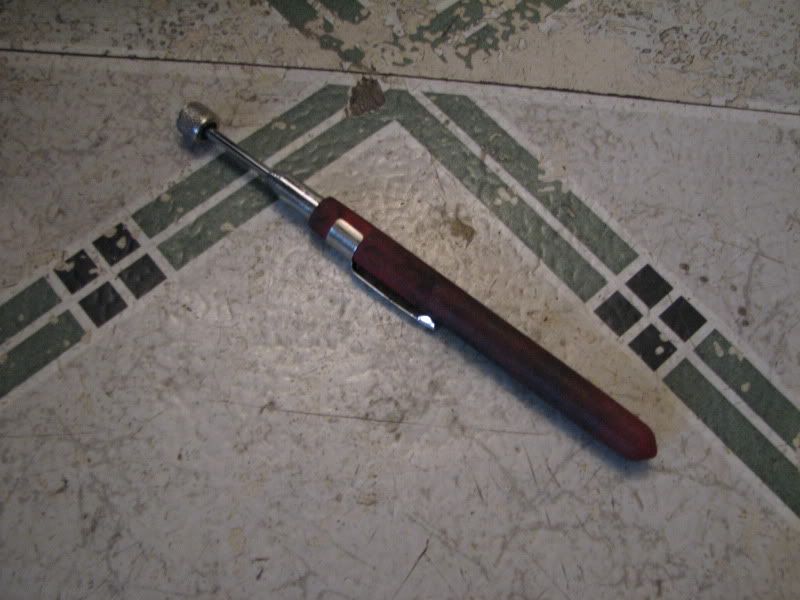
*Magnet*
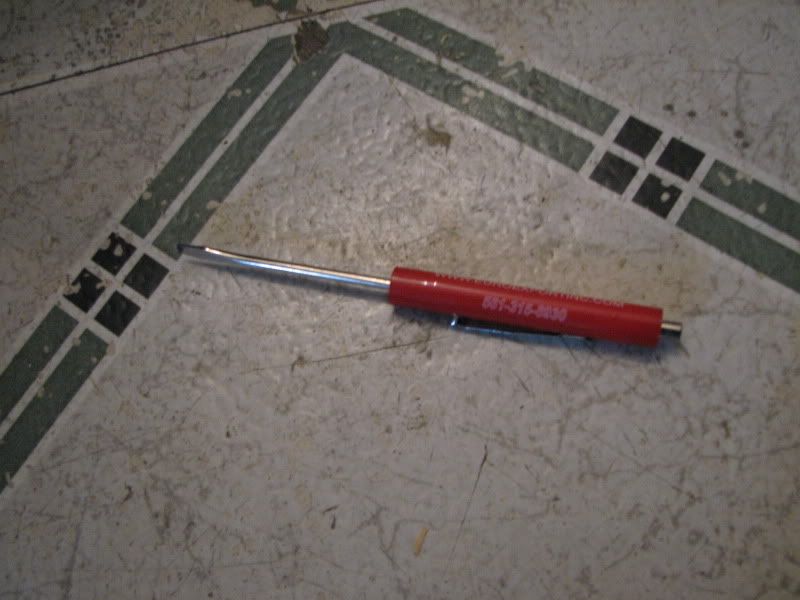
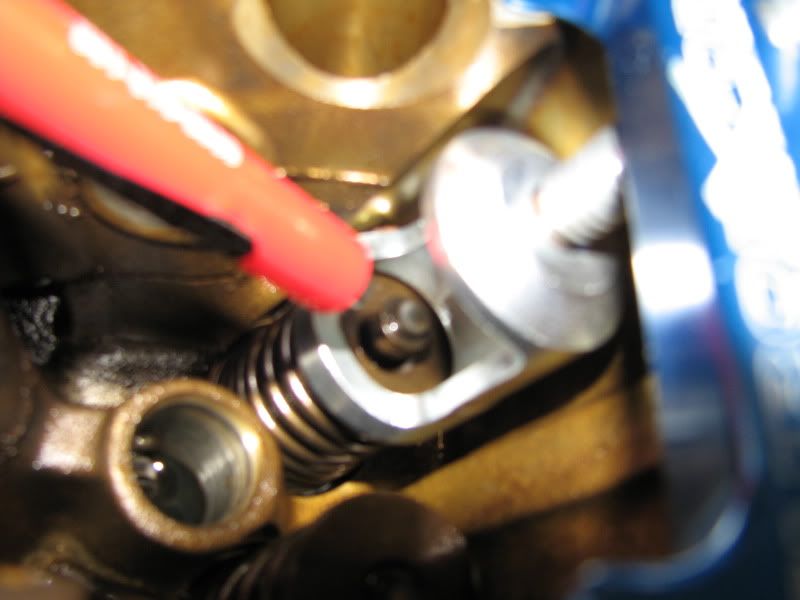
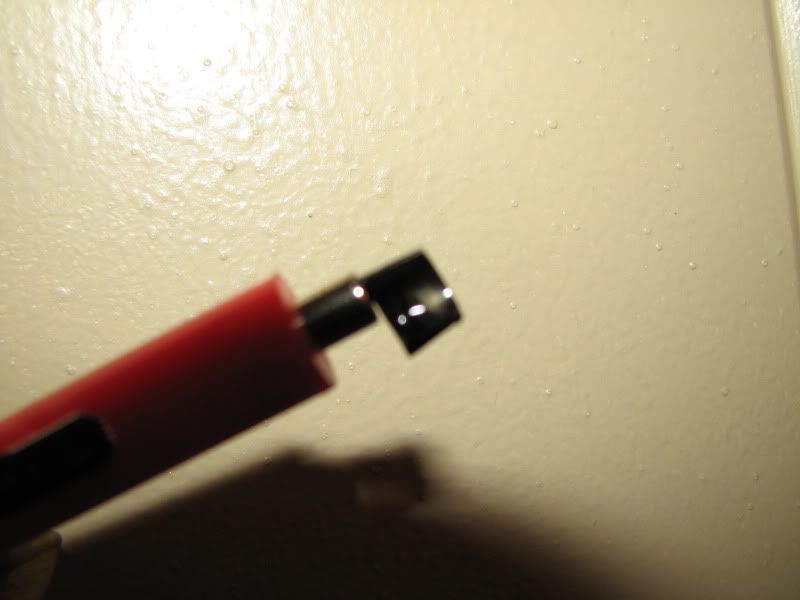
*The kit came with this little screw driver. It is also a magnet!! *
*
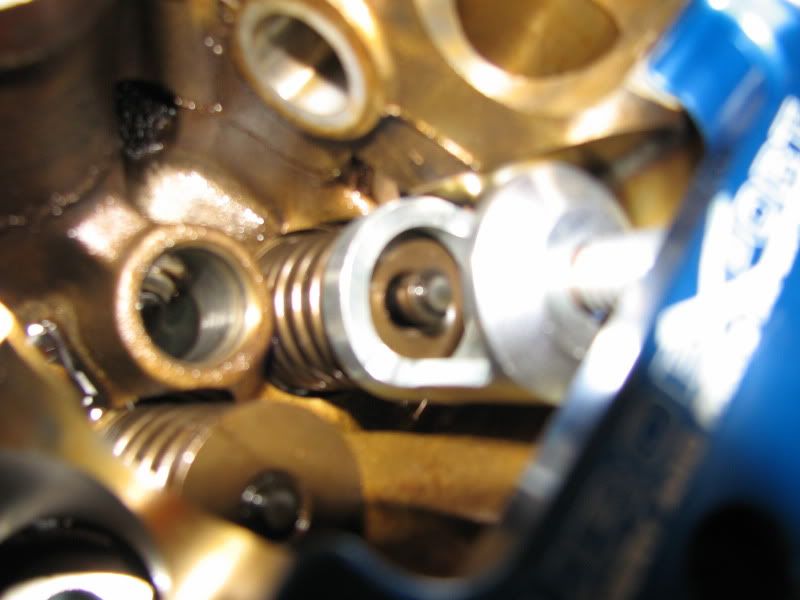
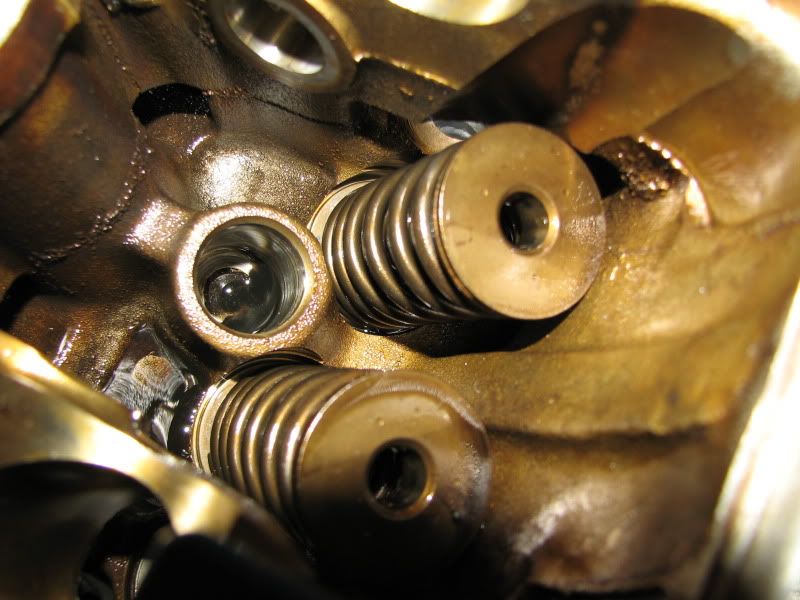
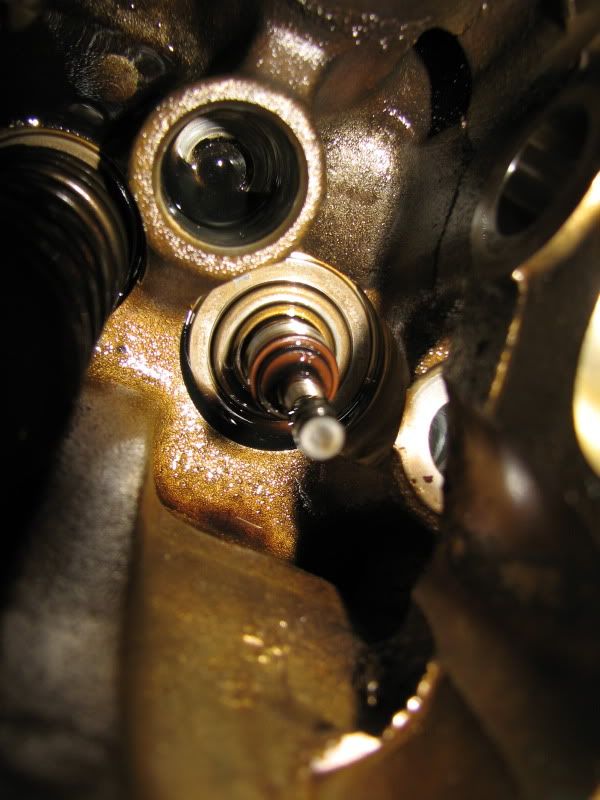
The following can be done with the head on the block or off. I am showing pics of the procedure with the head already removed from the block.
Okay, the tool I am reviewing is from EUROEXPORT, Inc. located in West Palm Beach, Florida.
Here is a picture from the site.
I went with this option because I did not want to pay someone to do it and it would be cheaper to do the valve job with them removed.
The other option I had was use the valve spring compressor that Honda uses.
Here is the break down of the cost to use this compressor:
- KD Tools KD383 Valve Spring Compressor $83 Shipped
- 07MAF-PR9010A $11.61 + shipping (Majestic)
- 07757-PJ1010A $53.85 + shipping (Majestic)
Total: $148.46
The tool from EUROEXPORT is part number: 30010 and only costs $69.95 + shipping. LINK
Big difference in price.
Okay, on to the DIY.
Tools needed:
*Ratchet, 14mm Deep-Well Socket, 17mm Socket, 6" Extension, Rubber Mallet*
*EUROEXPORT 30010 Valve Spring Compressor*
*Magnet*
*The kit came with this little screw driver. It is also a magnet!!
*The following can be done with the head on the block or off. I am showing pics of the procedure with the head already removed from the block.

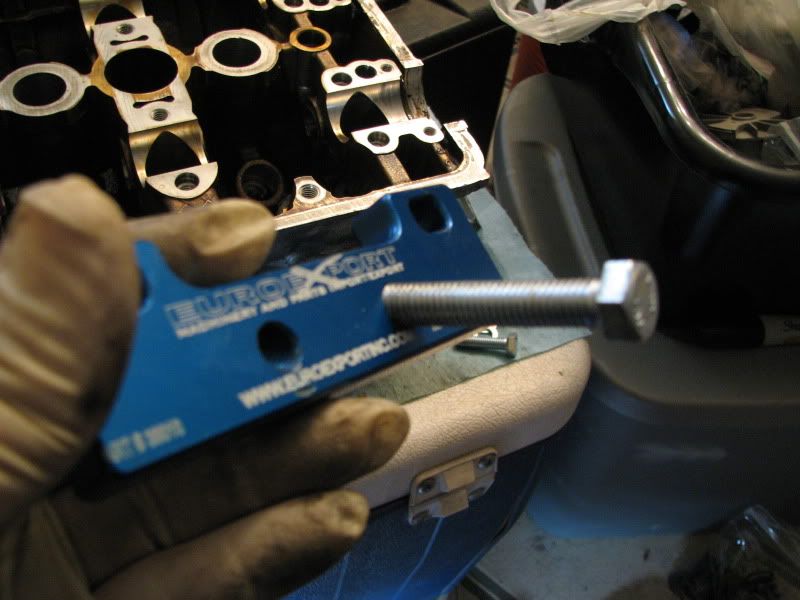


 and the vinyl gloves, very professional!


Comment