
do you do the jdm yellow first or after the black housing
-

-
i finished my blackhousing today.good thread but could use a little more details for the newcomers and begginers.you made it easy but im sure some idiot will have problems.mine turned out great, ill be looking for your corner lights BH diy thread def.
Comment
-
Just finished another set for a local member. I always come back to this thread just as a refresher and to get my bearings again...Much thanks!


Form.Follows.FunctionComment
-
On a note of doing the yellow high beam;
From experience, I find it actually gives better night time visibility. Since yellow doesn't reflect or glare, it gives you a cleaner light.
That's why fog lights are usually yellow, because it cuts through fog/mist/rain/snow and reduces the glare.
I have been in situations at night in the past where I had better visibility with only my yellow fog lights on and the headlights turned off. This was usually in very snowy situations where the headlight beam just blinded me, and by turning them off, and using just the fogs, they illuminated the road better and didn't have the glare the headlights did.Comment
-
-
Any recommendations for tint? brand and such...
Form.Follows.FunctionComment
-
im having the same problem i cant seem to find any titn for my high beams idk if i should go to a specialty store for it. ooo and im changing my black housed headlights to white housed headlights with the yellow high beam and the reflectors right in front of the bulb im going to keep black.
Comment
-
heres how mine came out. only have the drivers side dont right now. i wish it would of cam out better but ill end up getting new ones to do soon.


Comment
-
Function>Form - how long does it usually take for the headlight housing to cool off so you can paint it? i would love to do this to mine i just have a time constraint on when i can do it. perhaps what i should do is snag some spare headlights and paint those so i just have to switch them out. thanks in advance.1997 Ford Explorer V-6 AT (what a piece of junk)
1993 Nissan Sentra M/T (front end damage, off road for now)
1999 Mercury Mountaineer V-8 A/T - RIP (rolled: totaled)
1992 Honda Accord A/T EX - RIP (transmission shot: sold to junkyard)Comment
-
Once the lens has been separated from the housing it will only be a few minutes before they can be handled. Even less if you have a fan or the ambient temperature outside is nice'n'cool...keep in mind, i am a Tech at a Honda dealership and i am quite used to handling very hot engine components...so this statement may be slightly biased. Still, they cool quickly. Just use your head (and hands) to determine whether or not they are too hot or just hot enough to handle without receiving 3rd degree burns...Originally posted by Honda_Lady View Post
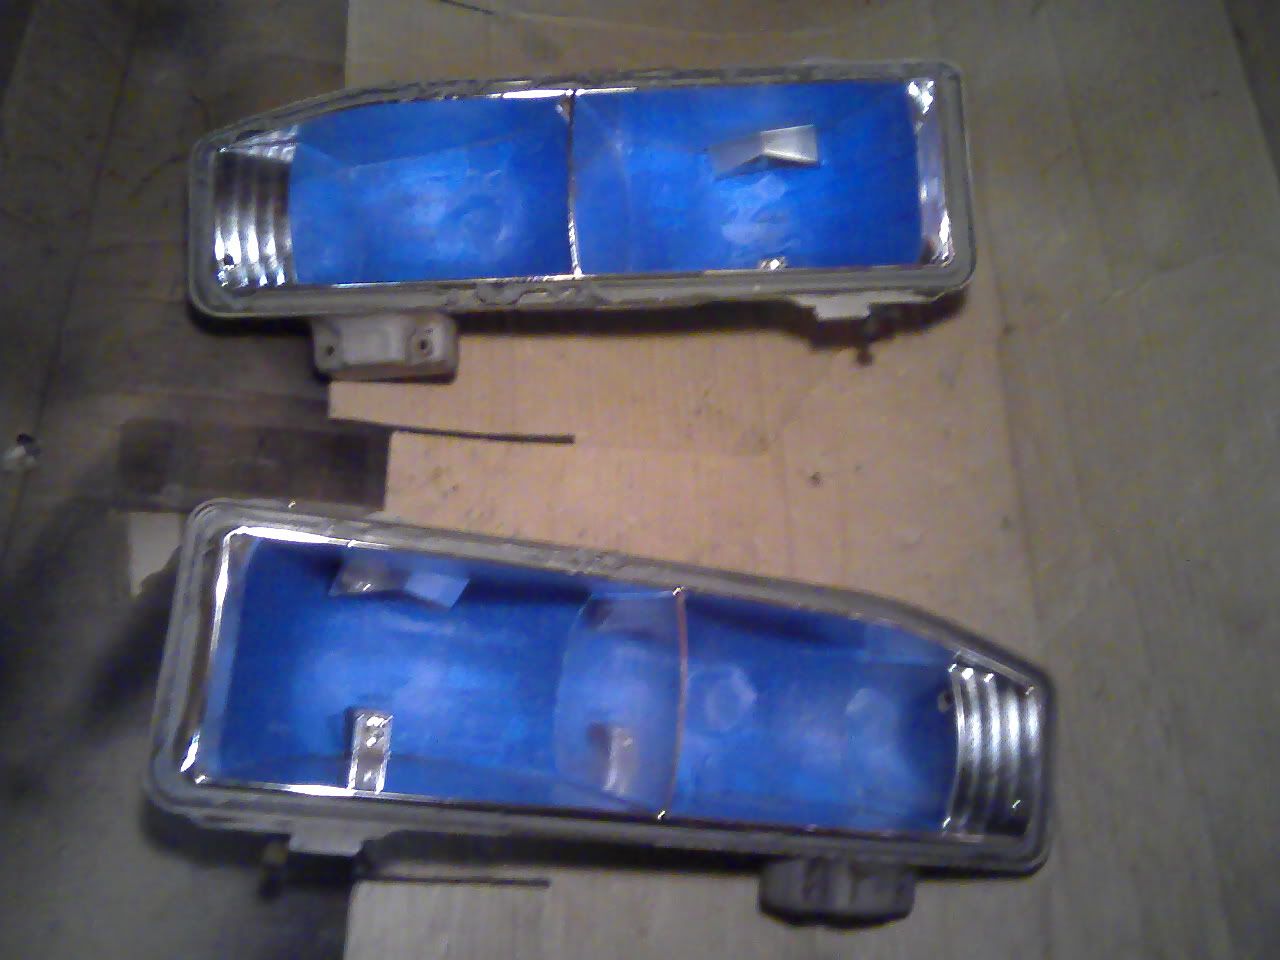
While pulling the lens off, be sure you have a safe place to put it right away to avoid braking/cracking it. Then place the housing in front of a fan/outside and get started on the other headlight. By the time you are done baking and prying off the other lens, the previous housing *should* be ready to prep for paint (taping off reflector bowls, cleaning, light sanding, cleaning again, drying...) I think i should stress that taping off the reflector bowls very carefully is probably the most important step. The better the job you do here, the better the end result.
And again, once you're done with the previous step, the next housing should be ready for prep as well.
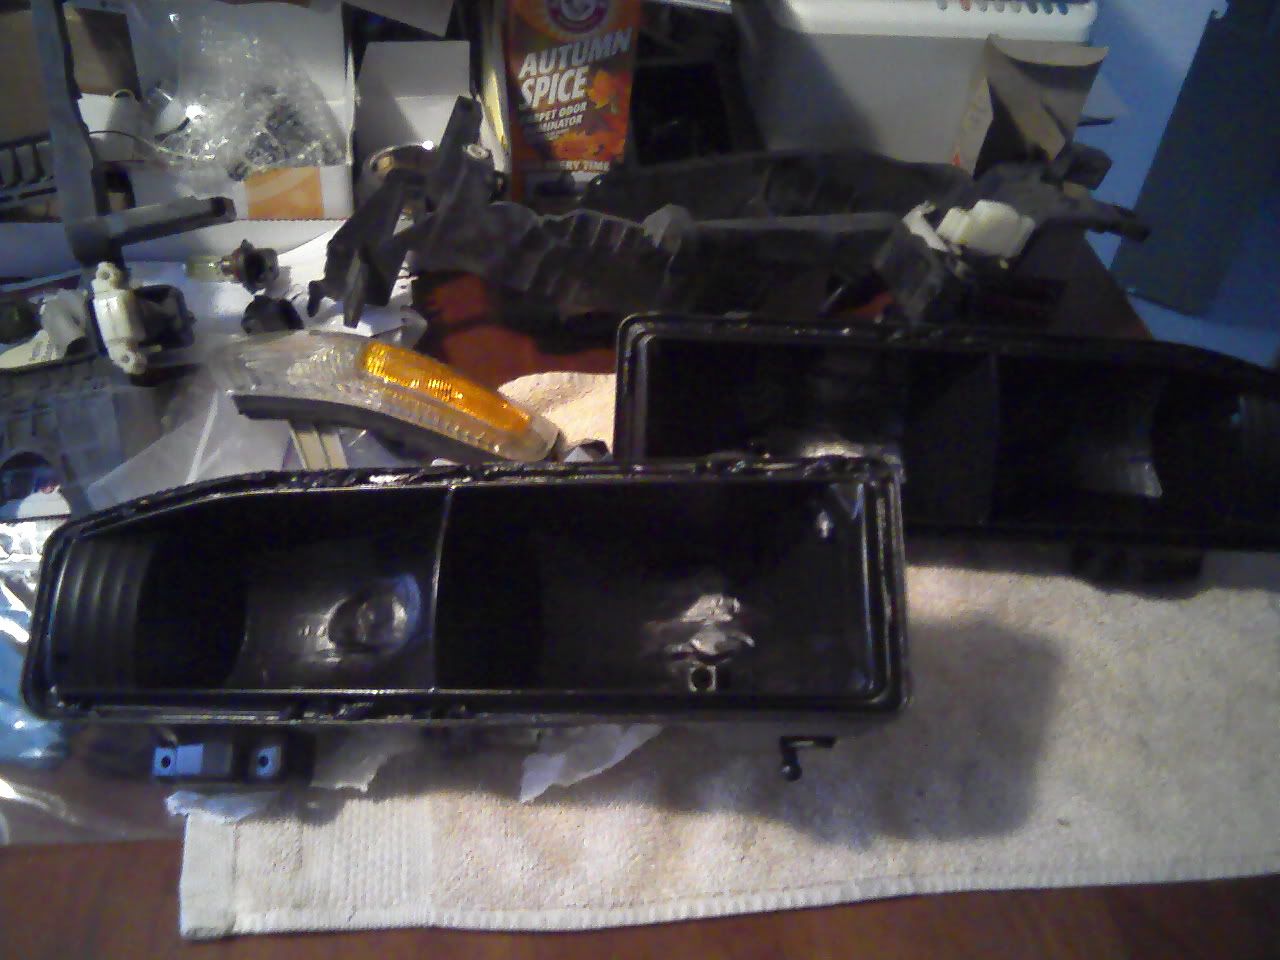
Once prepped, go right into painting. It should go without saying that the area you have selected for painting is already set-up and harbors the appropriate conditions for spraying aerosol paint.
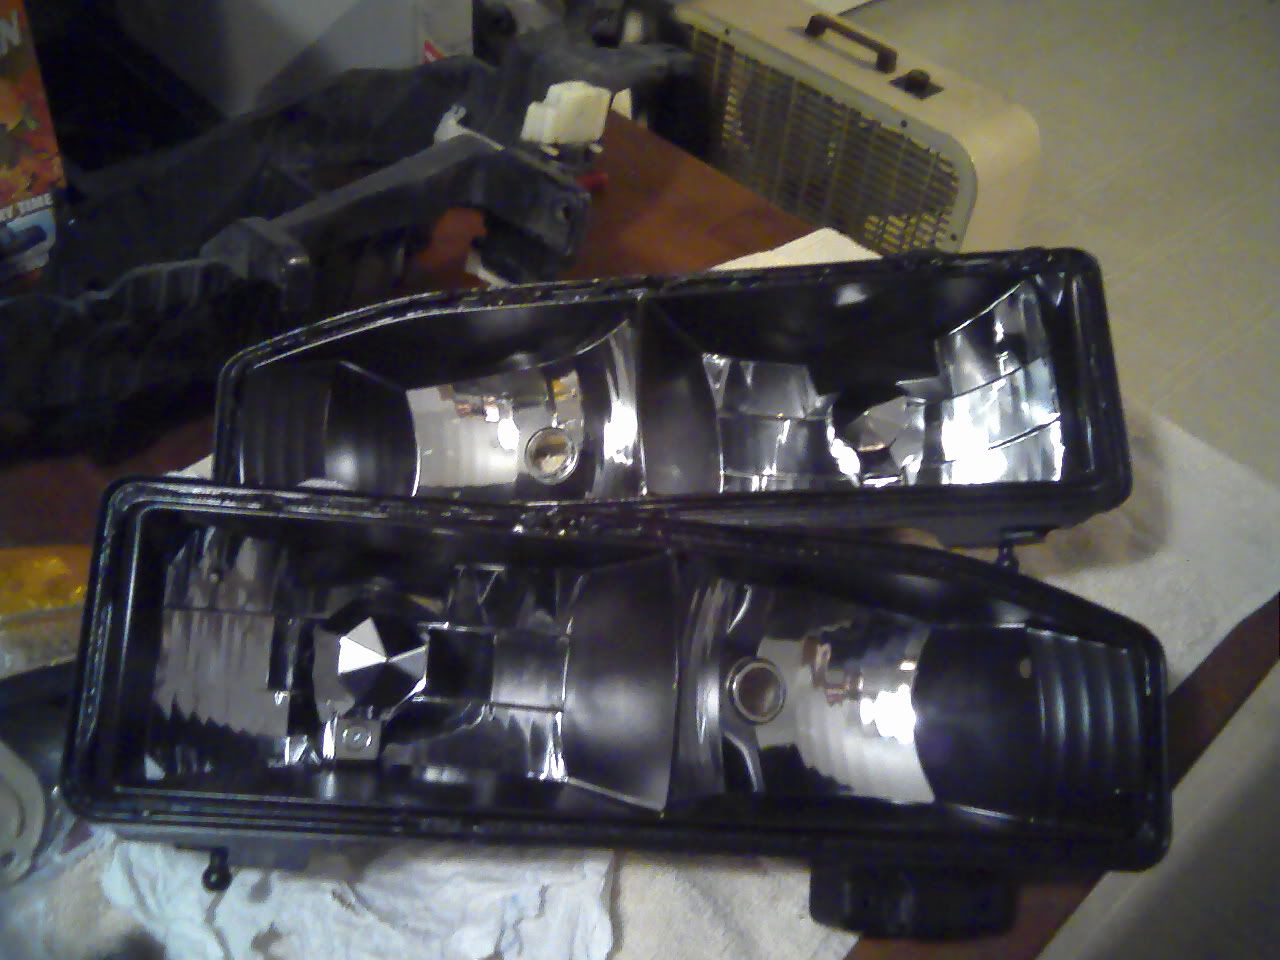
Once painted, bake them again to cure and let em' cool down all the way before removing the tape. Then you're ready to put things in reverse and reassemble the lights. All in all this whole process only took me about an hour...give or take 15min.
Kinda long winded, but I Hope This Helps! Last edited by islandhopper; 10-08-2011, 01:22 AM.
Form.Follows.FunctionComment
-
thank you so much. i actually worked at Honda for a year too so i am used to hot parts as well. i hope i can do this to mine soon and yes your tips helped alot, and being long winded helps me even more lol
  1997 Ford Explorer V-6 AT (what a piece of junk)
1993 Nissan Sentra M/T (front end damage, off road for now)
1999 Mercury Mountaineer V-8 A/T - RIP (rolled: totaled)
1992 Honda Accord A/T EX - RIP (transmission shot: sold to junkyard)Comment
-
Not a problem. Glad i could help. If you have any other questions about any step in the process, feel free to ask.
Form.Follows.FunctionComment
-
just started doing my second light. the first one the chrome trim piece came out a little drippy because i held the can too close to it so i might redo that. thank you for the great and detailed DIYComment
-
I had an extra headlight so I decided to try it out on it. Came out fucken nice only thing is when u want the jdm look which do u do first the stain glass or the black??? If anyone can clear that up or share their esperience with that. But awesome thread oh man thanx a lot manComment
-
Black, then stain.Comment


Comment