
*note* only polish hard plastic. it will turn into power when sanded. the softer plastic will not powder and will be difficult to polish. if it is flexable it is to soft. there are not a lot of things on the car that are hard plastic. most of the interior is soft plastic. test on unseen areas first. do not use anything other than hand sanding. machine sanding may make the plastic melt.
for headlights(JDM, not glass), taillights, blinkers, and switches you shouldn't have to sand. that is usualy only for sanding the texture off the interior pieces. only sand your headlights in extreme cases(deep scratches, nicks, blemishes, ect.) you can use mag and aluminum polish first, then use the plastic polish to make it crystal clear.
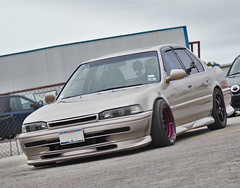
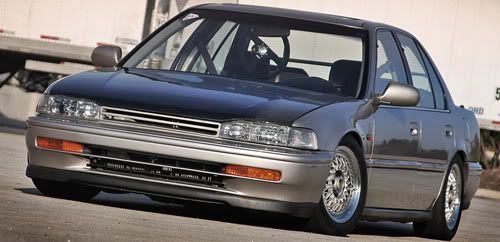
check out some of the before /afters on the other pages
things you can polish without worry.......bumper lights, corner lights, plastic headlights, taillights, tag lights, sunroof visor, dome light lens only, door light lens covers, lumbar support knob, air vents, INT door handels, coin holder, insterment bezel and trim, door locks (the ones you grab with your finger, up/down), all buttons/switches, i wouldn't try any other pieces as they are to soft to polish
i also recomend a drill with a buffing attachment (powerball), to cut out a lot of work.
since it's a true polish, it requires working/buffing.
materials:
-plastic polish
-sandpaper (600g-800g-1000g)
-cotton polishing cloth
custom int door handles
custom clear switches

this is to show you how to polish plastic in and around your car. this is the plastic blank in the dash trim. to polish it, begin by sanding the texture off of it with 600g sandpaper til the texture is smooth. then follow with 1000g to knock it down some more and smooth it further.

this is what it will look like after sanding

now you are ready to use the plastic polish. apply it to the polishing cloth and buff until all the fine scratches disappear and a reflective finish appears. it should look like this when done.

clock

here are some more: the seat levers. a before pic\/

after\/


a side by side comparision of before and after.\/


unpolished^^^^^^^^^^^polished
an oem blinker i did (no sanding needed)

lumbar adjustment knob


.later
for headlights(JDM, not glass), taillights, blinkers, and switches you shouldn't have to sand. that is usualy only for sanding the texture off the interior pieces. only sand your headlights in extreme cases(deep scratches, nicks, blemishes, ect.) you can use mag and aluminum polish first, then use the plastic polish to make it crystal clear.
check out some of the before /afters on the other pages
things you can polish without worry.......bumper lights, corner lights, plastic headlights, taillights, tag lights, sunroof visor, dome light lens only, door light lens covers, lumbar support knob, air vents, INT door handels, coin holder, insterment bezel and trim, door locks (the ones you grab with your finger, up/down), all buttons/switches, i wouldn't try any other pieces as they are to soft to polish
i also recomend a drill with a buffing attachment (powerball), to cut out a lot of work.
since it's a true polish, it requires working/buffing.
materials:
-plastic polish
-sandpaper (600g-800g-1000g)
-cotton polishing cloth
custom int door handles
custom clear switches
this is to show you how to polish plastic in and around your car. this is the plastic blank in the dash trim. to polish it, begin by sanding the texture off of it with 600g sandpaper til the texture is smooth. then follow with 1000g to knock it down some more and smooth it further.
this is what it will look like after sanding
now you are ready to use the plastic polish. apply it to the polishing cloth and buff until all the fine scratches disappear and a reflective finish appears. it should look like this when done.
clock
here are some more: the seat levers. a before pic\/
after\/
a side by side comparision of before and after.\/
unpolished^^^^^^^^^^^polished
an oem blinker i did (no sanding needed)
lumbar adjustment knob
.later


 <<<<<<<<<<<<<<<<<<<<<<<<<<<<<<


Comment