
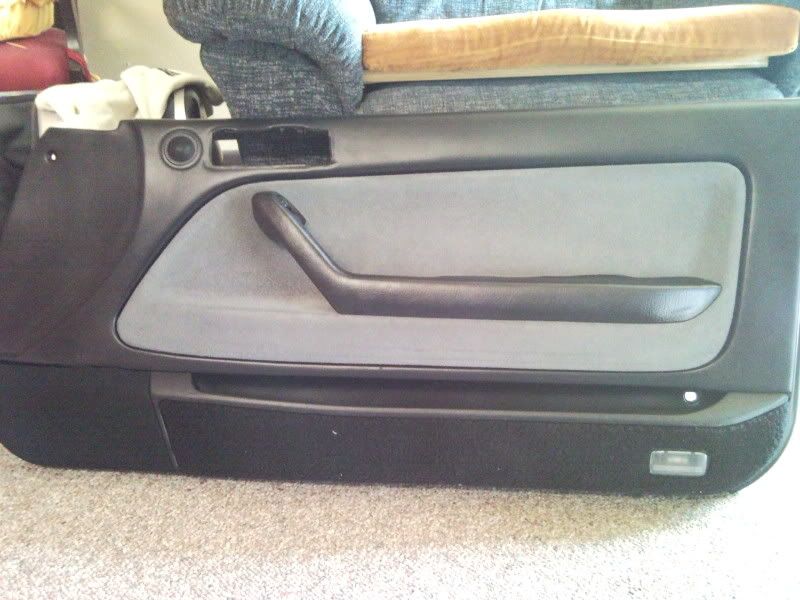
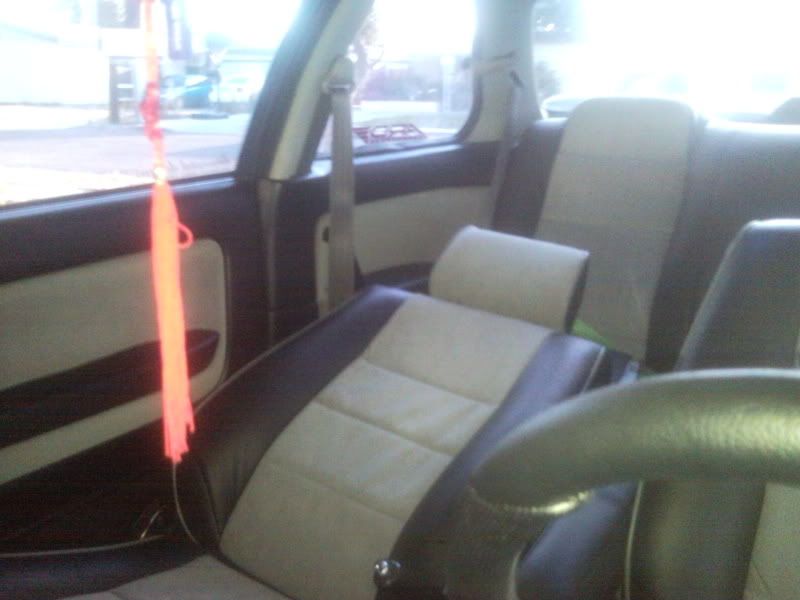
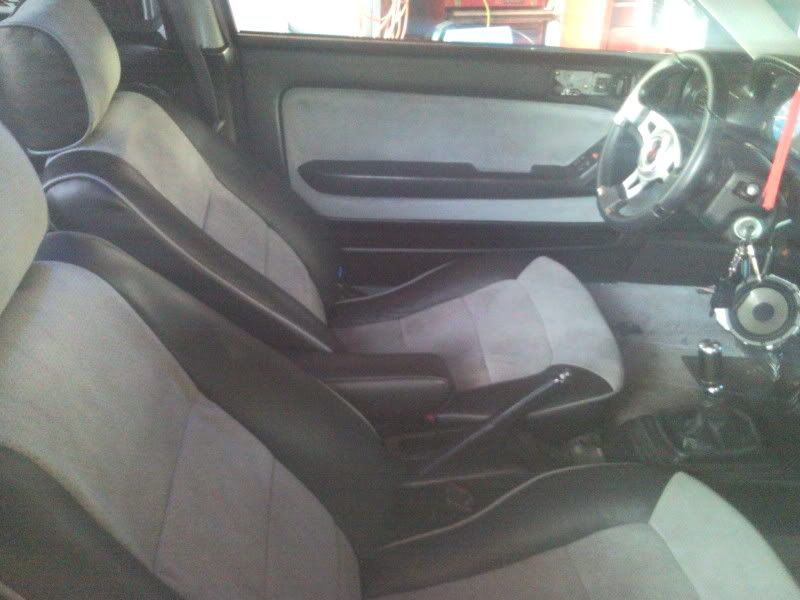
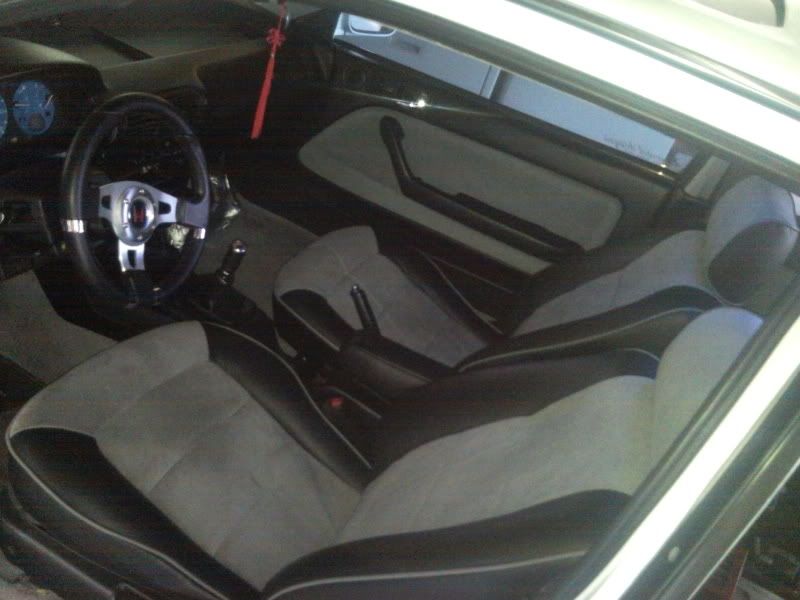
What's up everyone, I just got done painting my door panels. I went with a two tone color scheme. The door was already painted black. In this DIY, I will do my best to explain how I painted the carpet inserts in the doors (coupe). I'm not professional and I've never had experience doing this prior to this DIY... But If I can do it, anyone can  . This is my first DIY thread, I will try to explain this DIY as best as I can
PS. Once you paint your carpet inserts, it WILL NOT feel as smooth as before. Some will say it feels crusty, hard, etc( IMO, I don't think it feels that bad)....But over time, it will feel better. DO NOT DO THIS DIY IF YOU DON'T WANT TO LOSE YOUR COMFORT FEEL...LOL.
First I would like to say that I am not liable nor responsible for any damages incurred, if you choose to follow my DIY. I'm just trying to pass on info to all fellow CB7tuners what I learned from my experience.
Now that we have that taken care of, here are the list of things you would need :
-Phillip Screw Driver ( To remove the door panels)
-Flat Head Screw Driver ( To pop off the caps on the doors, to reach
the screws)
- One roll of painters masking tape
- Lots of newspaper (Help masking up unpainted areas)
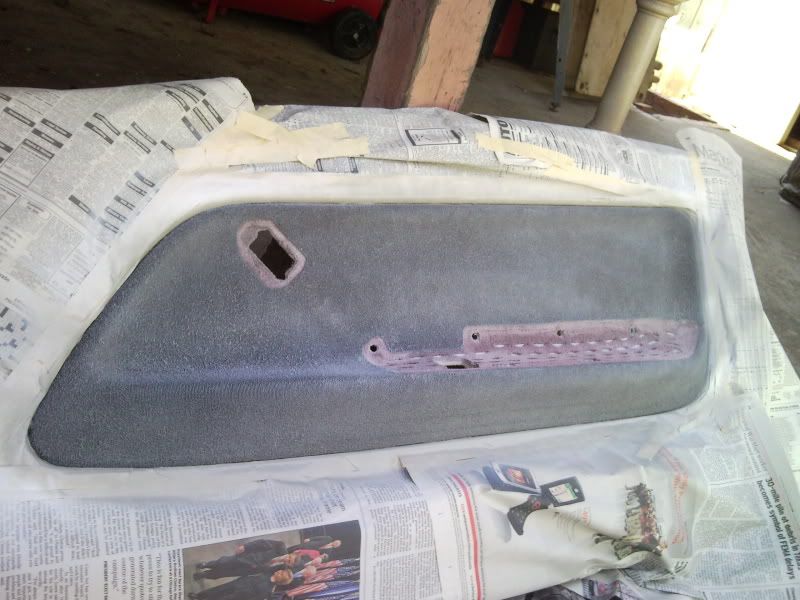
- 1 Can of white Dye paint or2 cans if you have a sedan. This will be acting as a primer ( I used Sem's ColorCoat,
they are pretty expensive at $12 bucks per can. But are the best in my opinion. You can use other brands such as
Duplicolor Dye etc.)
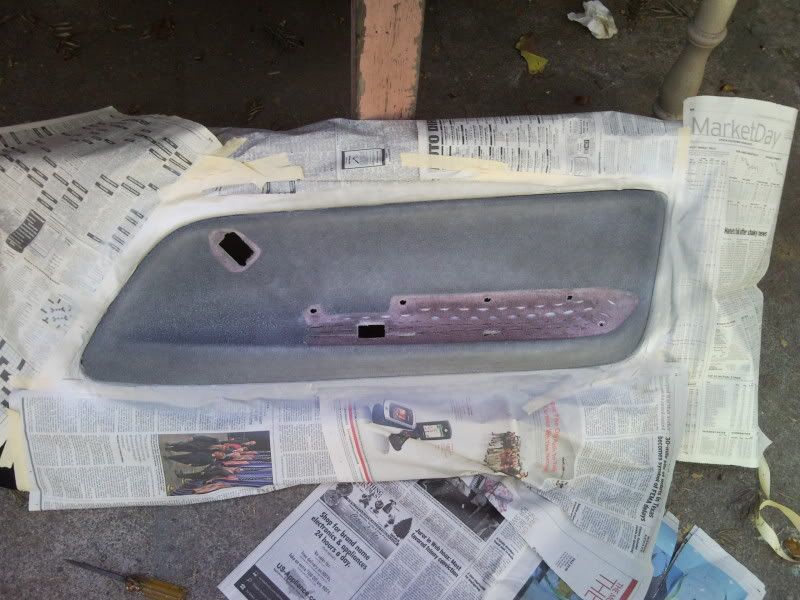
- 1 or 2 cans of Dye Paint or 2 if you have a sedan ( . This will be your color of choice. ( In my DIY I used grey, since that was my color scheme. But you can use any color you want your interior to be.
- A Lint roller...LOL, you will understand why later.
Procedures:
1.) You will need to remove the door panels ( sorry I don't have any pics for this step). There will be 2 philip screws in each of the door handles, and one more once you take the handles off. Now the panel is only being held on by self holding clips. Carefully take your flat head screw driver and pry slowly around the panel.
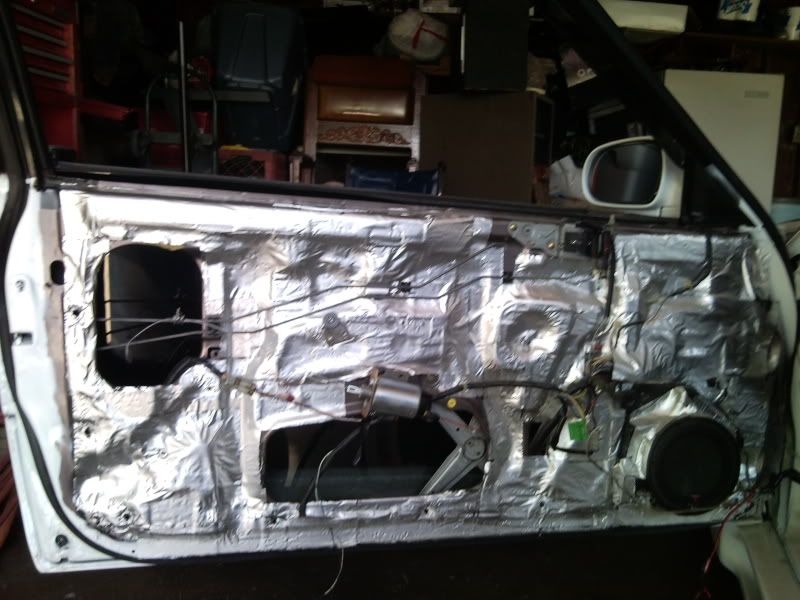
2.) Once the door panel comes loose, be extra careful because there will be wires still attached to the panels(If you have power windows, doors etc). There will be plugs for the power window/locks, side mirrors, and interior stepping light. Unplug all.
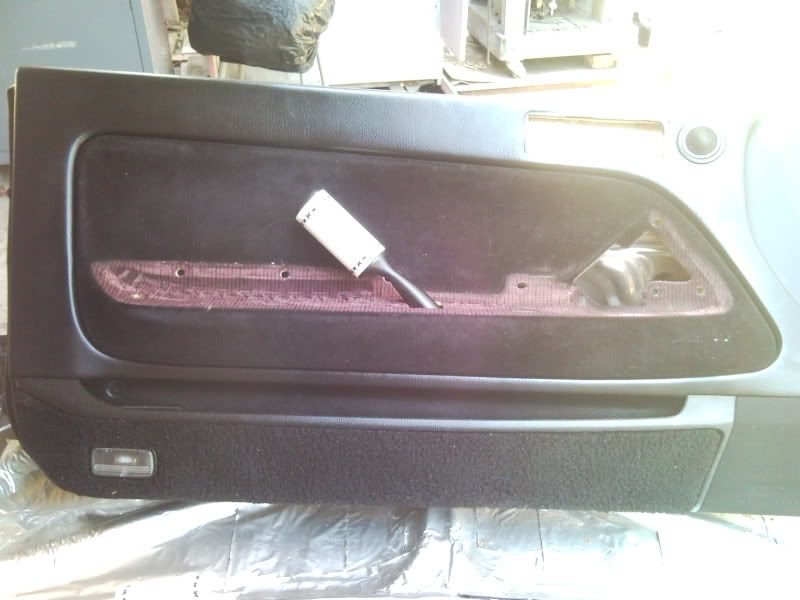
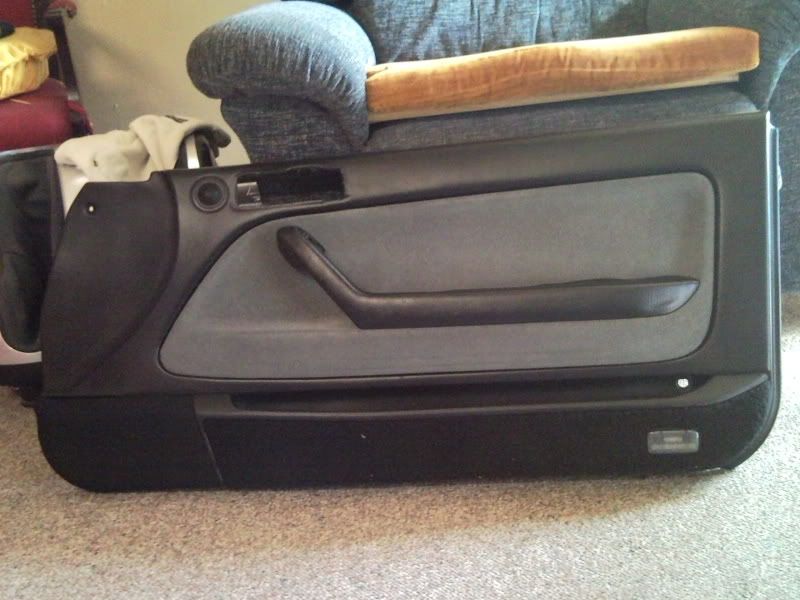
3)Now that you got panels off, you then will need to remove the arm rest/handle. There will be screws holding them into, see pic blew. Once all the screws are removed, you will then need to remove the bottom clips. This part can be a little tough. Pry them with the flat head or whatever tool suits you best. Once all the screws and clips are removed, you can now take the Arm rest/handle off.
The screws
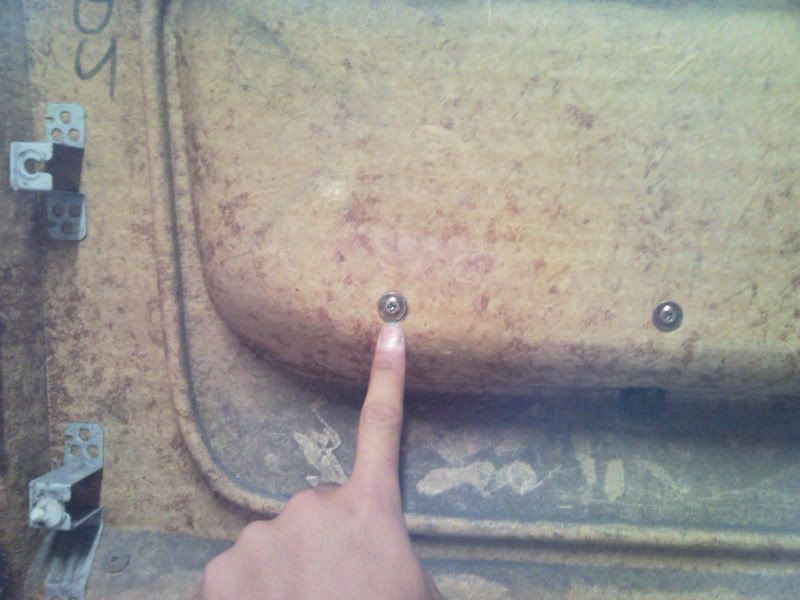
The clips
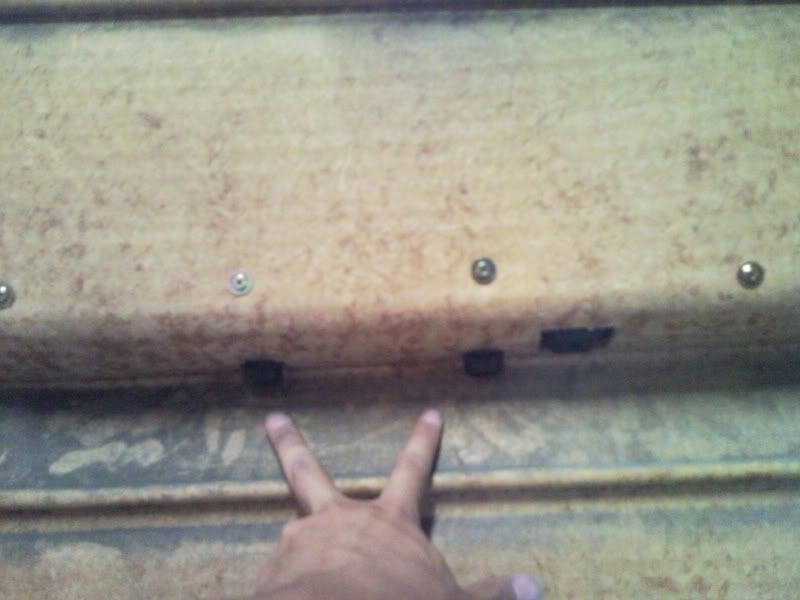
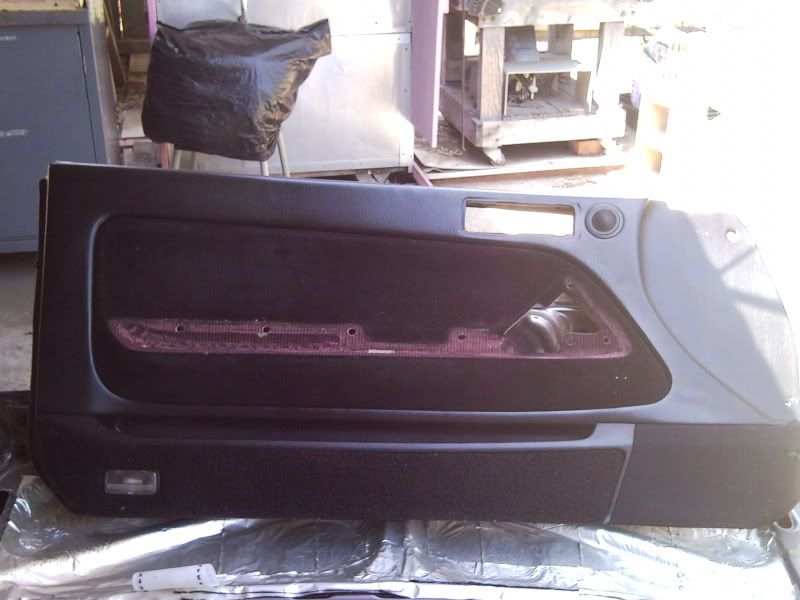
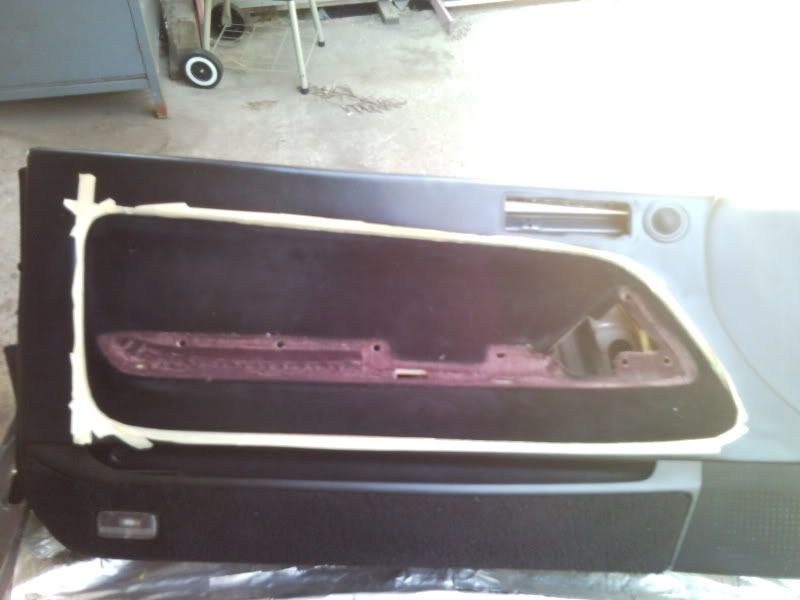
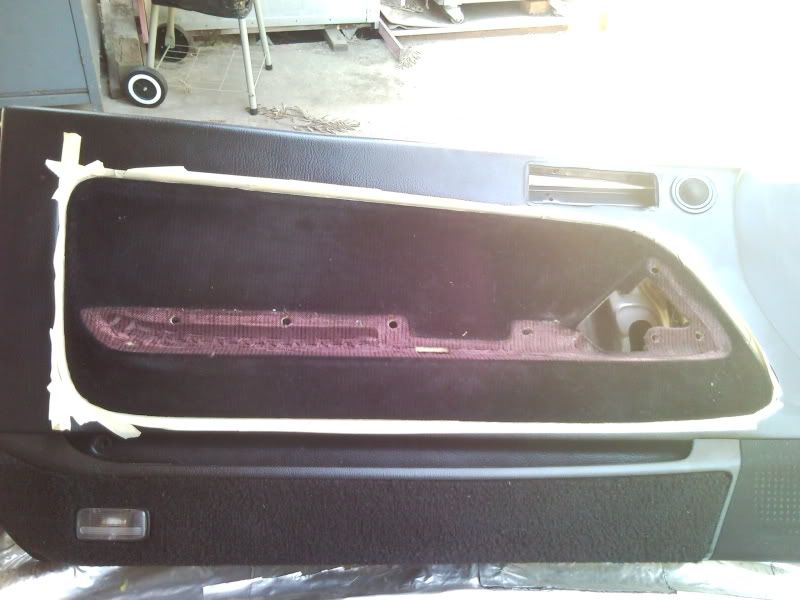
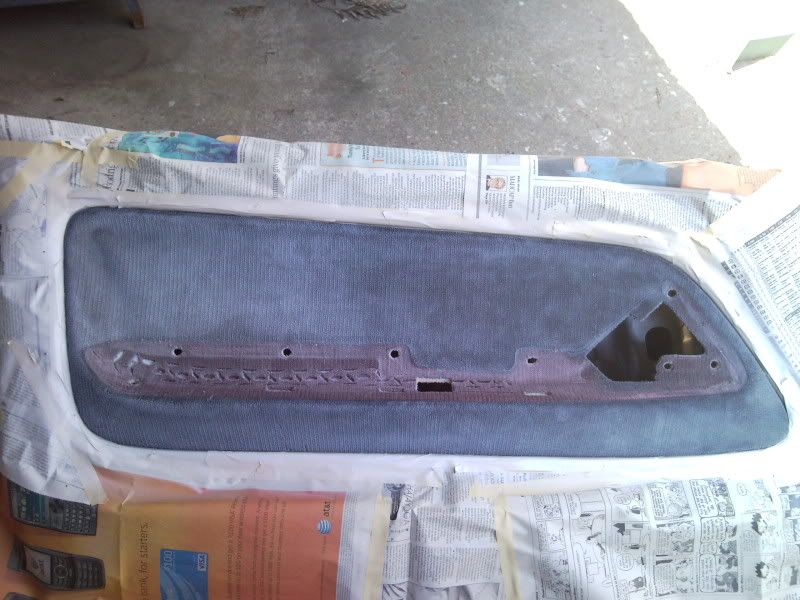
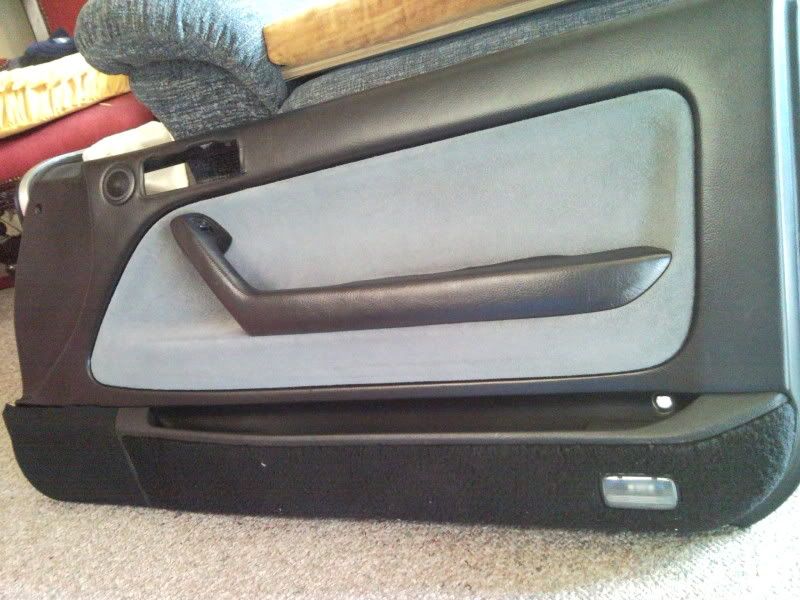
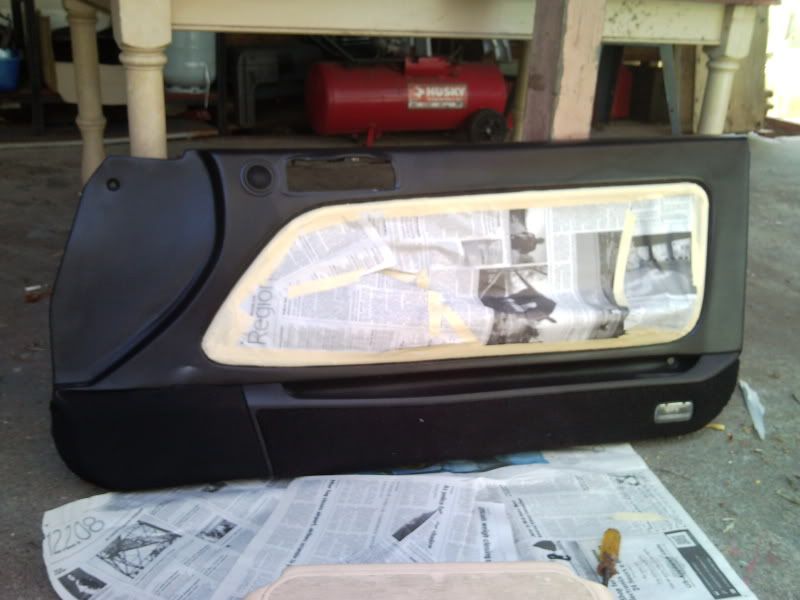
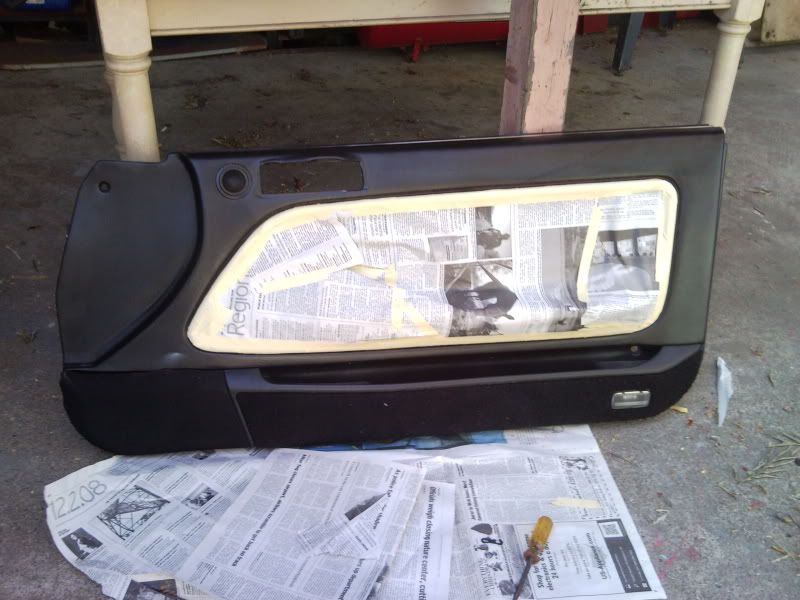
4)Once the door handles are removed, the next step is masking. With your masking tape, carefully tape around the door inserts. Its where the leather part meets the carpet insert. What I found easiest is masking that small area first with the tape, then use newspaper to mask the larger areas. See pics below.
Go around the edges with the tape first.
. This is my first DIY thread, I will try to explain this DIY as best as I can PS. Once you paint your carpet inserts, it WILL NOT feel as smooth as before. Some will say it feels crusty, hard, etc( IMO, I don't think it feels that bad)....But over time, it will feel better. DO NOT DO THIS DIY IF YOU DON'T WANT TO LOSE YOUR COMFORT FEEL...LOL.
First I would like to say that I am not liable nor responsible for any damages incurred, if you choose to follow my DIY. I'm just trying to pass on info to all fellow CB7tuners what I learned from my experience.
Now that we have that taken care of, here are the list of things you would need :
-Phillip Screw Driver ( To remove the door panels)
-Flat Head Screw Driver ( To pop off the caps on the doors, to reach
the screws)
- One roll of painters masking tape
- Lots of newspaper (Help masking up unpainted areas)
- 1 Can of white Dye paint or2 cans if you have a sedan. This will be acting as a primer ( I used Sem's ColorCoat,
they are pretty expensive at $12 bucks per can. But are the best in my opinion. You can use other brands such as
Duplicolor Dye etc.)
- 1 or 2 cans of Dye Paint or 2 if you have a sedan ( . This will be your color of choice. ( In my DIY I used grey, since that was my color scheme. But you can use any color you want your interior to be.
- A Lint roller...LOL, you will understand why later.
Procedures:
1.) You will need to remove the door panels ( sorry I don't have any pics for this step). There will be 2 philip screws in each of the door handles, and one more once you take the handles off. Now the panel is only being held on by self holding clips. Carefully take your flat head screw driver and pry slowly around the panel.
2.) Once the door panel comes loose, be extra careful because there will be wires still attached to the panels(If you have power windows, doors etc). There will be plugs for the power window/locks, side mirrors, and interior stepping light. Unplug all.
3)Now that you got panels off, you then will need to remove the arm rest/handle. There will be screws holding them into, see pic blew. Once all the screws are removed, you will then need to remove the bottom clips. This part can be a little tough. Pry them with the flat head or whatever tool suits you best. Once all the screws and clips are removed, you can now take the Arm rest/handle off.
The screws
The clips
4)Once the door handles are removed, the next step is masking. With your masking tape, carefully tape around the door inserts. Its where the leather part meets the carpet insert. What I found easiest is masking that small area first with the tape, then use newspaper to mask the larger areas. See pics below.
Go around the edges with the tape first.

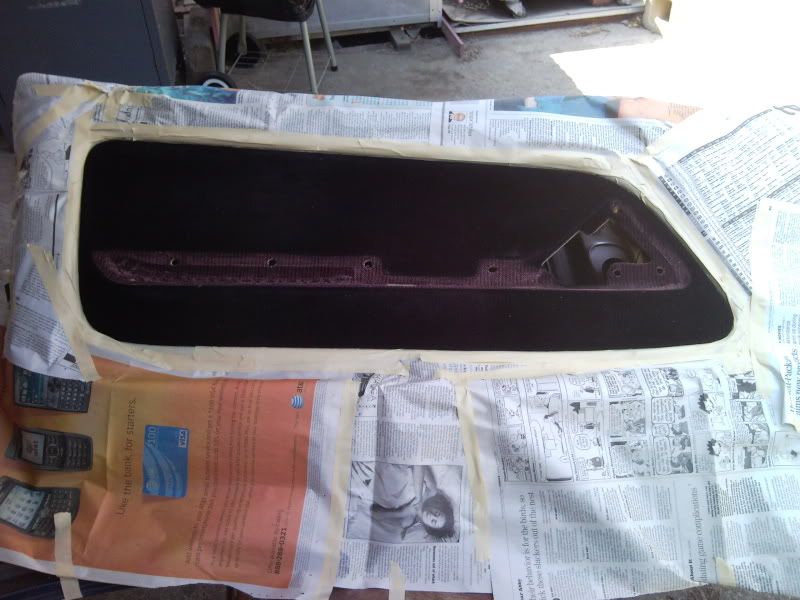

 . It will be bitch, lol.

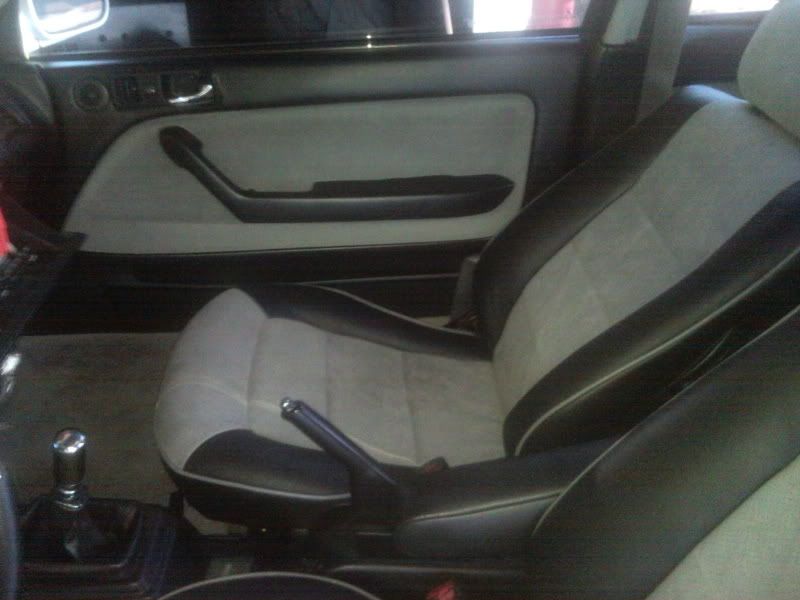


 Make sure if you paint the leather part of the doors, clean it well with rubbing alcohol, if not the dye/paint will peal etc. To paint the bottom part of the door, you will prepare the same steps as the insert. IF you have anymore questions or need any help during your project, let me know
Comment