
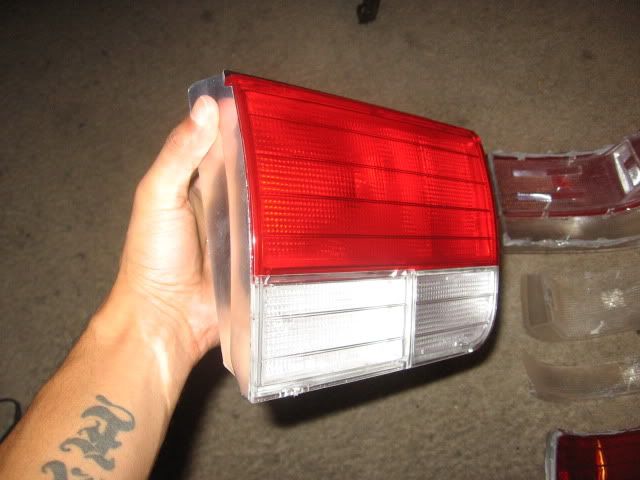
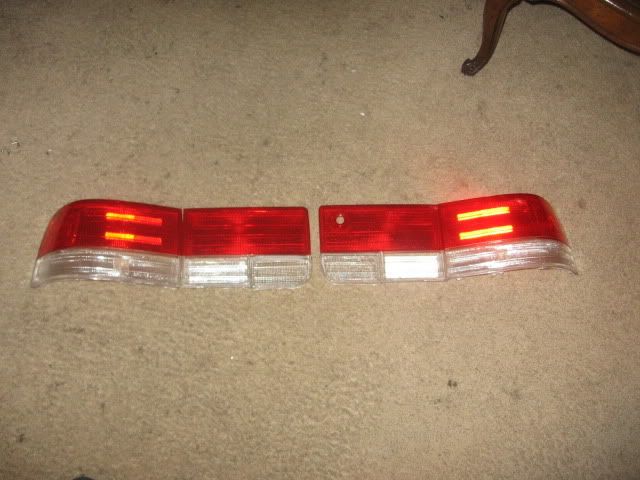
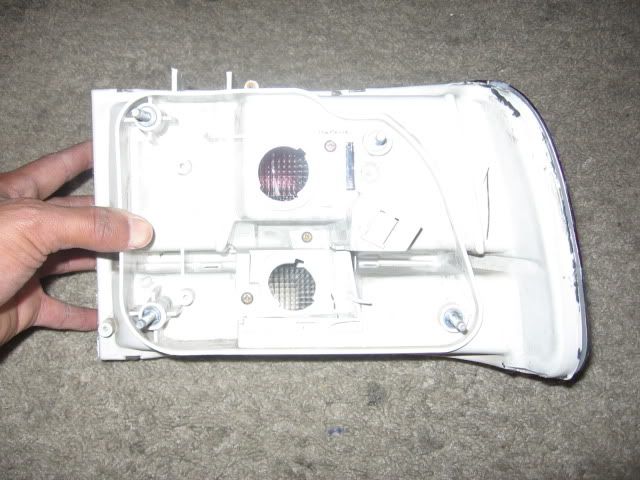
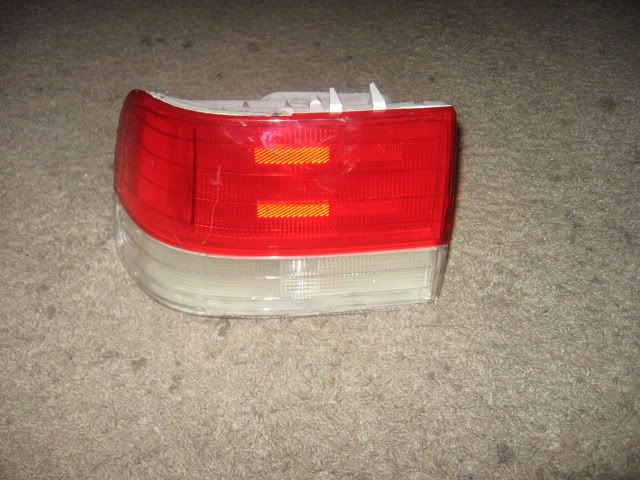
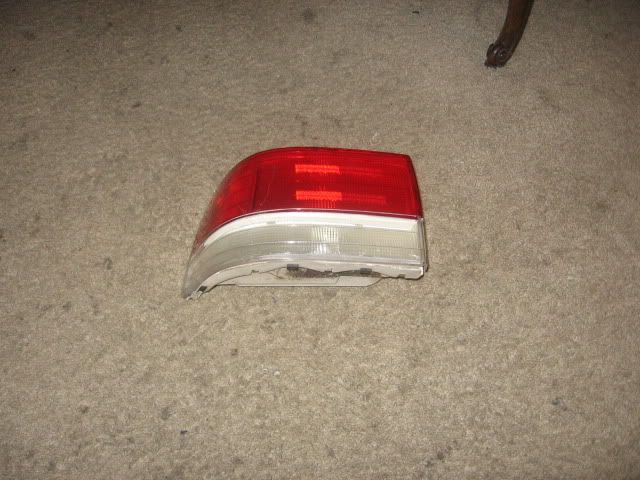
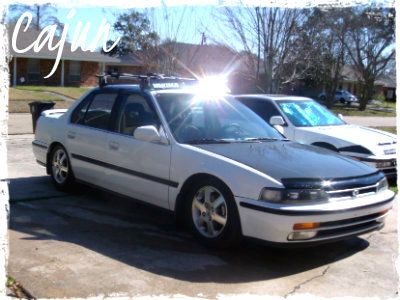
After evaluating my bored meter, I realized I needed something constructive and challenging to do. So, I decided to take apart my '92/'93 Red Clear tail lights, and only use the lenses. What I will accomplish is a complete change over on the stock '92/'93 sedan tails to using the housing and adding the after market clear lenses to them. The stock housing looks and sits much better IMO. I will also have the chance while reassembling the light to ensure that they will not leak for a very long time. I will do a thorough job as well as polish the spit out of them. Pics will follow as I will continue to update my progress.
Tools needed:
Various flat head screw drivers (at least 2 just in case)
'92/'93 Red/Clear sedan taillights
'92/'93 Stock sedan taillights
Razor blade
Oven (set @ ~225 degrees)
Adhesive remover
Clear Silicon or some other long lasting glue/adhesive
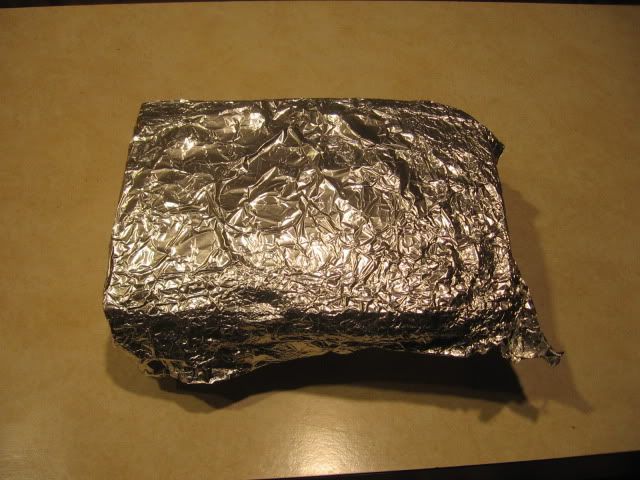
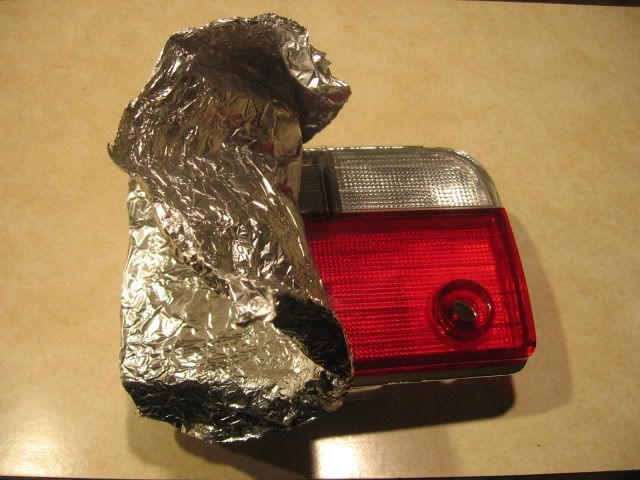
Aluminum Foil
10 mm socket (for removal/installation of taillights )
Patience
Procedure:
1. Take off any parts that are removable/unscrewable from both set of lights.
2. Preheat your oven to aprx. 200 degrees.
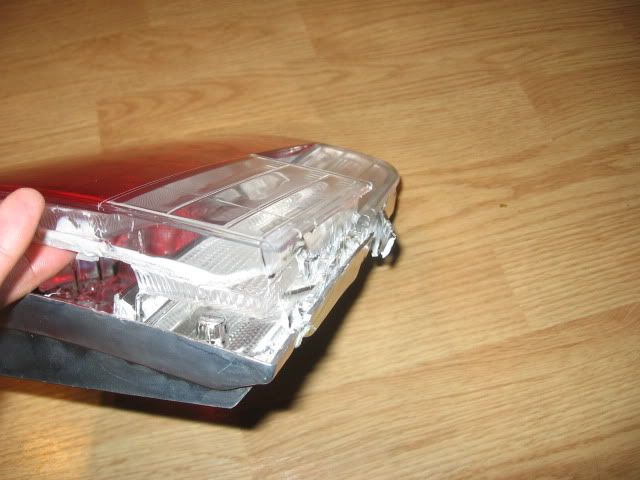
3. Get two pieces of aluminum foil, one to align the top of the cookie sheet or the bottom of the stove, and the other to cover the lens part of the light while they get baked.
4. When the lenses are covered, place them in the oven for about 10-20 minutes, depending on oven size (...DON'T OVER COOK THEM...I suggest do them one at a time).
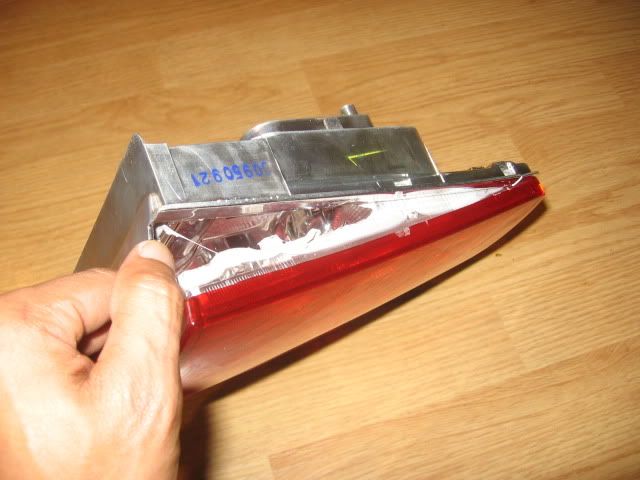
5. Take the light out of the oven when cooked and pry the lens off. BE VERY, VERY CAREFUL, AND TAKE YOUR TIME. DON NOT RUSH, THEY CAN CRACK.
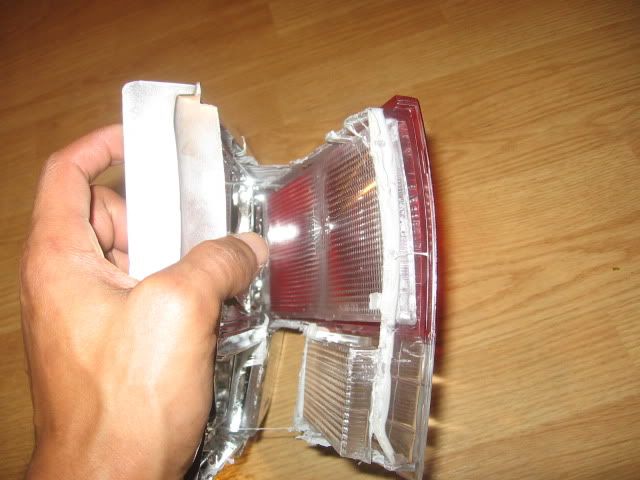
6. With the lenses separated, get all excess glue off using a razor blade and adhesive remover or some other means. This step is very important to ensure that a good seal will be obtainable when time to reassemble.
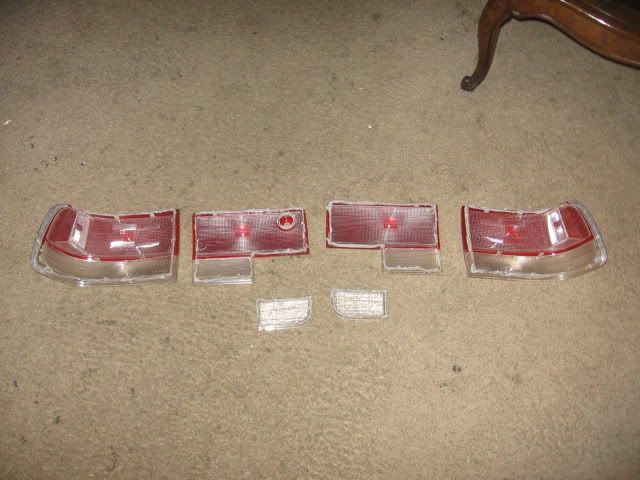
7. Clean lenses and housing thoroughly before attempting to reassemble lights. This is very important. Before adding new adhesive, do a mock up to ensure that all parts fit snug, securely, and have the proper fitment desired.

...MORE TO COME...
Tools needed:
Various flat head screw drivers (at least 2 just in case)
'92/'93 Red/Clear sedan taillights
'92/'93 Stock sedan taillights
Razor blade
Oven (set @ ~225 degrees)
Adhesive remover
Clear Silicon or some other long lasting glue/adhesive
Aluminum Foil
10 mm socket (for removal/installation of taillights )
Patience
Procedure:
1. Take off any parts that are removable/unscrewable from both set of lights.
2. Preheat your oven to aprx. 200 degrees.
3. Get two pieces of aluminum foil, one to align the top of the cookie sheet or the bottom of the stove, and the other to cover the lens part of the light while they get baked.
4. When the lenses are covered, place them in the oven for about 10-20 minutes, depending on oven size (...DON'T OVER COOK THEM...I suggest do them one at a time).
5. Take the light out of the oven when cooked and pry the lens off. BE VERY, VERY CAREFUL, AND TAKE YOUR TIME. DON NOT RUSH, THEY CAN CRACK.
6. With the lenses separated, get all excess glue off using a razor blade and adhesive remover or some other means. This step is very important to ensure that a good seal will be obtainable when time to reassemble.
7. Clean lenses and housing thoroughly before attempting to reassemble lights. This is very important. Before adding new adhesive, do a mock up to ensure that all parts fit snug, securely, and have the proper fitment desired.
...MORE TO COME...


 Lower heat and a longer time in the oven is safer.


 **Don't b scared be prepared for the worst**

Comment