
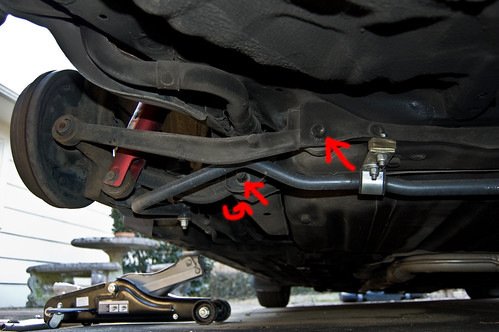
There are a number of threads that speak to the installation of polyurethane rear bushings, but few provide all the options or any kind of decent pictures to step you though the operation. So, this DIY is a compilation of my work which followed the steps found in these other threads.
King James' BFM method to bushing removal
Susp: Bushing Removal
GreenMadness' Flaming balls of rubber method
Flaming balls of rubber
Basic Bushing removal
Bushing removal, tips?
I am very glad these guys posted these threads and they helped out considerably with the installation process.
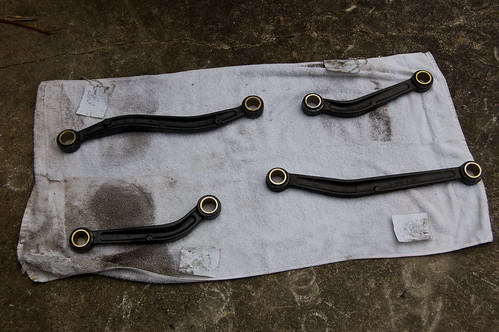
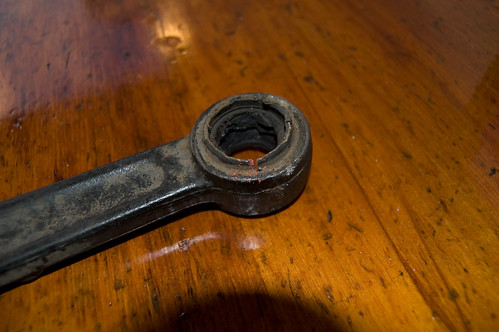
Also, if you are installing OEM bushings instead of Polyurethane ones then just follow all the same steps, but don't worry about disassembling the bushings, as the OEM pieces are all one piece. Press out the old ones and press in the new, bada-bing bada-boom.
**********************************
Parts/Tool List:
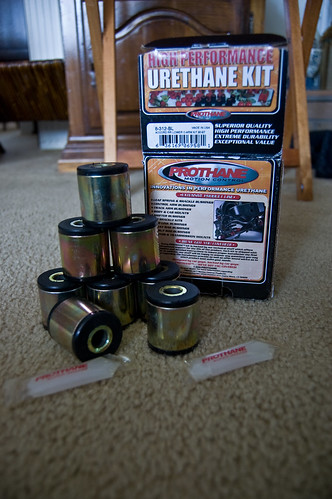
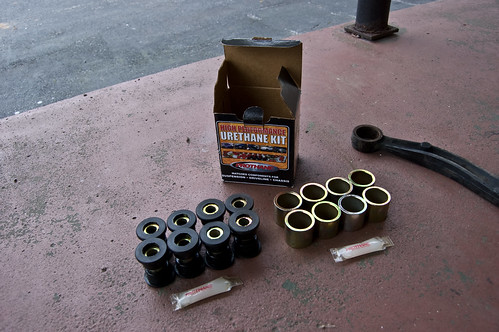
1. The Bushings
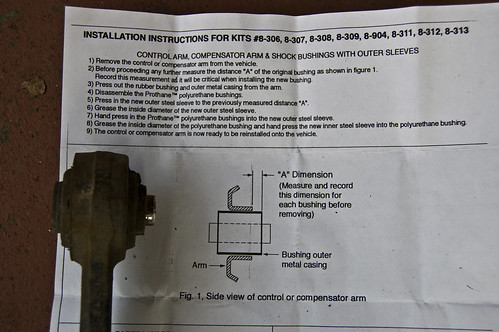
You have two options for the bushings, both come from Prothane. Prothane P/N: 8-312 is the red version of the bushings while Prothane P/N: 8-312-BL is the black version. Now, some of you may be under the impression that there is a difference between the colors, however, Prothane's colors have no difference in physical composition. In the F.A.Q.'S on Prothane website they state
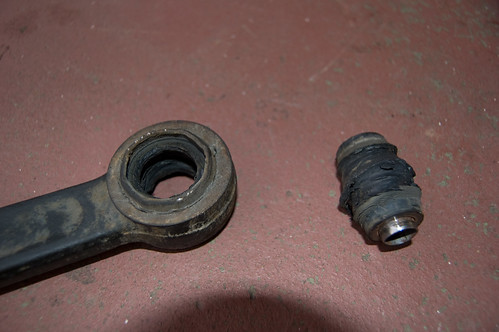
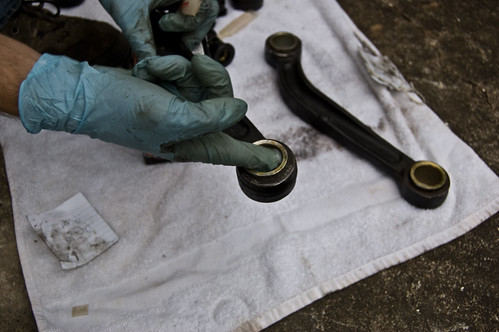
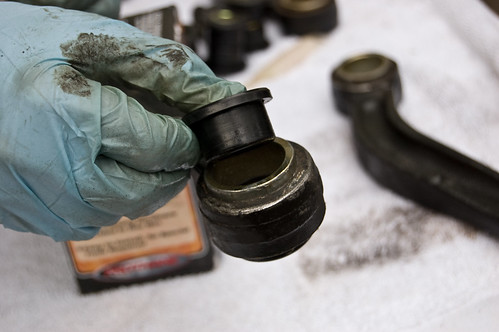
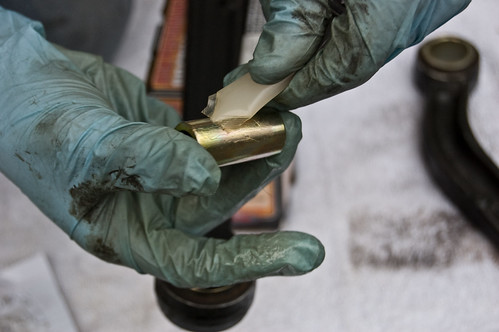
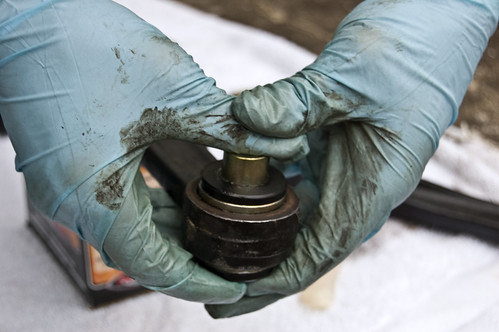
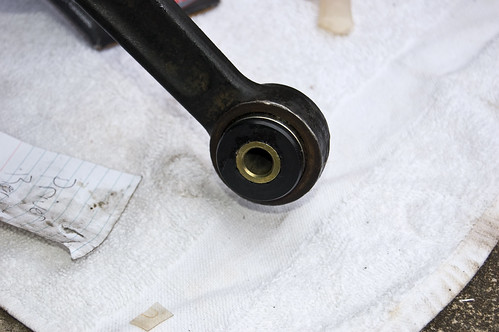
There should be eight total bushings, each with an outer sleeve, an inner sleeve, and two identical bushing pieces that slide in from either side of the outer sleeve. There should also be two small tubes of assembly lube in the box.
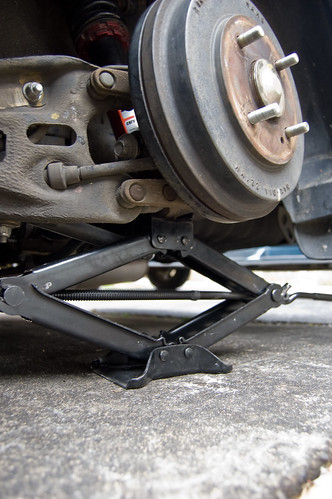
2. Jacks/Jackstands
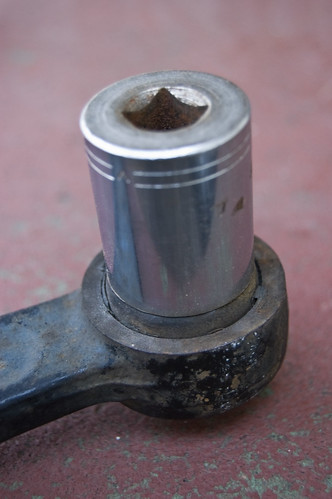
3. Ratchet/Metric Sockets
NOTE: Deep sockets are not needed for this job and in a few places are actually useless due to clearance issues with other suspension and body parts.
4. Vise Grip Pliers
5. Breaker Bar
6. PB Blaster
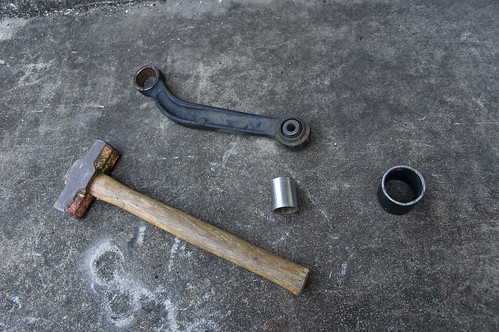
7. Hammer/Deadblow
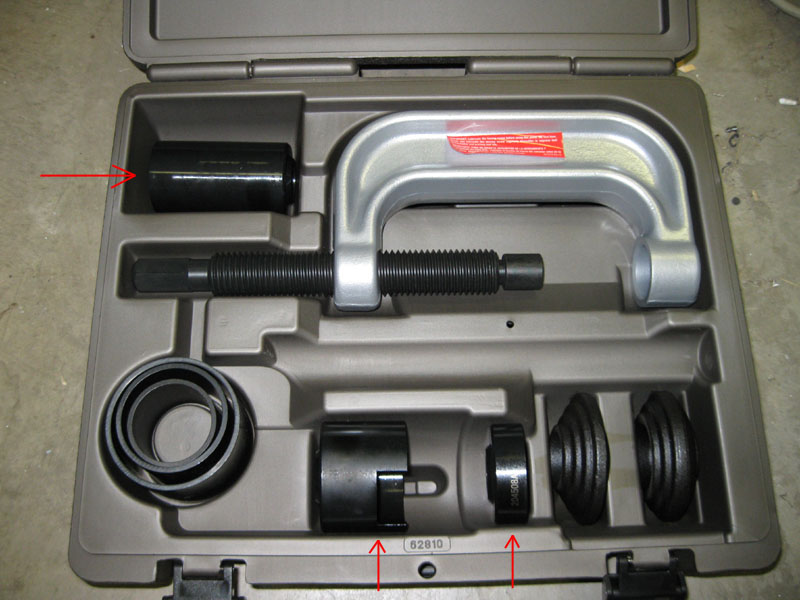
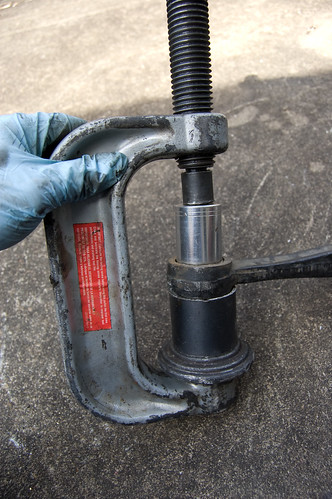
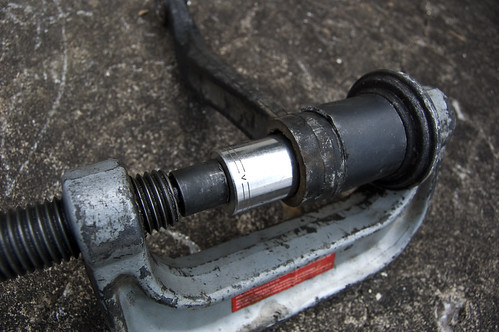
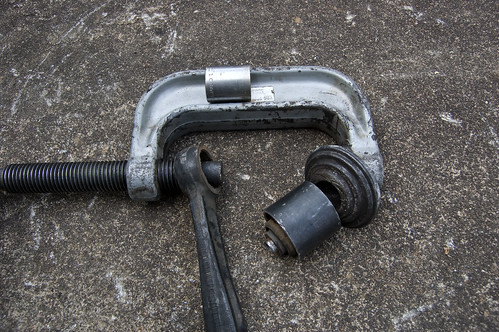
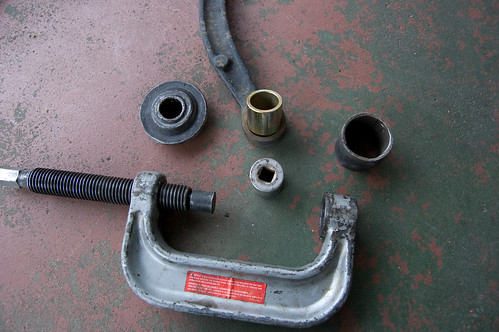
8. Balljoint Press (also called a C-Clamp Press)
This tool can be rented for FREE from your local auto parts store (Advanced Auto Parts seems to always have one). Don't worry if the three pieces indicated in the picture are missing, the aren't needed for this job.
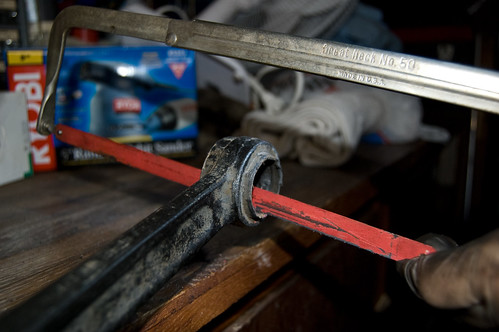
9. Hacksaw w/Metal cutting blade
10. Torque Wrench
11. Large sockets (Around 1" or so)
King James' BFM method to bushing removal
Susp: Bushing Removal
GreenMadness' Flaming balls of rubber method
Flaming balls of rubber
Basic Bushing removal
Bushing removal, tips?
I am very glad these guys posted these threads and they helped out considerably with the installation process.
Also, if you are installing OEM bushings instead of Polyurethane ones then just follow all the same steps, but don't worry about disassembling the bushings, as the OEM pieces are all one piece. Press out the old ones and press in the new, bada-bing bada-boom.
**********************************
Parts/Tool List:
1. The Bushings
You have two options for the bushings, both come from Prothane. Prothane P/N: 8-312 is the red version of the bushings while Prothane P/N: 8-312-BL is the black version. Now, some of you may be under the impression that there is a difference between the colors, however, Prothane's colors have no difference in physical composition. In the F.A.Q.'S on Prothane website they state
Originally posted by Prothane
2. Jacks/Jackstands
3. Ratchet/Metric Sockets
NOTE: Deep sockets are not needed for this job and in a few places are actually useless due to clearance issues with other suspension and body parts.
4. Vise Grip Pliers
5. Breaker Bar
6. PB Blaster
7. Hammer/Deadblow
8. Balljoint Press (also called a C-Clamp Press)
This tool can be rented for FREE from your local auto parts store (Advanced Auto Parts seems to always have one). Don't worry if the three pieces indicated in the picture are missing, the aren't needed for this job.
9. Hacksaw w/Metal cutting blade
10. Torque Wrench
11. Large sockets (Around 1" or so)


Comment