
I finally decided it was time to fix my annoying main relay. After reading countless threads on this forum and others, I've noticed that pictures and detailed instructions are impossible to find. Vague drawings in repair manuals are all I've seen for the most part.
Here we go!
You need a socket wrench with an extention or 2, a size 10mm socket, and some patients. You might even want to do some yoga before attempting this. The location of the main relay in our cars is the main reason this job is hard.

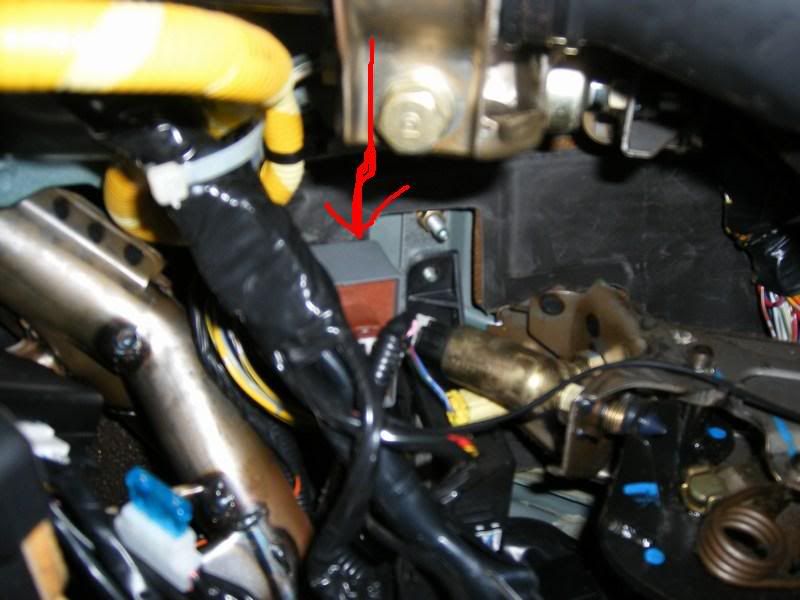
Put your upper body including your head, down on the floor board where your feet normally go. Now look up left of the stearing columb, above and left of the fuse box. You won't be able to see the main relay yet. The cruise control box is in the way.
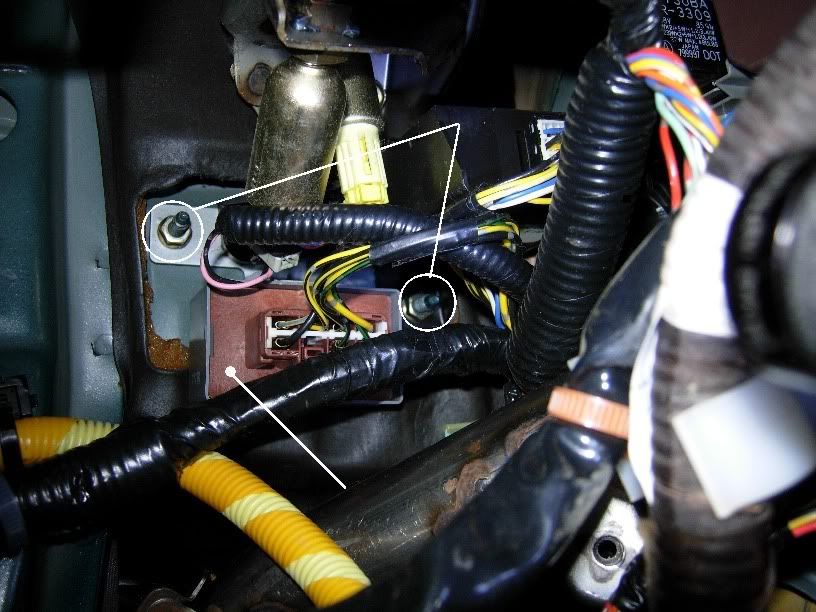
So there are 2 10mm bolts holding the CC box in place. Remove those and slide the box out of the way.
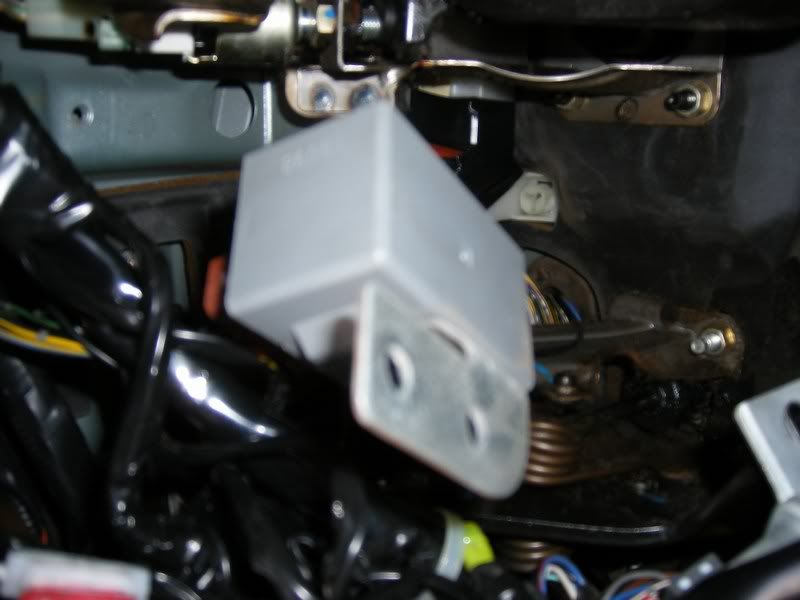
Here is the CC Box dropped down by the foot rest.
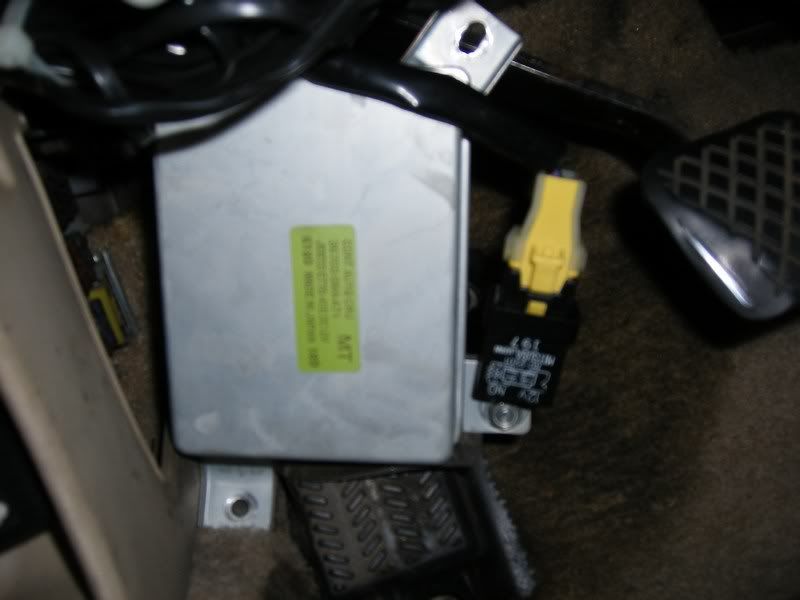
Now you should be able to see the main relay.
Now don't bother unconnecting the connector yet. It is a tight space to work in, and the connector is tight. There is one 10mm bolt holding the main relay case to the car body. Take that bolt off. Now, you might be able to remove the relay at this point, but maybe not. There is a black plastic box painfully close to the main relay, and the metal relay bracket is undernieth that plastic box bracket. Take off the other 10mm bolt to that bracket in order to loosen it up. Now with a few wiggles, the main relay box comes right out. Now you can unconnect the conector, with the help of a screwdriver for a little prying.
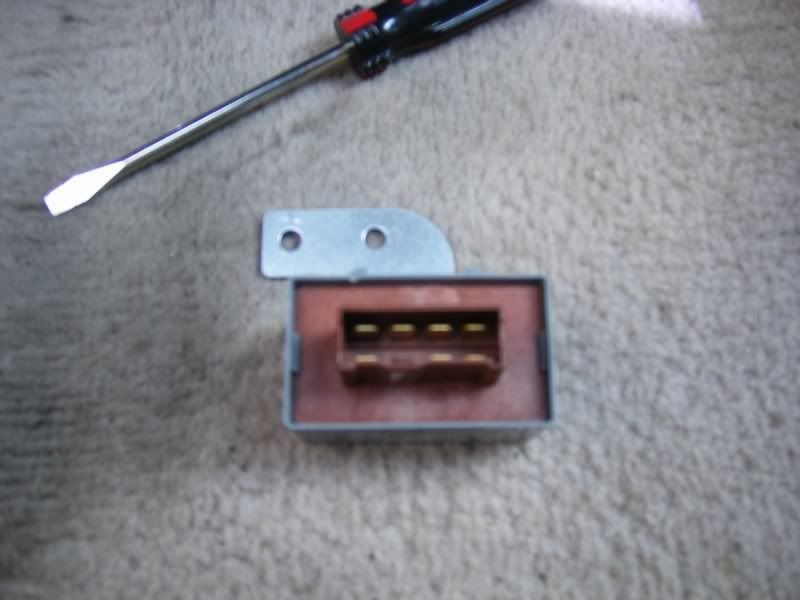
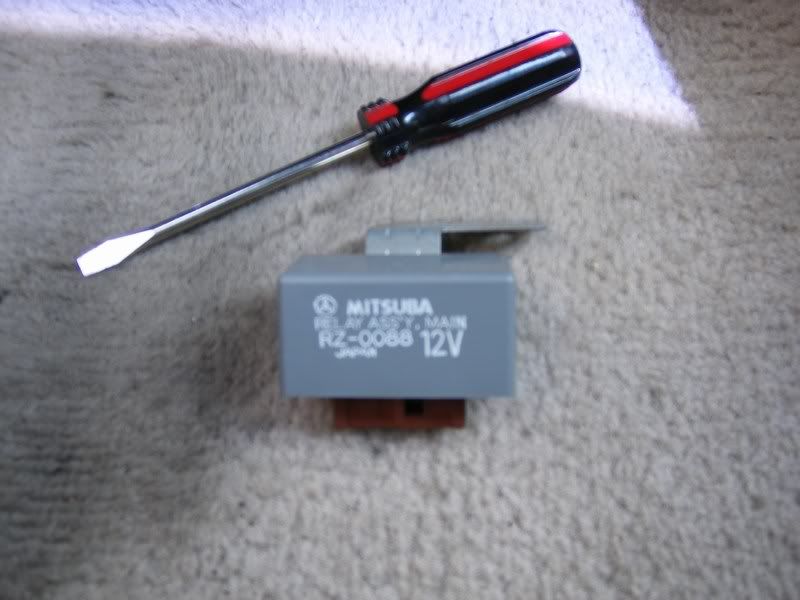
Here is the culprit:
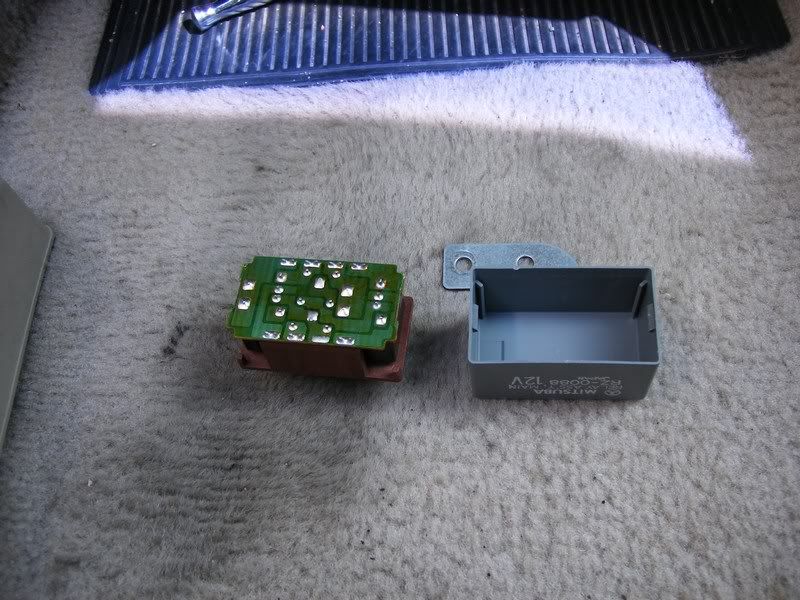
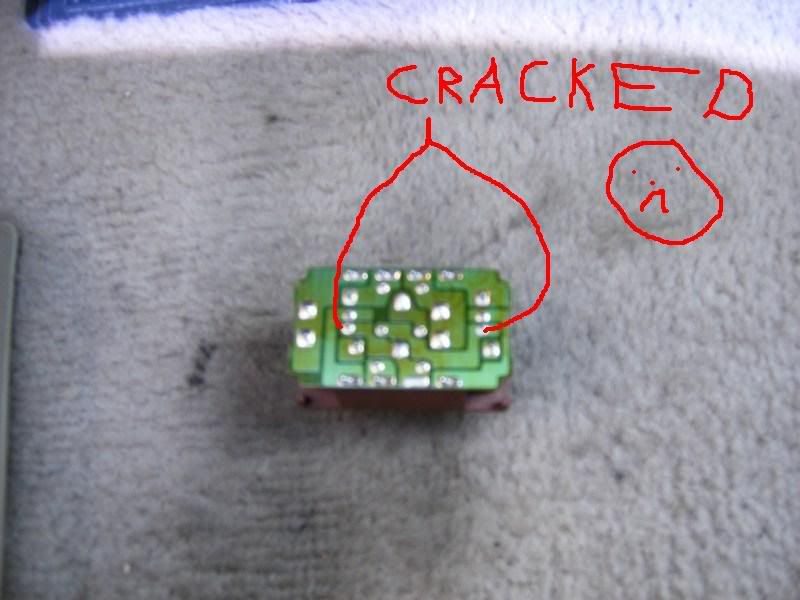
The problem that causes us all pain. These are the 2 locations that looked obviously cracked to me. There could be others that are hard to see visibly, so I went ahead and resoldered every single connection.
Now I'm not an experienced person at soldering, in fact, I've only attempted it once or twice before. It's not that hard. I got a 30amp solderer from Radio Shack, and the thinest wire they had.

I've read somewhere before, that after soldering, you should drill some holes in the main relay holder box. Not sure of the purpose of this, maybe it keeps the relay cooler. Can't hurt, so I did it. I used some sharp surgery scissors to put 4 holes through the casing, since I have no drill.
Installation is the reverse of removal. It wasn't that difficult, really.
Then pray you didn't damage the relay, and start the car
Mine started right up. Now only time will tell how the resoldered joints hold up. I'm keeping my fingers crossed.
Here we go!
You need a socket wrench with an extention or 2, a size 10mm socket, and some patients. You might even want to do some yoga before attempting this. The location of the main relay in our cars is the main reason this job is hard.
Put your upper body including your head, down on the floor board where your feet normally go.
So there are 2 10mm bolts holding the CC box in place. Remove those and slide the box out of the way.
Here is the CC Box dropped down by the foot rest.
Now you should be able to see the main relay.
Now don't bother unconnecting the connector yet. It is a tight space to work in, and the connector is tight. There is one 10mm bolt holding the main relay case to the car body. Take that bolt off. Now, you might be able to remove the relay at this point, but maybe not. There is a black plastic box painfully close to the main relay, and the metal relay bracket is undernieth that plastic box bracket. Take off the other 10mm bolt to that bracket in order to loosen it up. Now with a few wiggles, the main relay box comes right out. Now you can unconnect the conector, with the help of a screwdriver for a little prying.
Here is the culprit:
The problem that causes us all pain. These are the 2 locations that looked obviously cracked to me. There could be others that are hard to see visibly, so I went ahead and resoldered every single connection.
Now I'm not an experienced person at soldering, in fact, I've only attempted it once or twice before. It's not that hard. I got a 30amp solderer from Radio Shack, and the thinest wire they had.
I've read somewhere before, that after soldering, you should drill some holes in the main relay holder box. Not sure of the purpose of this, maybe it keeps the relay cooler. Can't hurt, so I did it. I used some sharp surgery scissors to put 4 holes through the casing, since I have no drill.
Installation is the reverse of removal. It wasn't that difficult, really.
Then pray you didn't damage the relay, and start the car
Mine started right up. Now only time will tell how the resoldered joints hold up. I'm keeping my fingers crossed.


 <<<<<<<<<<<<<<<<<<<<<<<<<<<<<<


Comment