
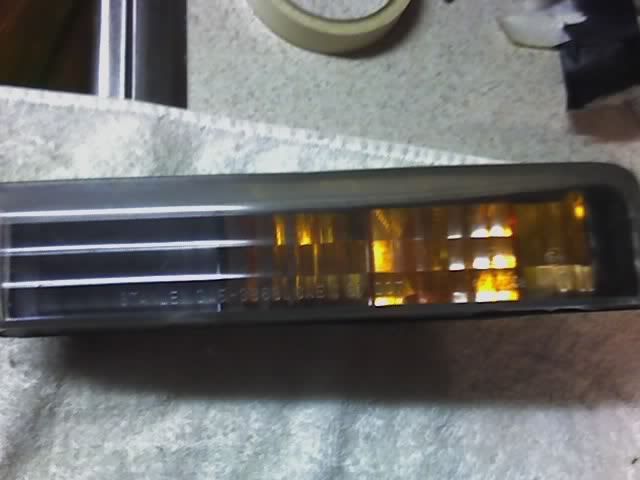
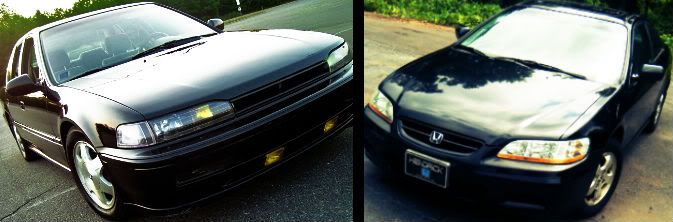
Part 3 in the series. Might as well. This is the missing link in the blacked-out front end. These really add aggressiveness to the awesome CB7/ CB9 front end.
90-91 Accord USDM Black Housing Bumper lenses (92/93 similar steps)
Materials Needed:
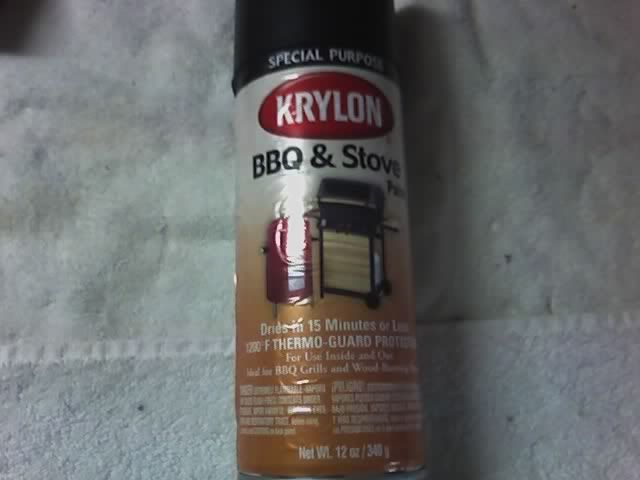
- Flat Black spray paint (High-temp, BBQ paint works best)
- 400-Grit Sand Paper
- Silicone Sealant (Clear works fine)
- Brand Name Masking Tape
- Towel
- Oven mitts
Tools Needed:
- Phillips Screwdriver
- Flat Head Screwdriver (Jewelers and normal size)
- Clamps
- Razor Blade, or Utility Knife, like an Exacto
- Oven
1. Remove the bumper lens retaining screw.
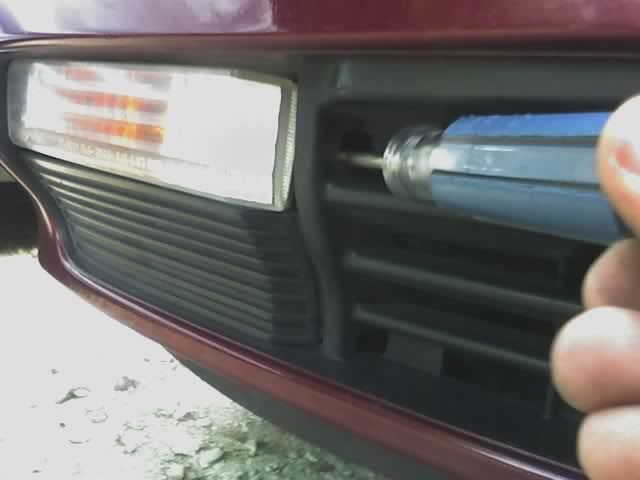
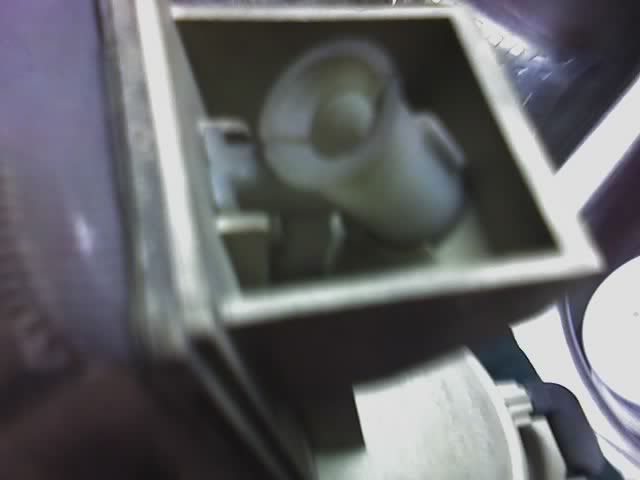
2. Pull out the marker and unplug the bulb connector.

3. Remove the plastic piece that holds the screw to secure the lens to the bumper.
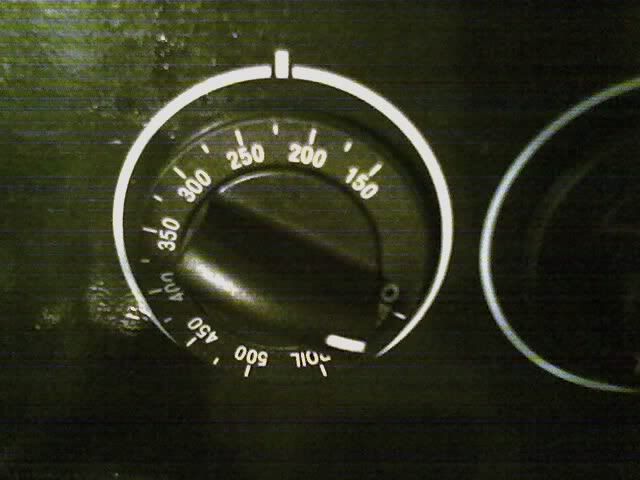
4. Pre-heat the oven to 225 degrees F. Place one bumper lens in the oven for 5-8 minutes. DO NOT LEAVE too long as the lens WILL warp.
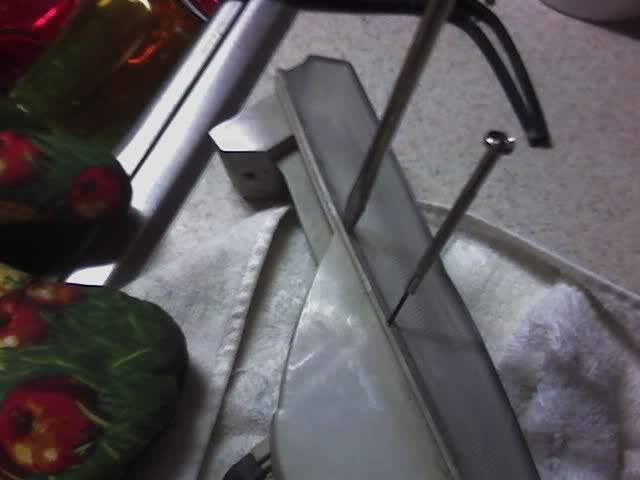
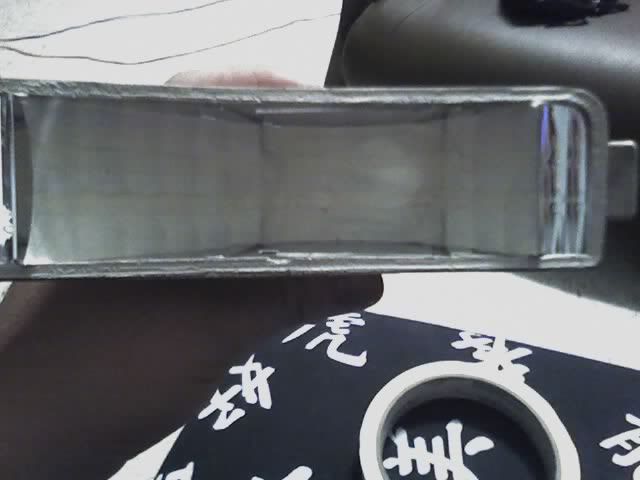
5. Remove from oven; use extreme caution as the surfaces are extremely hot. Use a jeweler�s screwdriver to pry open the housing. Once you get it started, use a normal size flat-head screwdriver to pry it open the rest of the way. Take your time as not to crack the outer lens. If needed, place the corner back in the oven to loosen the bond further.
6. Remove the amber lens from the lens housing. Note: 92/93 skip this step.

7. Mask off the inner half-moon. Be sure to press down on the edges so that the paint does not seep through.
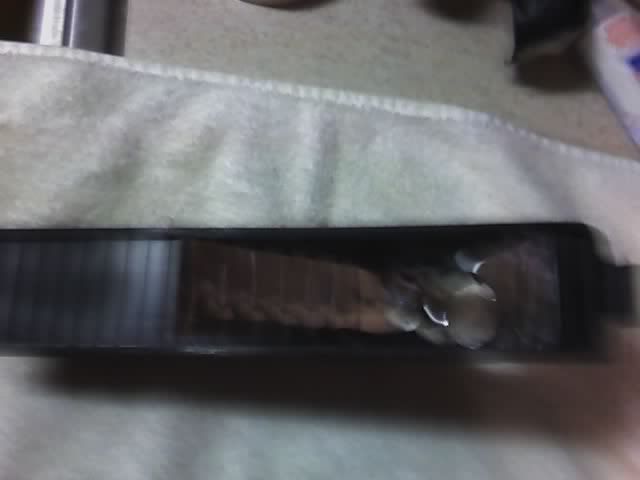
8. Apply 5-6 coats of paint to the lens housing. You may choose to sand the housing first, but it is not necessary.
9. Remove the masking tape after the paint has dried. You may choose to paint the chrome part yellow or amber with Krylon Stained Glass Paint #9024 and #9023; respectively.
10. Insert the amber lens. Note: 92/93 skip this step.
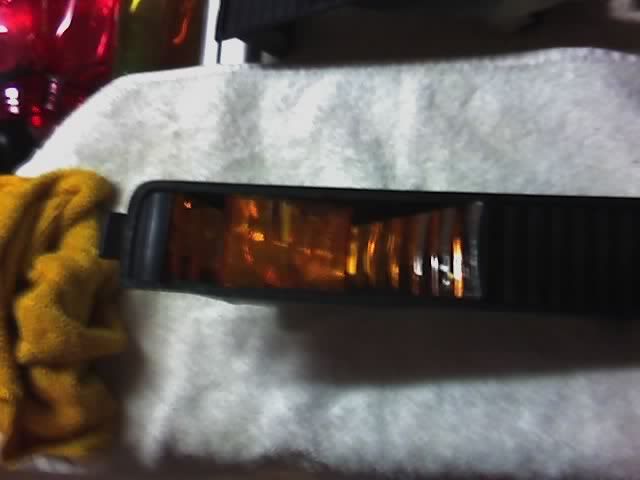
11. Apply clear silicon to the outer edge and either tape or clamp the two halves together. Reinstall in reverse.
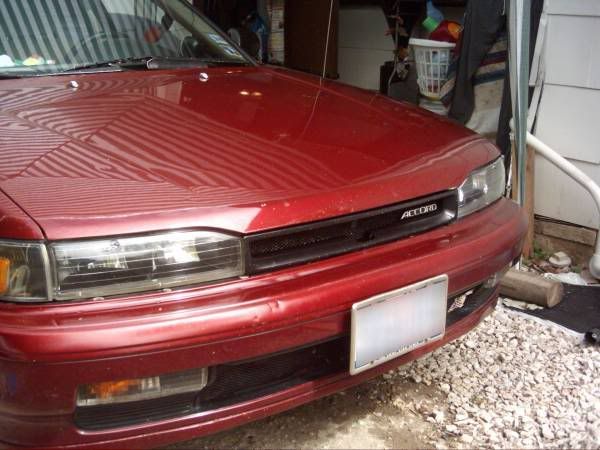
12. The finished product on the car.
90-91 Accord USDM Black Housing Bumper lenses (92/93 similar steps)
Materials Needed:
- Flat Black spray paint (High-temp, BBQ paint works best)
- 400-Grit Sand Paper
- Silicone Sealant (Clear works fine)
- Brand Name Masking Tape
- Towel
- Oven mitts
Tools Needed:
- Phillips Screwdriver
- Flat Head Screwdriver (Jewelers and normal size)
- Clamps
- Razor Blade, or Utility Knife, like an Exacto
- Oven
1. Remove the bumper lens retaining screw.
2. Pull out the marker and unplug the bulb connector.
3. Remove the plastic piece that holds the screw to secure the lens to the bumper.
4. Pre-heat the oven to 225 degrees F. Place one bumper lens in the oven for 5-8 minutes. DO NOT LEAVE too long as the lens WILL warp.
5. Remove from oven; use extreme caution as the surfaces are extremely hot. Use a jeweler�s screwdriver to pry open the housing. Once you get it started, use a normal size flat-head screwdriver to pry it open the rest of the way. Take your time as not to crack the outer lens. If needed, place the corner back in the oven to loosen the bond further.
6. Remove the amber lens from the lens housing. Note: 92/93 skip this step.
7. Mask off the inner half-moon. Be sure to press down on the edges so that the paint does not seep through.
8. Apply 5-6 coats of paint to the lens housing. You may choose to sand the housing first, but it is not necessary.
9. Remove the masking tape after the paint has dried. You may choose to paint the chrome part yellow or amber with Krylon Stained Glass Paint #9024 and #9023; respectively.
10. Insert the amber lens. Note: 92/93 skip this step.
11. Apply clear silicon to the outer edge and either tape or clamp the two halves together. Reinstall in reverse.
12. The finished product on the car.


Comment