Interior Project
So far i have put my own sound deadening in all the panels and on the rear deck.
I redid all of the door panels to take out the nasty green looking fabric and bought material at joanns to redo them.
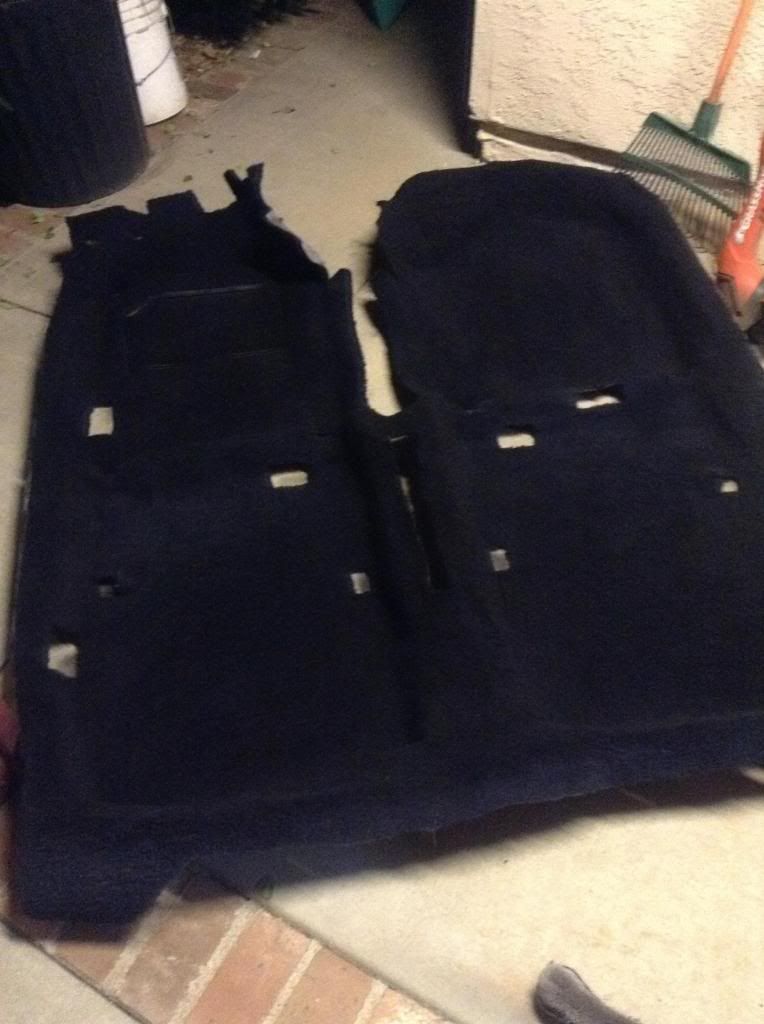
also for my interior project, I dyed my tan carpet black.
Then at the junkyard I found a complete set of black seatbelts out of a coupe!

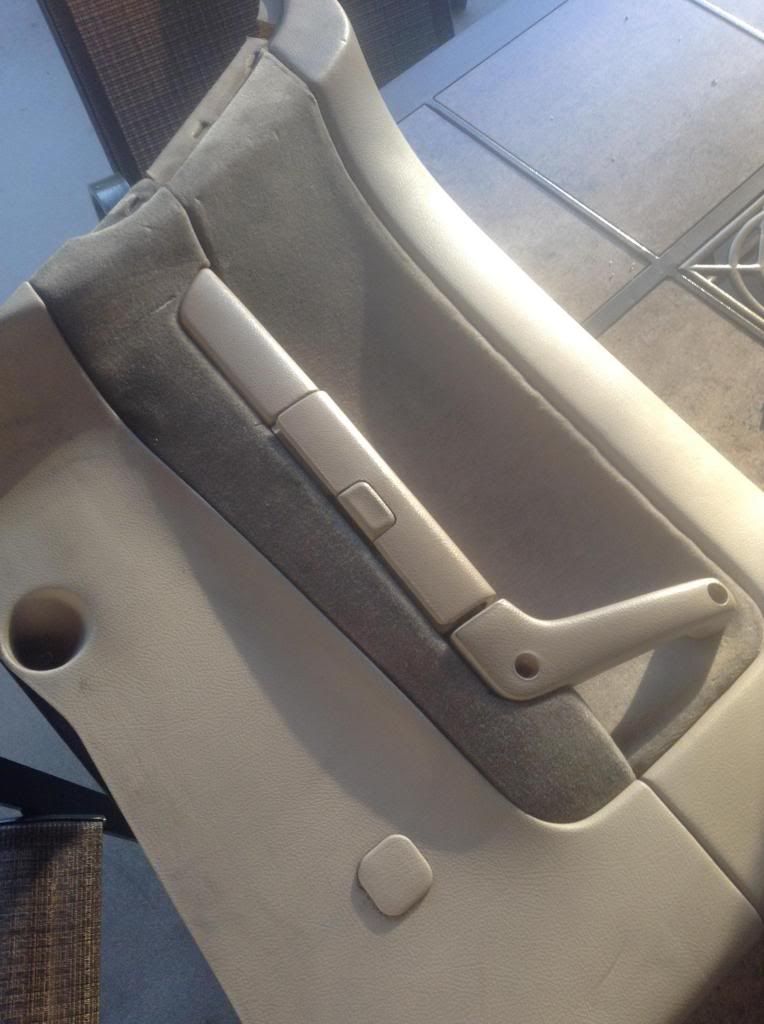
I'll start with what the door panels looked like.
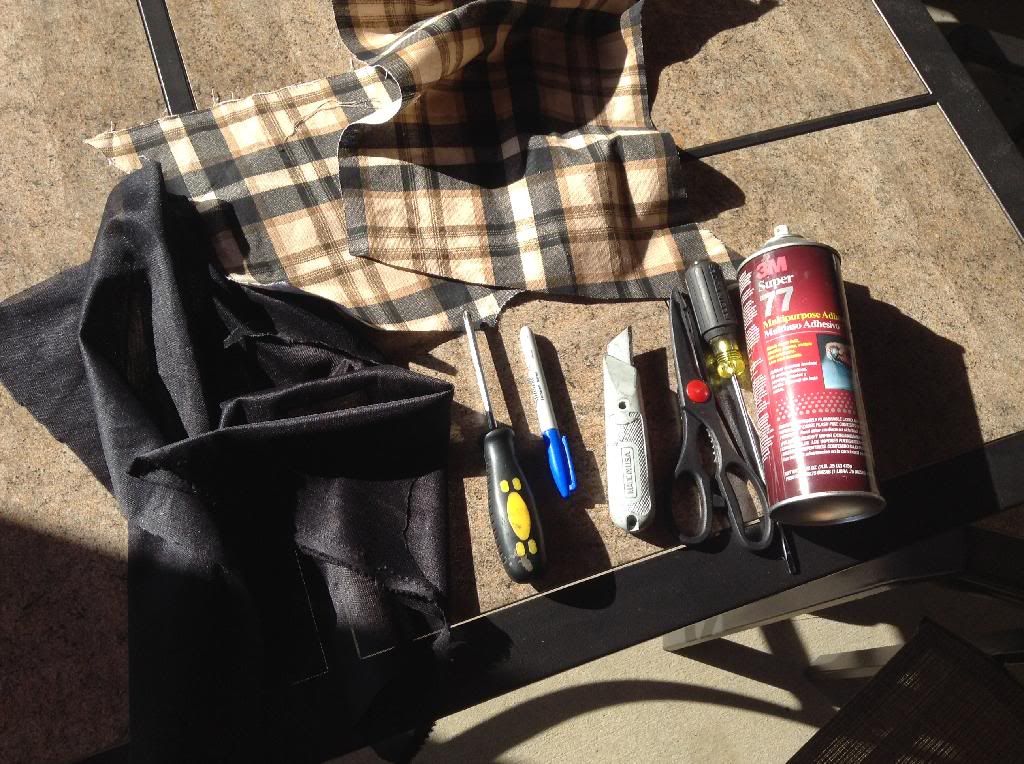
Here are all the tools and materials that i needed
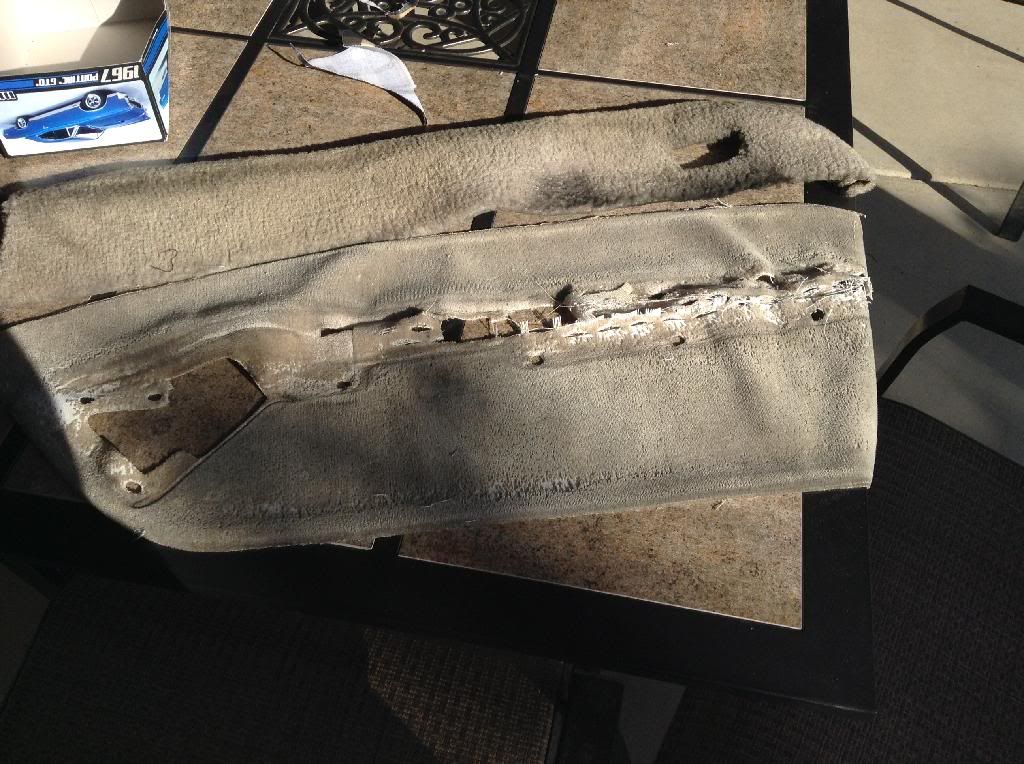
Then i stripped the old material off
and installed the new material
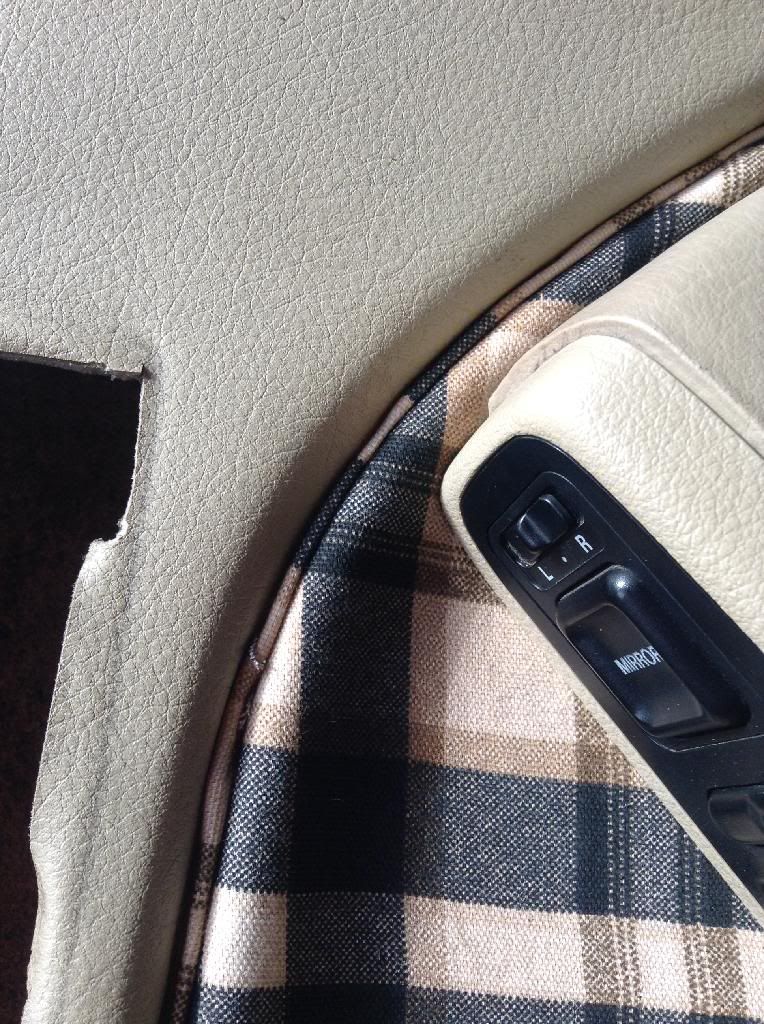
which wasn't hard at all. just a matter of disassembling and using adhesive for the new material. I also inserted a piece of piping that i made so it would cover the gap that's between the material and door panel.
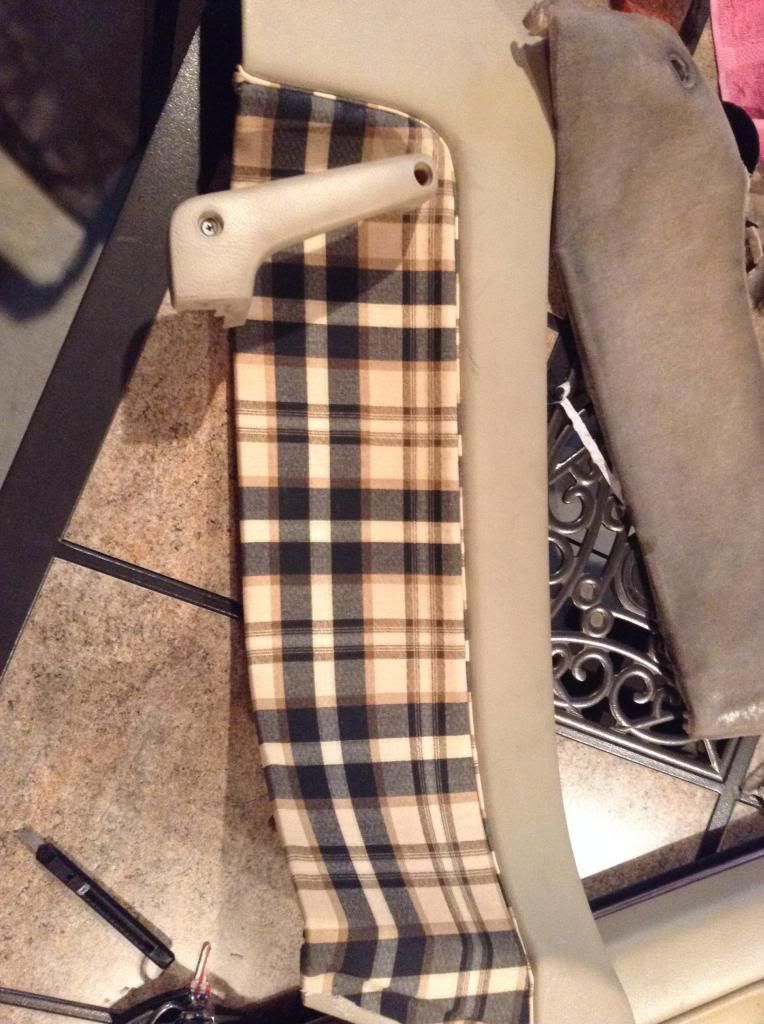
heres a better picture of the piping i did
So it was very repetitive doing all of the panels here is what i was doing
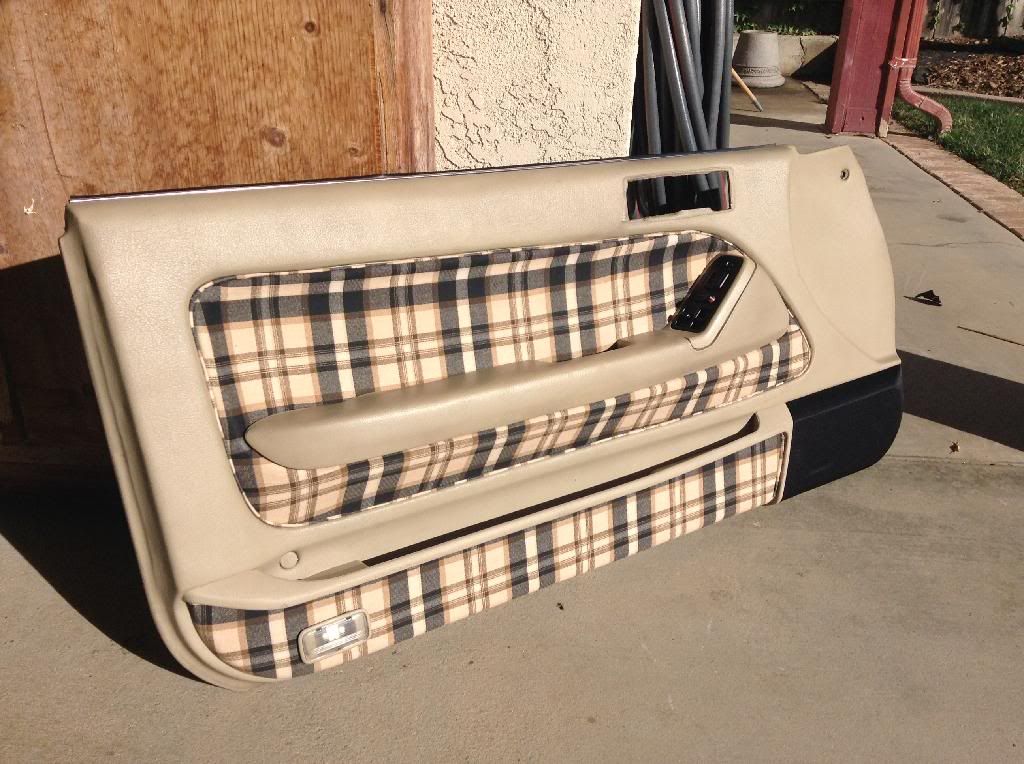
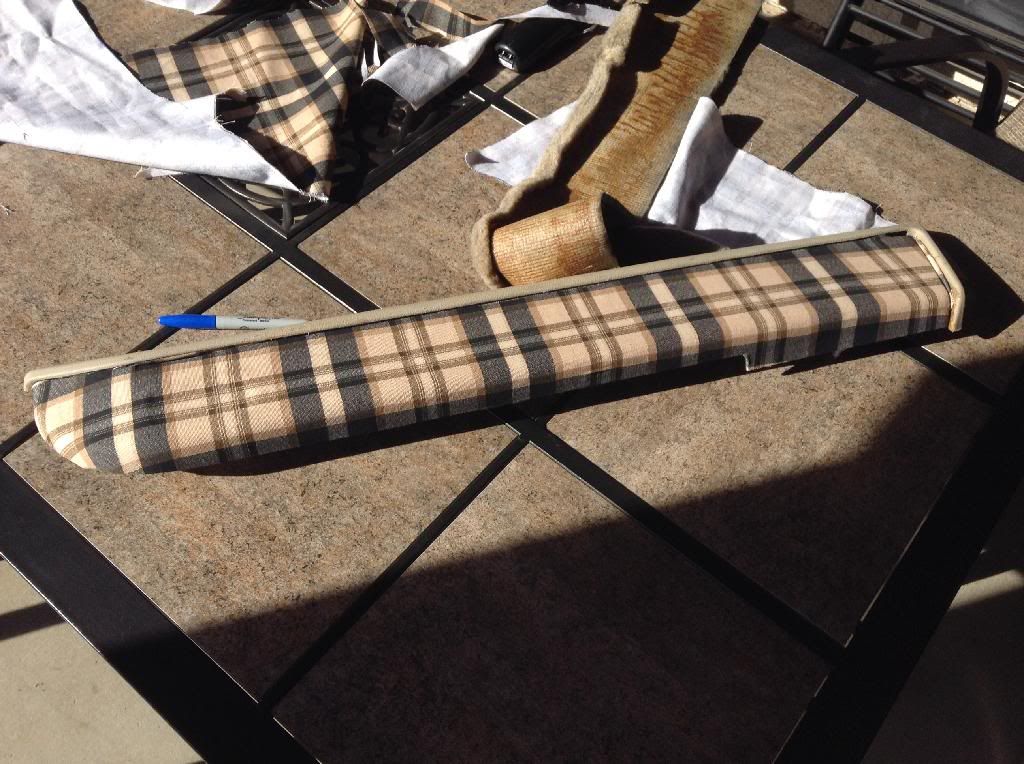
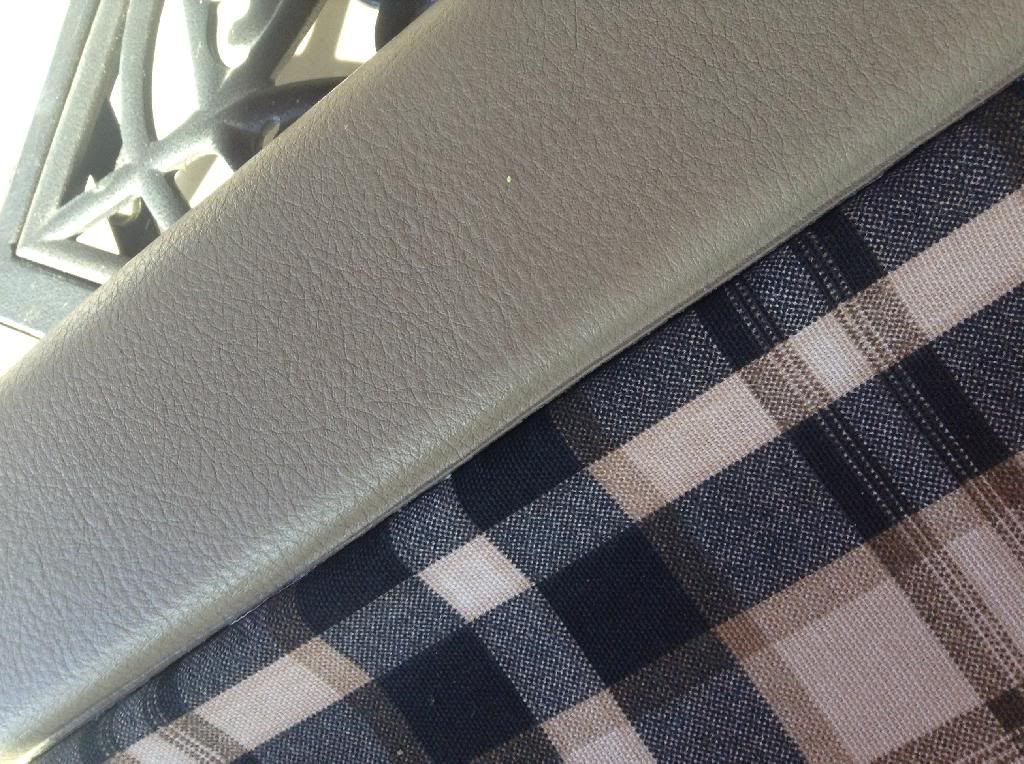
I am definitely satisfied with the outcome over what it was before! It looks way better than the dirty stained 20 year old material.
After those were done, I recovered all my speaker covers with new black material
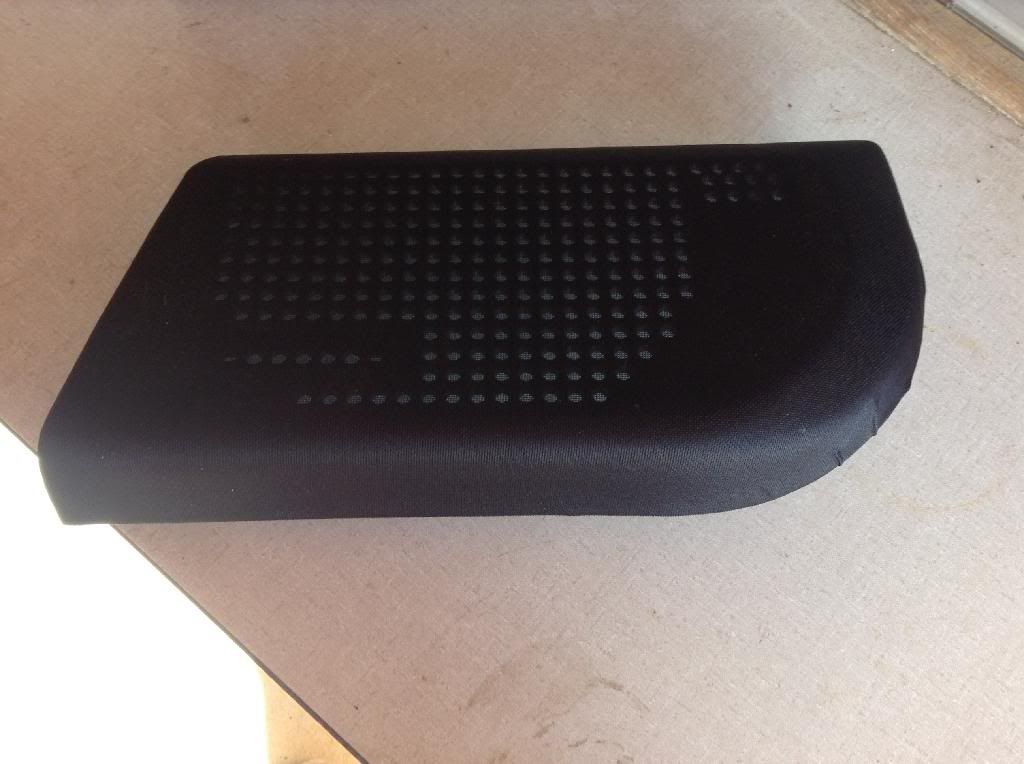
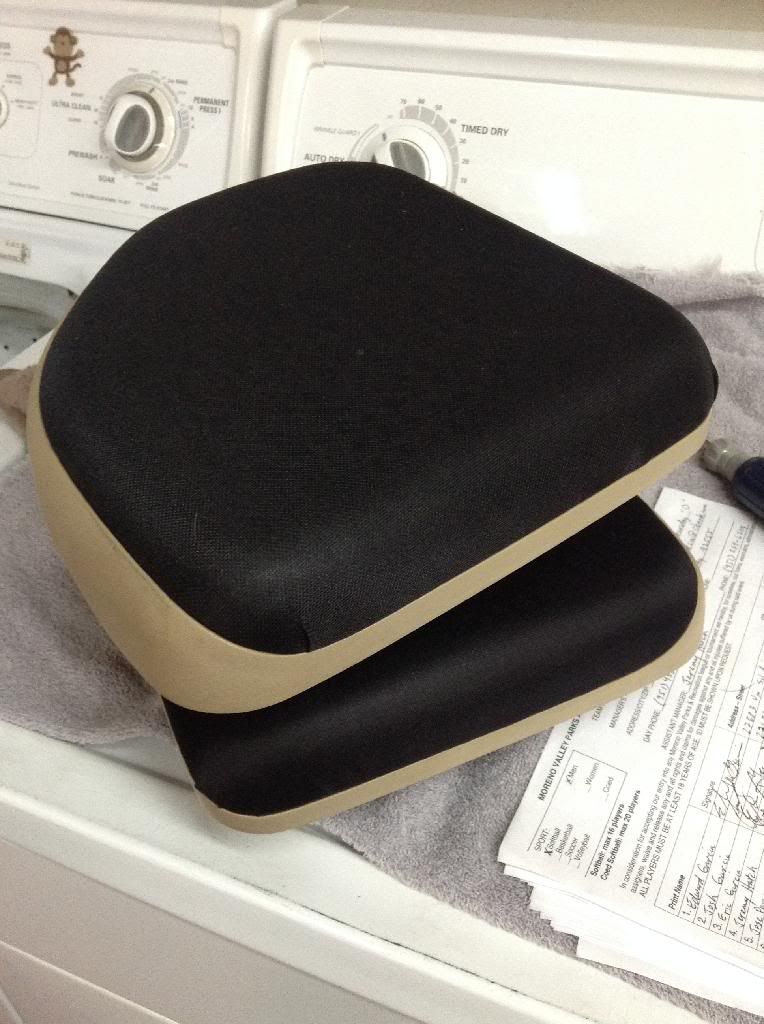
Then cam the big project, THE CARPET!
Heres the old tan carpet after a serious cleaning!
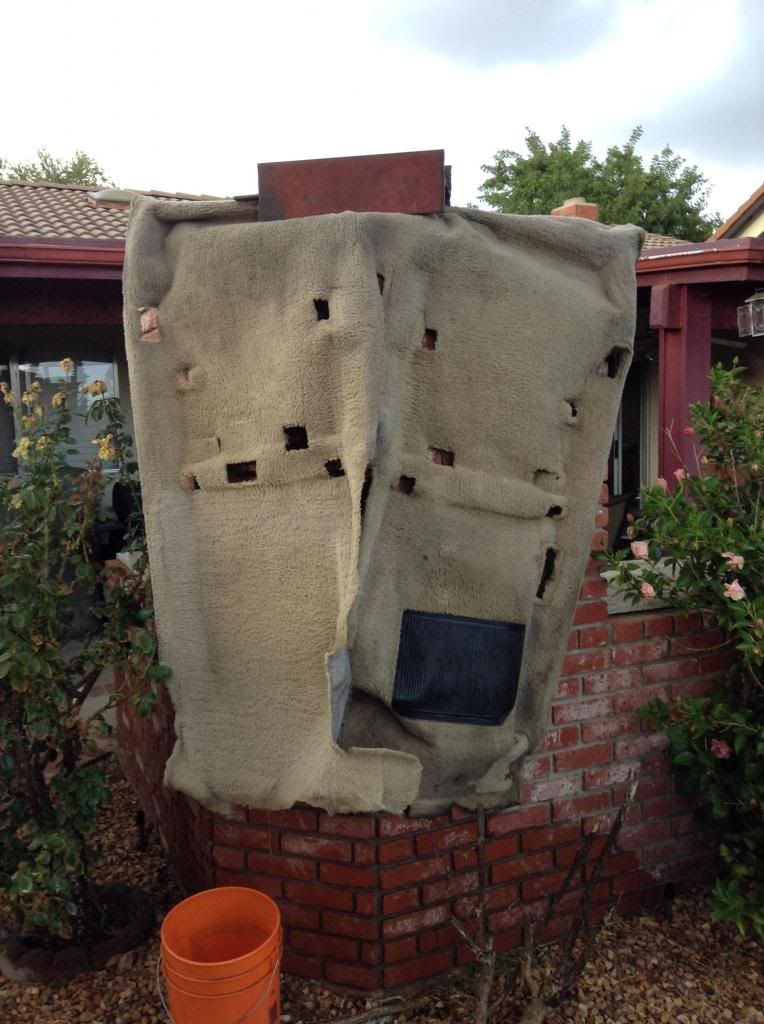
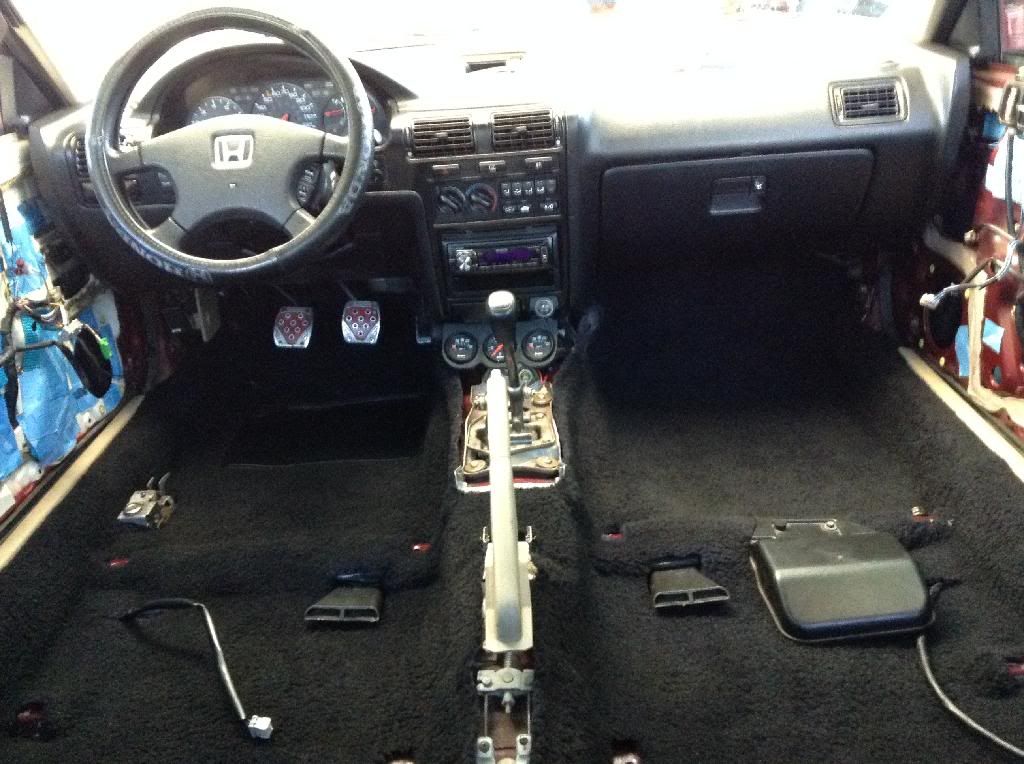
The interior without ANYTHING lol
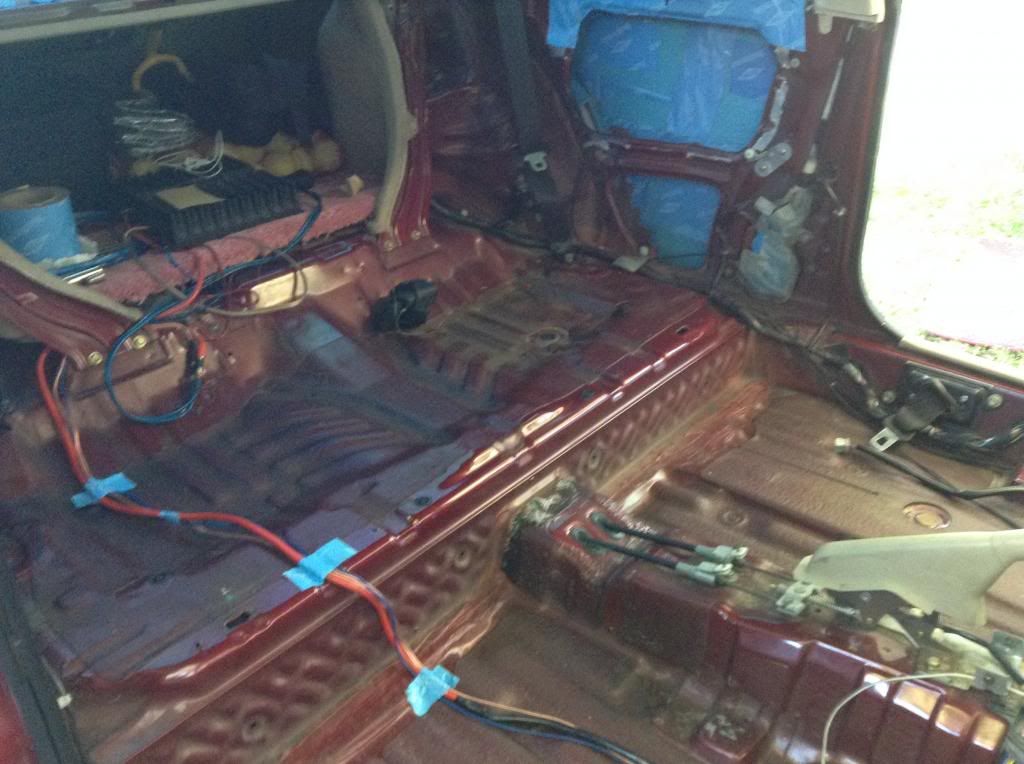
Then came the RIT dye in a kiddy pool for a couple of days, then it was put back in the car.
Sound Deadening
Then i decided while everything was already out i might as well put in the sound deadening material that i've always wanted to do.
This was the most time consuming part of this whole project! I first decided the type of deadening material i wanted. After hours of research and price checking, i decided if i was doing this on a budget, then $200 deadening material was not an option

So then came the research into what made deadening material so special.
I figured out that almost all the deadening material had one thing in common. which was they had a dense adhesive base, usually with a foam layer on top of that.
So i started looking into buying these material myself. I saw that some people used roofing material, but it is made of an asphalt compound which can smell like asphalt when the car gets hot. I was not about to have my car smelling like freshly poured pavement on a hot day.
So i then found this magical wizard material called "Butyl Rubber"
It was every thing i needed: dense, adhesive, and no smells or toxins!
I found a huge ass roll of this and bought it off amazon for $30 shipped!
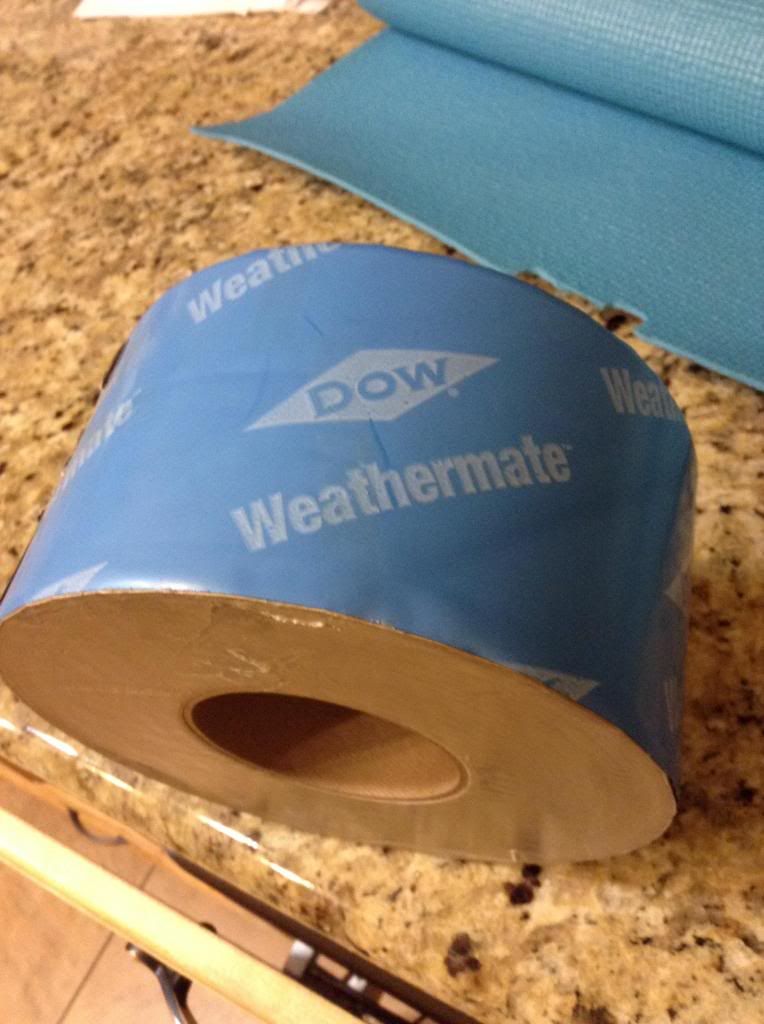
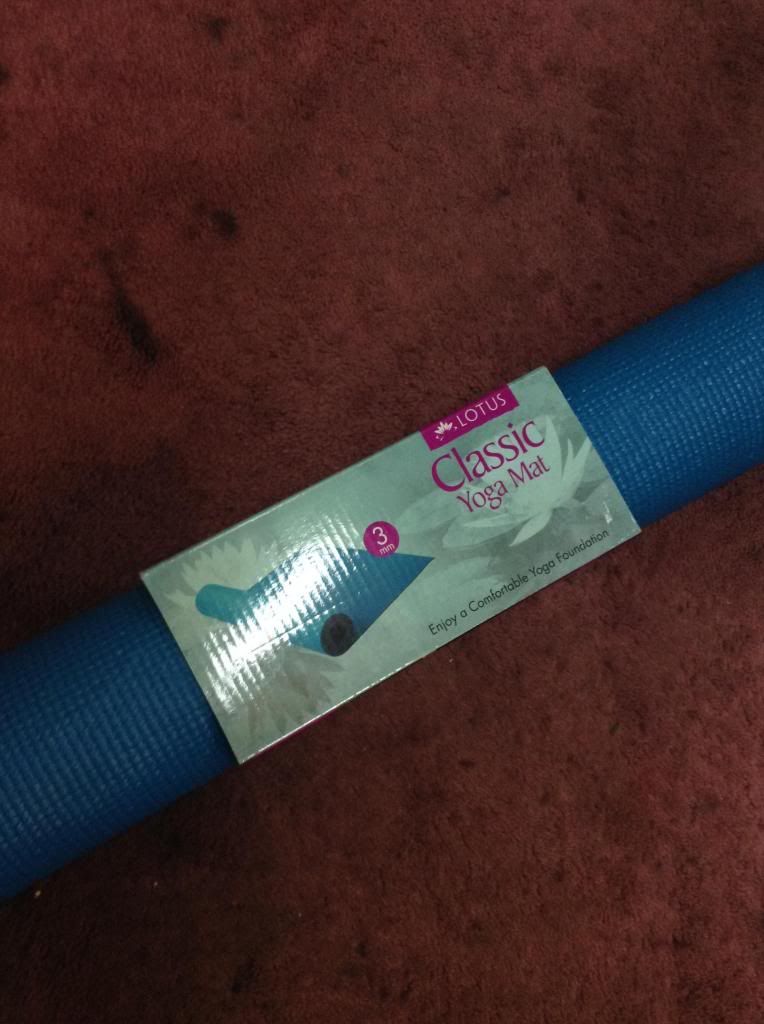
for the foam barrier i used a couple of rolls of yoga mat with adhesive sprayed on it.
here is the quarter panel with small base amount of Butyl Rubber
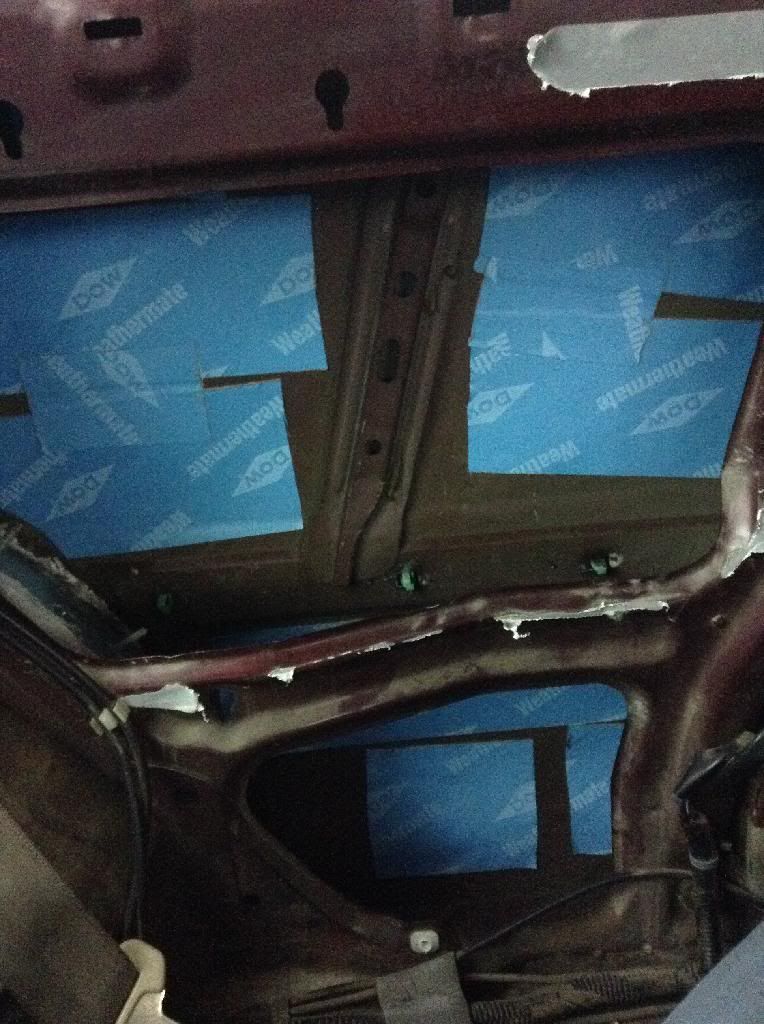
Then mocking up the yoga mat, cutting it, applying the adhesive, and finally installed
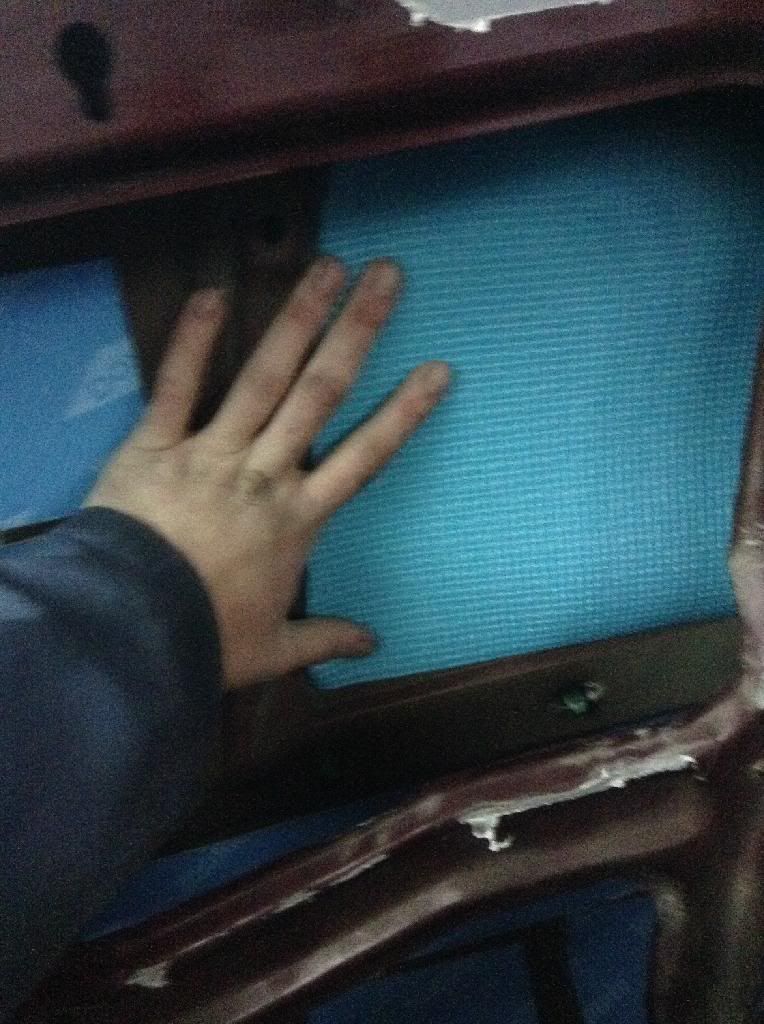
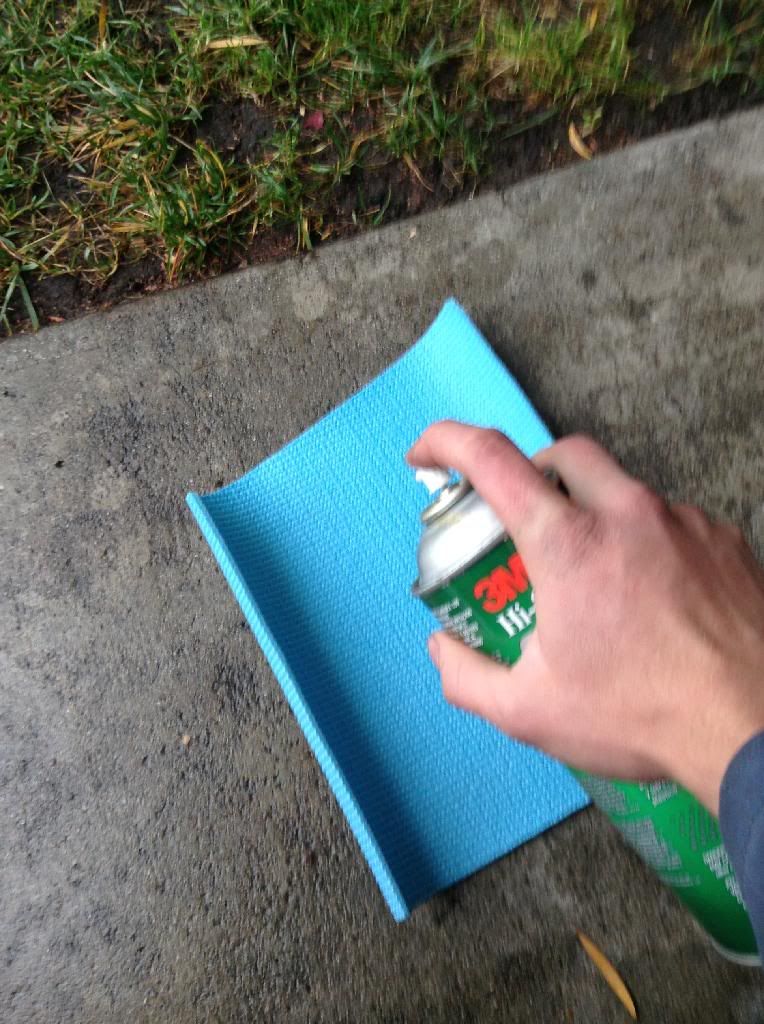
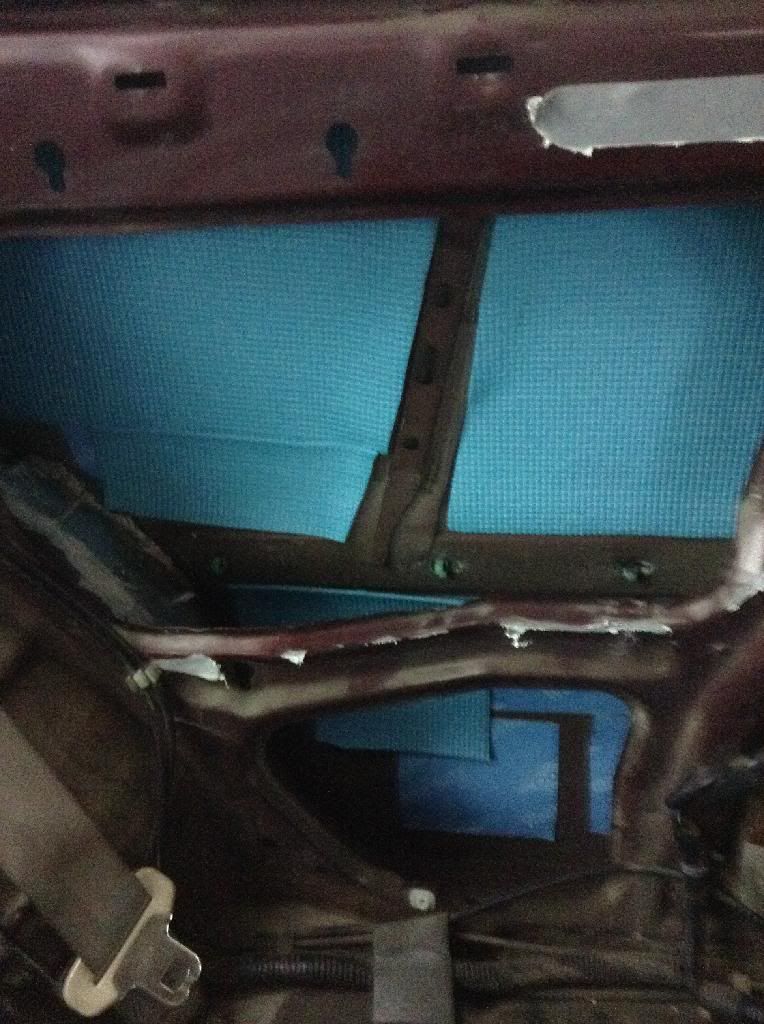
Next came the final layer of sealing all the edges and applying another layer of Butyl Rubber
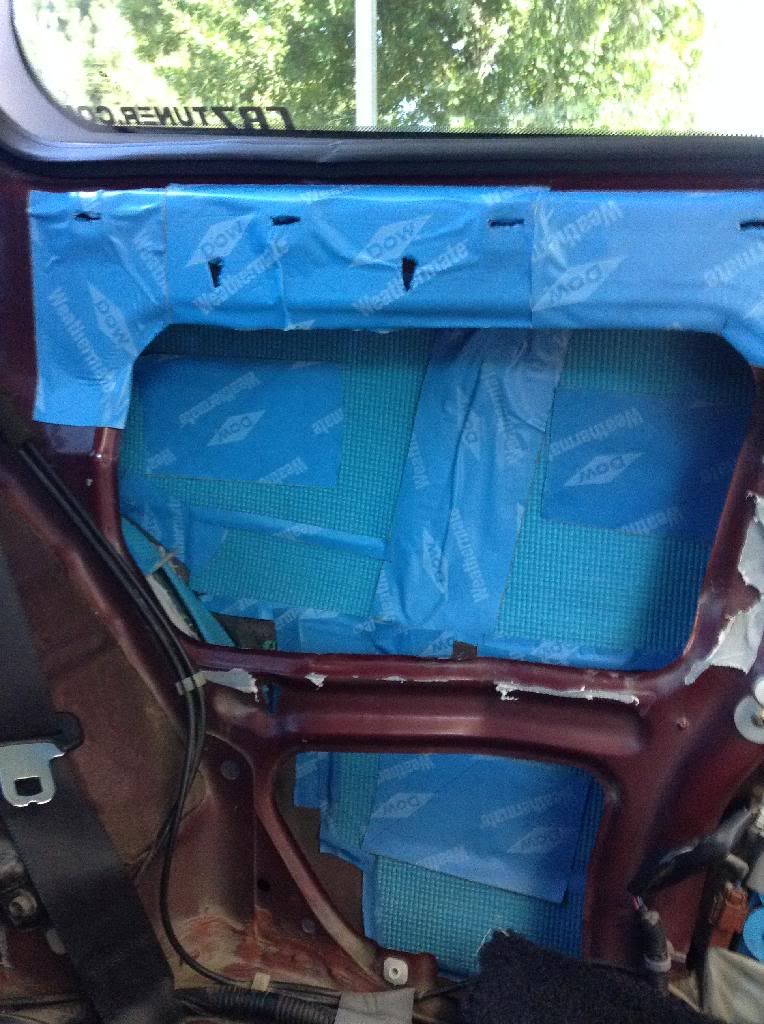
After ALL the door panels were Deadened (which took a while
 ), then i went onto installing my own vapor barrier.
 All i did was buy a couple of heavy duty large trashbags and used the Butyl rubber to seal the edges.
My materials
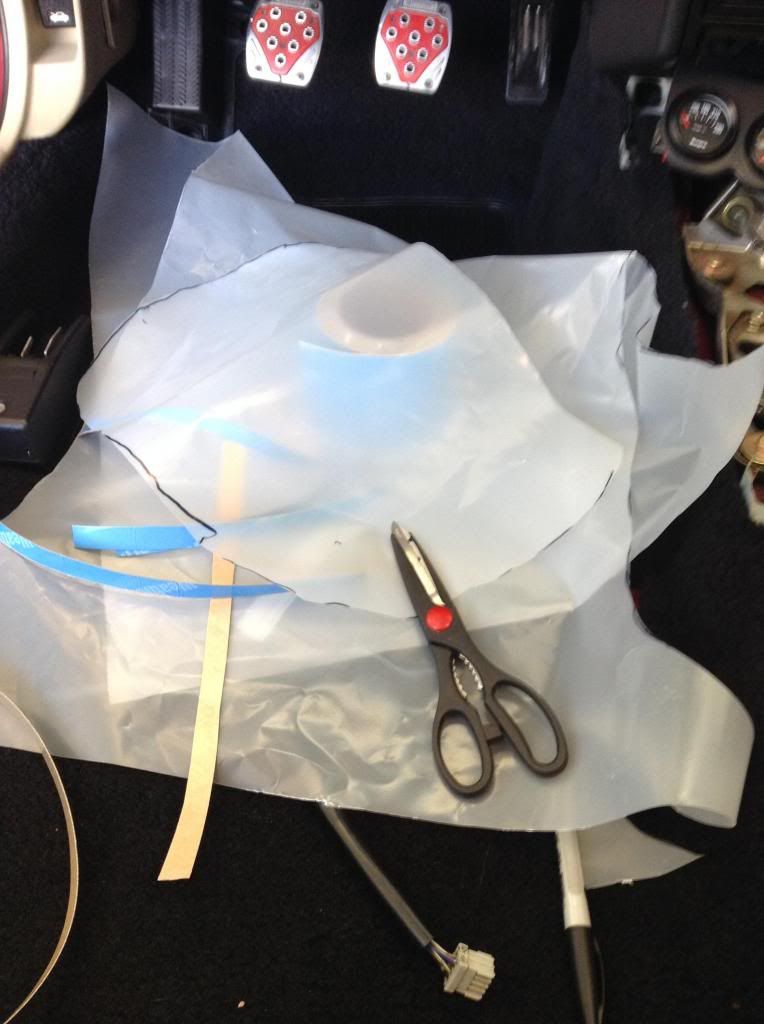
The Product
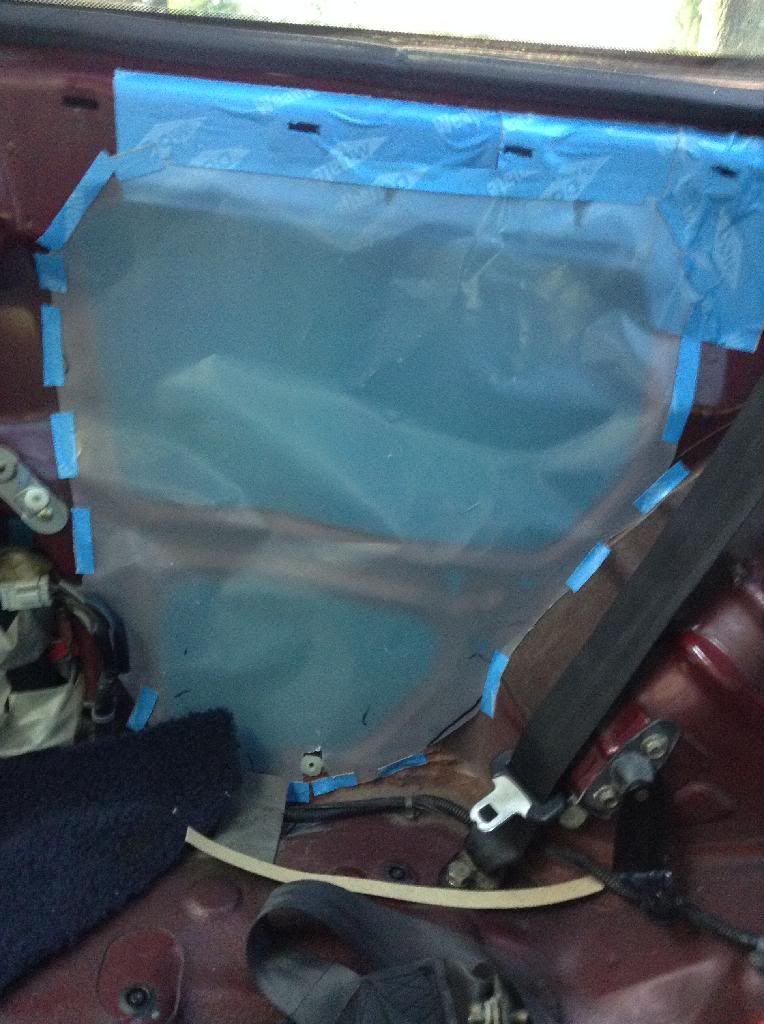
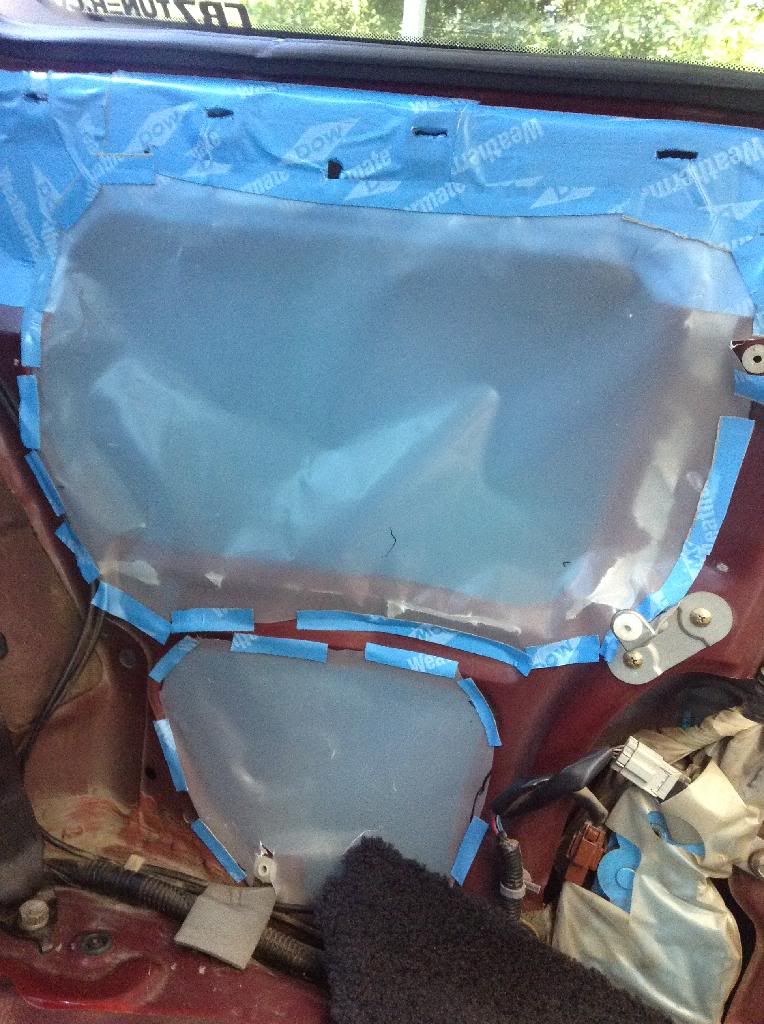
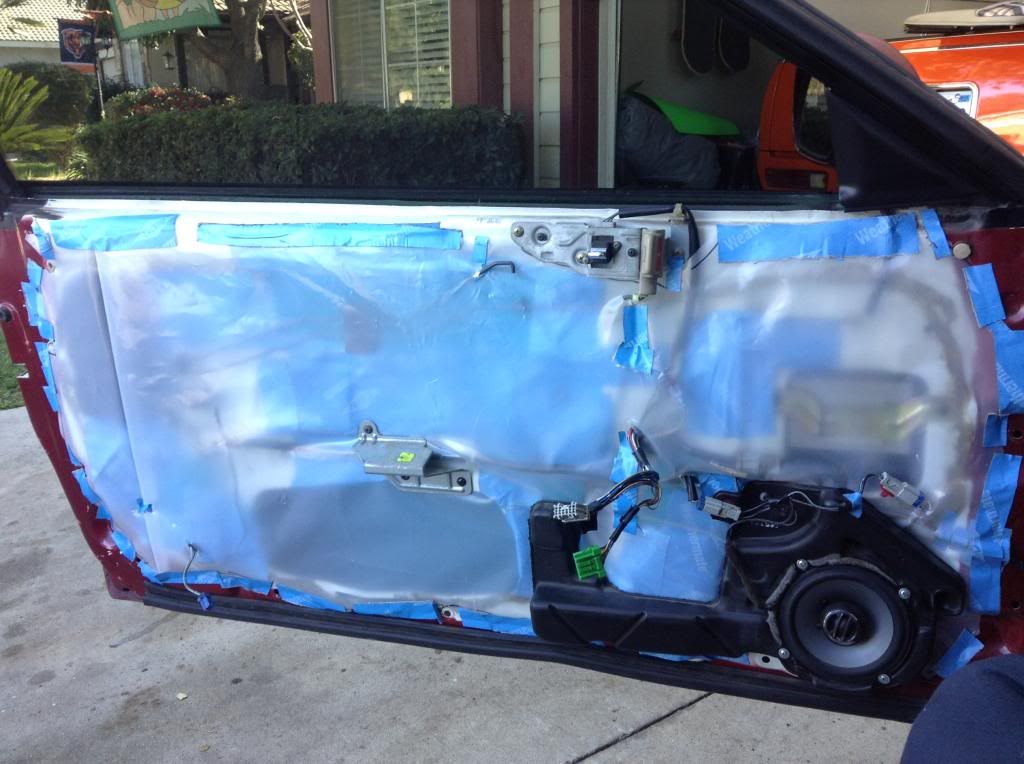
After that was all done the final touches came.
I found a complete set of black seatbelts at the junkyard!
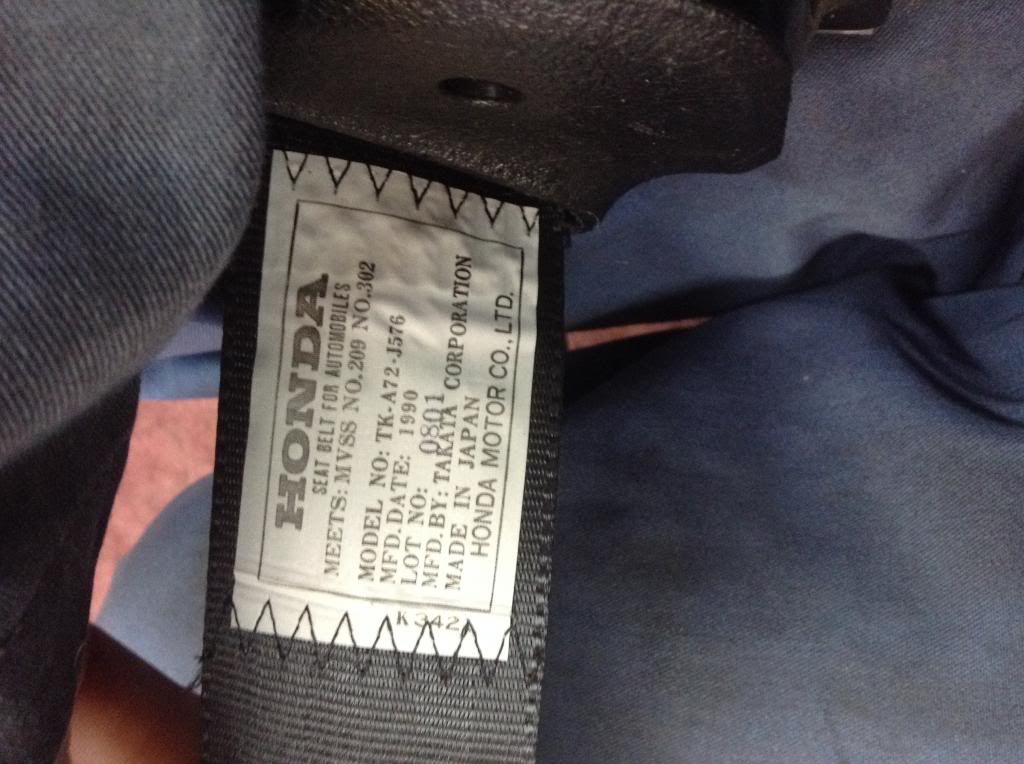
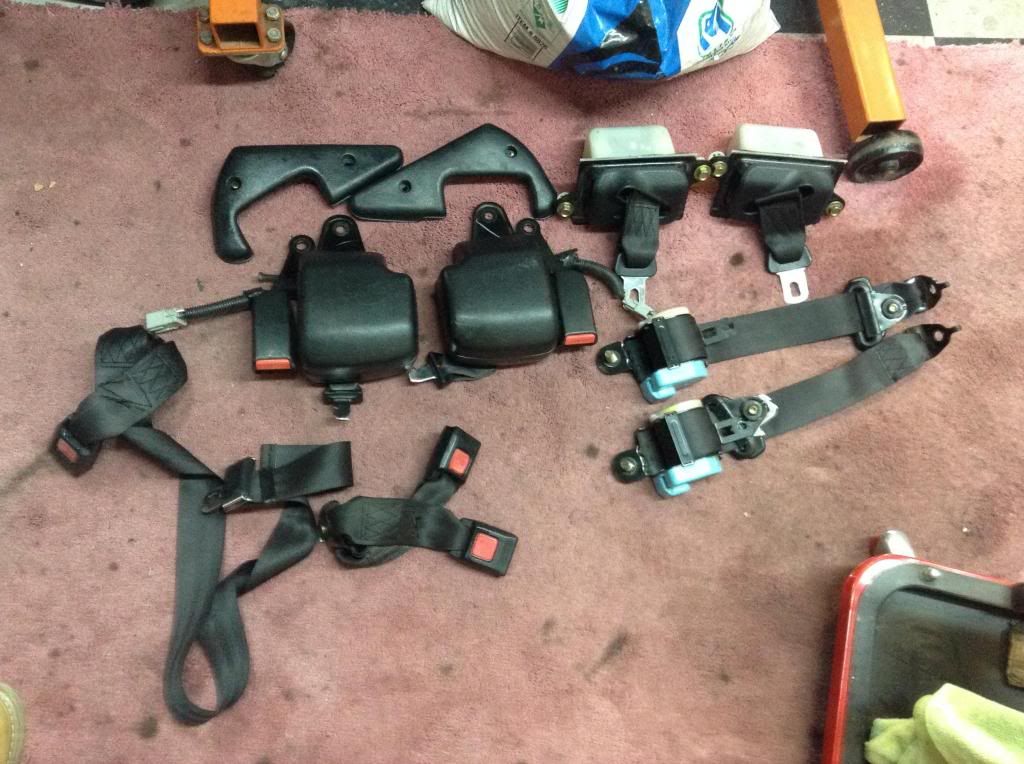
Now thats as far as i have gotten on the interior so far.
I still need a set of tan front seats to finish it off! which i can never seem to find a clean set at the junkyard

But all in all i love what i did! It was a Cheap project too!
I recommend this to anyone who wants to spice up their interior on a budget.
The sound deadening is my favorite part of it. it brought down Road noise and my exhaust noise a significant amount from what it was.
Now people can finally talk to each other when their in my car lol

More to come! some shots with everything in and MOREEEE!!


Comment