
*** I AM NOT RESPONSIBLE FOR YOUR MISTAKES ***
****** SO PLEASE DO YOUR OWN RESEARCH ******
********** THIS IS MEANT AS A GUIDE *********
Manual Transmission throwout bearing, clutch fork installation
--------------------------------------------------------------------------
Parts Required: What part I used and where I got it.
Transmission: M2B4
Throwout Bearing: OEM HONDA
Clutch Fork: OEM HONDA
Grease: Wheel Bearing Grease (preferably synthetic / lithium)
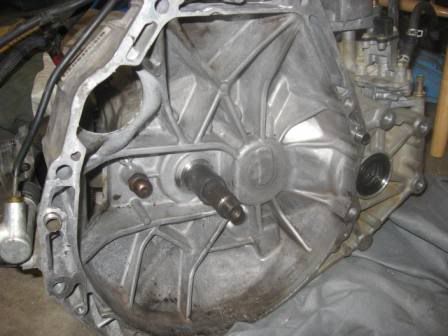
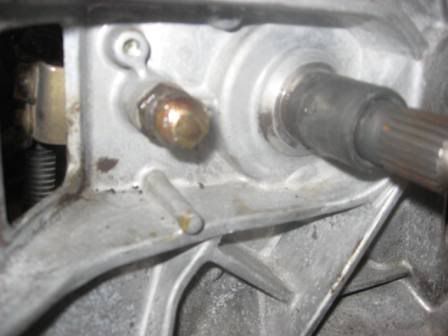
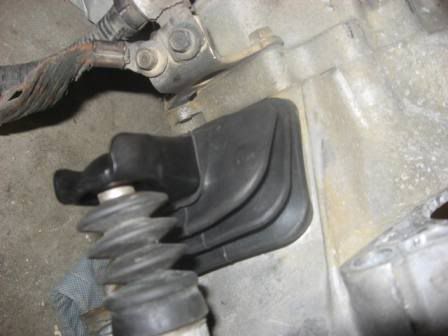
1) Remove transmission (If you cannot figure this out there should be a DIY on it soon)
..... There will be eight bolts if I remember correctly six of them will be 17mm and two will be 14mm.
..... It may be necessary to use a pry bar to separate the transmission and engine.
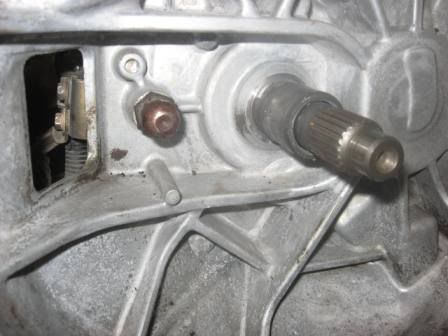
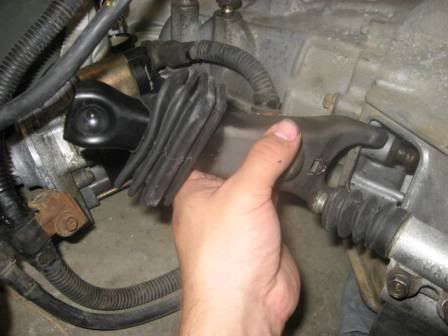
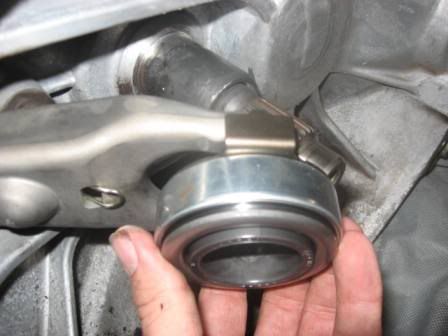
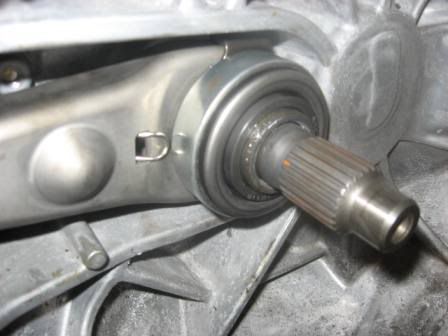
2) Remove components you are replacing (I know vague but deal with it)
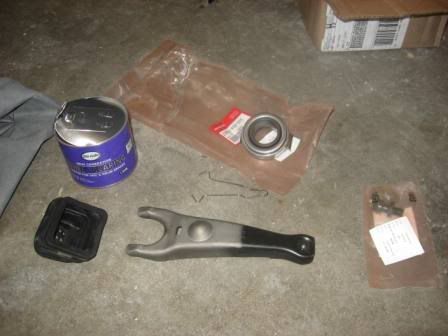
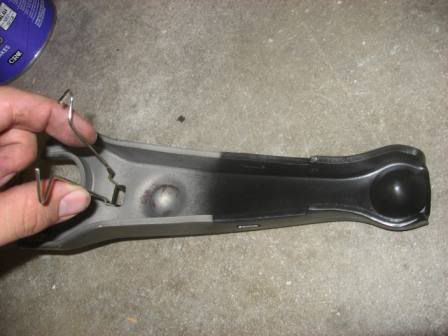
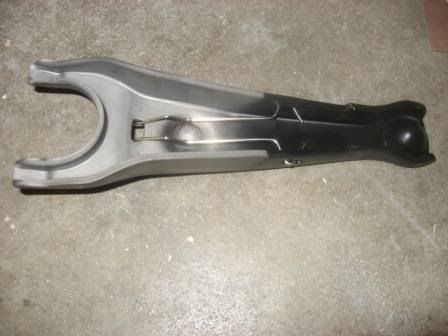
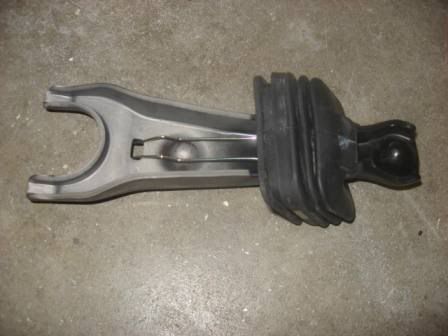
3)With the parts removed prepare the new/reused components for installation
..... If you do not have one of the pieces in this picture you may want to find one before continuing.
4)Things that need to be greased
NOTE: It is not neccesary to do this until you go to install these parts.
I am putting this here so that people do not read the guide and install a part before they lube it.
..... Clutch Fork: grease both divots
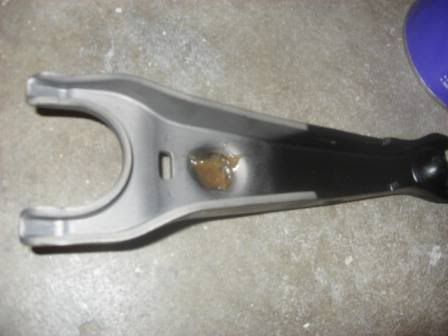
..... Pivot Ball: this will fit into the large divot on the Clutch Fork
..... Throwout bearing: grease the back side and inside of the bearing.

Continued In Next Post
****** SO PLEASE DO YOUR OWN RESEARCH ******
********** THIS IS MEANT AS A GUIDE *********
Manual Transmission throwout bearing, clutch fork installation
--------------------------------------------------------------------------
Parts Required: What part I used and where I got it.
Transmission: M2B4
Throwout Bearing: OEM HONDA
Clutch Fork: OEM HONDA
Grease: Wheel Bearing Grease (preferably synthetic / lithium)
1) Remove transmission (If you cannot figure this out there should be a DIY on it soon)
..... There will be eight bolts if I remember correctly six of them will be 17mm and two will be 14mm.
..... It may be necessary to use a pry bar to separate the transmission and engine.
2) Remove components you are replacing (I know vague but deal with it)
3)With the parts removed prepare the new/reused components for installation
..... If you do not have one of the pieces in this picture you may want to find one before continuing.
4)Things that need to be greased
NOTE: It is not neccesary to do this until you go to install these parts.
I am putting this here so that people do not read the guide and install a part before they lube it.
..... Clutch Fork: grease both divots
..... Pivot Ball: this will fit into the large divot on the Clutch Fork
..... Throwout bearing: grease the back side and inside of the bearing.
Continued In Next Post

Comment