
so you've got your new red/clears that uve bought recently from me or u just have an old set and you want to make them just really pop on your car. took these pix with the iphone sooo too bad soo sad ^__^ better than nothin
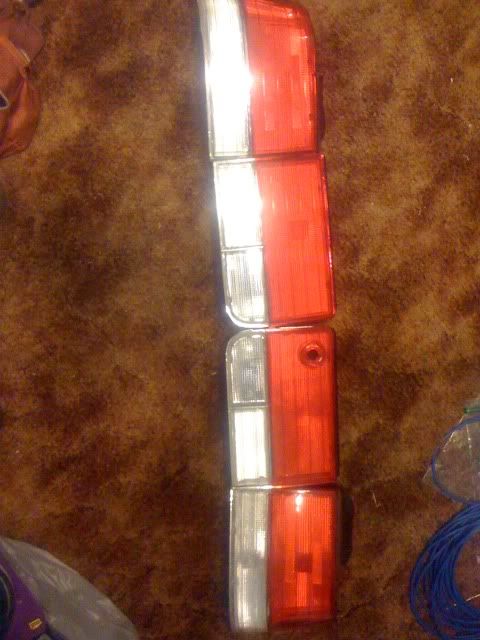
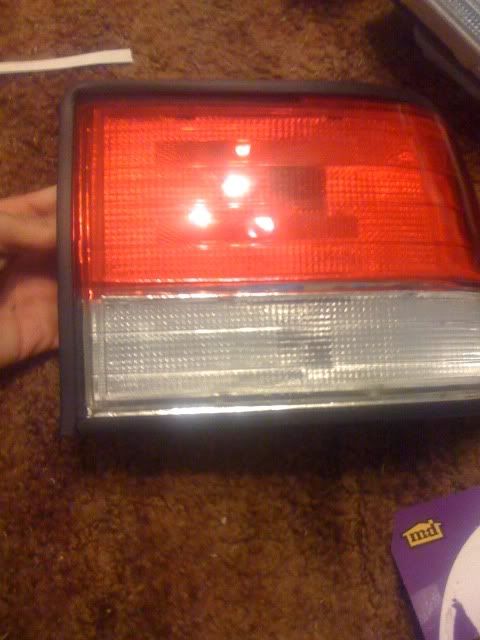
new out of box
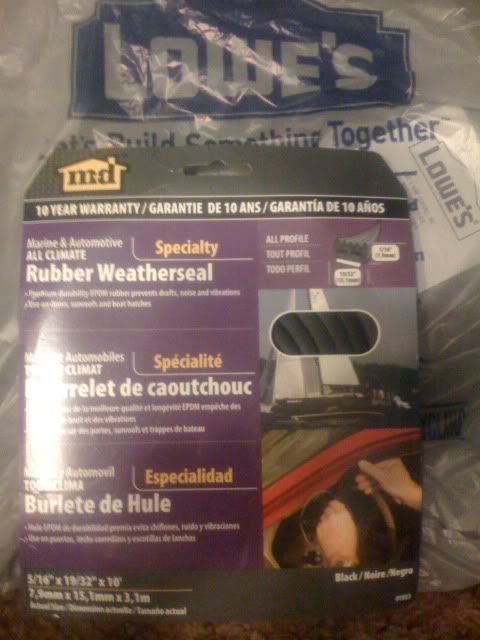
i took a trip to lowes in the Door weather stripping isle, and picked up some of this stuff for $8.50 after tax 10ft and its very long enough to do this DIY.

Tools/items needed
u will need this gasket that u bought at lowes
a hack saw blade or butter knife
scissors
8mm deep socket
ratchet
and alot of patience
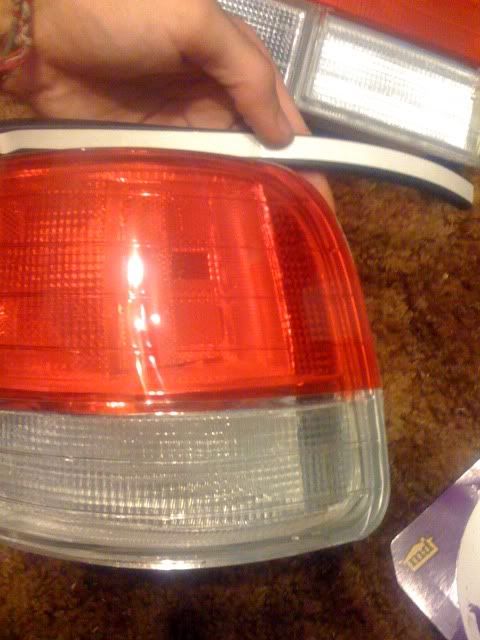
when u get ur red clears, they have this sorry excuse for a gasket on them. rip that garbage off and put on the new one u just purchased that looks like its been on steroids.
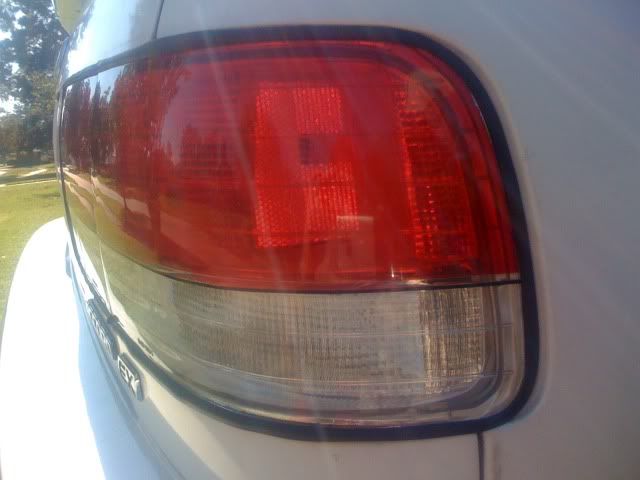
 <--do not put along inner edge as pictured
 <--oem black trim not painted
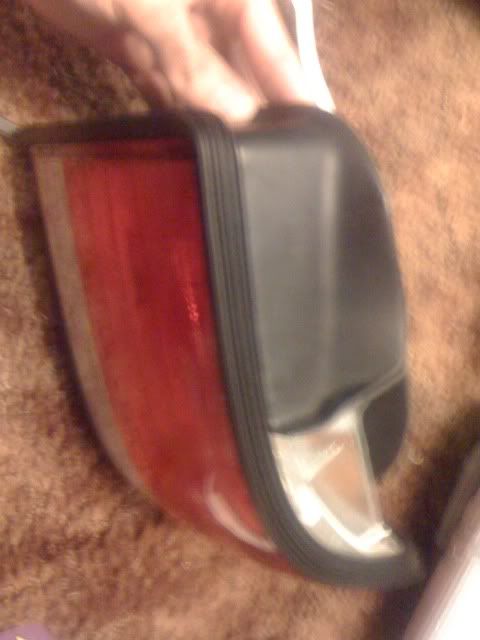
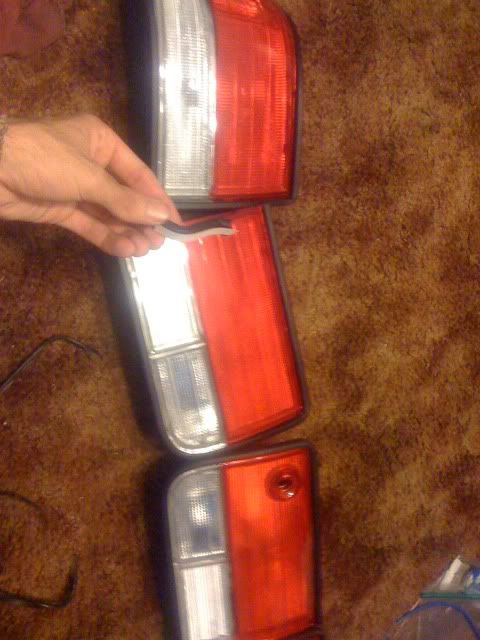
begin removing the adhesive guard and carefully wrap the trim around the lights edge. on the outer tails i wrapped it flush with the lense and u will have to trim around the chrome/black garnish on the top.
on the inner tails i wrapped the weather stripping around flush with the beginning of the lense and housing, or about 3-4 mm from the lense edge, and once again you will be trimming it along the top edge by cutting it in half length wise.
now in the picture i have it completely wrapped around the outer tail lights. you dont want to do that with this stuff. if u really want to put something in between there id suggest something thinner like door edge trim cause it will stop you from closing your trunk. continue until you have all 4 done
now when u go outside you will be pretty pissed cause its gonna be like cramming a plum down the bathroom sink hole. so tug and pull and kinda work it in there just so that u can hand thread a bolt on each. on the outer tails i began at the lowest outer bolt and worked clockwise ( top outer, top inner, lower inner. ) while you are bolting, every few turns take ur butterknife or sawblade and kind of cram the stripping in nice and goood. on the center tail lights i worked from the inner to the outer boltwise ( these bolts are so close together it doesnt really matter which inner u start on just finish off the inner set then work your way out. again cramming the stripping as you bolt )
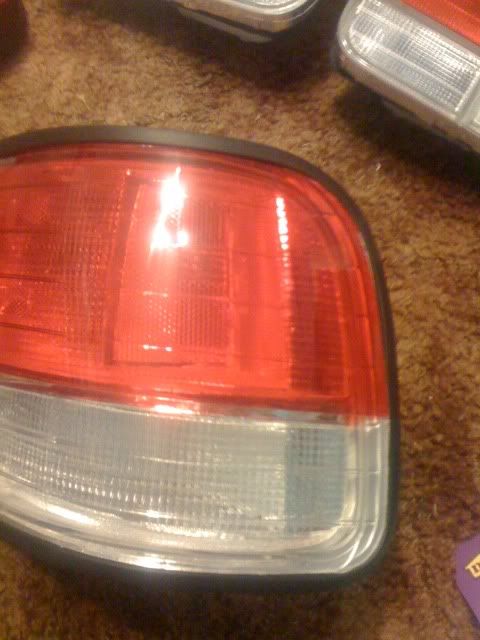
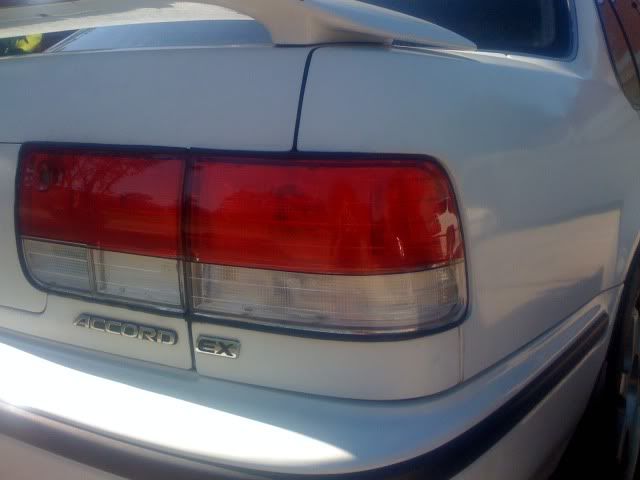
once you finally got these suckers and are done cramming then it should look sumn kinda like this.
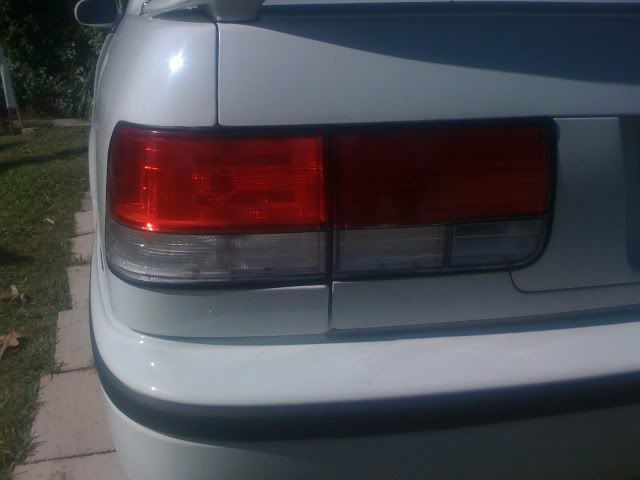 <---pinstripe added i dont expect it to stay on haha
 <--- no nasty gap
 <-----see this female with black stripe shirt LOL her bmw is in the tail light reflection
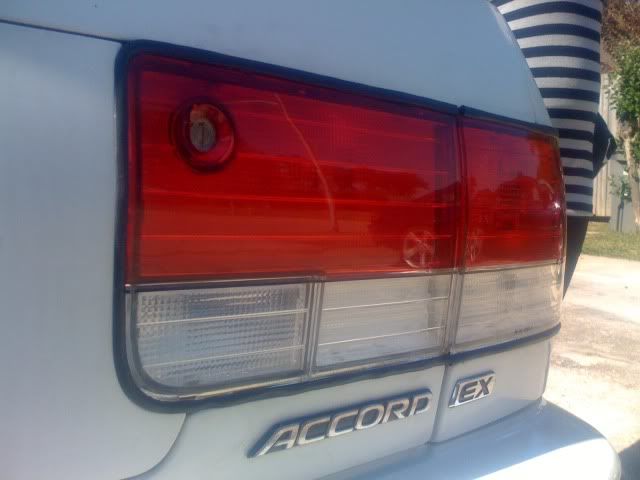
i didnt like my passenger inner too much so when i did my driver inner i moved the seal farther back so it wouldnt stick out so much but ull have to play with it. it takes alot of patience and i didnt have much to go back and fix it cause i had a girl pull up in my driveway and we went in my room to watch a movie so yeah thats all u guys get haha
new out of box
i took a trip to lowes in the Door weather stripping isle, and picked up some of this stuff for $8.50 after tax 10ft and its very long enough to do this DIY.
Tools/items needed
u will need this gasket that u bought at lowes
a hack saw blade or butter knife
scissors
8mm deep socket
ratchet
and alot of patience
when u get ur red clears, they have this sorry excuse for a gasket on them. rip that garbage off and put on the new one u just purchased that looks like its been on steroids.
<--do not put along inner edge as pictured<--oem black trim not painted begin removing the adhesive guard and carefully wrap the trim around the lights edge. on the outer tails i wrapped it flush with the lense and u will have to trim around the chrome/black garnish on the top.
on the inner tails i wrapped the weather stripping around flush with the beginning of the lense and housing, or about 3-4 mm from the lense edge, and once again you will be trimming it along the top edge by cutting it in half length wise.
now in the picture i have it completely wrapped around the outer tail lights. you dont want to do that with this stuff. if u really want to put something in between there id suggest something thinner like door edge trim cause it will stop you from closing your trunk. continue until you have all 4 done
now when u go outside you will be pretty pissed cause its gonna be like cramming a plum down the bathroom sink hole. so tug and pull and kinda work it in there just so that u can hand thread a bolt on each. on the outer tails i began at the lowest outer bolt and worked clockwise ( top outer, top inner, lower inner. ) while you are bolting, every few turns take ur butterknife or sawblade and kind of cram the stripping in nice and goood. on the center tail lights i worked from the inner to the outer boltwise ( these bolts are so close together it doesnt really matter which inner u start on just finish off the inner set then work your way out. again cramming the stripping as you bolt )
once you finally got these suckers and are done cramming then it should look sumn kinda like this.
<---pinstripe added i dont expect it to stay on haha <--- no nasty gap <-----see this female with black stripe shirt LOL her bmw is in the tail light reflection i didnt like my passenger inner too much so when i did my driver inner i moved the seal farther back so it wouldnt stick out so much but ull have to play with it. it takes alot of patience and i didnt have much to go back and fix it cause i had a girl pull up in my driveway and we went in my room to watch a movie
so yeah thats all u guys get haha


Comment