
Tools:
14mm socket and end wrench
10mm end wrench and socket
needle nose pliers
phillips screw driver
patience
maybe a friend (depends if your tank is full of gas and or your current status as a mechanically inclined man or woman with the ability to nut up and do things on your own )
)
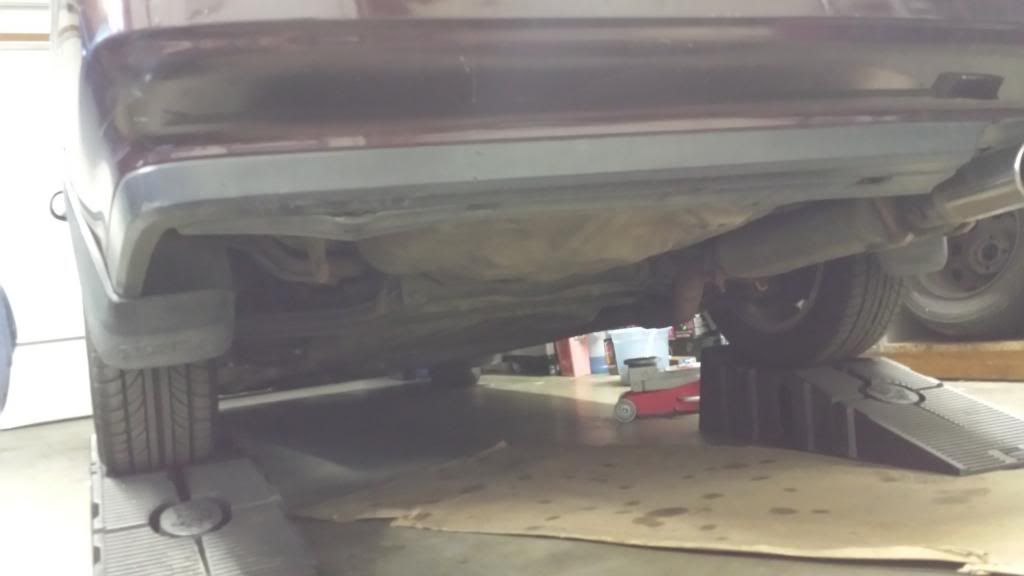
First, put your car in the downward dog position. use jackstands or ramps on a steady flat surface.
 [/URL]
you can elect to unplug the battery, but all the connections you are dealing with will not have voltage if your key is off, and you can opt to disconnect the "tank harness" before you begin work.
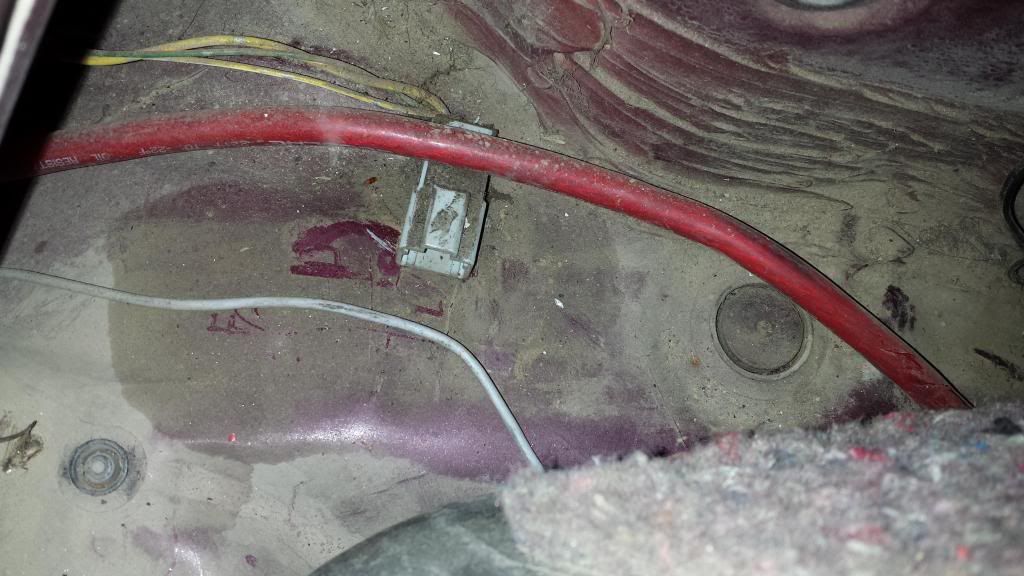
There is a connector located on the passenger side behind the rear seat almost hidden by the trunk liner. Look near the base of the passenger rear shock tower. 3 pin electrical connector.
 [/URL]
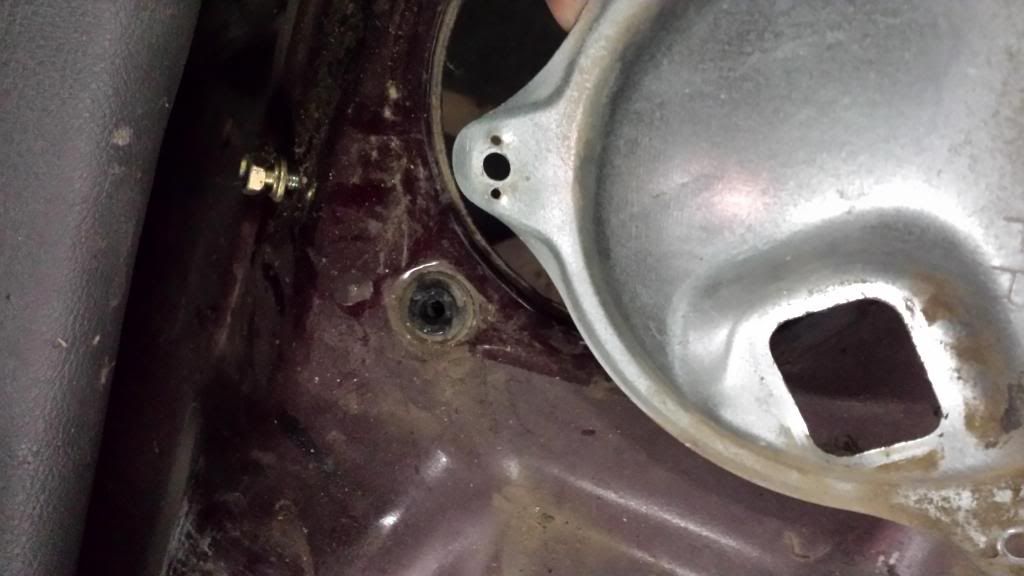
Begin by removing the fuel level sending unit door which is three phillips screws, undo the tank harness ground (10mm) and slip the rubber grommet and harness through the hole in the sending unit access panel.
 [/URL]
The next few pictures are not going to make much sense till you climb under there, but trust me, it's fairly easy, take your time, and be gentle with the hoses unless you want to replace them. Mine were fine and I reused them.
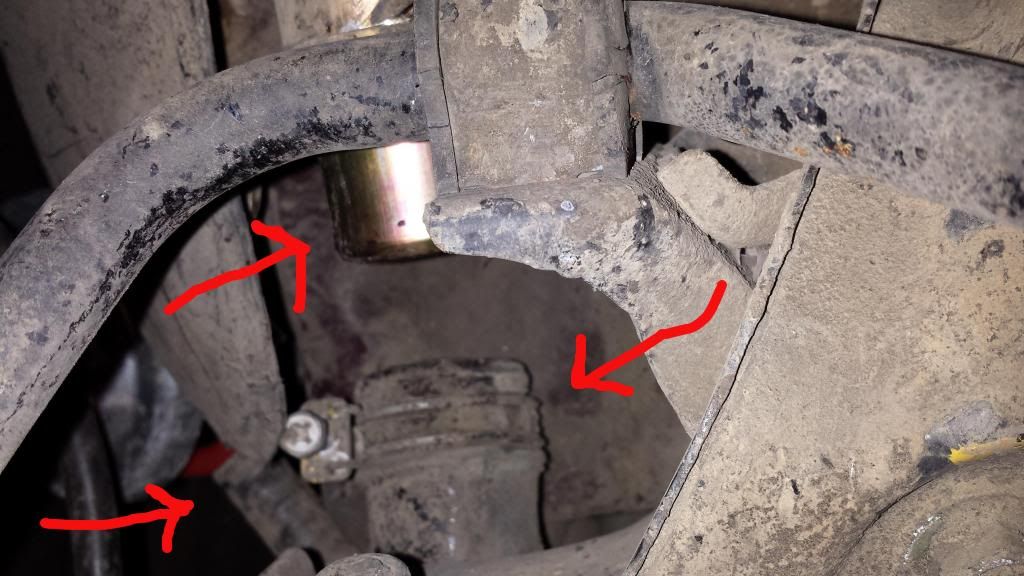
First remove the plastic access panel on the driver side of the tank.
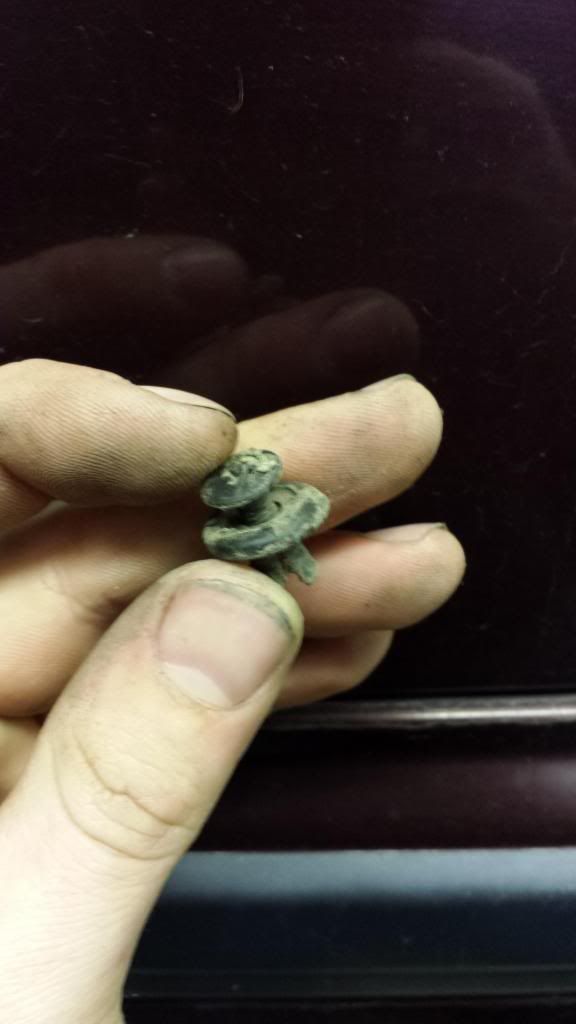
it's held on with 2 plastic screw in clips and 2 10mm shoulder bolts. Carefully remove the clips with a phillips screw driver and some ingenuity. The plastic center will unscrew with some patience and then you can pull the hole clip
 [/URL]
Now to the hoses
There are a total of 5 hoses to worry about.
there are two for the filler nozzle, one is the large inlet for fuel, the other is a vent. These were the toughest to get off for me. The filler hose has a 10mm/phillips head clamp holding it on, loosen it almost completely. I had to use a prying motion with my needle nose to slip the main hose off. It is also connected to a metal pipe that comes out of the inside of the fender from the fuel door. there are three 10mm bolts holding this pipe to the frame, loosen them if necessary to give you more wiggle room to get the filler and vent pipes off.
 [/URL]
Large and small filler hoses can be seen in this pic. (Camera phone pics sorry =/)
Now, get a small pan or some absorbent rags you don't mind throwing away later because there will be fuel spilled. Not TONS but some, and fumes under a car tend to get to your head.
There is a 14mm compression fitting for the high pressure line, disconnect it, and then undo the two 10mm bolts holding the mount for the line to the chassis. this comes out with the tank. (this will drip a little fuel, be ready, and watch your eyes) Failure to remove this now will pull on the 20yr old hose and bend the metal portion of the line if you try to drop the tank with it still attached at the chassis.
Then remove the low pressure return line with one of those annoying three pronged metal clamps with your needle nose pliers. This is where the majority of fuel spillage occurred. Again, watch your eyes and have a pan or rag handy.
Finally, all that is left is one small hose for a vent I'm assuming. Easy clamp, small hose, remove.
Now depending on how full your tank is this next part can be easy, or the most difficult part of the job. I thought my tank was empty, but I still had around 4 gallons in it. It wasn't too heavy but it was cumbersome. two 14mm bolts are located at the rear of the tank closest to the taillights that hold the straps which hold your fuel tank in. remove these and be ready for the back end of the tank to come down. you may have to push the tank towards the front of the vehicle while pulling down to clear the rear cross member. Now your tank is out!
New tank vs Old
At this point I swapped all the old parts to my new tank taking car not to break the nipple off the center "lid" thing on the tank as my new tank was already broken off. I used a big set of needle nose and put it against a pair of ridges on the tank and twised to the left much like a gas cap and it unscrewed no problem.
Installation is reverse of removal. before putting the access panels and such back, put gas in the tank so as not to run it dry. make sure you reconnect the tank harness and feed it back through the access panel and reseat the grommet. check the harness ground and turn the key to the run position a few times to prime the pump and lines. check for leaks. if all checks good then put the access panel back on and you are done!
I had a pretty large dent in my tank and it made my fuel gauge never drop past 1/8 and I would drive around sometimes for a day sometimes 5 days not knowing exactly how low I was on gas. and my low fuel light was intermittent and now works fine after just changing tanks. Now I have an accurate gauge and my tank holds the correct amount!
 [/URL]
14mm socket and end wrench
10mm end wrench and socket
needle nose pliers
phillips screw driver
patience
maybe a friend (depends if your tank is full of gas and or your current status as a mechanically inclined man or woman with the ability to nut up and do things on your own
)First, put your car in the downward dog position. use jackstands or ramps on a steady flat surface.
[/URL]you can elect to unplug the battery, but all the connections you are dealing with will not have voltage if your key is off, and you can opt to disconnect the "tank harness" before you begin work.
There is a connector located on the passenger side behind the rear seat almost hidden by the trunk liner. Look near the base of the passenger rear shock tower. 3 pin electrical connector.
[/URL]Begin by removing the fuel level sending unit door which is three phillips screws, undo the tank harness ground (10mm) and slip the rubber grommet and harness through the hole in the sending unit access panel.
[/URL]The next few pictures are not going to make much sense till you climb under there, but trust me, it's fairly easy, take your time, and be gentle with the hoses unless you want to replace them. Mine were fine and I reused them.
First remove the plastic access panel on the driver side of the tank.
it's held on with 2 plastic screw in clips and 2 10mm shoulder bolts. Carefully remove the clips with a phillips screw driver and some ingenuity. The plastic center will unscrew with some patience and then you can pull the hole clip
[/URL]Now to the hoses
There are a total of 5 hoses to worry about.
there are two for the filler nozzle, one is the large inlet for fuel, the other is a vent. These were the toughest to get off for me. The filler hose has a 10mm/phillips head clamp holding it on, loosen it almost completely. I had to use a prying motion with my needle nose to slip the main hose off. It is also connected to a metal pipe that comes out of the inside of the fender from the fuel door. there are three 10mm bolts holding this pipe to the frame, loosen them if necessary to give you more wiggle room to get the filler and vent pipes off.
[/URL]Large and small filler hoses can be seen in this pic. (Camera phone pics sorry =/)
Now, get a small pan or some absorbent rags you don't mind throwing away later because there will be fuel spilled. Not TONS but some, and fumes under a car tend to get to your head.
There is a 14mm compression fitting for the high pressure line, disconnect it, and then undo the two 10mm bolts holding the mount for the line to the chassis. this comes out with the tank. (this will drip a little fuel, be ready, and watch your eyes) Failure to remove this now will pull on the 20yr old hose and bend the metal portion of the line if you try to drop the tank with it still attached at the chassis.
Then remove the low pressure return line with one of those annoying three pronged metal clamps with your needle nose pliers. This is where the majority of fuel spillage occurred. Again, watch your eyes and have a pan or rag handy.
Finally, all that is left is one small hose for a vent I'm assuming. Easy clamp, small hose, remove.
Now depending on how full your tank is this next part can be easy, or the most difficult part of the job. I thought my tank was empty, but I still had around 4 gallons in it. It wasn't too heavy but it was cumbersome. two 14mm bolts are located at the rear of the tank closest to the taillights that hold the straps which hold your fuel tank in. remove these and be ready for the back end of the tank to come down. you may have to push the tank towards the front of the vehicle while pulling down to clear the rear cross member. Now your tank is out!
New tank vs Old
At this point I swapped all the old parts to my new tank taking car not to break the nipple off the center "lid" thing on the tank as my new tank was already broken off. I used a big set of needle nose and put it against a pair of ridges on the tank and twised to the left much like a gas cap and it unscrewed no problem.
Installation is reverse of removal. before putting the access panels and such back, put gas in the tank so as not to run it dry. make sure you reconnect the tank harness and feed it back through the access panel and reseat the grommet. check the harness ground and turn the key to the run position a few times to prime the pump and lines. check for leaks. if all checks good then put the access panel back on and you are done!
I had a pretty large dent in my tank and it made my fuel gauge never drop past 1/8 and I would drive around sometimes for a day sometimes 5 days not knowing exactly how low I was on gas. and my low fuel light was intermittent and now works fine after just changing tanks. Now I have an accurate gauge and my tank holds the correct amount!
[/URL]


Comment