Im gonna attempt to wire tuck my driver side wire harness. The one this i wasnt clear on is that for the drivers side, do i have to extend any wires so that they reach or they reach perfectly? i dont have a/c so im not worried about those plugs.
Announcement
Collapse
No announcement yet.
ENG: Wire tuck
Collapse
X
-
Killer write up! Am definitely going to bookmark this page for reference. Thanks for making up this thread.Originally posted by HardInThePaintGirls should most definitely rep the shocker. Embrace the shocker.
Be one with the shocker.

My ride: http://www.cb7tuner.com/vbb/showthread.php?t=187897
Comment
-
any one in pa? i will pay to you to do some rust repair and WIRE TUCK my shit i work 60 hrs a week and have 1 child and 1 due in oct. so i dont have time for shiitt no more but thanks for ur diy i can start it where u suggest i start at battery to trunk to start?i dont know why this popped up but U MAD BRO? not my fault u is FAKE! CLOWN ASSOriginally posted by deevergoteThis thread is over a year old, you fucking retard.
Comment
-
this thread made me start a wire tuck. i done a lil bit already but i got two questions. 1. what is the silver box on the driver side that holds a few plugs together and can it bypass it? 2. the harness that comes from under the intake manifold and y's out the the injectors, where does the other end go behind the engine?
Comment
-
That silver box is is the resistor box.Originally posted by roketdemon02 View Postthis thread made me start a wire tuck. i done a lil bit already but i got two questions. 1. what is the silver box on the driver side that holds a few plugs together and can it bypass it? 2. the harness that comes from under the intake manifold and y's out the the injectors, where does the other end go behind the engine?
The part that y's out sounds like the altenator harness. A pic would help
Comment
-
Those of you that have used the expandable mesh sleving for wire routing, how much did you have to buy for the engine wire harness? As in this many ft of 1/4in and this many ft of 1/2 in. Also if anyone has done this for the bay wireharness sections how much did you end having to use for the re-routing in the fenders.
Comment
-
Found a better/easier option when it comes to the junction box for the grounds. Requires 1 wire extension, and is mounted were the stock airbox would be located. Not pictures is that I repainted the excess bare metal left over from the wire wheel, and not finished re-looming the harness.

 Last edited by baracuda; 05-27-2013, 07:51 PM.
Comment
-
put mine in the same place but i put mine through the frame rail to make it cleaner but heres my tuckOriginally posted by baracuda View PostFound a better/easier option when it comes to the junction box for the grounds. Requires 1 wire extension, and is mounted were the stock airbox would be located. Not pictures is that I repainted the excess bare metal left over from the wire wheel, and not finished re-looming the harness.


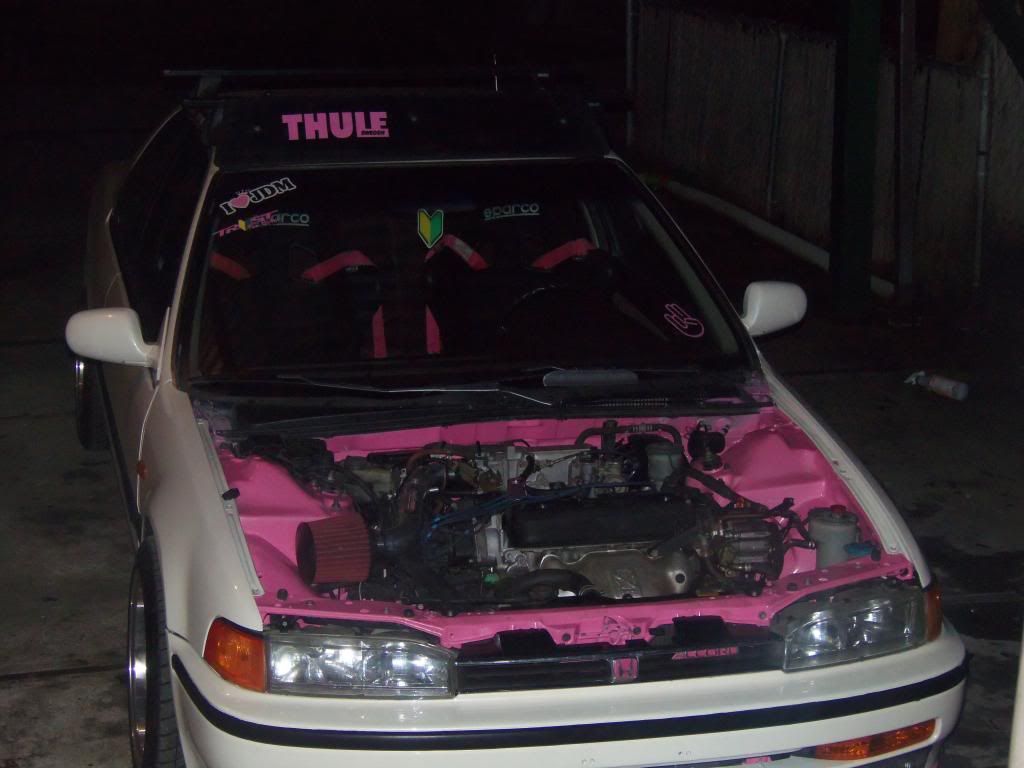
and he did fix the way the wires coming out of the grommet and put them facing down and tape them up
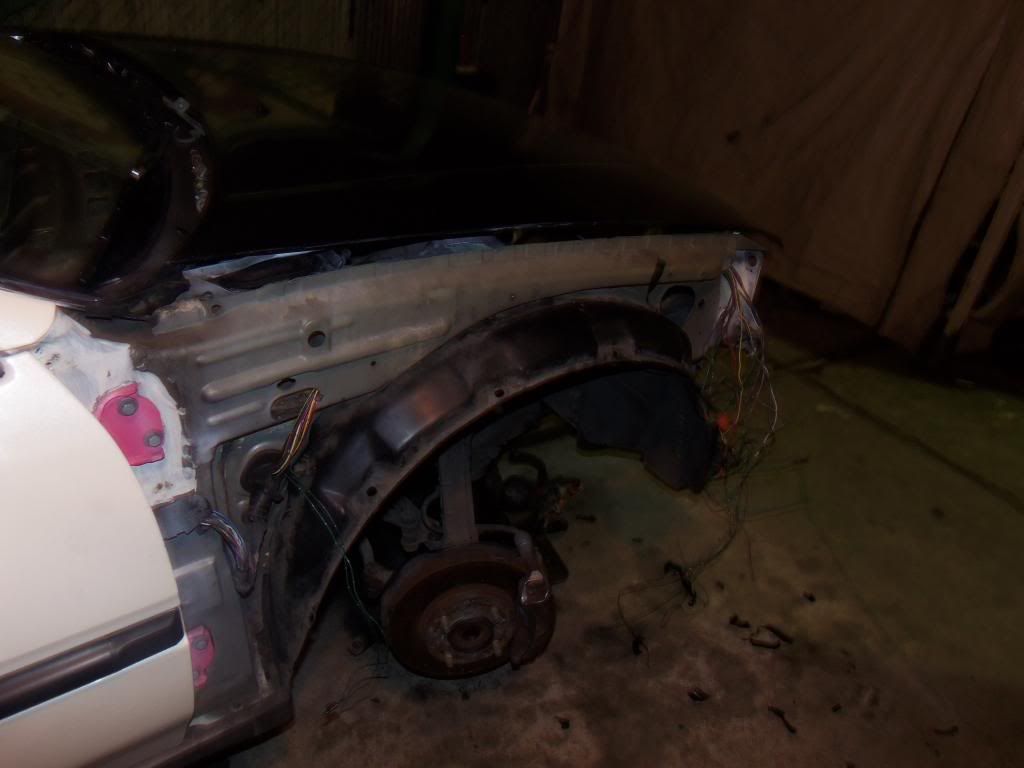
Comment
-
-
thanks my boyfriend worked hard on it only took him a week an 1/2 to do it all. he took the dash and all the works out pain in the ass and was up till 3am every night till it was done.turned out nice tho well worth it hes about ready to do his new car going to get started tomorrow probably post some pic up of his and do a step by step of how he did his for all of you that would like to know how to do wire tucks this is probably the hardest but nicest way to do them tho taking the dash out and running them through the frame rail.
Comment
-
Moving mine seems way easier then what everyone wants to make it out to be.Originally posted by TracieS View PostWeek and a half holy shit I did a full wire tuck in a weekend including moving the fuse box wich nobody seems to anymore.
Only reason I didnt go through the frame rail is easy of access if something goes wrong would hate to have pull those wires through.Originally posted by dayzielynn View Postput mine in the same place but i put mine through the frame rail to make it cleaner but heres my tuck
Comment
-
did you paint and shave the bay also and plus he took the dash and every thing out of the motor bay brake lines, abs stuff pulled the motor he could of did the wire tuck in 4 hours he just did his friends da in that time any way he likes to do stuff the right way in check everything before moving on to the next step. and keep in mind he had no help what so ever pulling a motor is hard if your the only one doing it.Originally posted by TracieS View PostWeek and a half holy shit I did a full wire tuck in a weekend including moving the fuse box wich nobody seems to anymore.
Comment
-
got the driver side about 90% done, everything has been re-rotued and mocked-up for final looming. I went with pulling everything through the firewall and routing just like the passenger side. This is of course more work but you get a much cleaner bay because of it. I did have to pull the fuse box along with the clutch pedal assembly as well as the clutch fluid res inside the bay. I will be routing the wiper connection and possible the brake fluid sensor lines through the drain hole and back out the stock location the wiper harness routed through the eng bay to start with. I did need to de pin 3-4 connectors to make the routing work as everything is interwoven. Appears that i will need to extend a ground wire to a eng harness connector as well as both wires leading to brake fluid cap. Also driver side 98% done just needs to be taped and tied to the chassis.
Still in the early stages, not close to done yet.


Passenger side ready to be taped and then its done.

Comment
-
I had problems with the harness clearing the wiper assembly when re-installing. I actually ended up enlarging the hole and cutting a bit off of the wiper assembly to get the wires to fit without pinching hard under the wiper assembly. I probably ran into this problem because I only partially unloomed the wires. Also if you want to protect your wiring a bit more you can put some vacuum tubing around the sharp edges.
 Last edited by Mike1357; 09-29-2013, 02:13 PM.
Comment




Comment