
I�m not responsible for any damages to you or your car.
Pictures are used for a guide only.
EDITED Extra notes: (09.17.04)
Use a 3/8" fuel / fuel injection hose from your local auto store. you will only need the 2 ft. one, but it will cost around $4 for 2ft. I changed hoses so many times because:
1. i've heard the vinyl braiding hose will warp due to the high engine temps.
2. the silicone, when it heats up, gets soft and collapses.
3. air hose i.d. 300 psi.
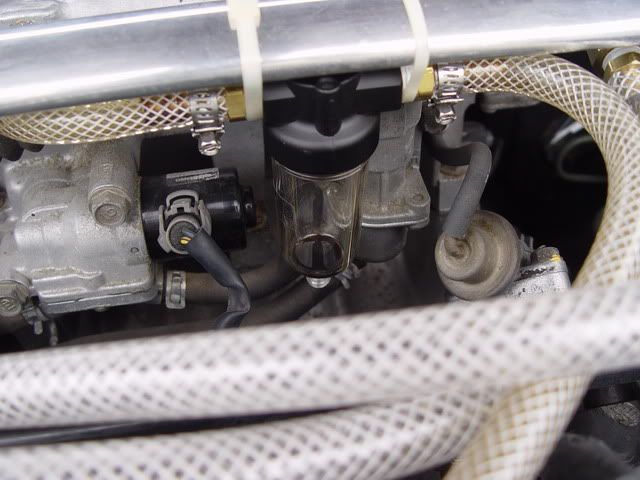
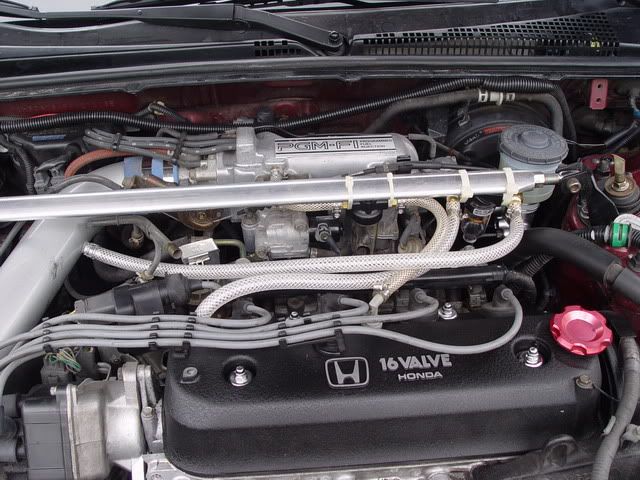
Disregard the pictures of the vinyl braiding tubing and silicone hose. imagine that it is fuel hose.
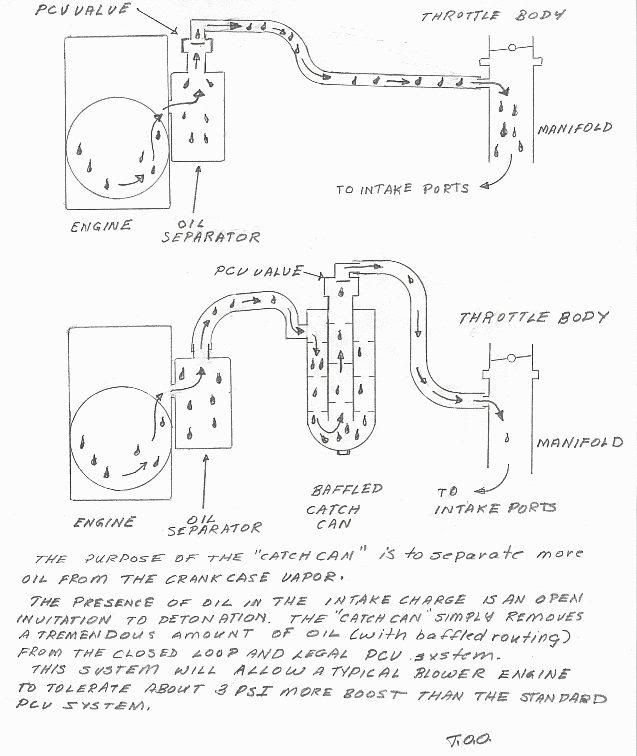
Purpose: (thanks to turbopanda from Honda tech)
In an engine, there are two areas of air pockets in which the air is not directly related to combustion. Within these two areas, oil and air are separated from the combustion chambers and coolant jackets for the purpose of lubrication of the engine. The upper air and oil pocket is constrained by the valve cover at the top, and the valve seals at the lower end. The bottom air and oil pocket is constrained by the piston rings at the top and the oil pan in the bottom.
In a perfect world, these two lubrication areas would not pressurize. However, in real life compression leaks by valve seals and piston rings in what is called blow-by. Blow by introduces pressure into the two pockets of air and oil (the head and the crankcase). In addition, heat caused as a byproduct of combustion causes air molecules to expand which also causes the pressure to increase in these lubrication areas. If no ventilation system was employed to release this pressure, it would find the point of least resistance to escape, which could be oil seals...or worse.
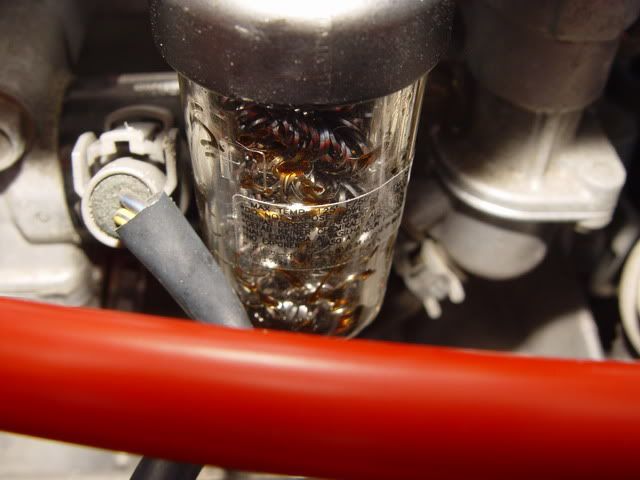
To relieve this pressure, a system called Positive Crankcase Ventilation (PCV for short) is used. It is a closed system that takes the pressurized air and oil vapor from these two lubrication areas and introduces it back into the combustion chamber, by way of vacuum caused by the intake charge.
Parts / Price List:
You can get most, if not all, of these products are your local hardware store. If not, then good luck finding some
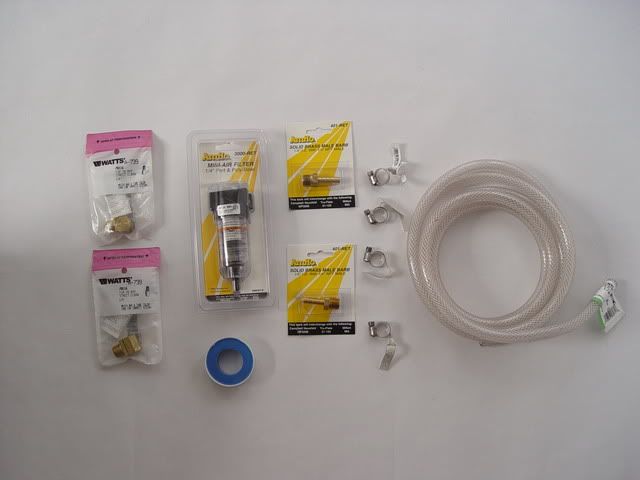
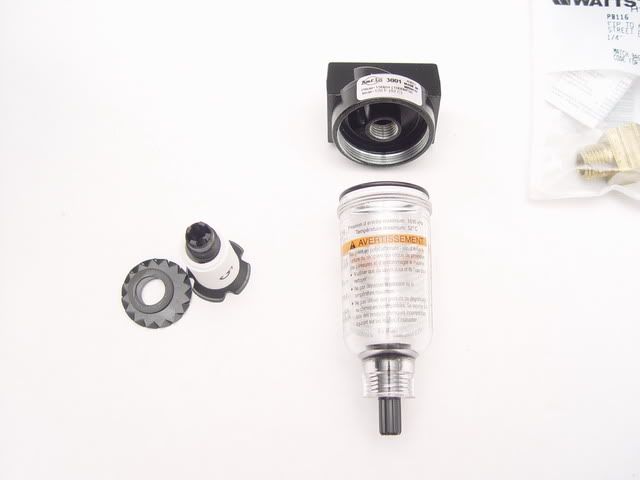
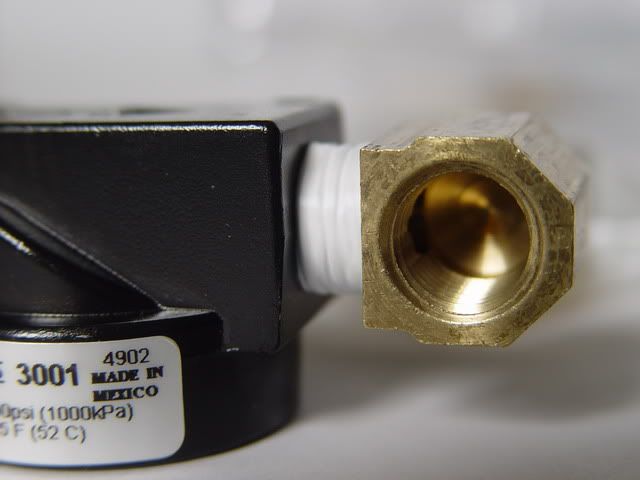
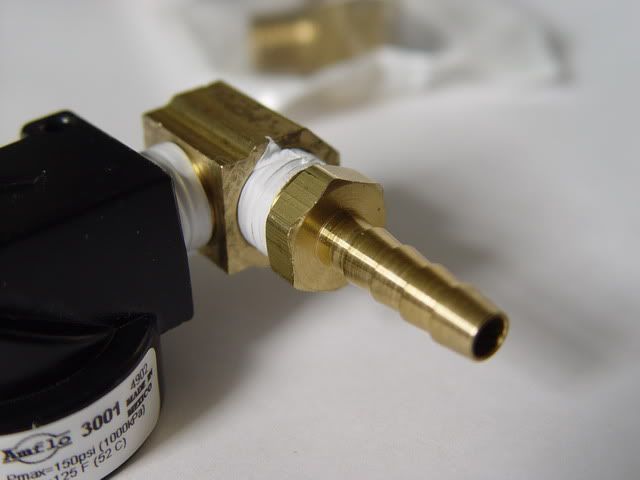
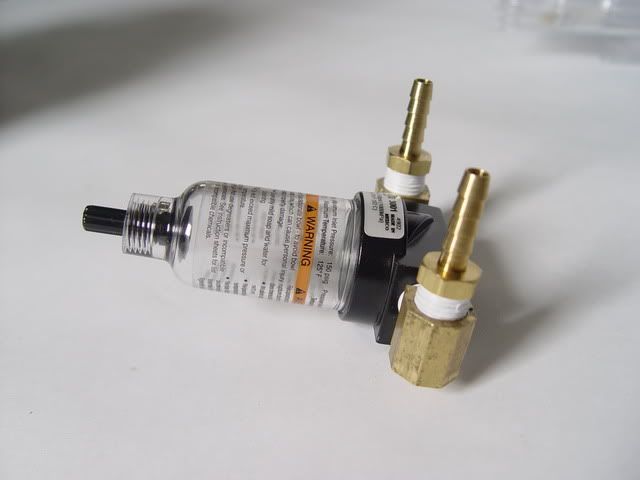
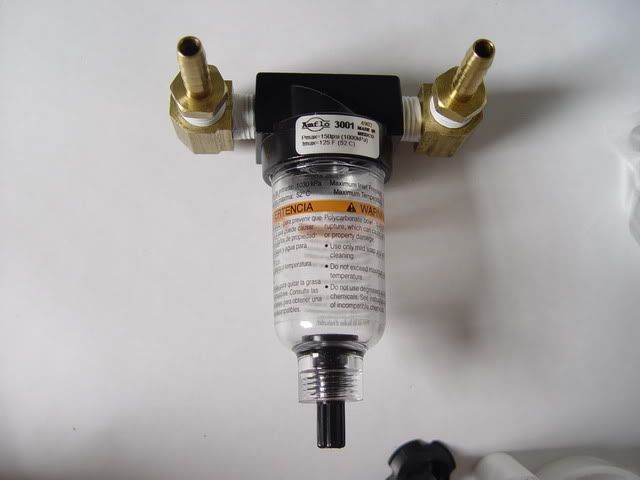
- air / water separator tank for air compressors = $15
- (2) �� male barbs - $1.50/each

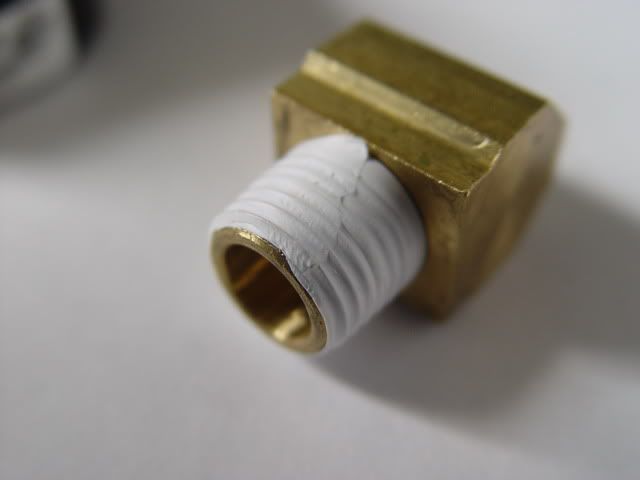
- (optional) (2) �� elbow fittings = $2.20/each

- Teflon tape = $$0.75
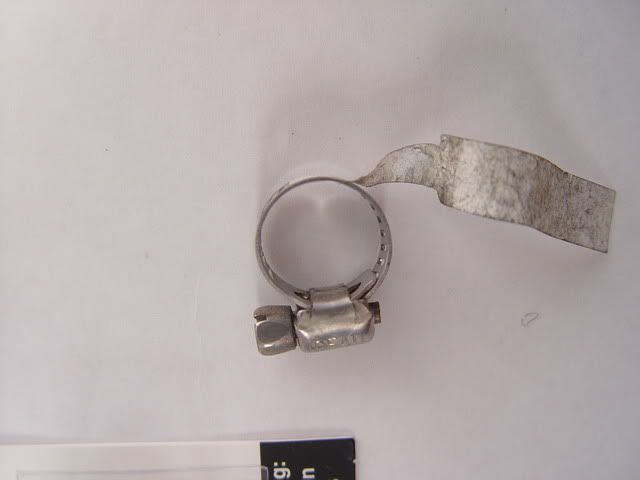
- (4) 5/8�-1/4� clamps = $.79/each
- 2 ft 3/8" fuel / fuel injection hose = $4.00 at an auto store

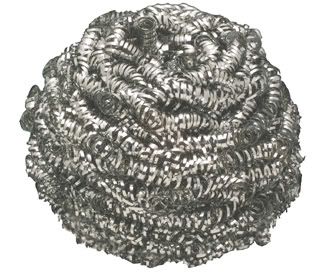
- steel wool = $1.50
- total cost of project: $33 or $28 minus the �� elbows
Pictures are used for a guide only.
EDITED Extra notes: (09.17.04)
Use a 3/8" fuel / fuel injection hose from your local auto store. you will only need the 2 ft. one, but it will cost around $4 for 2ft. I changed hoses so many times because:
1. i've heard the vinyl braiding hose will warp due to the high engine temps.
2. the silicone, when it heats up, gets soft and collapses.
3. air hose i.d. 300 psi.
Disregard the pictures of the vinyl braiding tubing and silicone hose. imagine that it is fuel hose.
Purpose: (thanks to turbopanda from Honda tech)
In an engine, there are two areas of air pockets in which the air is not directly related to combustion. Within these two areas, oil and air are separated from the combustion chambers and coolant jackets for the purpose of lubrication of the engine. The upper air and oil pocket is constrained by the valve cover at the top, and the valve seals at the lower end. The bottom air and oil pocket is constrained by the piston rings at the top and the oil pan in the bottom.
In a perfect world, these two lubrication areas would not pressurize. However, in real life compression leaks by valve seals and piston rings in what is called blow-by. Blow by introduces pressure into the two pockets of air and oil (the head and the crankcase). In addition, heat caused as a byproduct of combustion causes air molecules to expand which also causes the pressure to increase in these lubrication areas. If no ventilation system was employed to release this pressure, it would find the point of least resistance to escape, which could be oil seals...or worse.
To relieve this pressure, a system called Positive Crankcase Ventilation (PCV for short) is used. It is a closed system that takes the pressurized air and oil vapor from these two lubrication areas and introduces it back into the combustion chamber, by way of vacuum caused by the intake charge.
Parts / Price List:
You can get most, if not all, of these products are your local hardware store. If not, then good luck finding some
- air / water separator tank for air compressors = $15
- (2) �� male barbs - $1.50/each
- (optional) (2) �� elbow fittings = $2.20/each
- Teflon tape = $$0.75
- (4) 5/8�-1/4� clamps = $.79/each
- 2 ft 3/8" fuel / fuel injection hose = $4.00 at an auto store
- steel wool = $1.50
- total cost of project: $33 or $28 minus the �� elbows


 mine came out to almost 40 bucks.
Comment