Announcement

Collapse
No announcement yet.

Audiojack : 1990 Accord EX

Collapse
X
 
  • Filter
  • Time
  • Show
Clear All
new posts

    #16
    Operation Front Lip has begun this morning.

    I went to the local car scrapyard and looked around for something that would be nice. After circling around for quite a while I found a Mitsubishi Lancer/Colt/Mirage or Eagle Summit or Dodge Colt or whatever, with a nice front lip on it. It was a 1987-1991 model anyway.

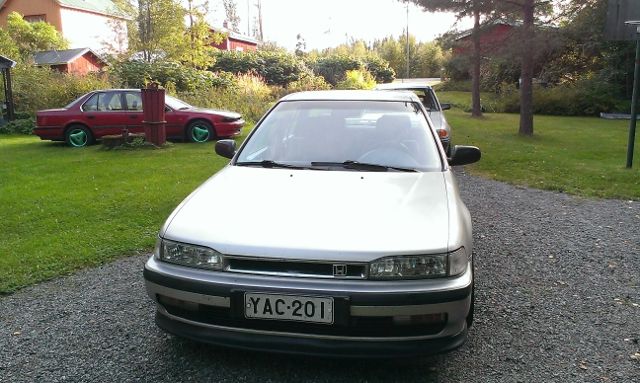
    I brought it back home with me and cleaned it up:


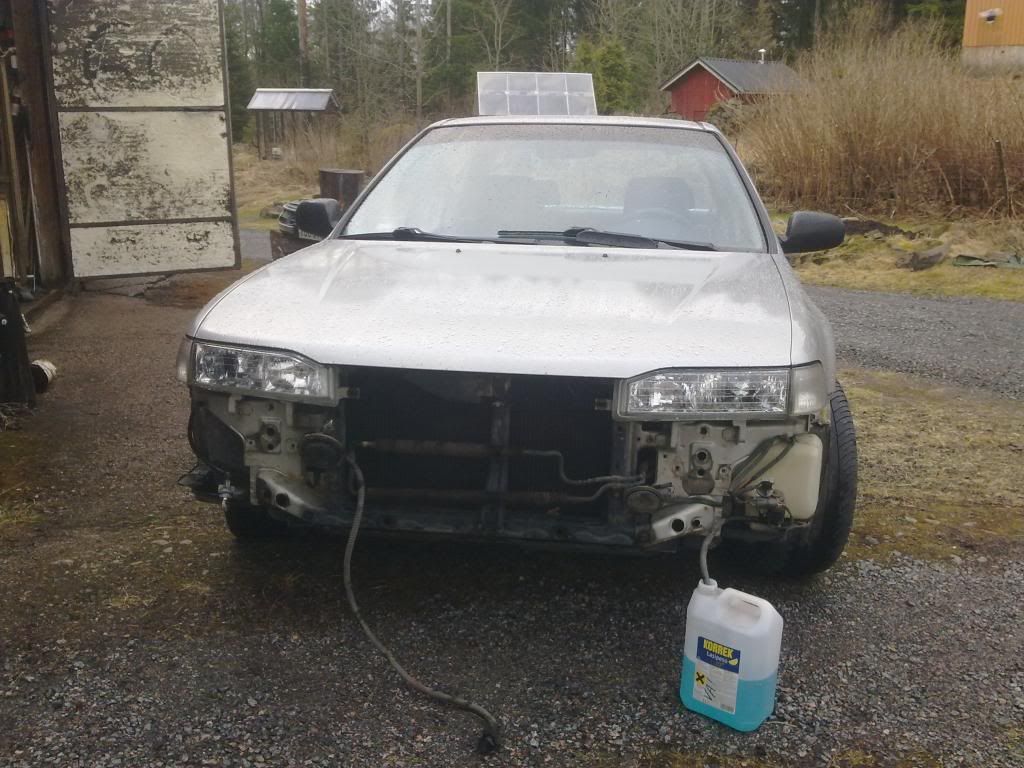
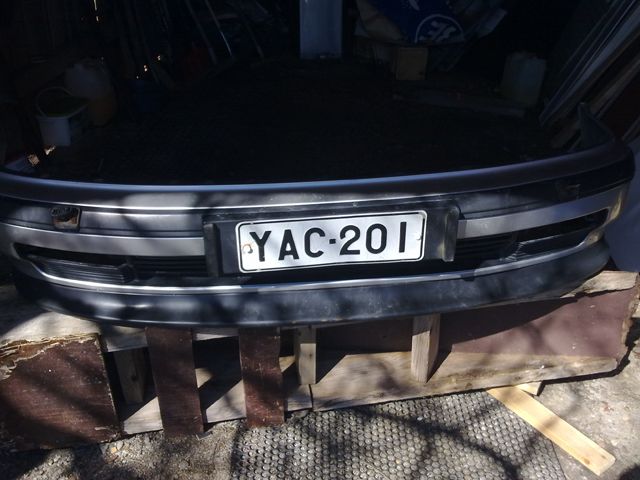
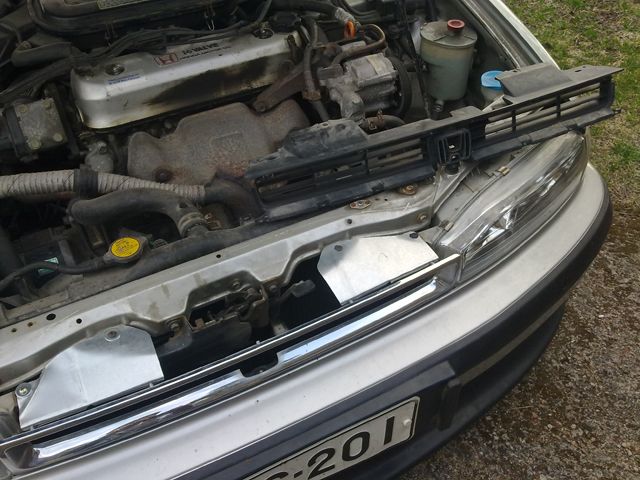
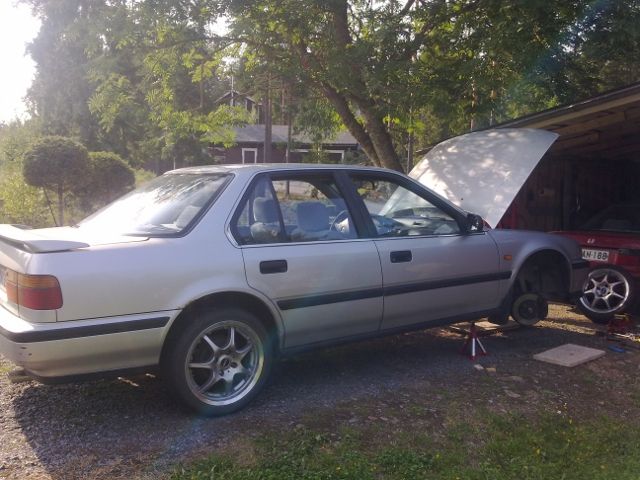
    After that I took off my bumper for easier install/fabrication (The wire coming out from behind the horn is the engine heater/AC power cord and the pipe that goes to the canister is for the headlight washers!)


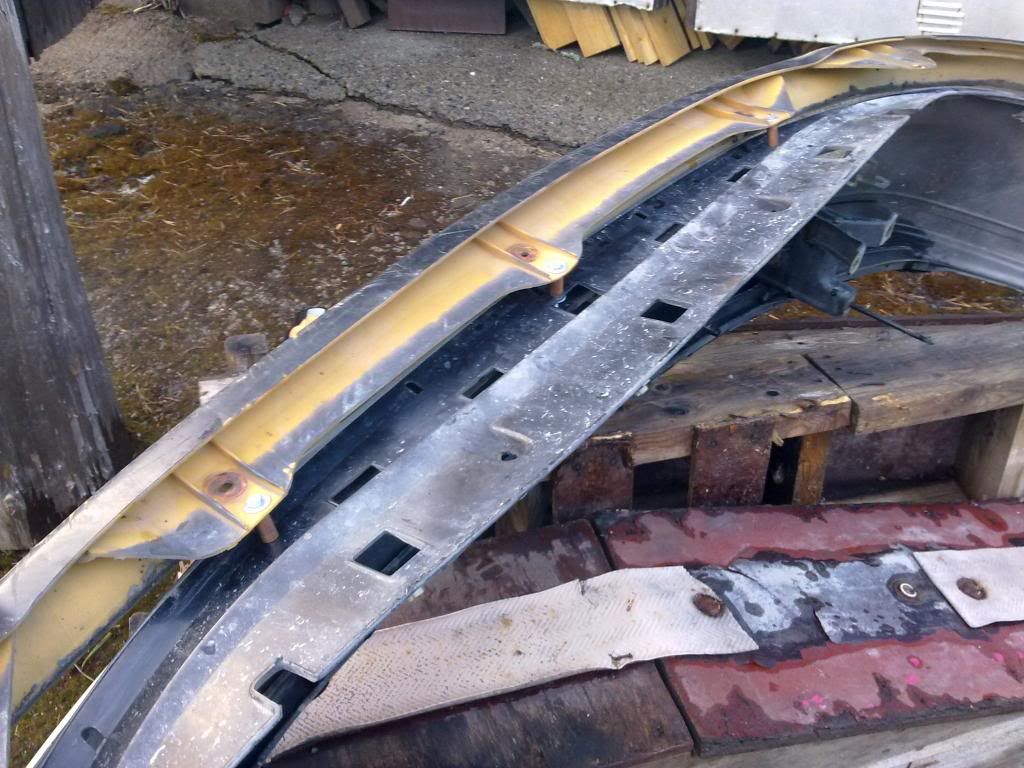
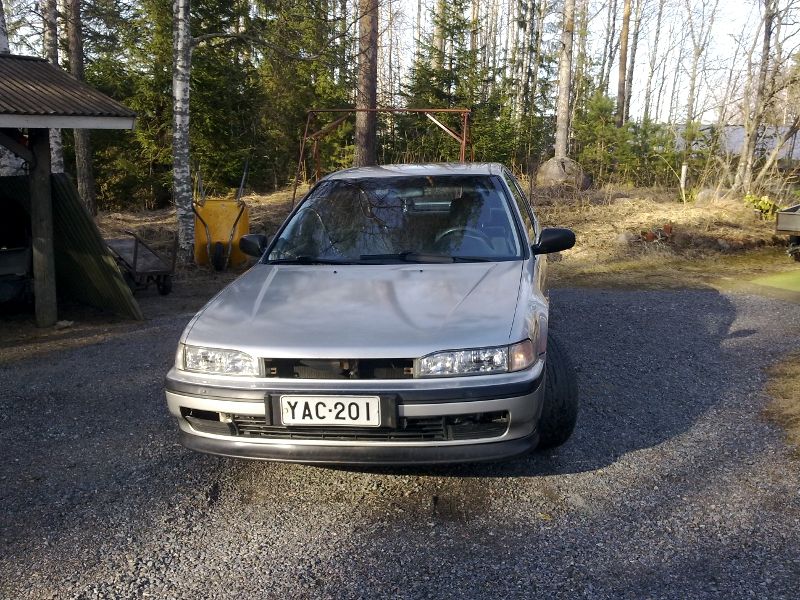
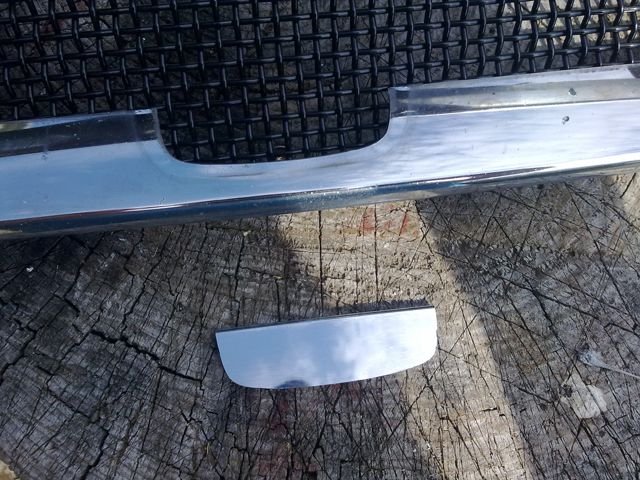
    After removing the bumper, I got the lip out and started fitting it on.. It's about the right size, but just needs some bending and new fixing points...
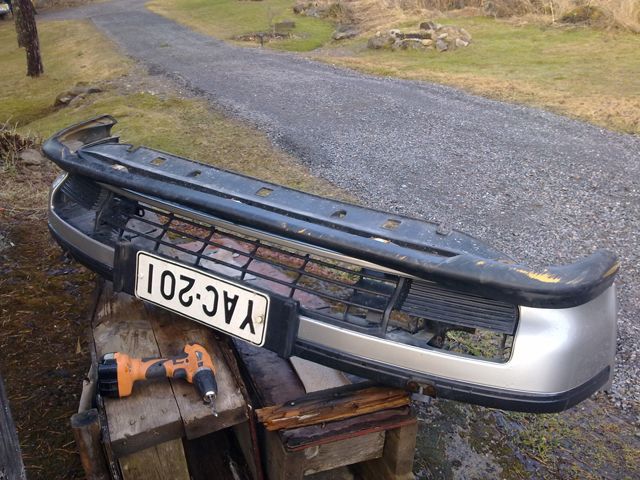
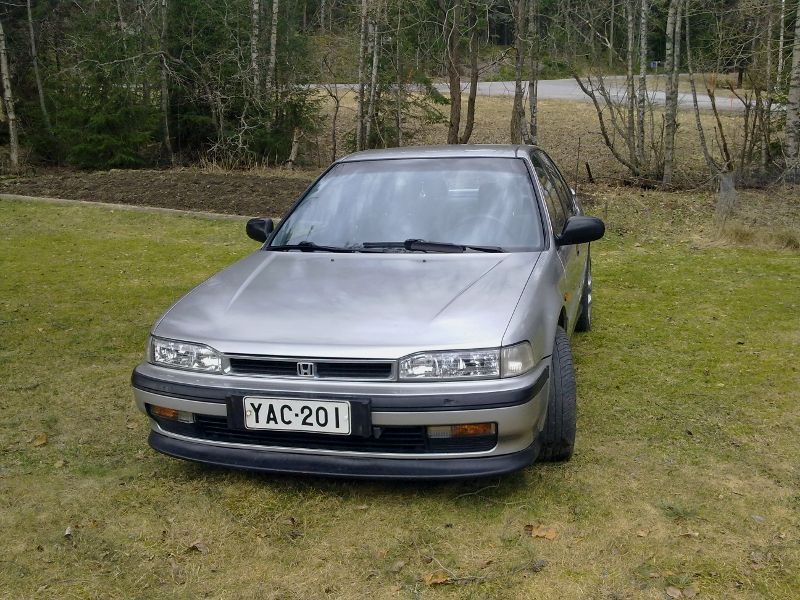
    So that meant that I had to get my tools and my "scrapbox" out, and start imagining ways to fit this plastic piece to my existing bumper. I didn't want to do it the half-assed way of riveting it straight on forcefully, so I took some copper pipe and made sleeves for adjusting the lip and for bolting it on the bumper... Then I made some holes and put it on. Like this:


    That's pretty much where I left it for now, I'm continuing the work tomorrow with the most difficult part of the whole project, trying to bend the curves to fit the Accord bumper. I have already pretty much figured out how to do it though, so it's just a matter of some swearing and big powertools to make it fall apart into a thousand pieces..... I mean to make it fit properly.

    I will post updates when I've made some more progress......!
    MRT: http://www.cb7tuner.com/vbb/showthread.php?t=197342

    Comment


      #17
      Maybe using a heat gun might help?


      Purchased From: busak87, GunRunner, Bruce Banner, Itstatcb7kid707, tJoods, DannyD


      The Caravan 2015
      MRT:http://www.cb7tuner.com/vbb/showthread.php?t=180919

      Comment


        #18
        Originally posted by SanJoCaF22DrAcc View Post
        Maybe using a heat gun might help?
        No need, it shaped itself well enough without heat. Just had to push it a bit and then bolt it on. It's almost ready at the time of writing, just need to finish it and put the bumper on... I took some more pictures but I'll post them all together when I'm done.
        MRT: http://www.cb7tuner.com/vbb/showthread.php?t=197342

        Comment


          #19
          I'm very pleased with the final result, cost about ~25 bucks total.
          It was rather easy to put into shape by just bolting it on in the right places and at the right angle. It's under some constant tension but it's made from a very flexible plastic so it doesn't matter. There are a couple of small gaps but they're fixable if I can be arsed, looks good already. (Also, you might notice that I got rid of the washer assembly. I haven't yet taken the rest of it (wiring etc.) out so don't come asking for the system just yet )


          Last edited by Audiojack; 05-08-2013, 09:19 AM.
          MRT: http://www.cb7tuner.com/vbb/showthread.php?t=197342

          Comment


            #20
            Looks good
            MRT: http://www.cb7tuner.com/vbb/showthread.php?t=196248

            Comment


              #21
              Customized my grille a bit, hate it or love it. 
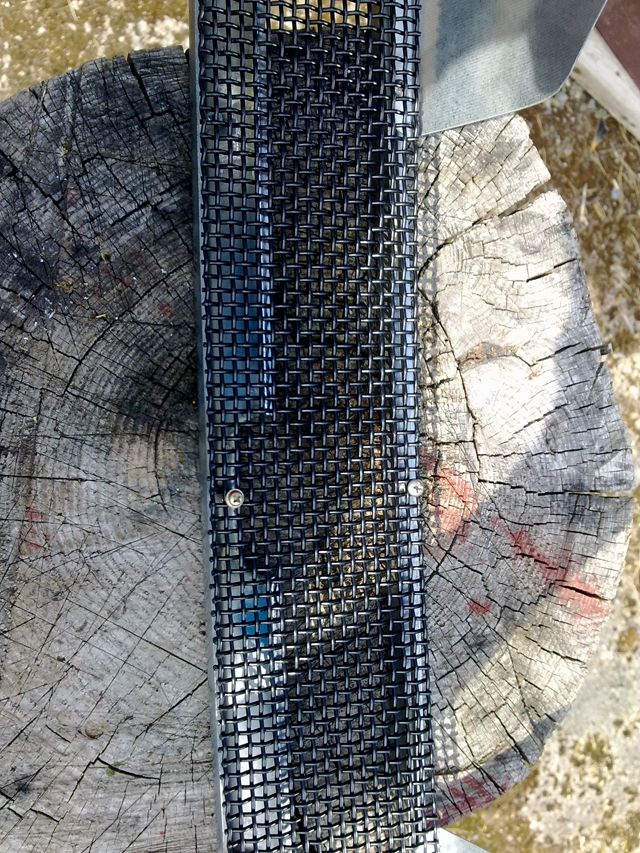
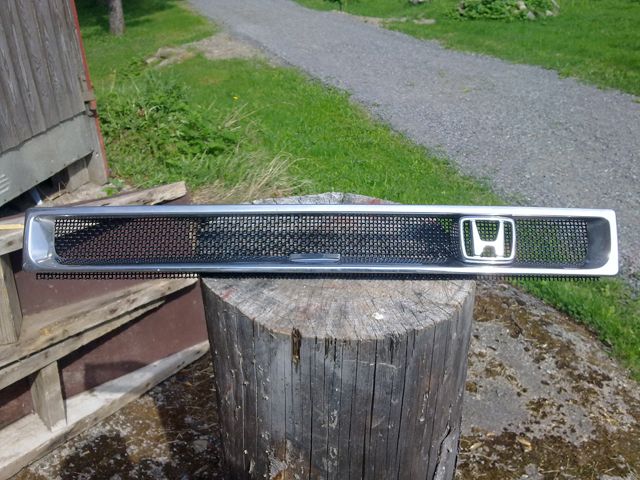
I made it in a way that everything can be easily taken off and the grille made back into OEM look. I didn't cut any original parts or modify them, just screwed all the new bits on into the existing holes.
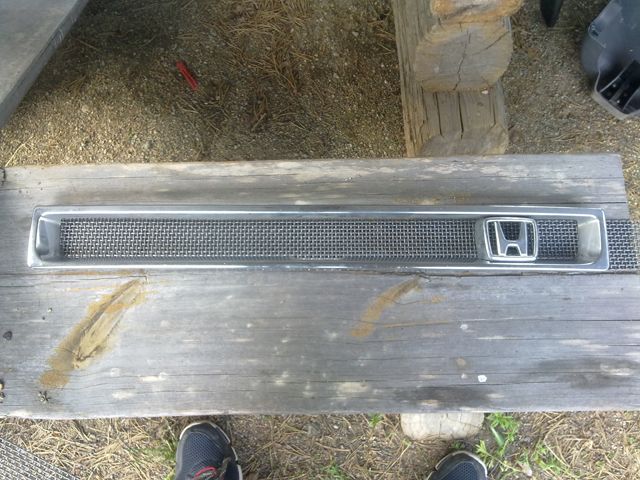
              The concept:


              Made some plates to fasten the grille back on:


              Painted the mesh black and put it on:


              This piece is from some old plastic kitchen tap cover :


              Here's the grille before putting the "plastic tap piece" in place properly and before adding a black rubber plate under the Honda logo:


              The final product at the moment:


              Also, I got some new pedal friction surfaces because the old ones didn't stay on very well:


              MRT: http://www.cb7tuner.com/vbb/showthread.php?t=197342

              Comment


                #22
                Meh.... looks good in a way

                ShiroiKinCB

                Comment


                  #23
                  Not a lot of interesting stuff happened here. Just been washing, waxing, driving and taking care of the car.

                  UNTIL today!

                  I got this piece of..... I mean this beautiful car for cheap.


                  It has pretty funky Honda OEM three spoke wheels and a lot of chavvy stuff inside... A loud muffler, a volt meter that doesn't work, Alpine stereo and SPL Dynamics speakers, and xenon lights. I'm gonna put it into pieces and take all the good stuff (this doesn't mean the aforementioned xenons and mufflers etc......) for myself and sell the rest... (Or if my dad is interested, I might give the shell to him for restoring with original parts)

                  It even has the air conditioning that I coveted so I'm going to try to retrofit that into my own car!
                  MRT: http://www.cb7tuner.com/vbb/showthread.php?t=197342

                  Comment


                    #24
                    UPDATES!!!!!!!11one

                    The Accord got lowered a tad and did some other small things too..

                    Took the interior apart, changed some of the worn/snapped/drilled plastic bits out and replaced them with mint ones from the red Accord. Also replaced the head unit for the Alpine 9880R the red one had in it.


                    Here it is installed, still need to find a plastic frame for the head unit:


                    Next up, the suspension:

                    Jacking up the rear:


                    Working on the rear suspension:


                    ....and the front suspension:


                    Rear springs done! FK Automotive lowering springs (got them for free as well):


                    Noticed that the right side inner CV joint boot was basically cut in two pieces so I replaced that and greased the joint. Luckily there was no damage in the joint at all:


                    Working on it:


                    Me being dopey after a long day of work:


                    Here's the finished product, I'm very happy with it:

                    MRT: http://www.cb7tuner.com/vbb/showthread.php?t=197342

                    Comment


                      #25
                      4 things I really like about your car: 1. Trunk/tail lamps, 2. Rear seats, 3. Fender light markers, 4. Headlights.

                      ShiroiKinCB

                      Comment


                        #26
                        Helloo... Some stuff worth updating has happened here!

                        While checking and adjusting the valve clearances and changing the gaskets, I also painted my valve cover...


                        And I was happy like that for some time, here's a pic of the car in the yard of my workplace..


                        And then I found this thing for very cheap! A fully rebuilt F20A4 with all new innards and a lighter flywheel. So of course I had to take the offer

                        It's basically the same block and everything as my F20A2 but obviously it is in a much much much much better condition and it has PGM-FI instead of a carb.... So power gains too.


                        And a random pic from the yard, my cars
                        MRT: http://www.cb7tuner.com/vbb/showthread.php?t=197342

                        Comment

                        Working...
                        X