
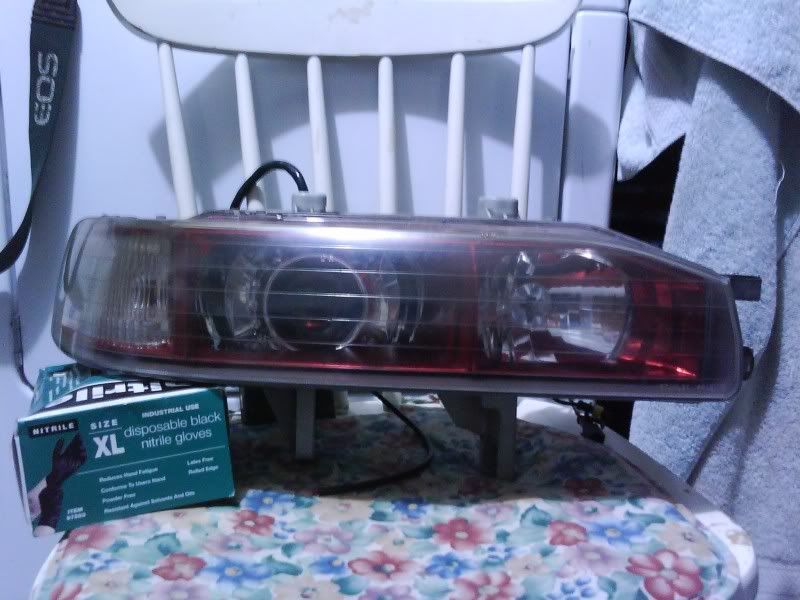
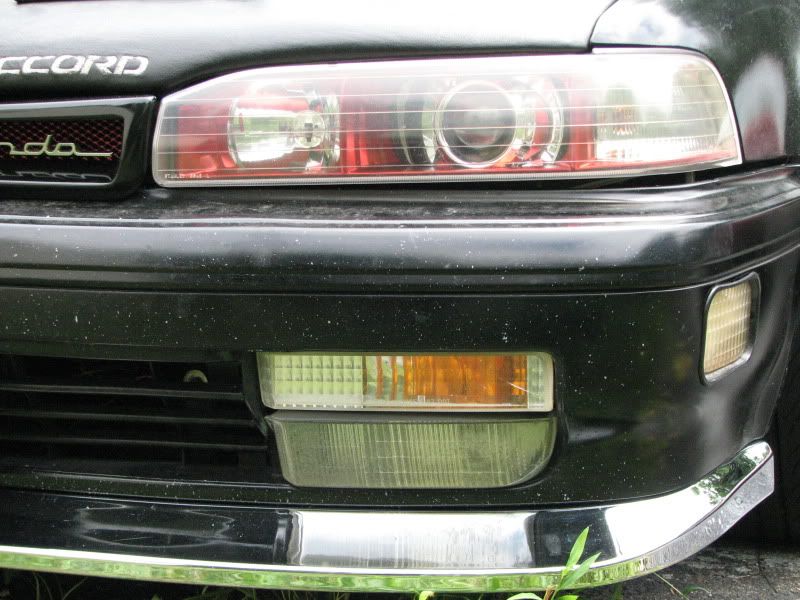
Okay, so this DIY will outline the installation of the Mini Morimoto D2S Bi-Xenon Projectors into one piece headlights.
Parts used:
- Morimoto Mini D2S Projectors Link
- E-46 R Shrouds Link
- JDM One Piece Headlights.
- Mercedes Benz Hella D2S ballasts with Phillips bulbs.
Tools needed:
- Oven or heat gun
- Oven mitts
- Dremel with cut off wheel and sanding barrels
- Masking tape
- Marker
- Black spray paint (optional)
- Aluminum Tape
- Phillips screwdriver
- Various flat-tip screwdrivers
- Solder gun
- Heat shrink tubing
- Wire
This is how I did my retrofit and is an outline on how to do it.
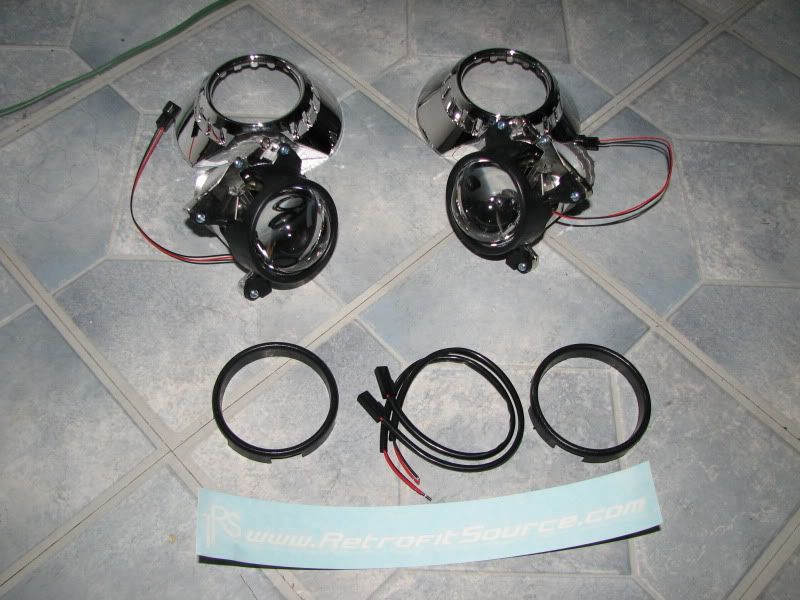
Included in the kit:
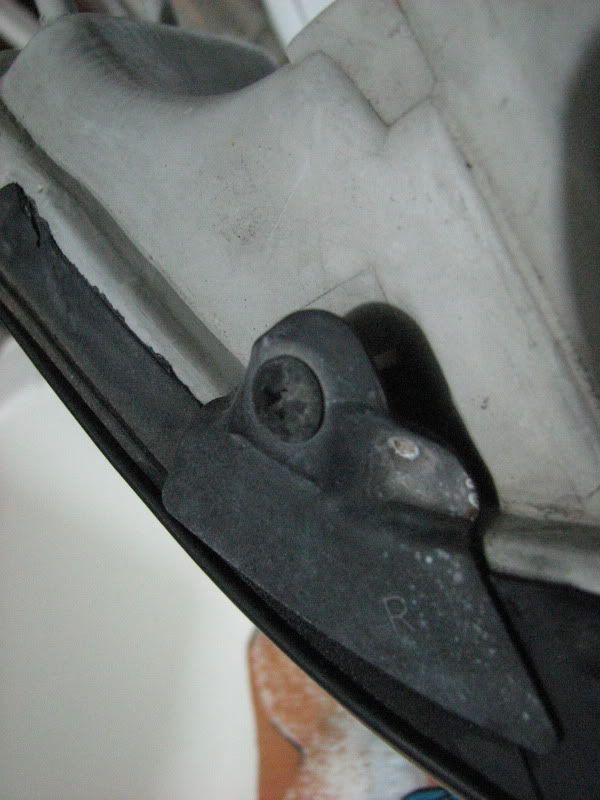
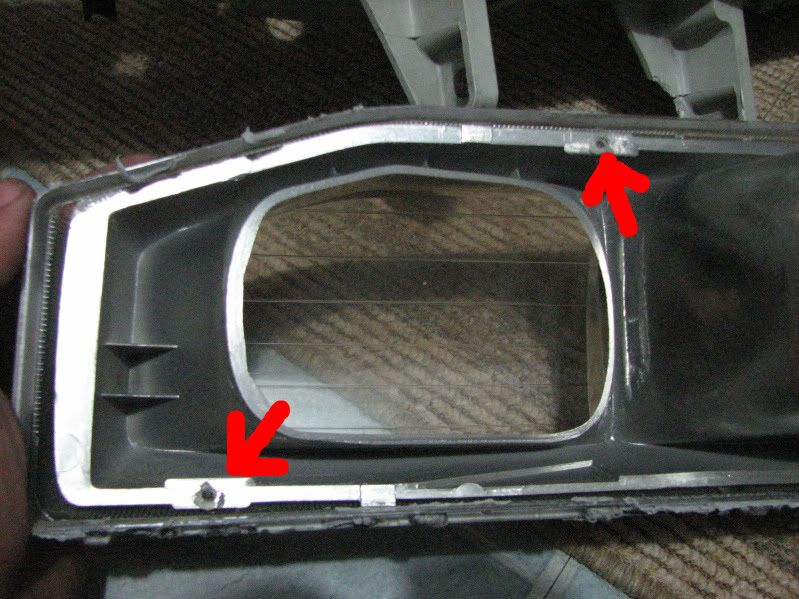
Step 1: First remove the clips and the rubber from the corners.

Step 2: Remove the rubber boots.

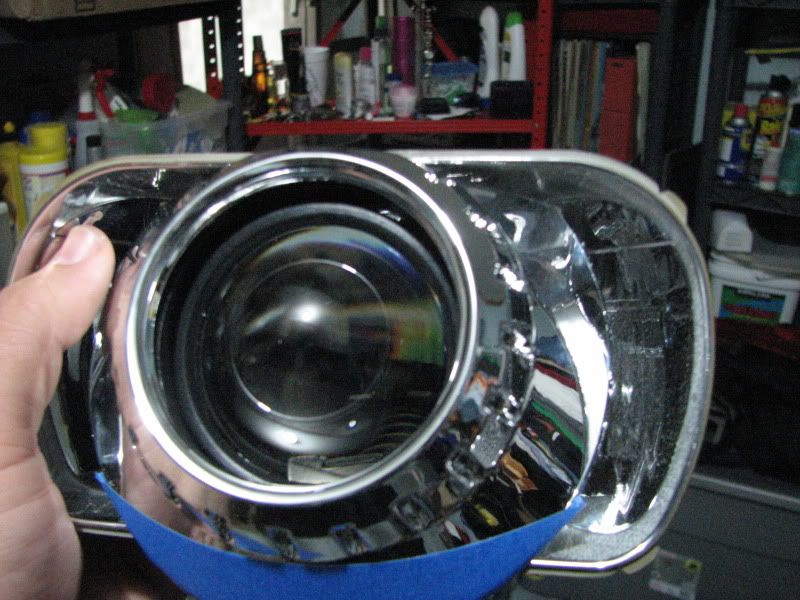
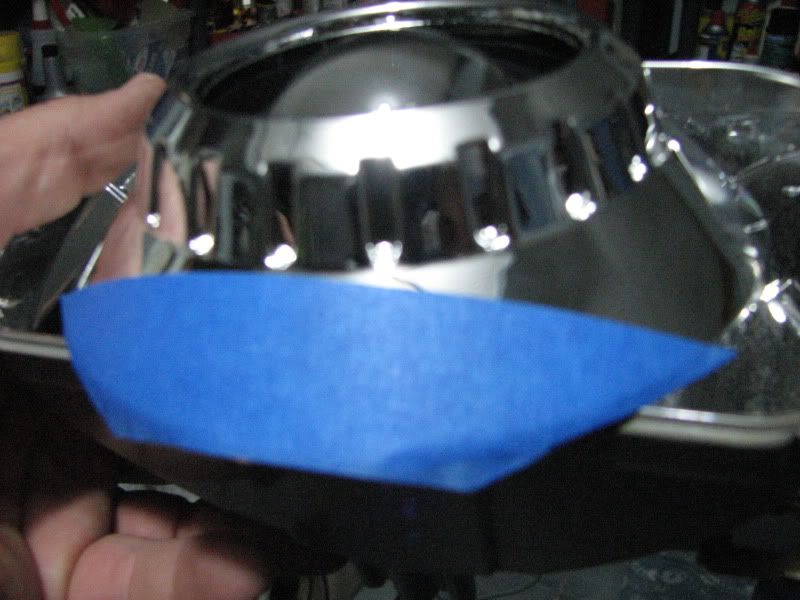
Step 3: Use either a heat gun or an oven to heat the headlights. I set it at 225 for 7 minutes. Use a screwdriver to pry the clear lens from the housing. More can be found on this procedure in this thread: A Complete USDM Black Housing DIY W/ PICS!!!
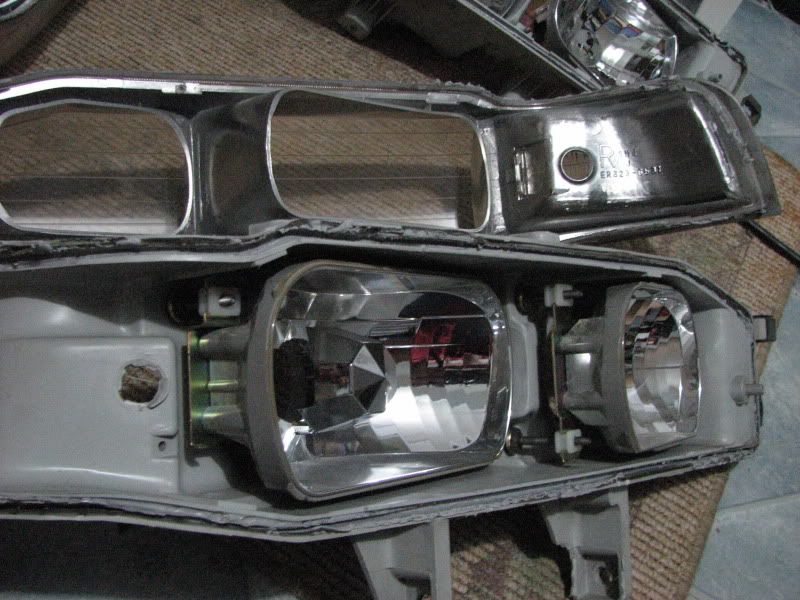
Step 4: Remove the chrome piece from the clear lens. It is tacked into place.
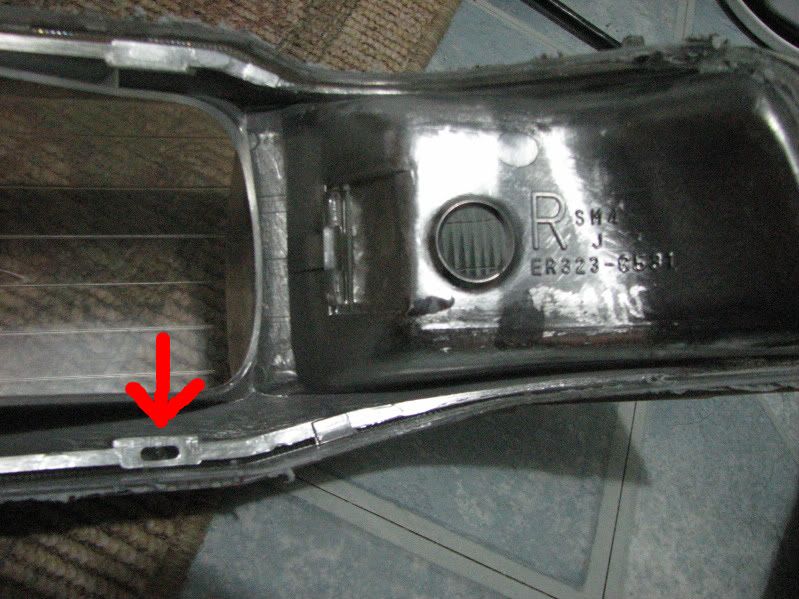
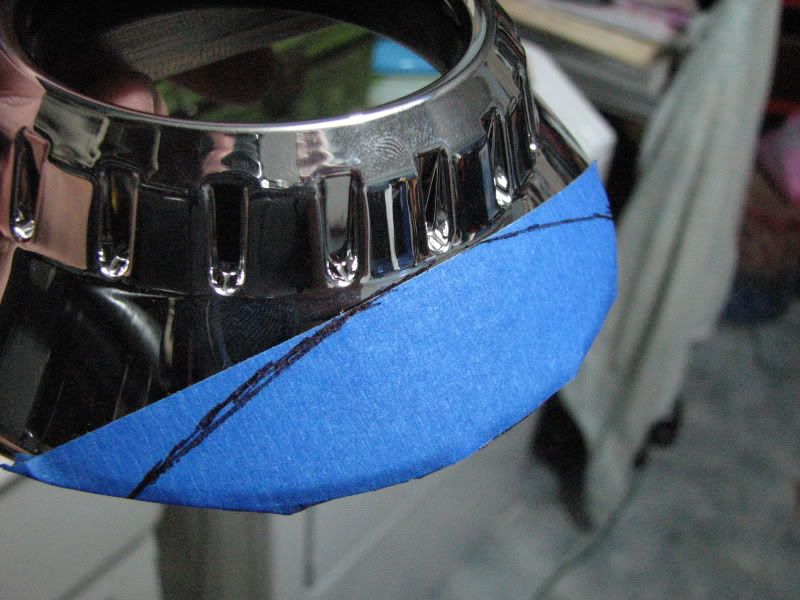
Step 5: Remove the clear corner lens from the chrome trim piece. Notice it is tacked in place as well.

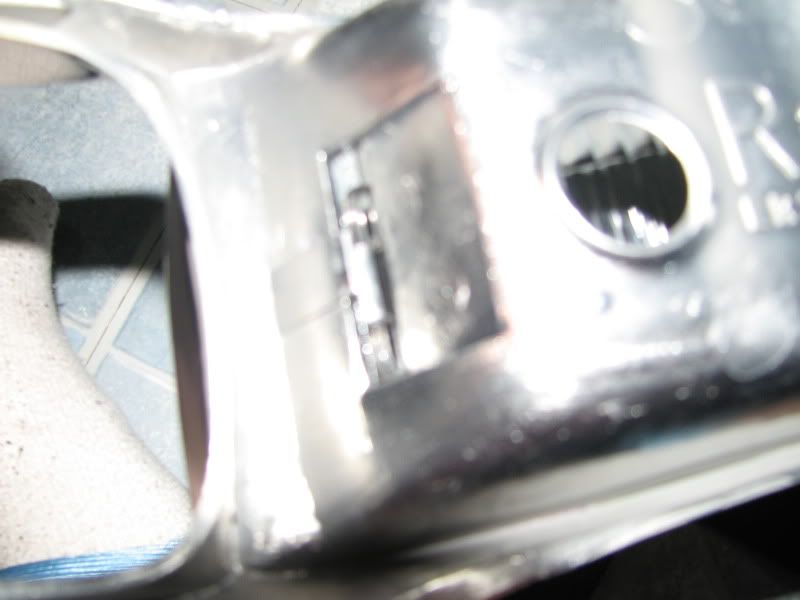
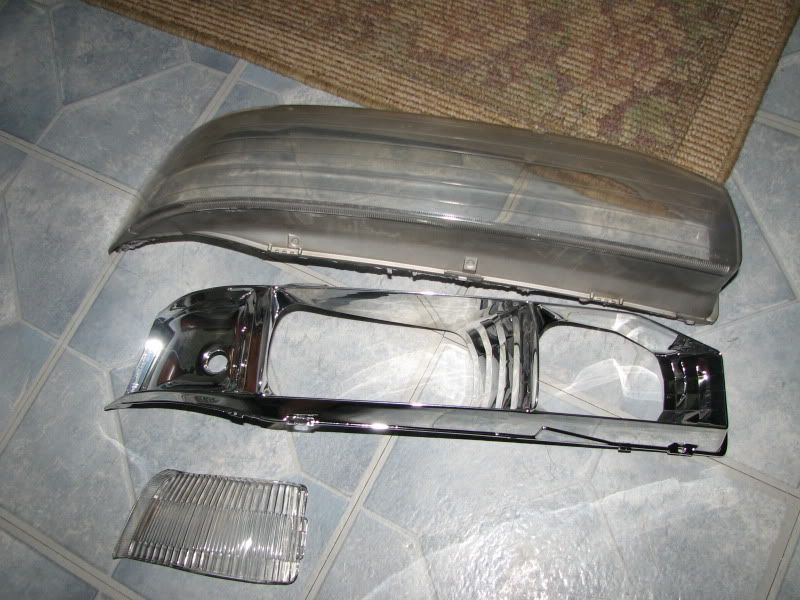
**You can now paint your trim piece black if you would like the black housed look. The clear corner lens can also be painted amber if you like.
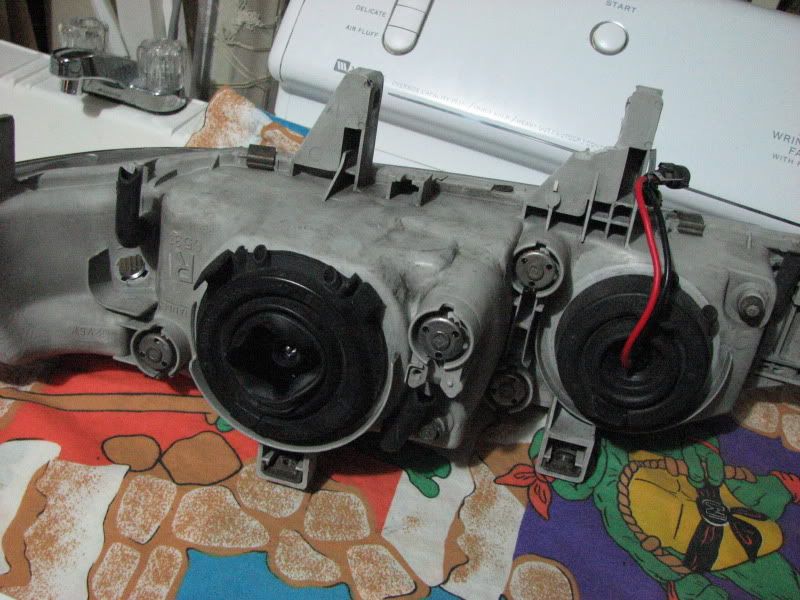
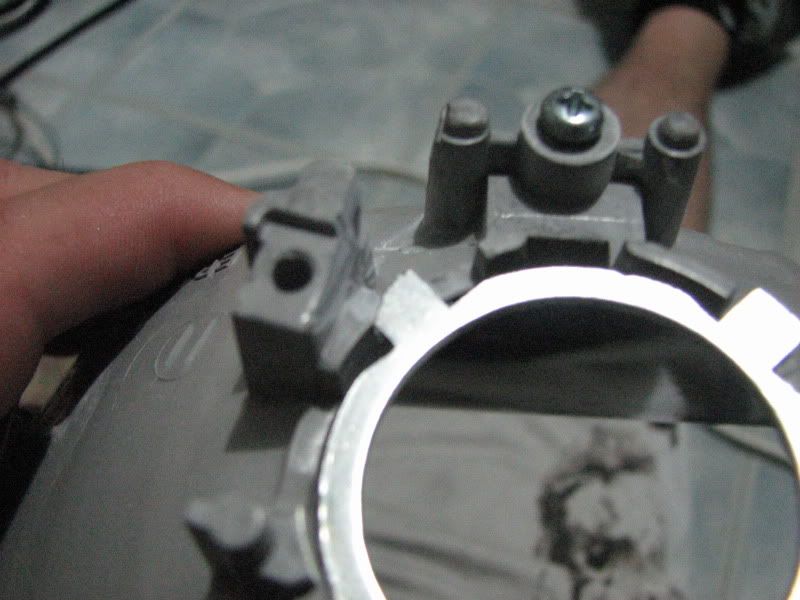
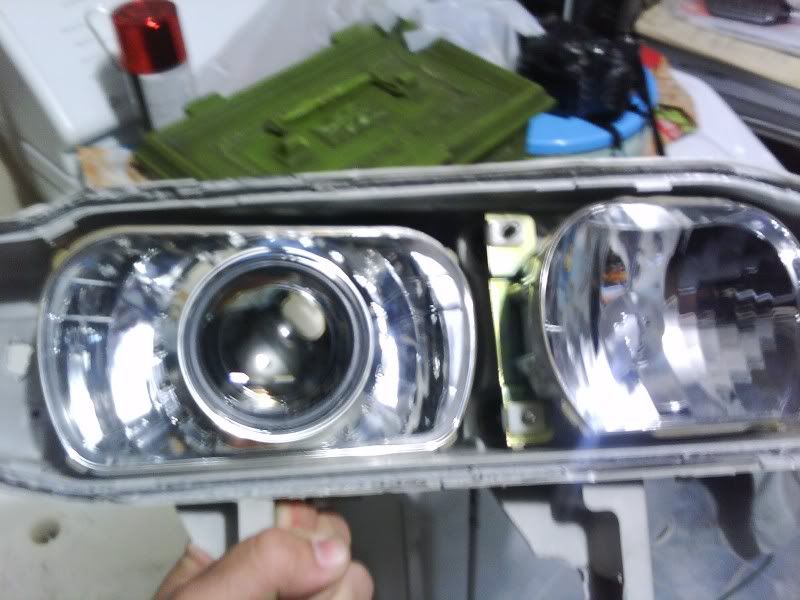
Step 6: Remove the low beam reflector bucket from the housing.
Step 7: Remove the bulb shield.
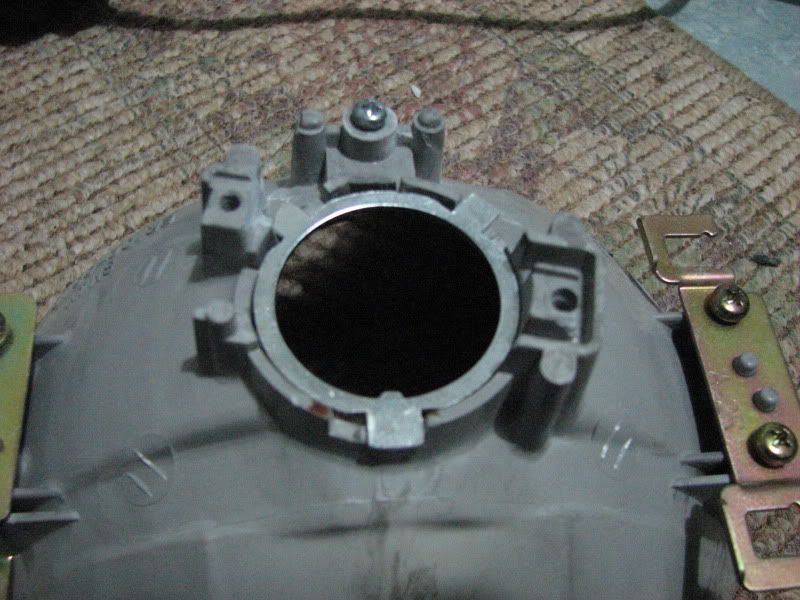
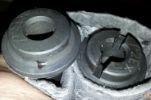
Step 8: Now here is where you will have to break out the Dremel. The JDM buckets tilt the H4 bulbs to the side a little bit.
- The centering ring provided with the kit will sit off center, because off the offset.
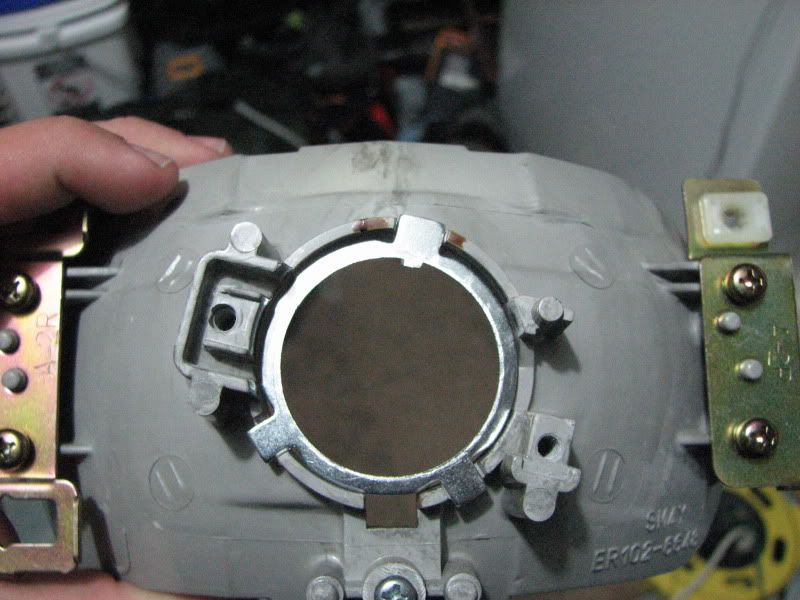
- Lay the ring, mark the bucket and cut away.
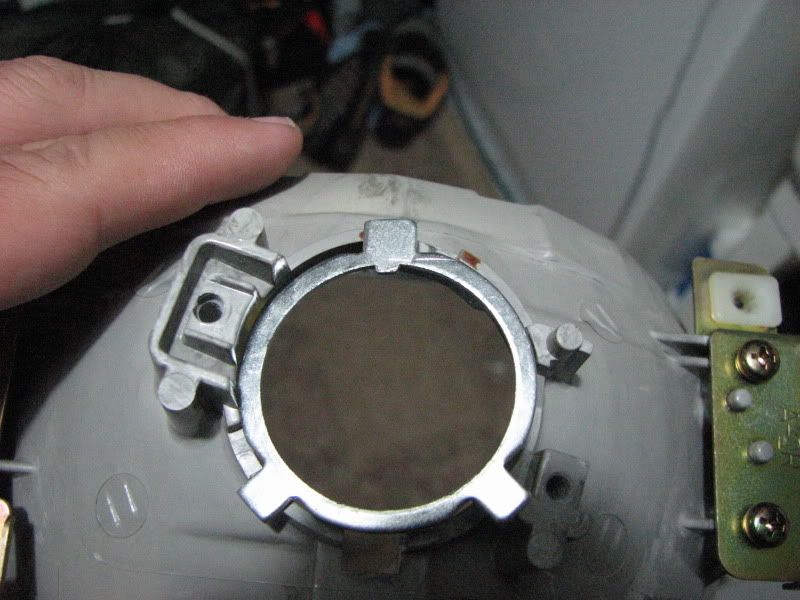
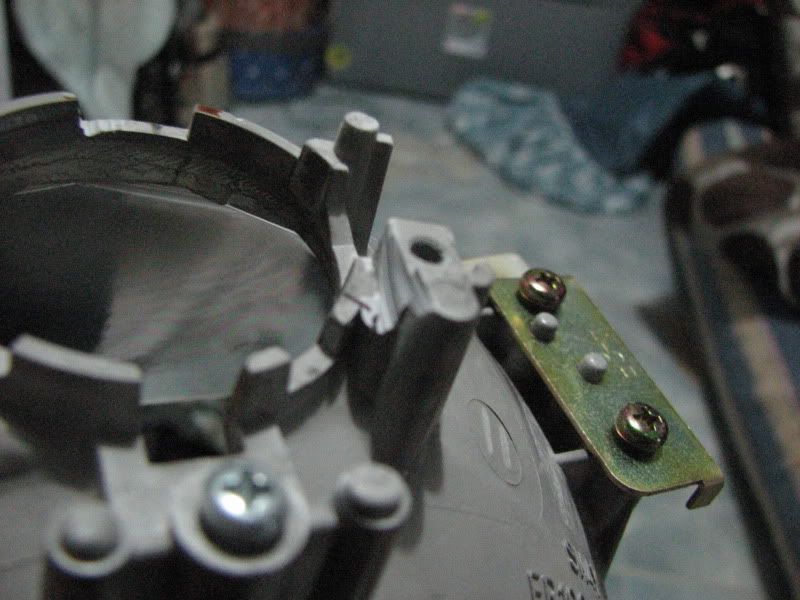
- I trimmed the centering ring a little to get it to fit.
- This is how it should fit.
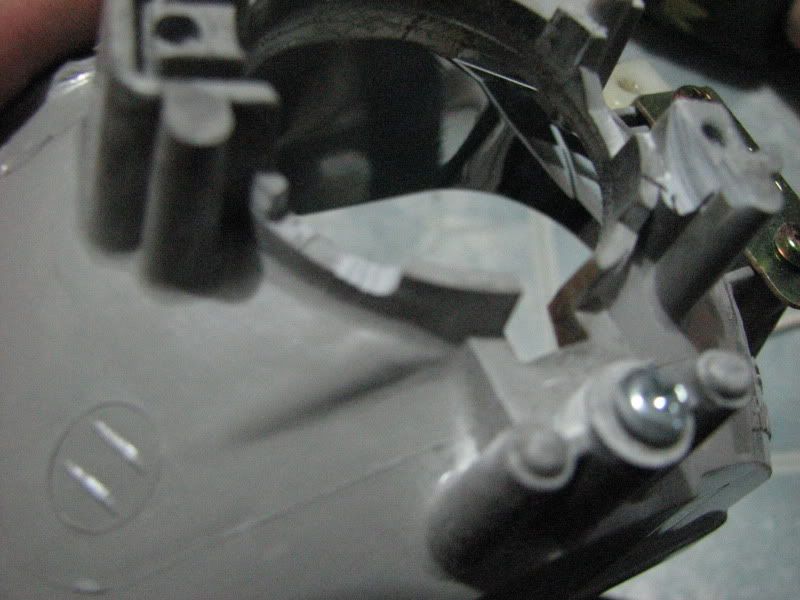
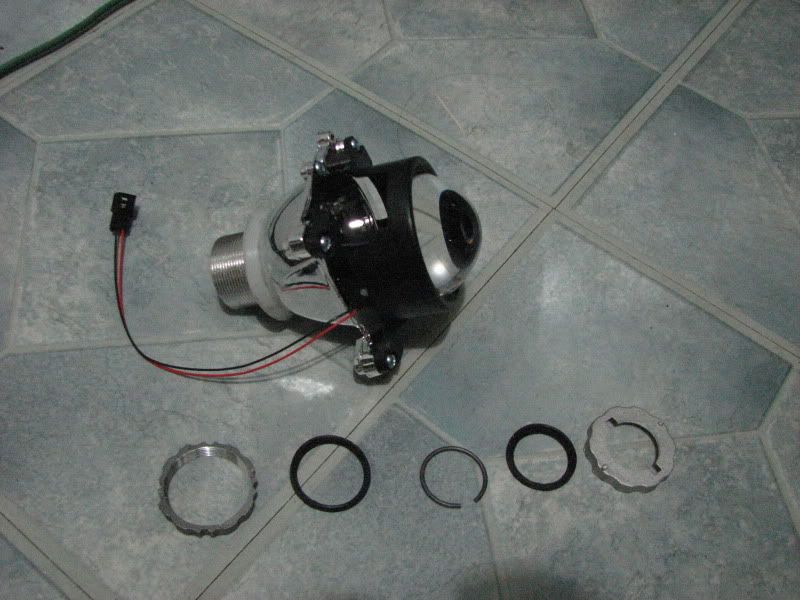
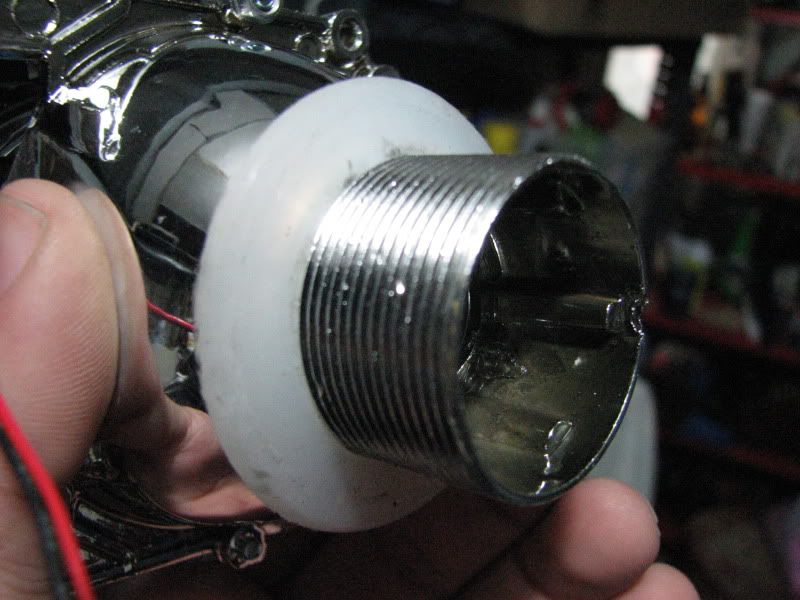
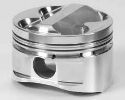
Step 8: Remove all the hardware from the back of the projector with exception of the big silicone washer. It is white.
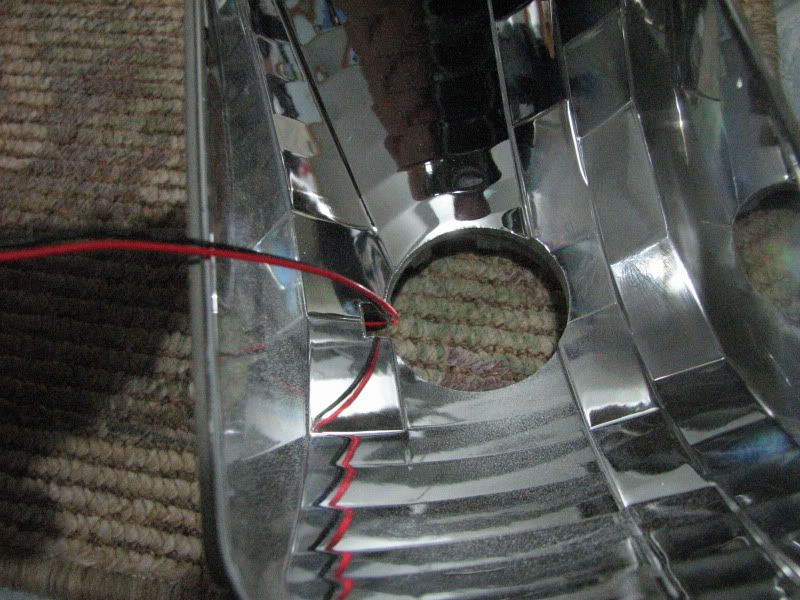
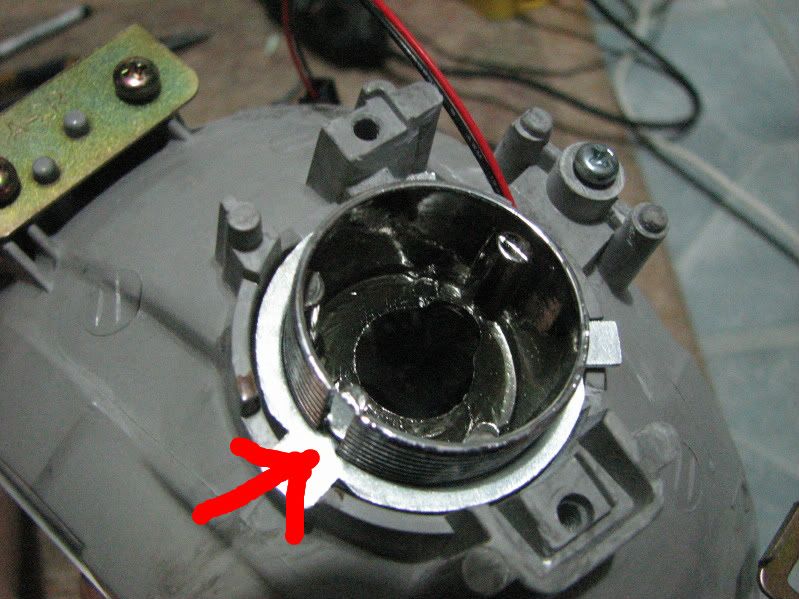
Step 9: Run the red and black wires from the projector through the notch left after removing the bulb shield.
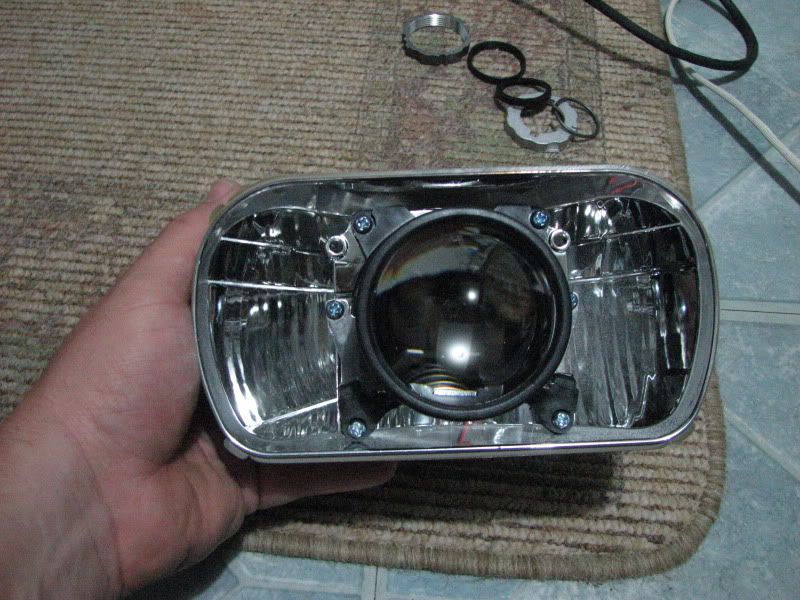
Step 10: Insert the projector through the H4 bulb hole in the bucket.
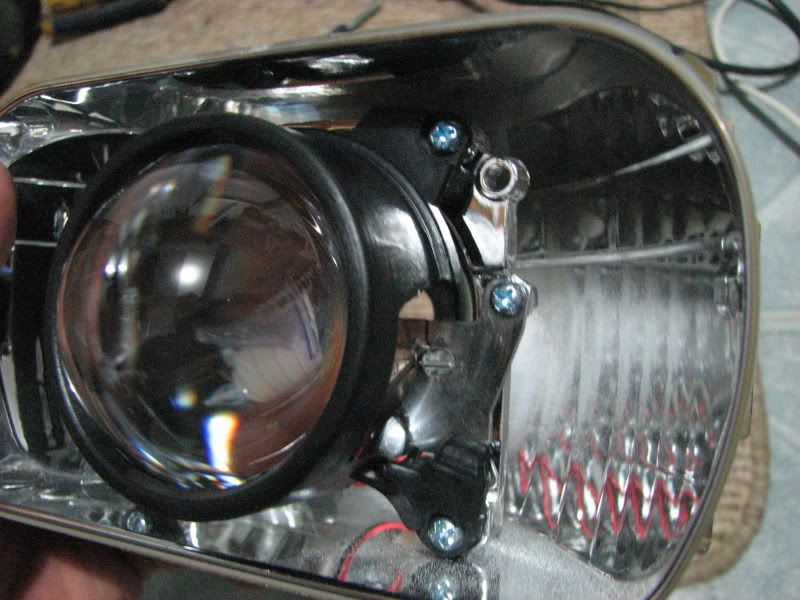
Step 11: Center the projector with the centering ring. Note the projector has a channel for the notch on the centering ring.
Parts used:
- Morimoto Mini D2S Projectors Link
- E-46 R Shrouds Link
- JDM One Piece Headlights.
- Mercedes Benz Hella D2S ballasts with Phillips bulbs.
Tools needed:
- Oven or heat gun
- Oven mitts
- Dremel with cut off wheel and sanding barrels
- Masking tape
- Marker
- Black spray paint (optional)
- Aluminum Tape
- Phillips screwdriver
- Various flat-tip screwdrivers
- Solder gun
- Heat shrink tubing
- Wire
This is how I did my retrofit and is an outline on how to do it.
Included in the kit:
Step 1: First remove the clips and the rubber from the corners.
Step 2: Remove the rubber boots.
Step 3: Use either a heat gun or an oven to heat the headlights. I set it at 225 for 7 minutes. Use a screwdriver to pry the clear lens from the housing. More can be found on this procedure in this thread: A Complete USDM Black Housing DIY W/ PICS!!!
Step 4: Remove the chrome piece from the clear lens. It is tacked into place.
Step 5: Remove the clear corner lens from the chrome trim piece. Notice it is tacked in place as well.
**You can now paint your trim piece black if you would like the black housed look. The clear corner lens can also be painted amber if you like.
Step 6: Remove the low beam reflector bucket from the housing.
Step 7: Remove the bulb shield.
Step 8: Now here is where you will have to break out the Dremel. The JDM buckets tilt the H4 bulbs to the side a little bit.
- The centering ring provided with the kit will sit off center, because off the offset.
- Lay the ring, mark the bucket and cut away.
- I trimmed the centering ring a little to get it to fit.
- This is how it should fit.
Step 8: Remove all the hardware from the back of the projector with exception of the big silicone washer. It is white.
Step 9: Run the red and black wires from the projector through the notch left after removing the bulb shield.
Step 10: Insert the projector through the H4 bulb hole in the bucket.
Step 11: Center the projector with the centering ring. Note the projector has a channel for the notch on the centering ring.


 **Don't b scared be prepared for the worst**


Comment