

Is that the F23 manifold i sold you that Elvis @ SBS ported?
-
Chris this is the same F23 manifold that you sold me. I have more updated pictures.
I seriously need to get busy and get MRT updated to the present.Comment
-
January 2019 update guys!
I've been doing work, and taking pictures and keeping my work log on Lola up to date. I'm going to make a serious attempt to get MRT fully caught up.
F23A1 Machine Shop Work Done

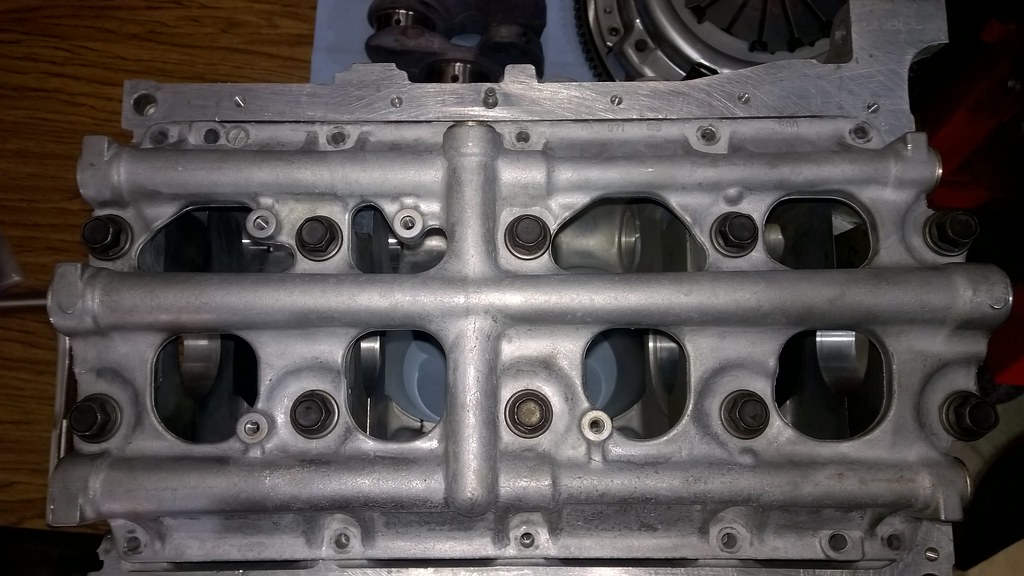
F23A1 Girdle
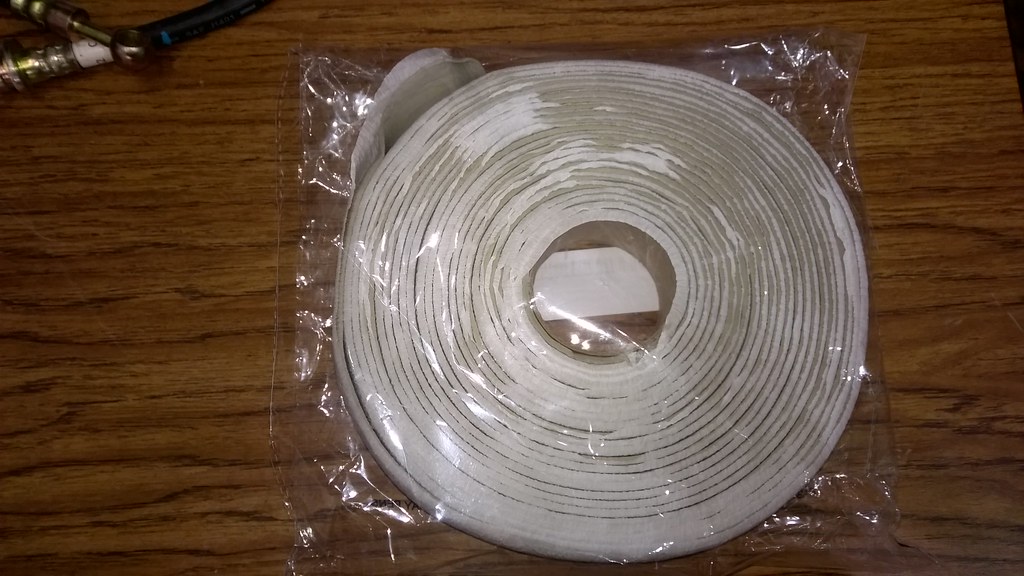
Butyl for Projects
Passenger Side JDM Foglight 1
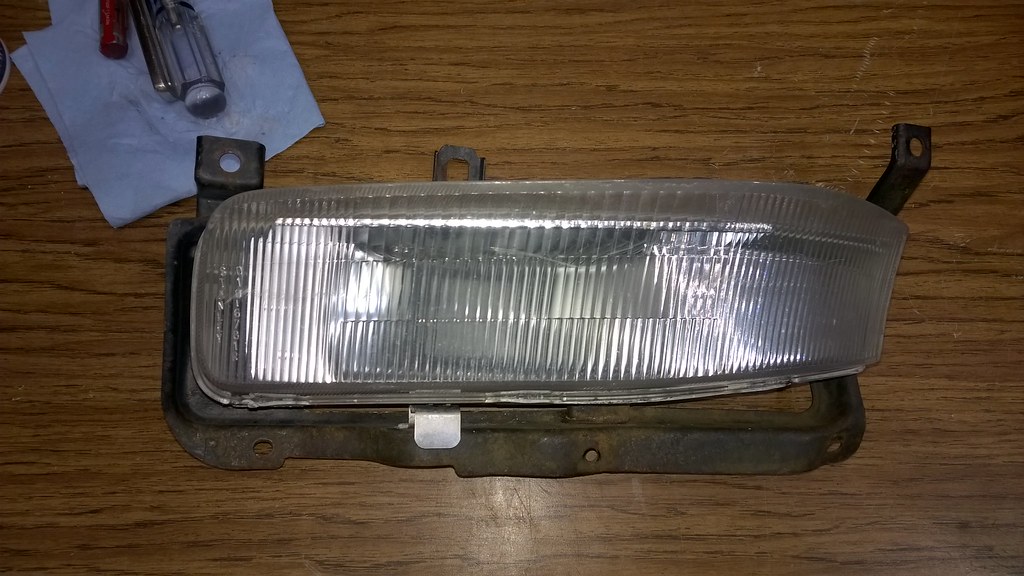
Passenger Side JDM Foglight 2 (Reassembled with new butyl)

Lola Bumper Removed

Bumper Prep for Foglights
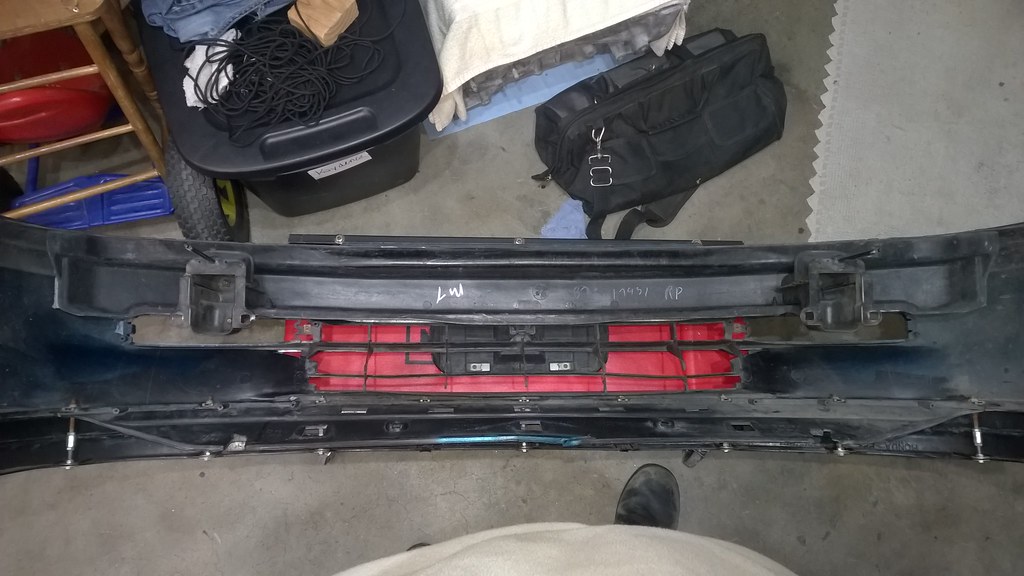
First Cut.... (Only slightly terrified that I might overcut and royally screw up this bumper)

Driver JDM Foglight Test Fit 1
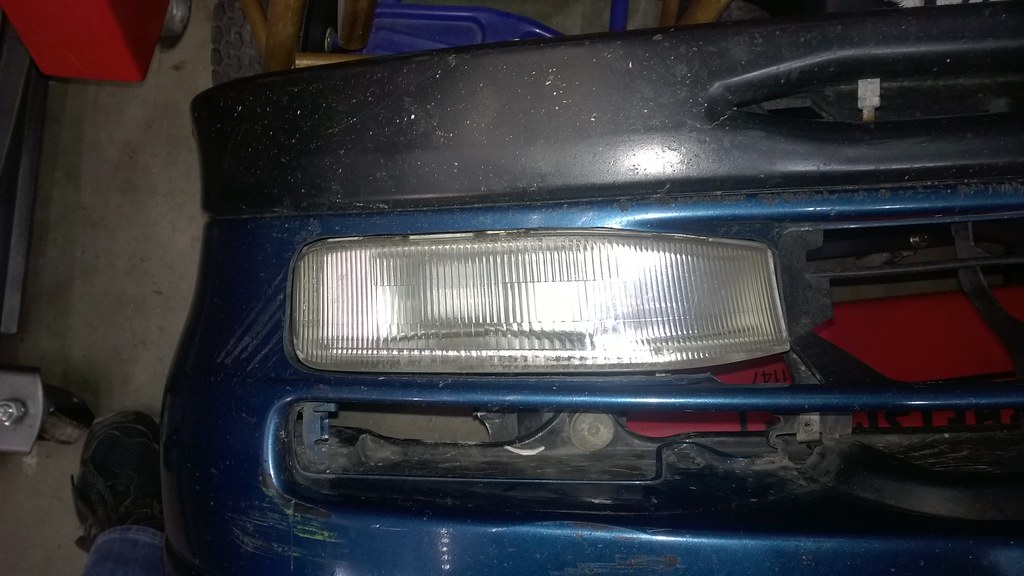
Driver JDM Foglight Test Fit 2

Driver JDM Foglight Final Fit (Door trim around the edges, formed with a heatgun)

Driver JDM Foglight Mistake (Over sanded this one spot on the curve of the corner)

Passenger JDM Foglight Mounting Stud Repair

Passenger JDM Foglight Trimming
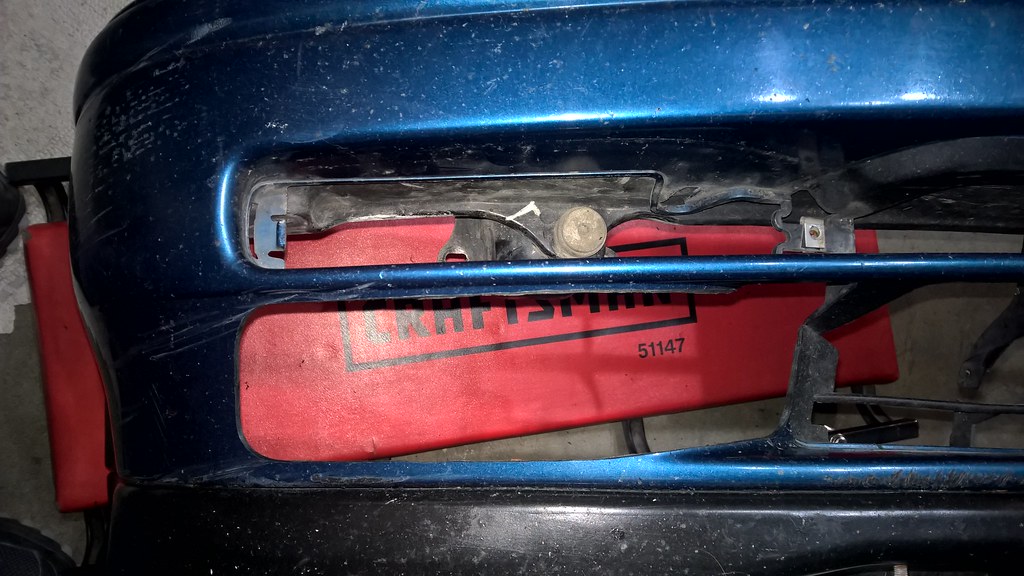
Passenger JDM Foglight Final Fit
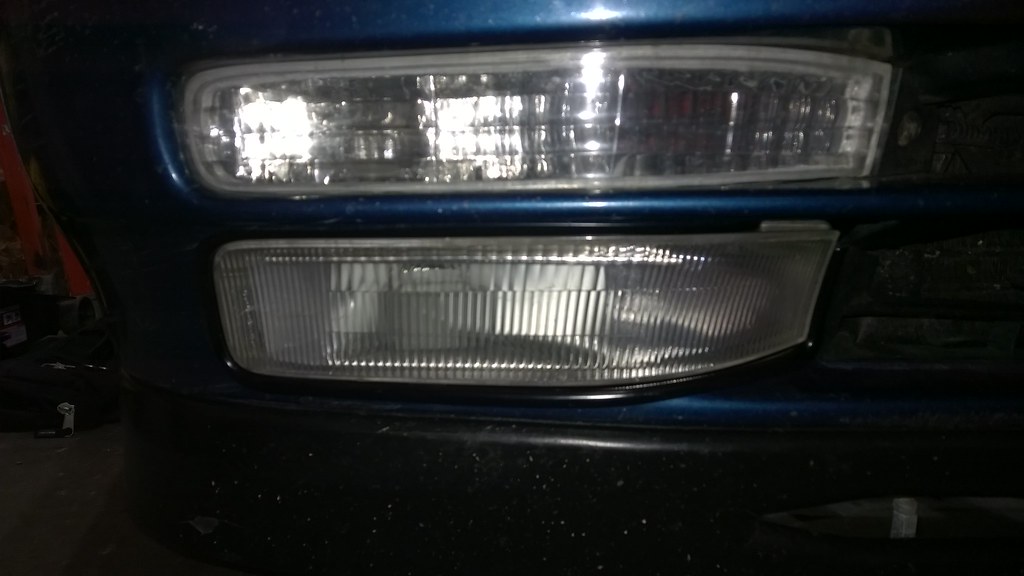
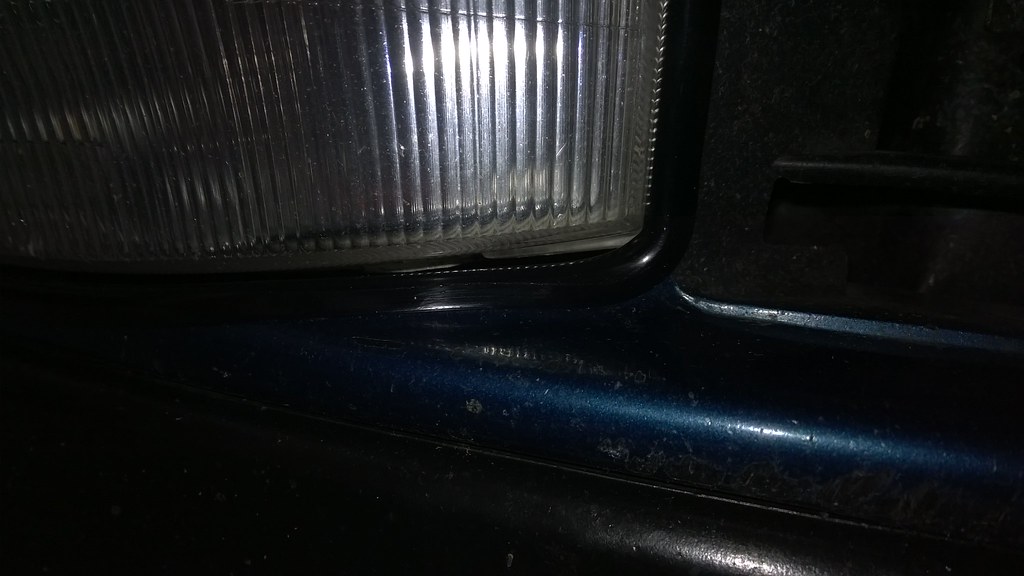
Passenger JDM Foglight Mistake (Over sanded this one spot on the curve of the corner)
Chassis to Transmission Ground Cable

Lola with JDM Foglights

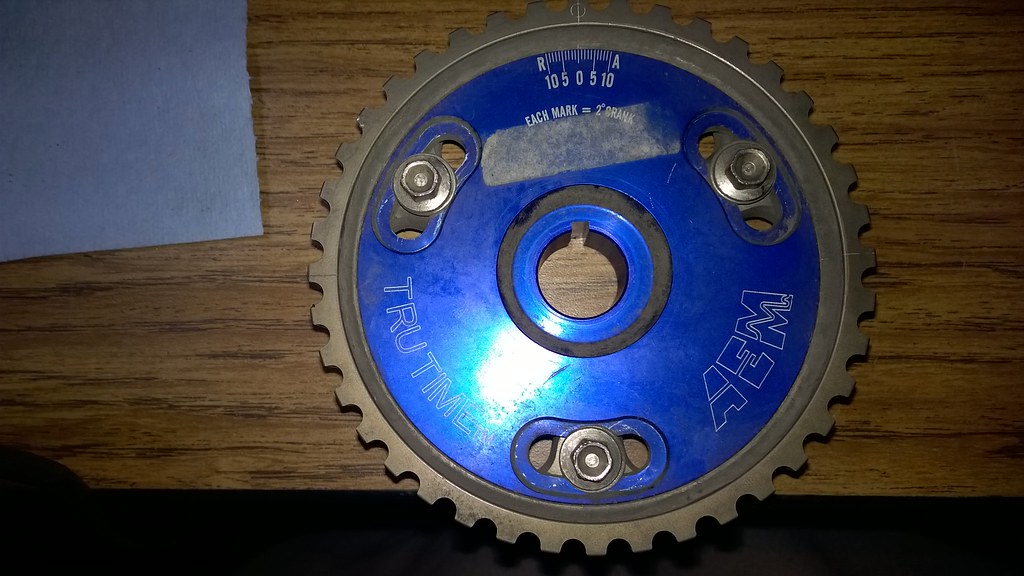
AEM TruTime Camshaft Gear (Found this on craigslist and got the guy to ship it to me from Washington)
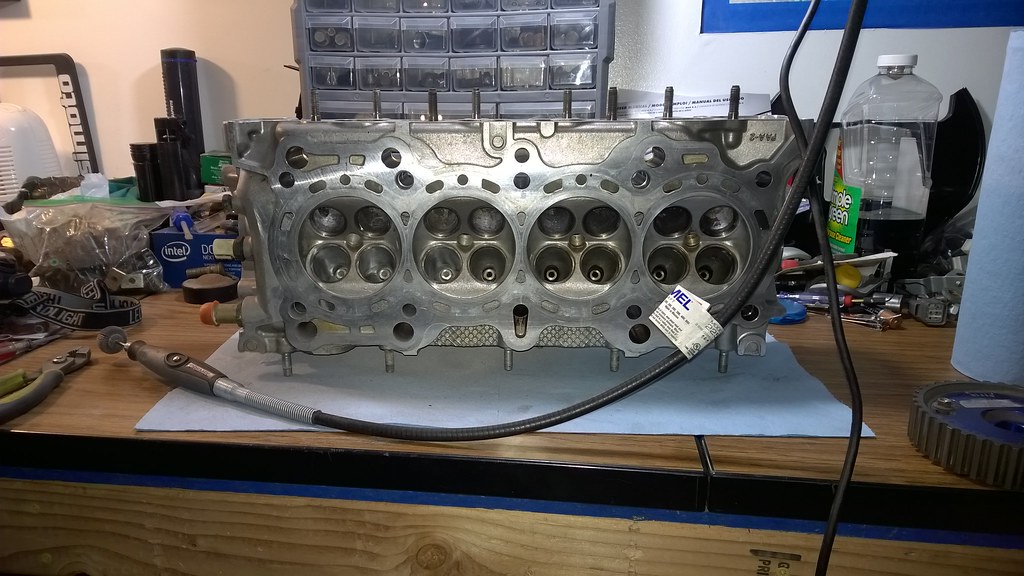
F23A1 Head Port and Polish
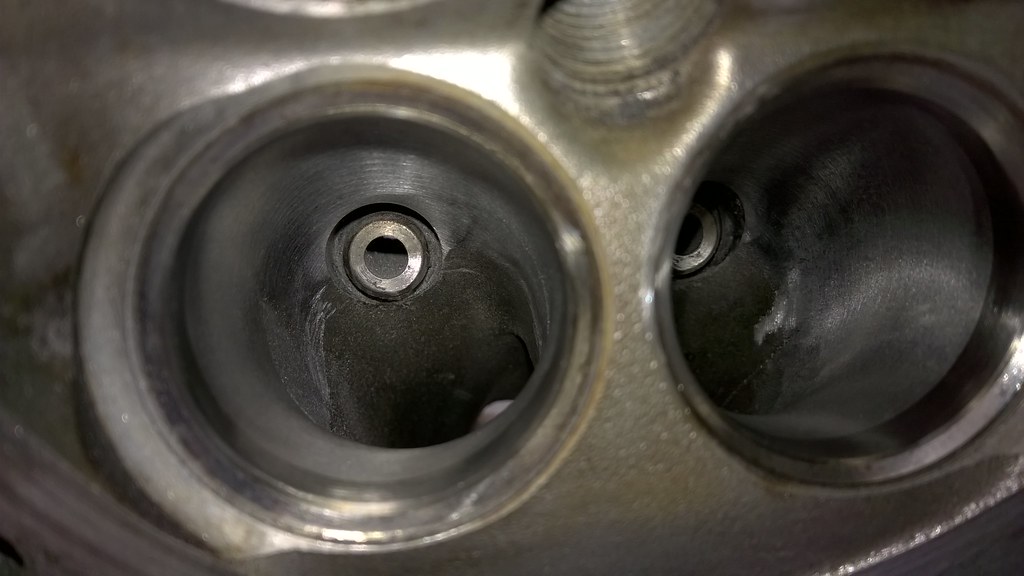
F23A1 Head Port and Polish 2 (Working the bowls and throats, can't remember if it's the intake or the exhaust ports)
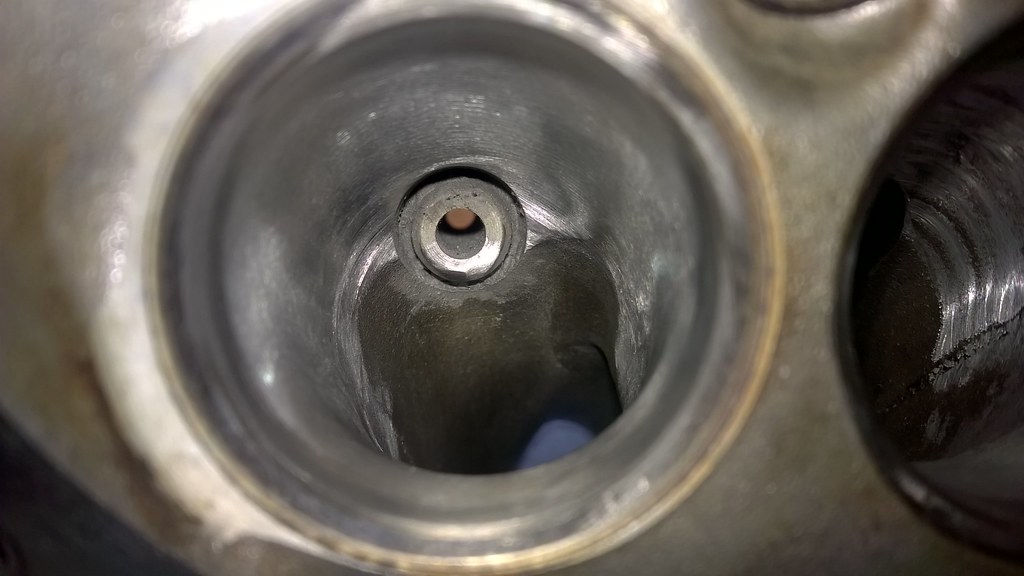
F23A1 Head Port and Polish 3 (Working the bowls and throats, can't remember if it's the intake or the exhaust ports)
2001 Acura CL-S (I didn't take anything but this comes back to bite me in a few weeks)

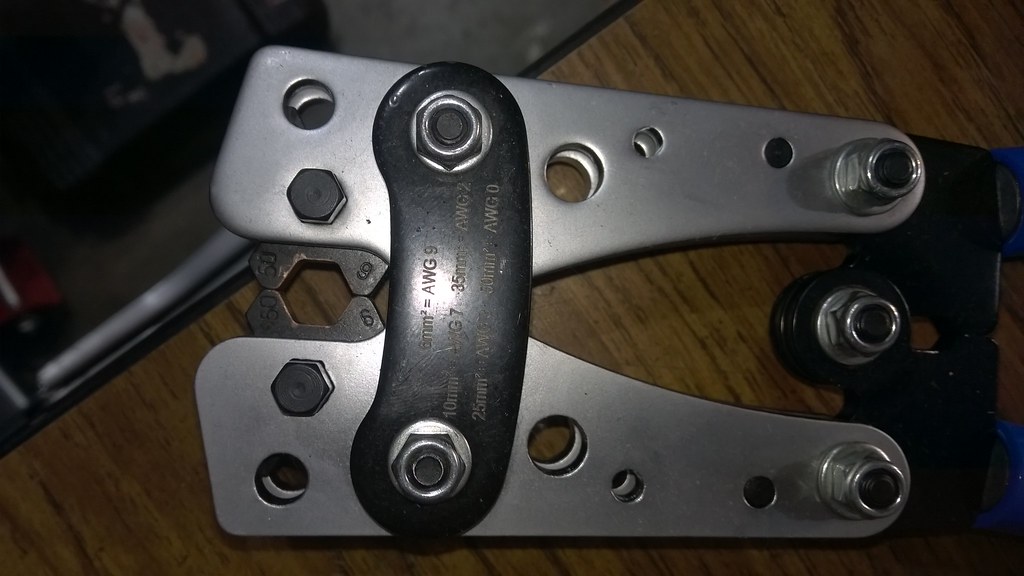
Cable Lug Crimpers
Carbon Fiber Invader Hood Installed
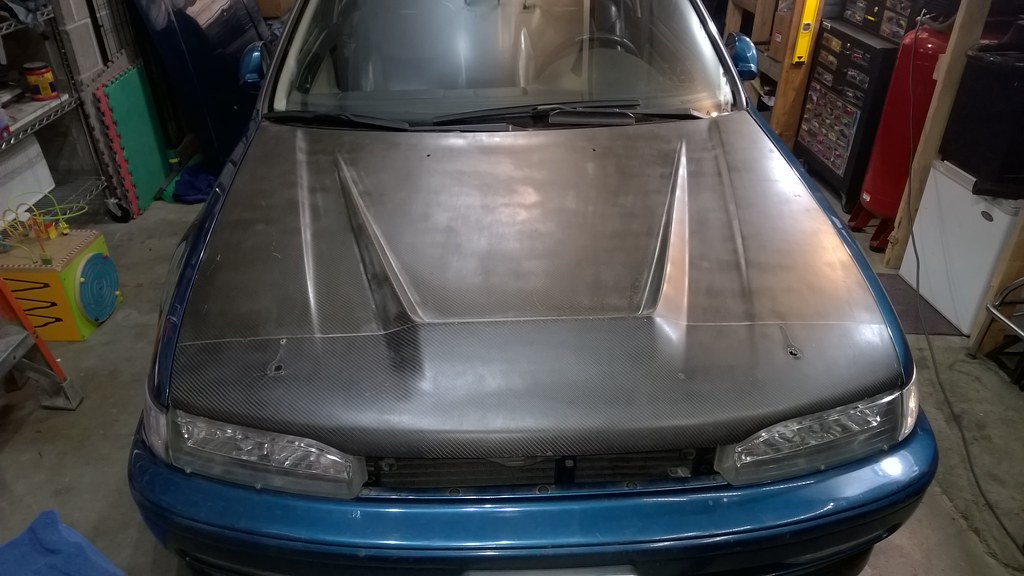
Carbon Fiber Invader Hood Cleaned

Carbon Fiber Invader Hood Sanding

Carbon Fiber Invader Hood Sanding Finished

Carbon Fiber Invader Hood Epoxy Cracks
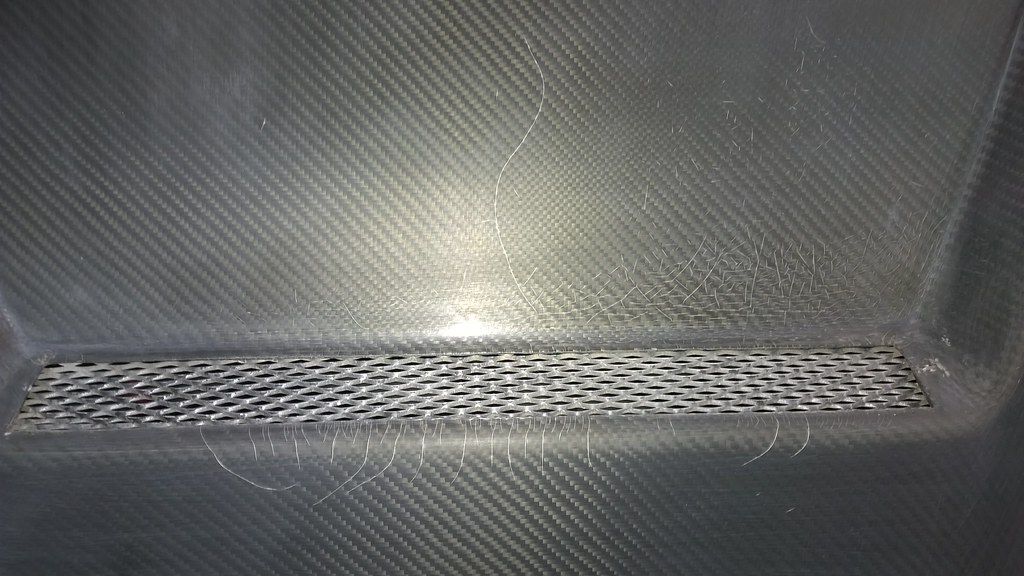
Carbon Fiber Invader Hood Epoxy (Under the clear bra the epoxy was amazingly clear, too bad the rest of it was super yellowed and rough as sand paper)

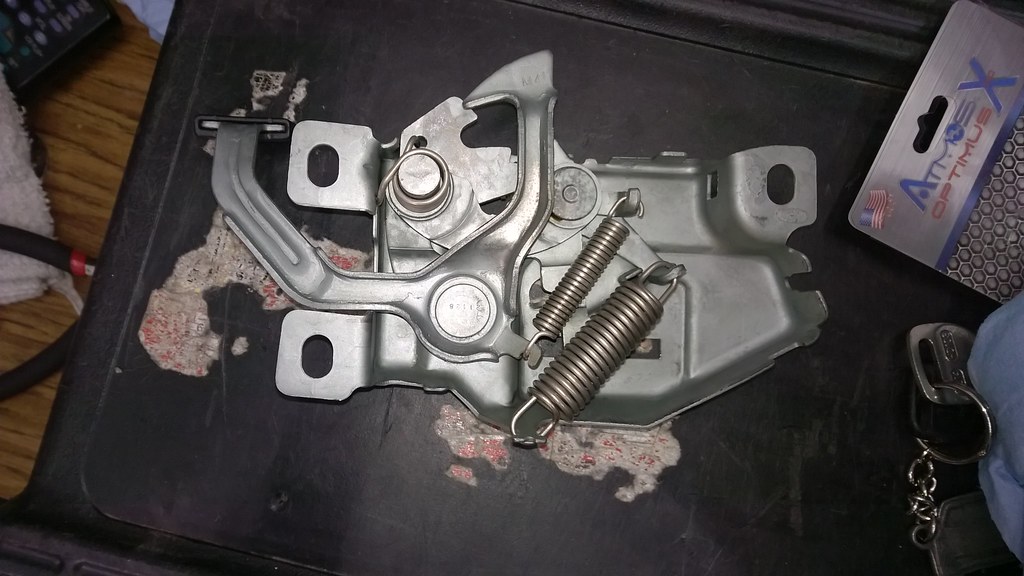
Hood Latch (Spotless after a good bit in the ultrasonic cleaner)
B20Z IACV Compared to F22A (B20Z IACV came with no coolant ports from the factory, this will come into play in the future)

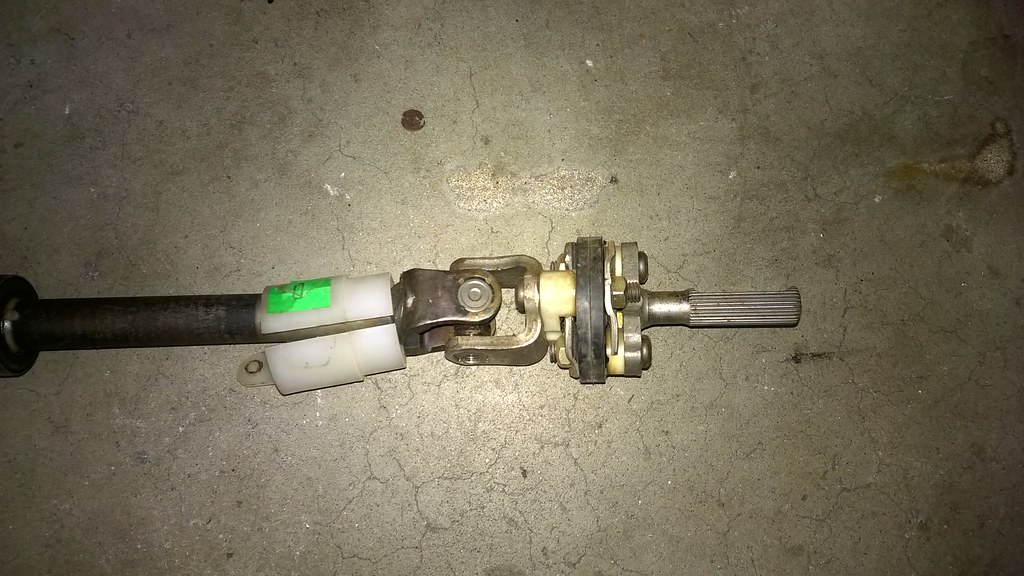
CG6 Steering Column with Isolator Bushing
Comment
-
February 2019 Update!
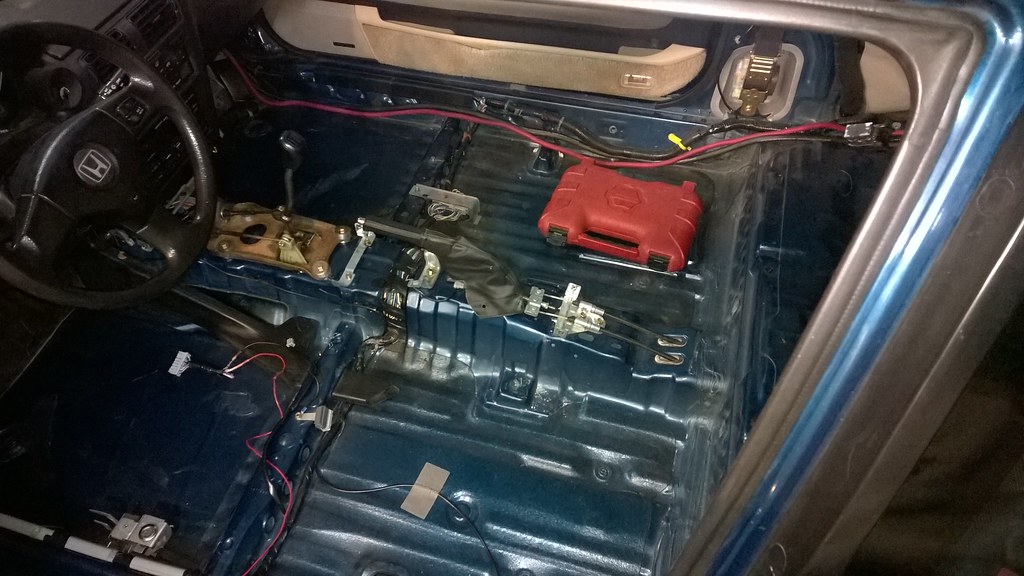
Old Battery Location
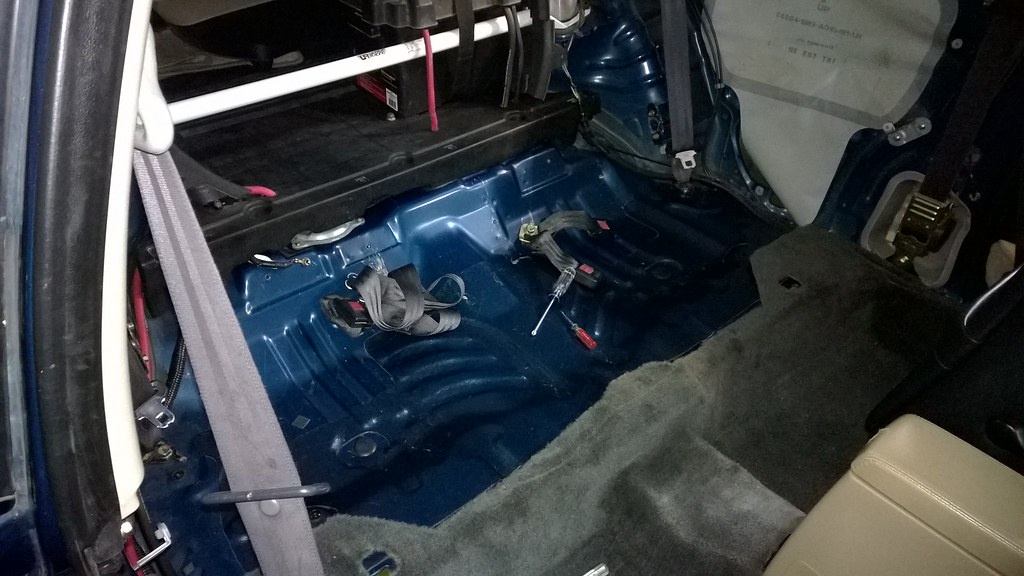
Positive & Negative Cable Running Together (I read this could possibly cause issues, so I'm going to fix it.)
New Seat Feet 1
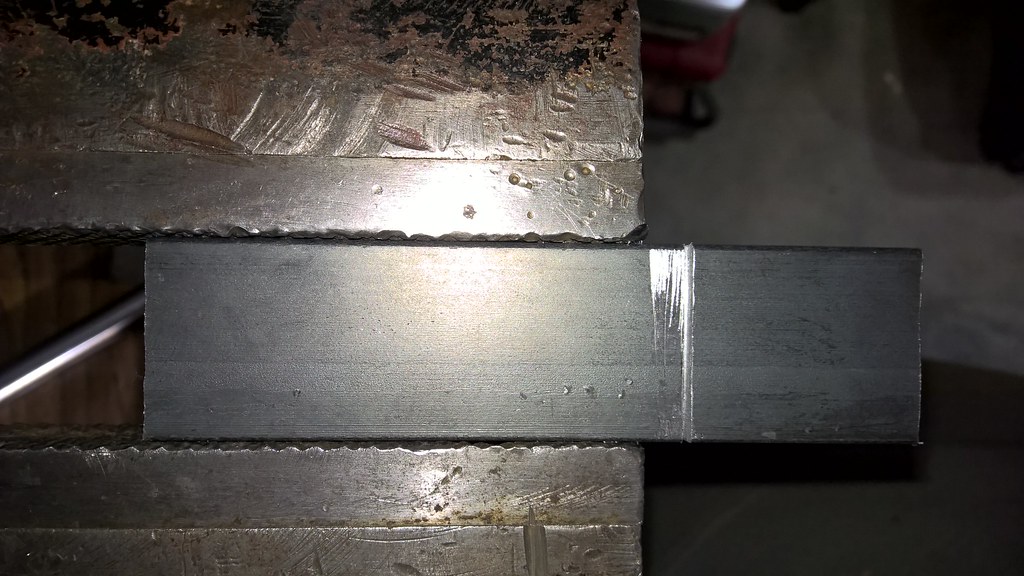
New Seat Feet 2

New Seat Feet 3

New Seat Feet 4
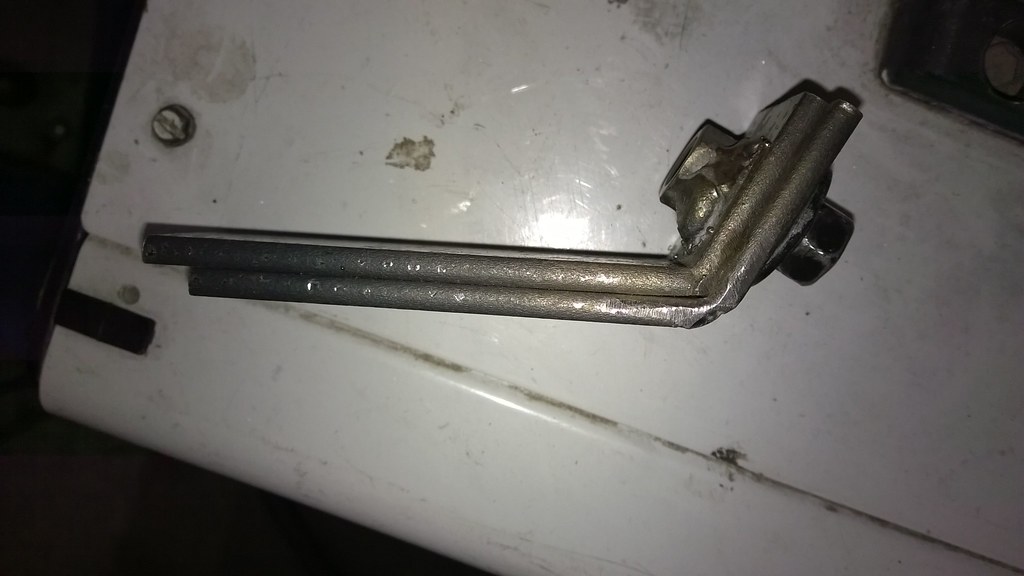
Stock Seat Bracket
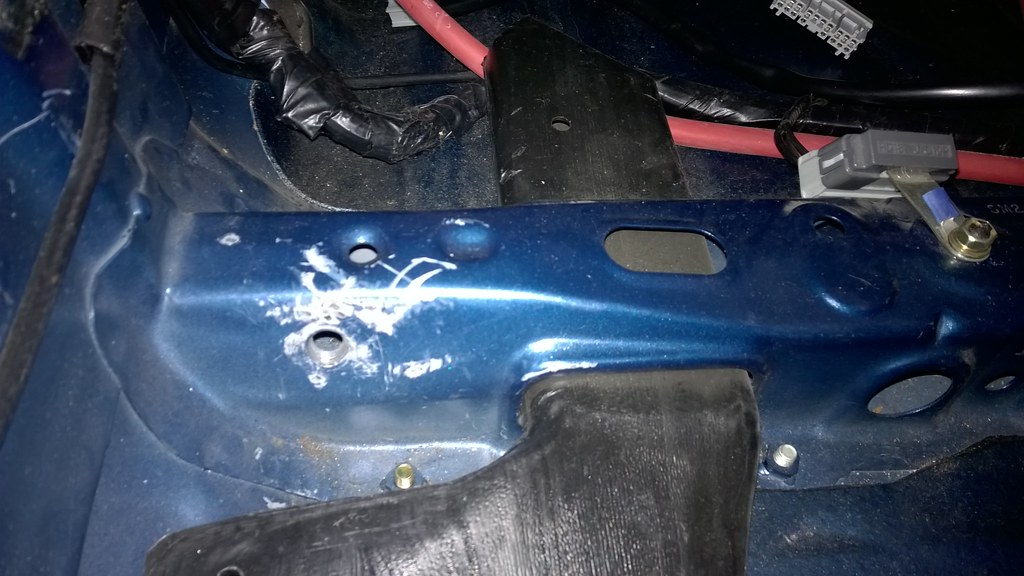
Stock Seat Bracket Cut & Lowered (The front of these seats were too high, even with the back all the way forward, I had to raise the rear of the seat to be comfortable. This was causing my head to hit the ceiling. Which was the main cause for this all happening.)

New Seat Bracket Prep Work

Passenger Seat Final Fit 1

Passenger Seat Final Fit 2 (For final fitment, I rounded out all of the edges and corners with a grinder to prevent any future issues.)

Drivers Seat Final Fit
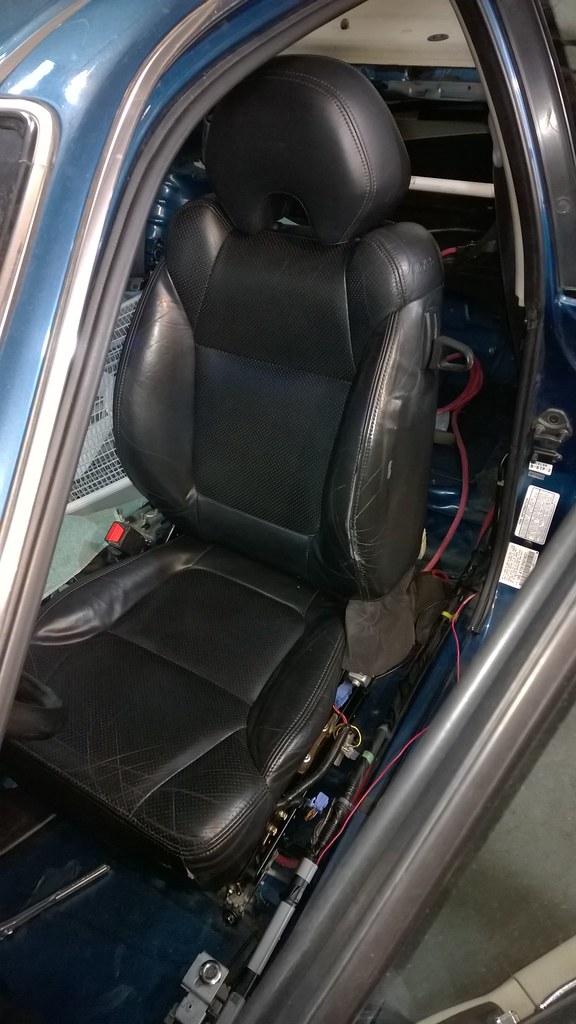
ESP Front Upper Control Arms

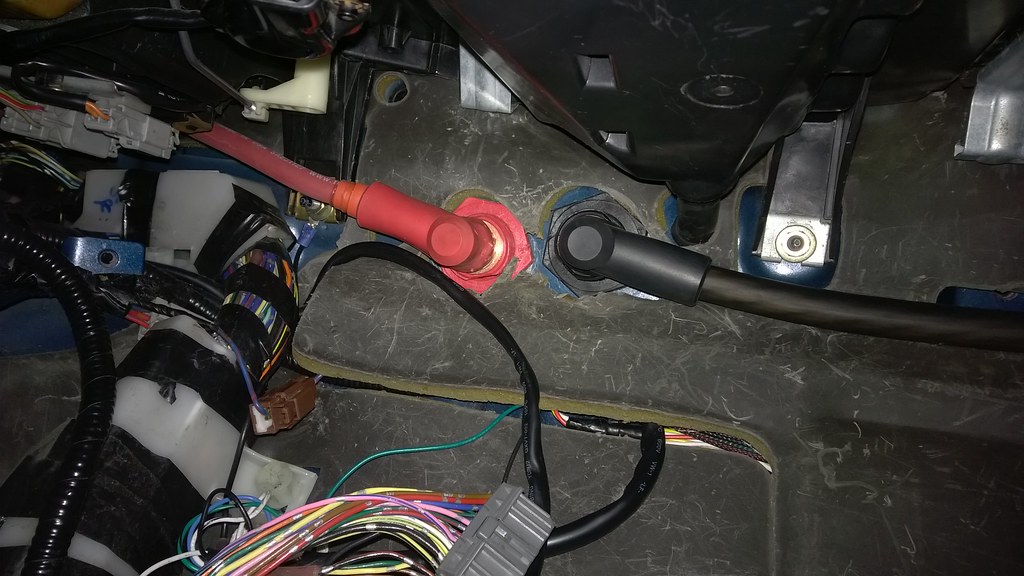
New Battery Terminals (Supposedly military style.)

Battery Relocated to Passenger Side (Where it should be to help offset the driver's weight.)

Negative Battery Cable Run without Positive

Positive Battery Cable Run on Drivers Side with 180amp Breaker Inline
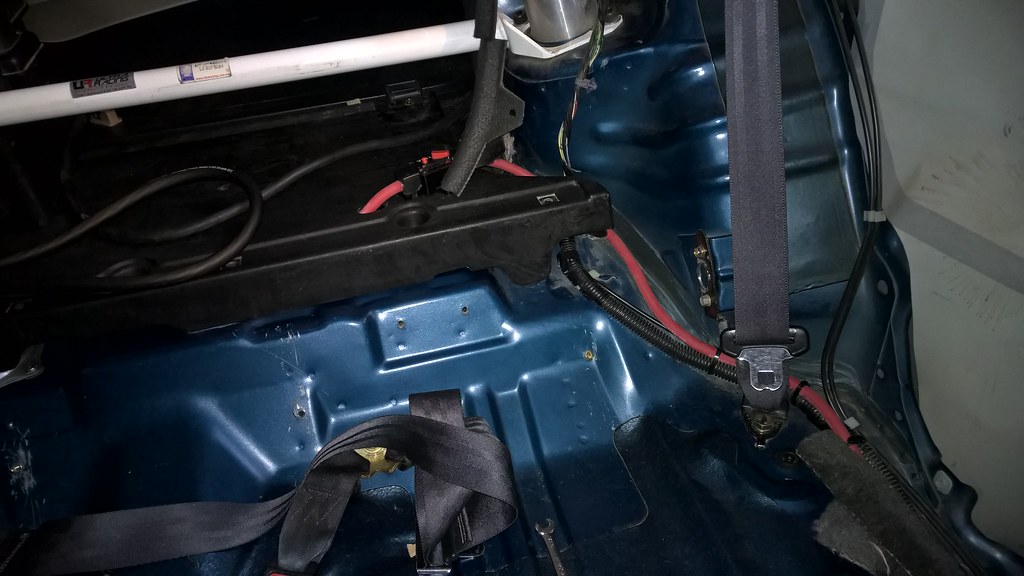
Positive Battery Cable 2
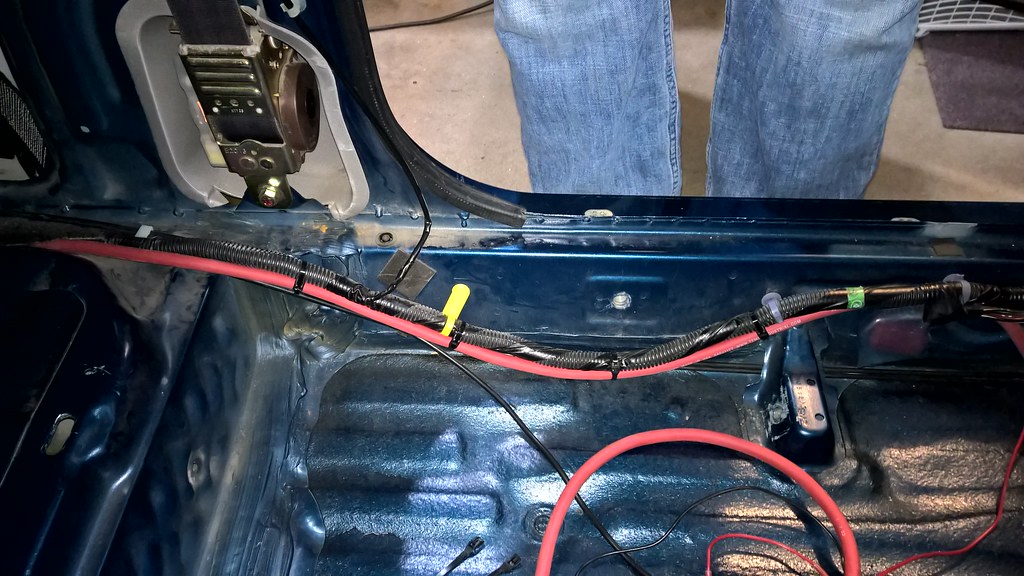
Positive Battery Cable 3

Tools Used to Make Cables

Firewall Pass Throughs Swapped
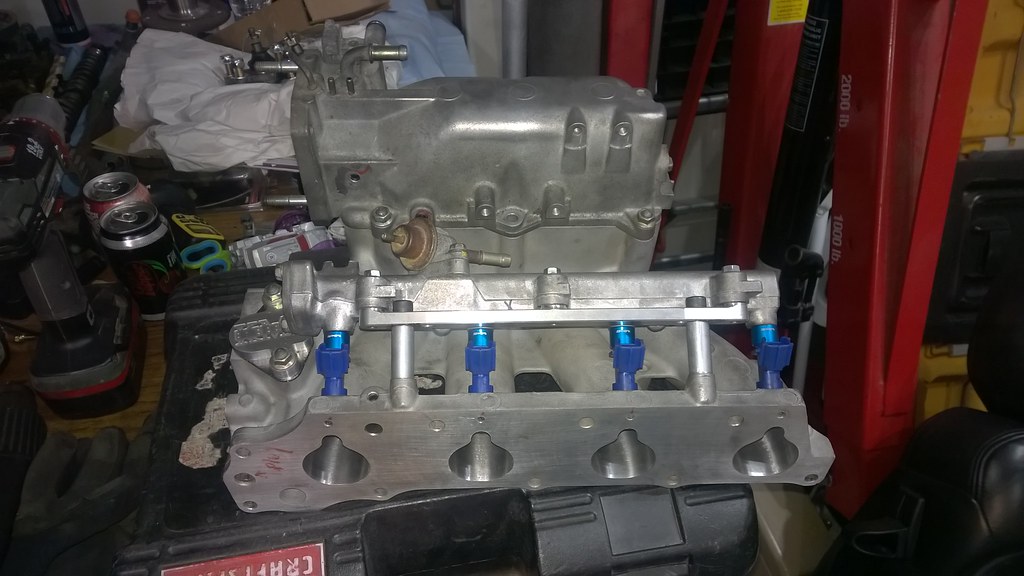
F23A1 Intake Manifold (Ported by Elvis as SBS Porting?!, RDX fuel injectors, VMS RDX top hats, Rosko Racing Euro R fuel rail adpater, KMS EGR block off plate, JDM F22B fuel rail turned around and flipped over, Rosko Racing Euro R IACV adpater, B20Z IACV without coolant plate from the factory. All of the unused vacuum ports have been tapped and had allen plugs insert with a sealant, including the fuel injector air ports.)
F23A1 Plenum Throttle Body Port (Needs a of port work and some welding. I have a VMS 70MM cast throttle body for it. Going to see if Maxbore can to this at some point. I have quite a few other irons in the fire currently.)

2001 Acura CL Type S Seats (The seats were so supple and in pretty great condition overall. After a week of debate I was back the following weekend and took both front seats and the rear set.)
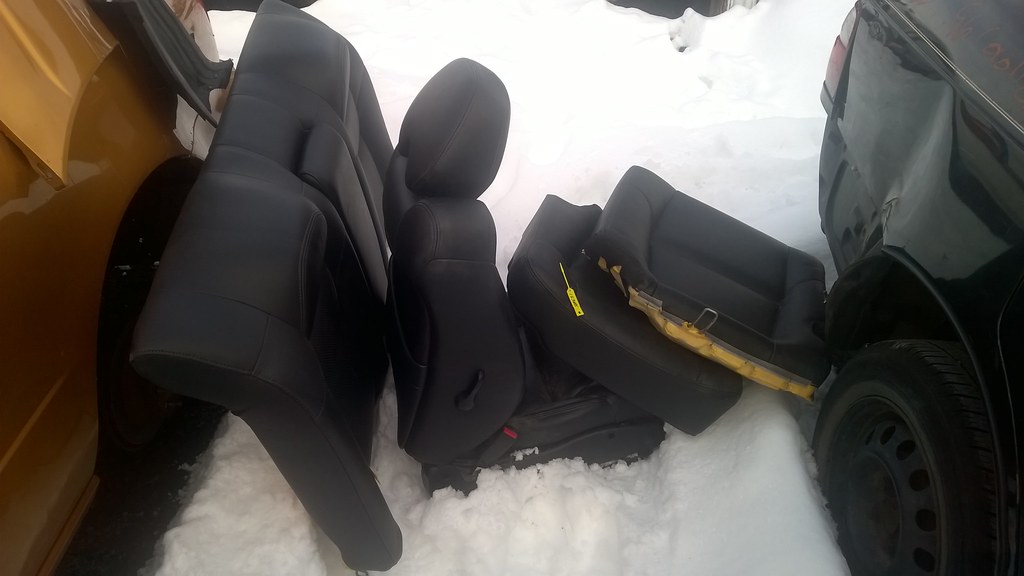
2001 Acura CL Type S Rear Lower Seat Test Fit 1
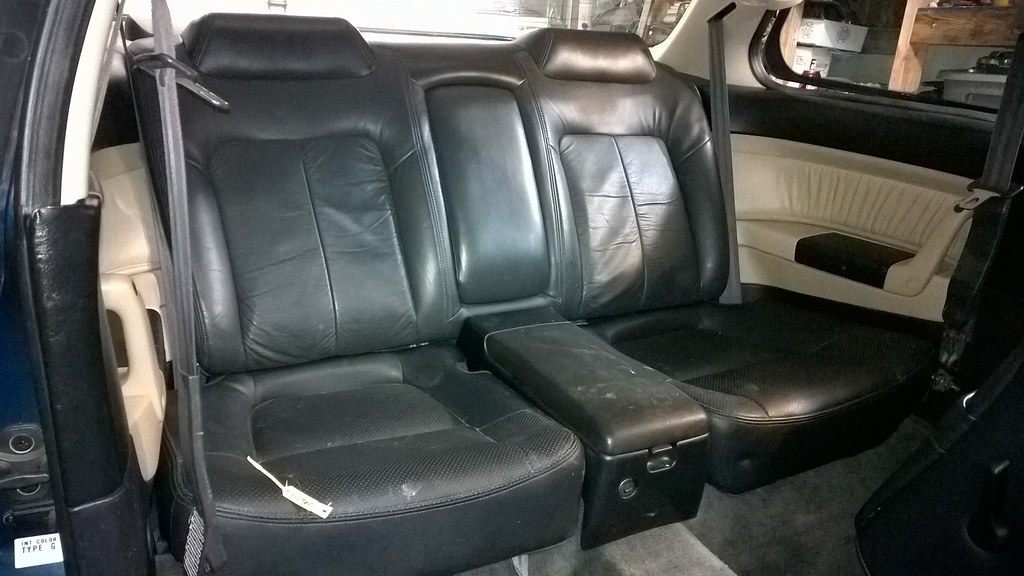
2001 Acura CL Type S Rear Lower Seat Test Fit 2 (If I do this I will work to make the gaps all disappear. I can pull things up with the mounting brackets.)

New Seats Final Fit with Carpet 1

New Seats Final Fit with Carpet 2
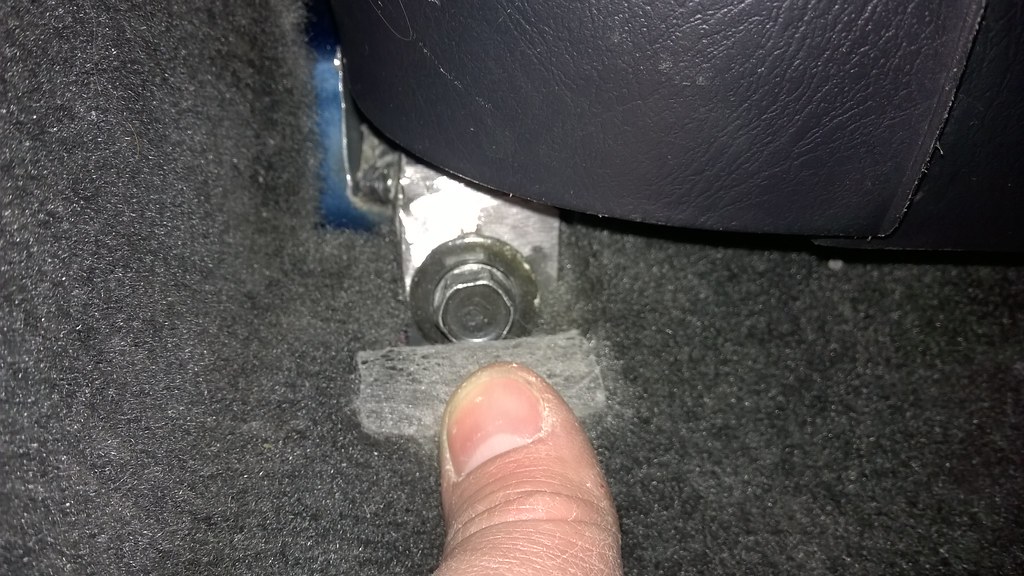
New Seats Final Fit with Carpet 3
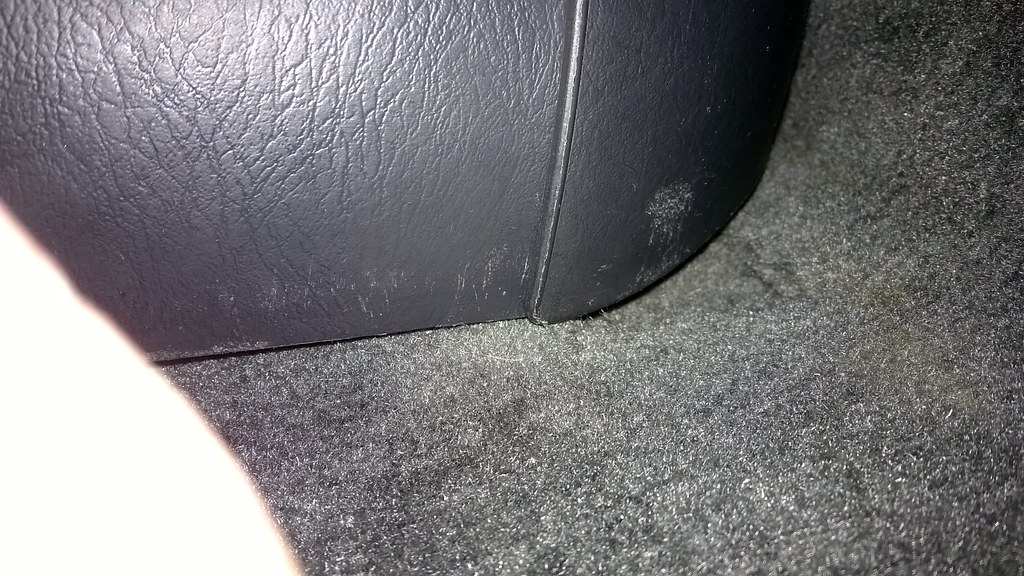
Maybe tomorrow I'll get March updated.Comment
-
Great update.
I am curious to see how the ESP control arms work out.Comment
-
Classy as a piano back there. Center console might need a nice leather wrap to keep up, though.Comment
-
I attempted to try to put 01-03 cl-s seats in my coupe about 2 years ago. and came to the conclusion they would not fit. glad to see you got them in. i could not get them to fit as they were to wide every way i looked at them as i remember. any insight on how you managed to get them in would be great.Comment
-
Thanks SSMAccord!Originally posted by SSMAccord View Post
Well the story on the ESP control arms is yet to come, and still has no conclusion currently. Mainly because my ass got overwhelmed / partially lazy. When we get there I'll give a bit more.
Thanks Cyborg!Originally posted by CyborgGT View Post
Unfortunately I haven't actually gotten the rear CL-S lower seats in. At the time my son sat in his car seat in the middle. Since last year he has since been promoted to one side. So now I can actually pursue this mod again. But it will be coming in the future. I think you are totally right and it could use a matching leather wrap to bring it up to par.
Thanks! It's unfortunate that you couldn't come up with a way to mount them but they are a bit of oddballs for our cars. But damn let me tell you and my friend can attest to, these suckers hold you in damn well.Originally posted by NSCB15 View Post
For the front holes I just used a dremel with a metal grinding bit and enlarged out the holes to one side. This allowed me to get the bolts started, then I would pry on them slightly and the washers would center down on the indents on the feet.
I did build a custom bracket on the passenger side that bolted onto the rail in stock locations that allowed me to bolt it down to the Accord location. The other side if I remember just needed some spacers possibly? It's been a good while, there might be pictures of it in the past of MRT. They were in there a good while before I put these custom feet on them to lower them down.Last edited by Rilas; 03-02-2020, 09:16 PM.Comment
-
March 2019 Update!
Insane Shafts 500HP Axles 1

Insane Shafts 500HP Axles 2

Subaru Mad Max 1 (I found this in the junk yard and found it intriguing.)

Subaru Mad Max 2
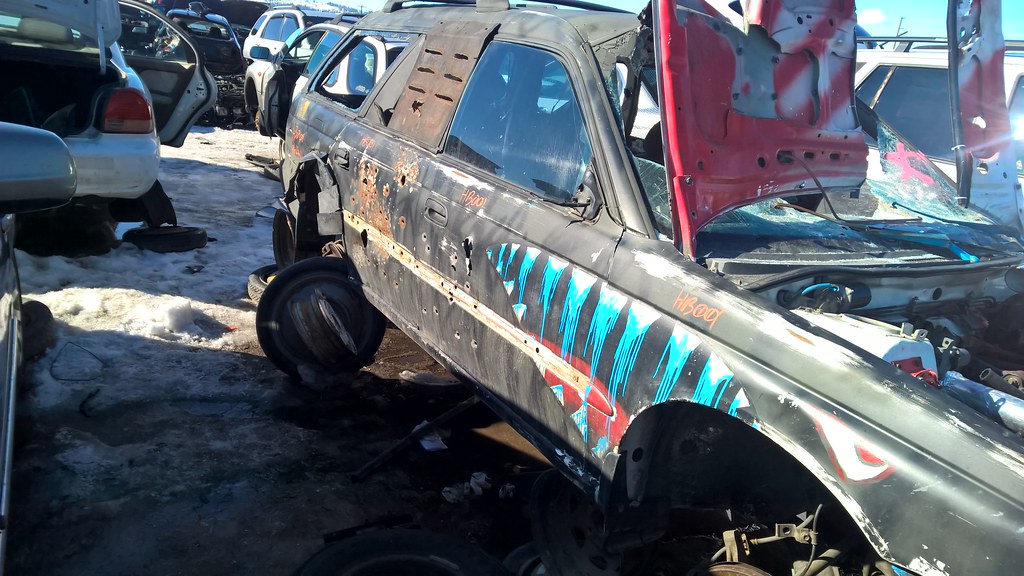
Subaru Mad Max 3
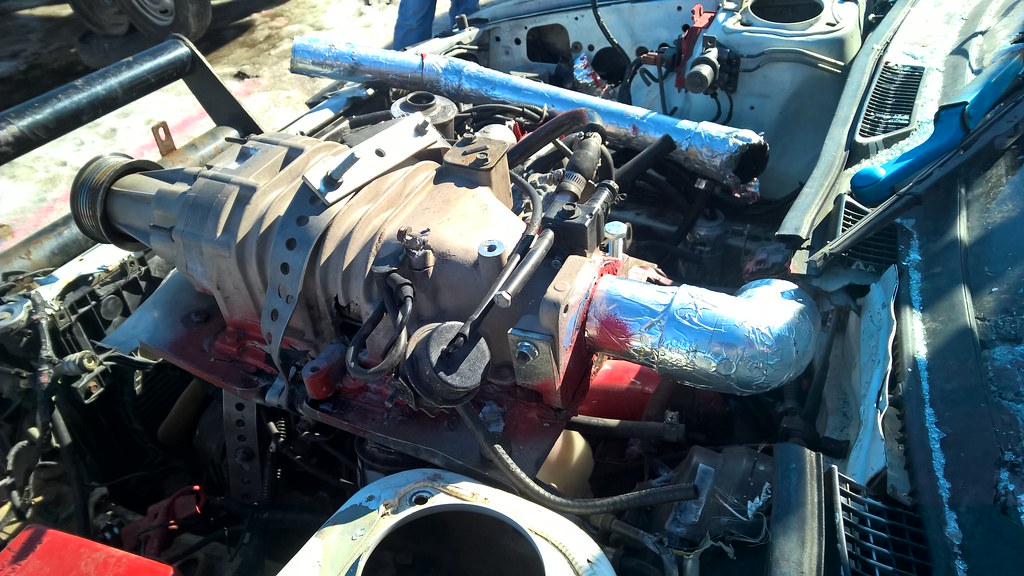
Subaru Mad Max 4

Ultra Sonic Cleaner (This is probably one of my favorite tools in the garage. Cleans all small parts and bolts without my effort. I used to clean all of my bolts by hand.)
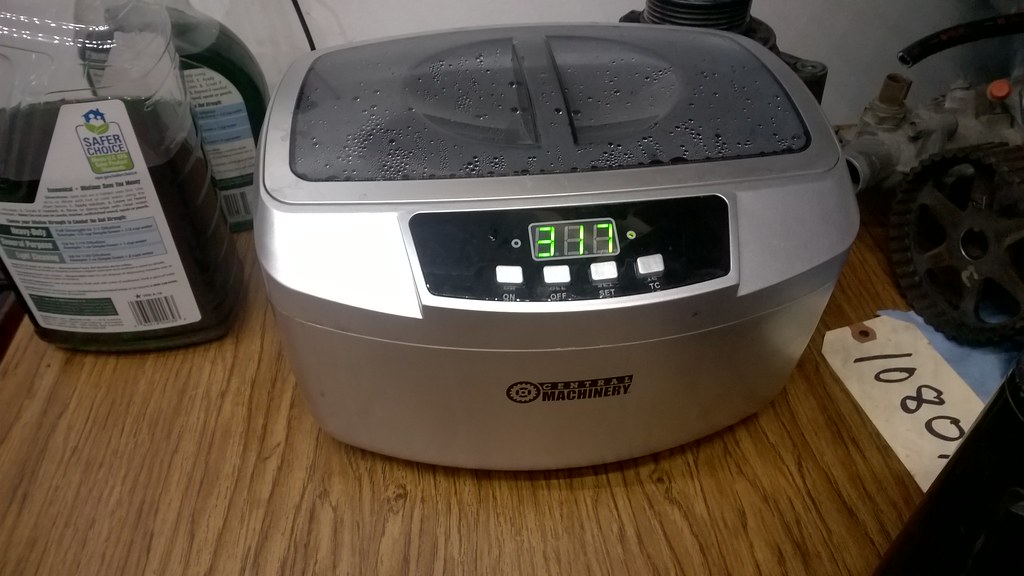
Bolts Cleaned with Ultrasonic Cleaner

New Prothane Rear Control Arm Bushings and Ball Joint Boots

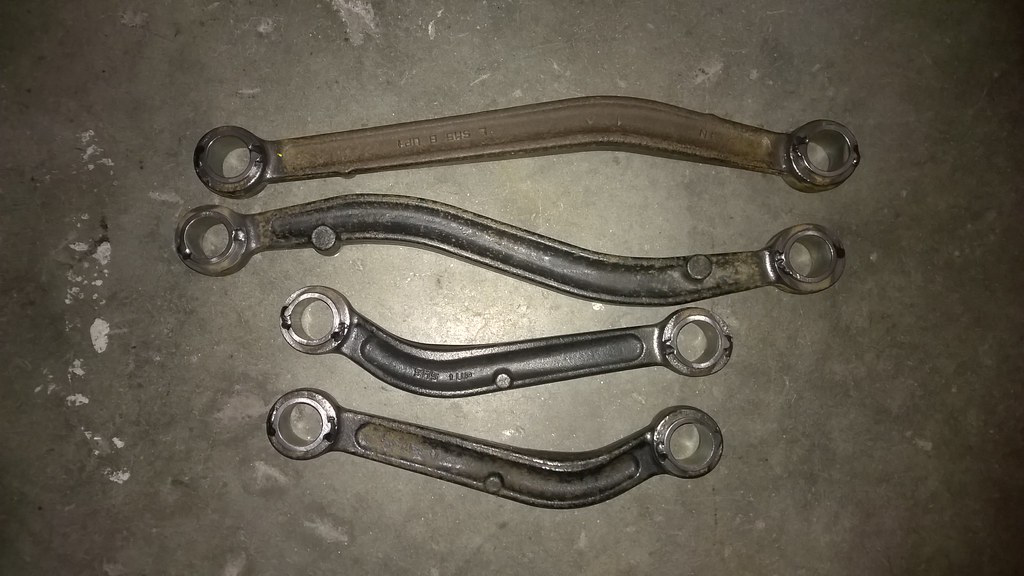
'91-'93 CB9 Rear Control Arms Prepped for Bushings

'91-'93 CB9 Rear Control Arms with Prothan Bushings Pressed In 1
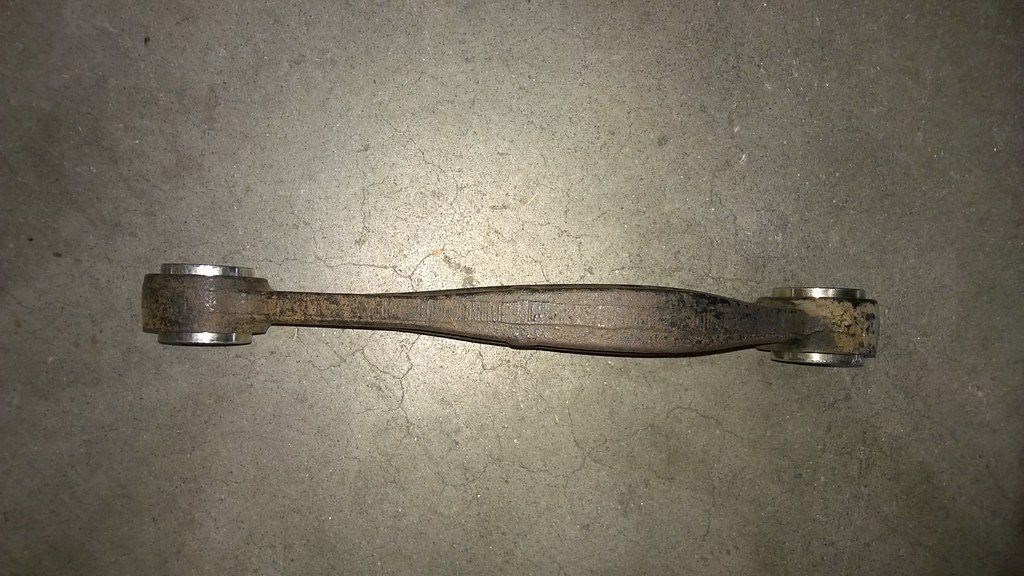
'91-'93 CB9 Rear Control Arms with Prothan Bushings Pressed In 2
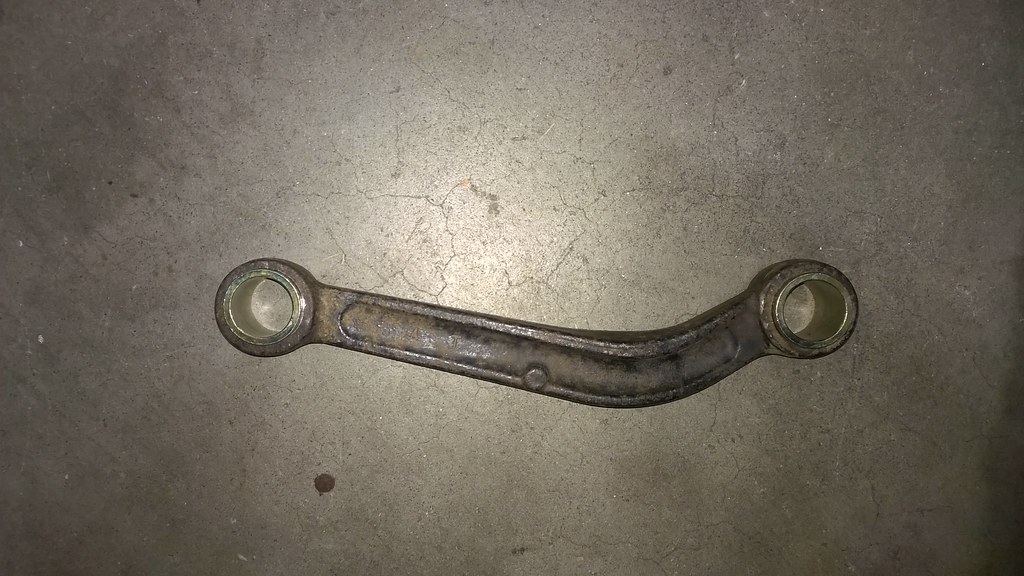
'91-'93 CB9 Rear Control Arms Prothane Bushing Sleeves Tack Welded (I read a post a long time ago on the forums that under extreme cornering pressure the arms could slide on the bushing sleeves. They recommended tack welding them in place. Now this may be more true on the sedan rear control arms as they are stamped steel and have a much lower surface area on the sleeves. I've done it on all of the rear bushings I've swapped in as a precaution.)
Small Harbor Freight Press (I use this to do all of my small press work. Was cheap and works fairly well.)

New Brakes After 5 Lug Swap (I have BrakePerformance.com dimpled and slotted rotos on all of our vehicles. 2009 Honda Pilot, 2004 Acura TL, and Lola they greatly improve stopping power and are available on models that most other companies don't make performance brakes for.)

'00-'02 Accord V6 Front Rotors (Dimpled and slotted, not drilled. Black nickel plating to prevent rust.)

Aerocatch Hood Latches

Hood Latch Pin Location 1

Hood Latch Pin Location 2

Testing Latch Location 1
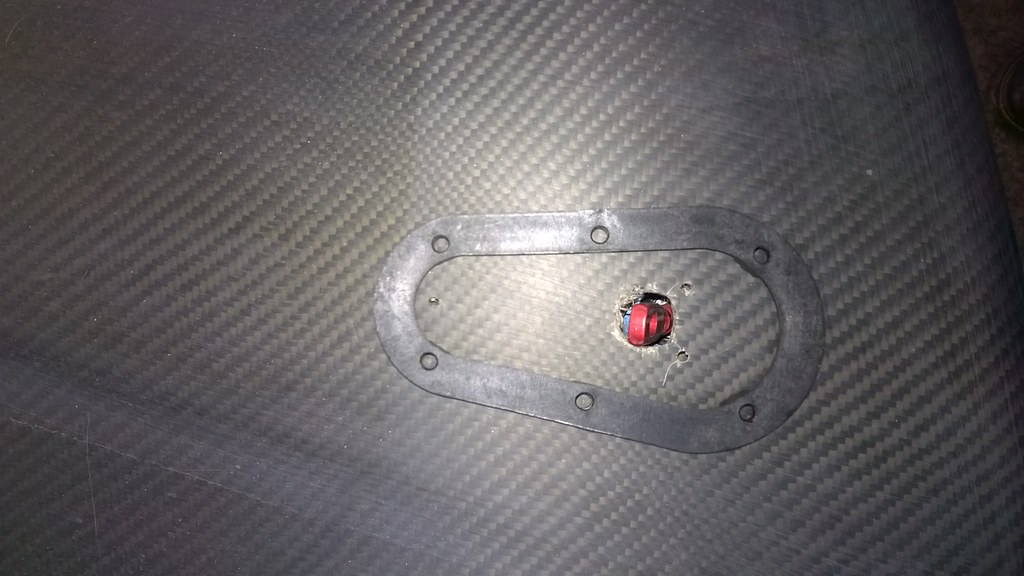
Testing Latch Location 2

Hood Latch Location Final
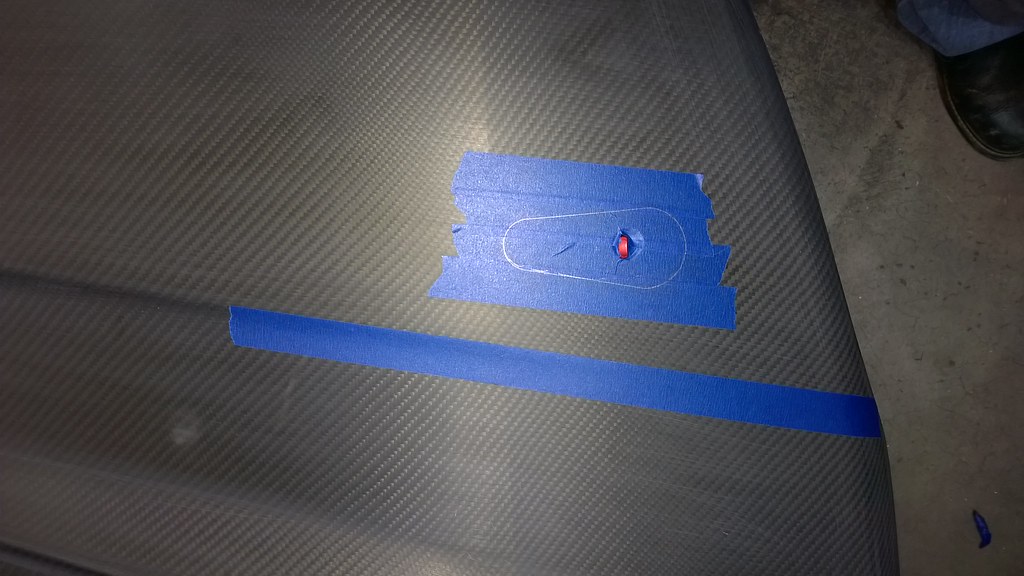
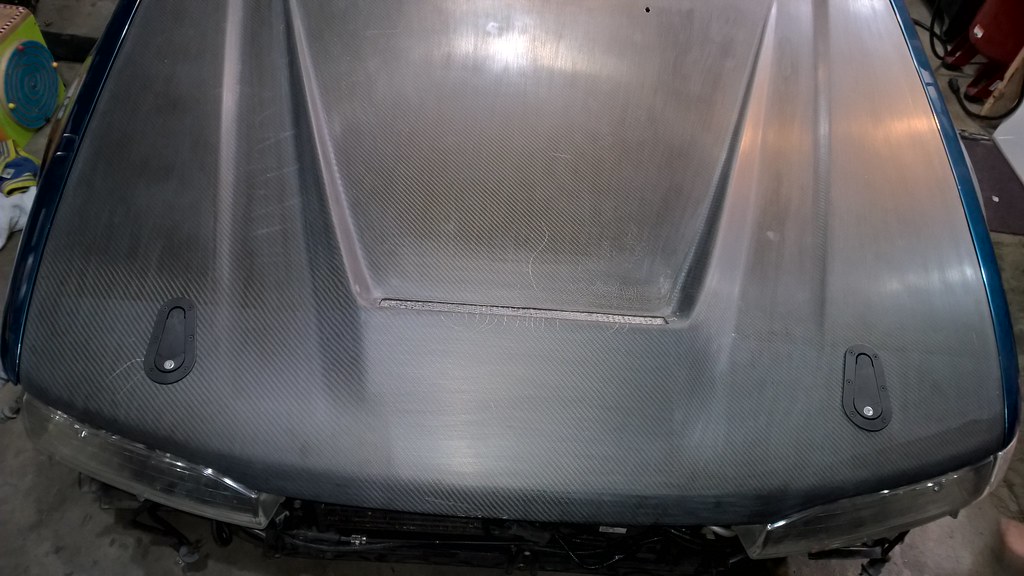
Hood Latch Final

Carbon Fiber Invader Hood Vent (Was trying to show that the radiator sits just in front of this vent. I'm not sure how much it helps evacuate heat from the exhaust, but anything has to be better than nothing.)

Aerocatch Hood Latches Mounted
Spal 6" Condenser Fan

Spal Fan Brackets (I love these things, they are so much better than all the other mounting things that other fans come with.)
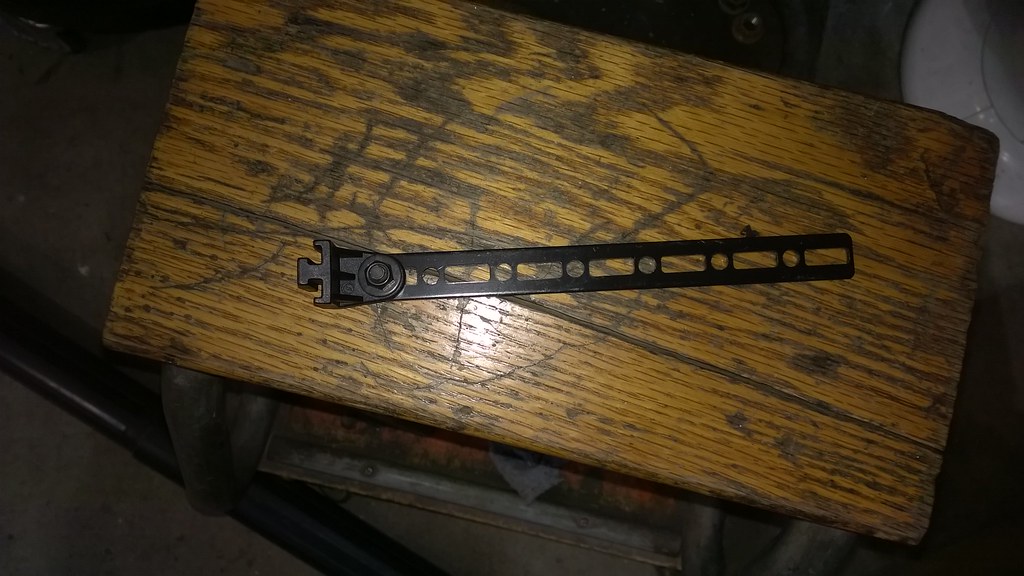
Spal Condenser Fan Location

Spal Condenser Fan Mounted

Radiator Fan Shroud (Clearance is better, but still not really great.)

Comment
-
I love the color , what's the color code for it?
Car looks goodComment
-
Sorry rilas, when i commented i meant the rears. i have no ac so leather for fronts would be no good for me in the summer, also considering its my summer ride.Comment
-
Wow what a crazy detailed build, so much info!
Im also curious how the ESP control arms work out for you, Im looking at getting a set.
Keep up with the updates 1991 Accord LX Coupe - Boosted F22 - 5spd LSD - Shaved Bay - Work VSXX - Recaro SRD

Member's Ride Page | Video of my CB7, Open Downpipe peeloutComment
-
#metoo ... Looks like they can go more then 3 degrees.Originally posted by aleks77 View Post
Comment
-
Thanks man, I'm loving your K24 swap your working on currently. The paint name and code are Atlantis Blue Green Pearl Clearcoat B-67P 1993 Coupe SEOriginally posted by thepowderblue View Post
The rears are a few inches too wide on the top. So instead I used a '98-'99 CL rear upper. The lower is actually just the correct width to fit in our cars perfectly.Originally posted by NSCB15 View Post
Thanks Aleks, I remember over 14 years ago before I joined the site looking at your car, and others on the site, only wishing one day I might have something as nice. It's fantastic to get such great feedback from you. Sadly I'm not sure how well in the long run the ESP upper control arms will work. I need to get my ass in gear and get the updates all caught up.Originally posted by aleks77 View Post
Possibly, it's going to be tight though as there is so little space in the upper strut tower pocket for them to go.Originally posted by PakaloloHonda View PostComment
-
Alright guys, I was getting on a roll getting things caught up. Then well covidiot ville started. I started to organize the office, then my wife started to help further destroying the office. Then the covid showed up here in America and life got crazy, I finally transitioned to working at home, after getting everyone else working from home first. After finding room to finally get all of my work stuff setup and working for me, I got back to trying to unbury the office. Well I think as of last night, the computer is finally useable again, and I should start making progress on my updates once again.Comment

Comment