
Originally posted by Shadow1
View Post

Originally posted by Bcozzi71
View Post
Originally posted by slick
View Post
Originally posted by pwrusr
View Post
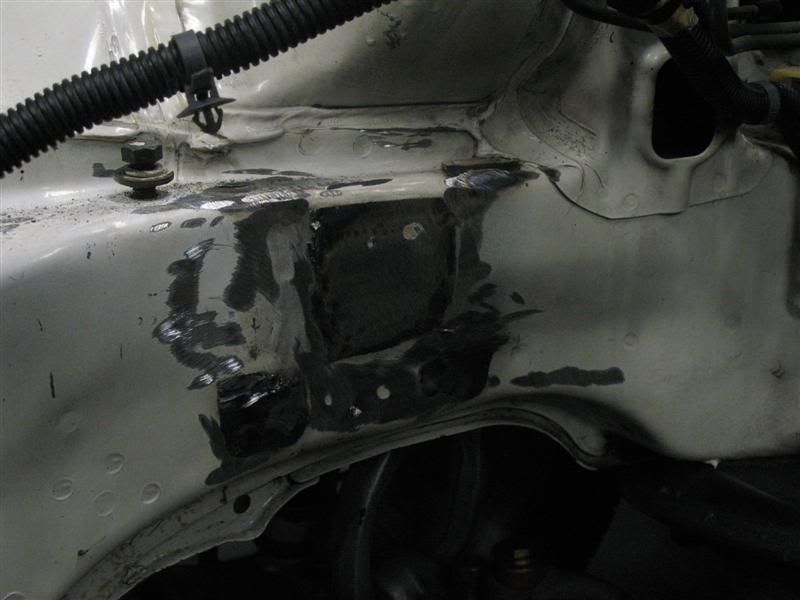
This is ridiculous, I've been lagging too much. Update tomorrow, finals be damned.

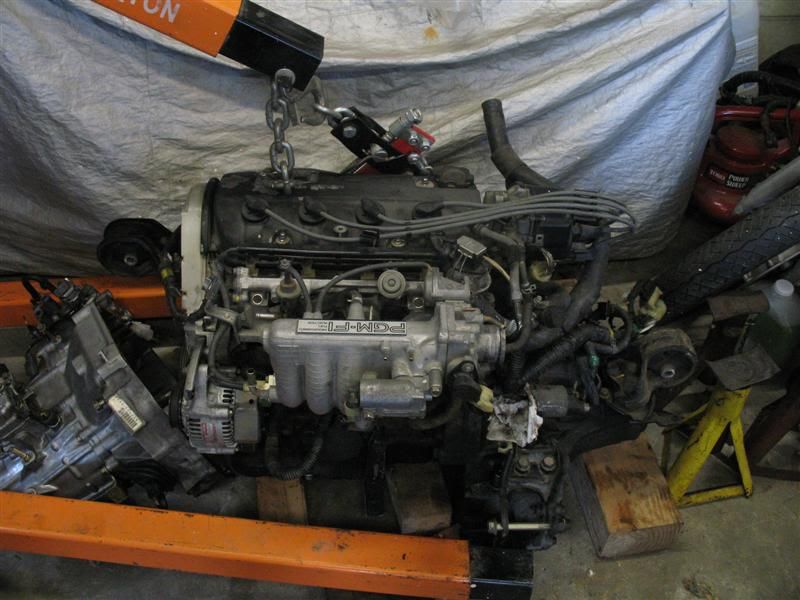
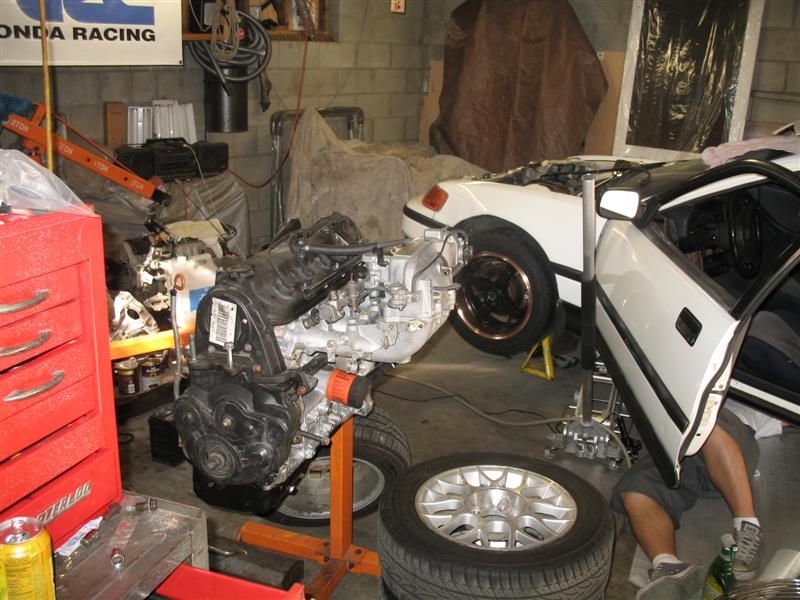
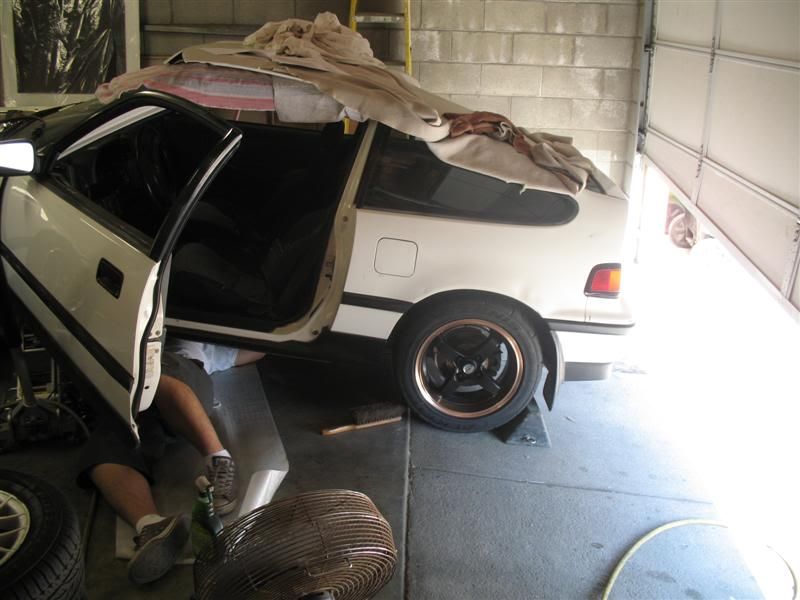
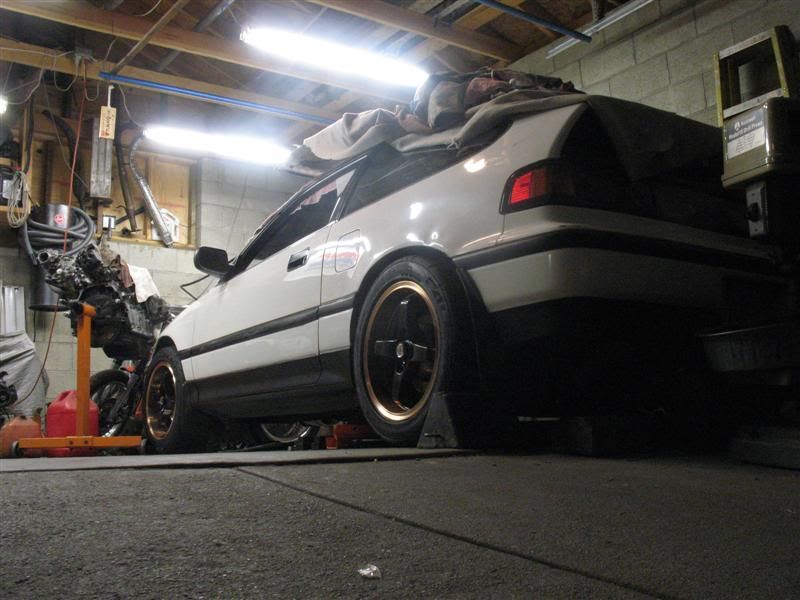
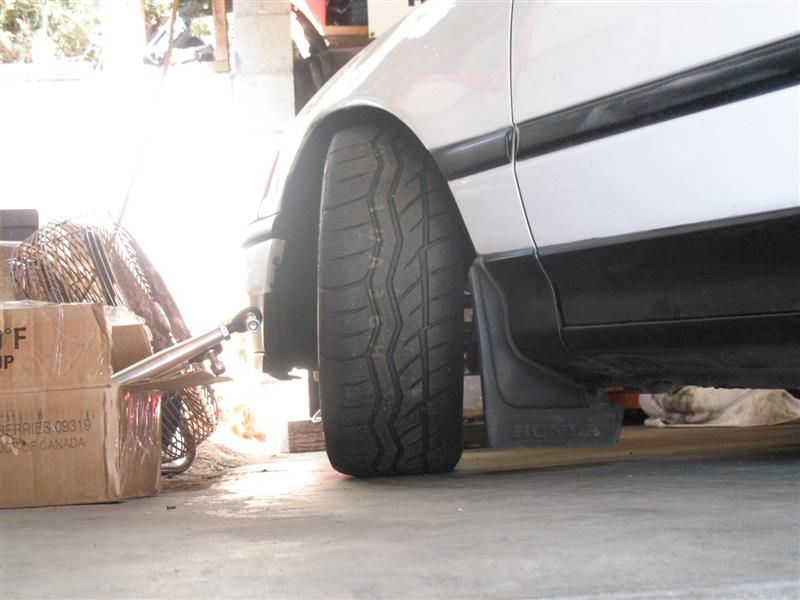
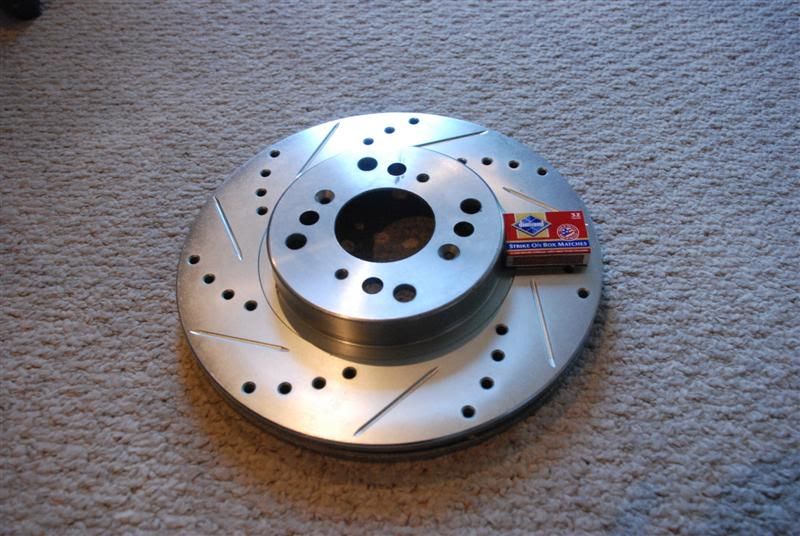
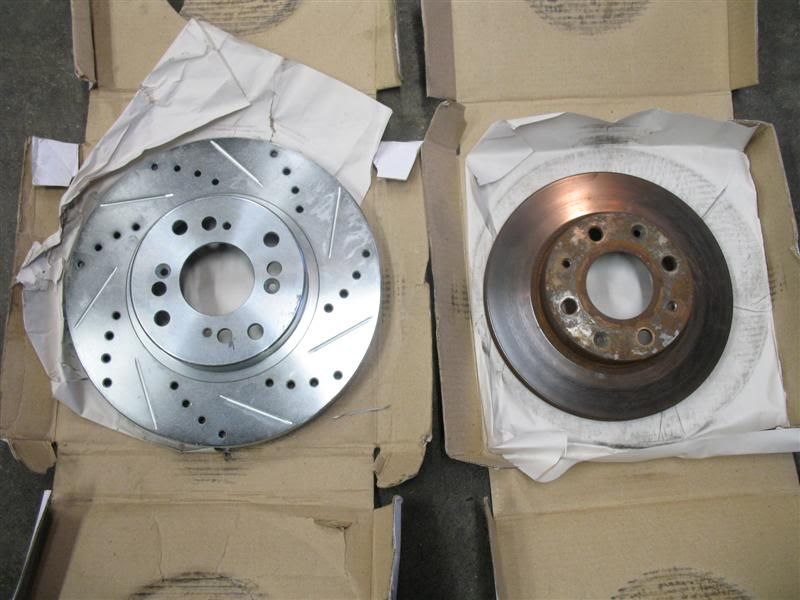
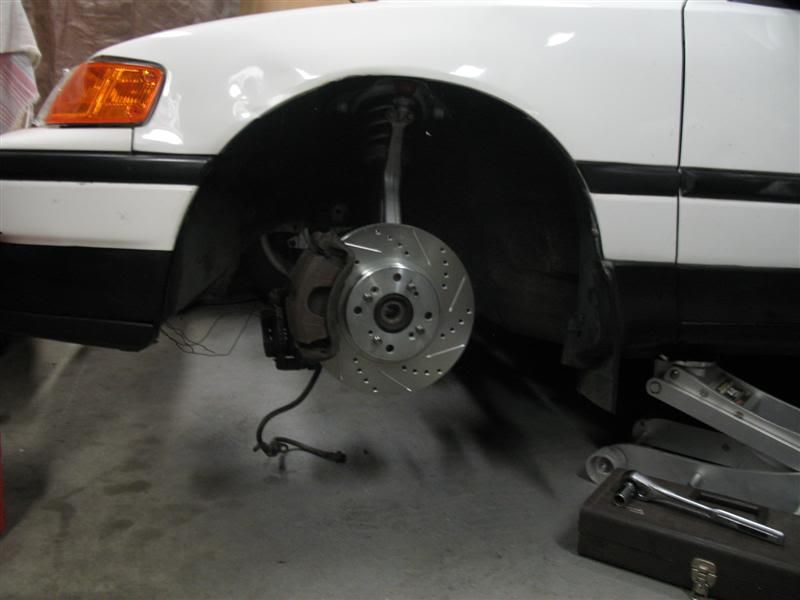
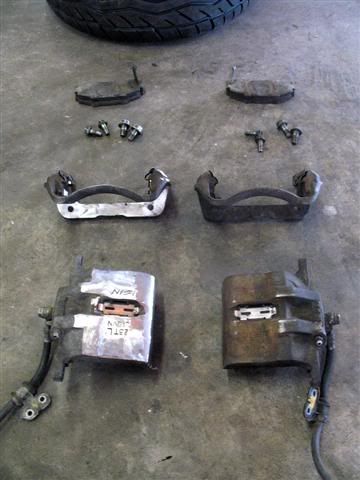
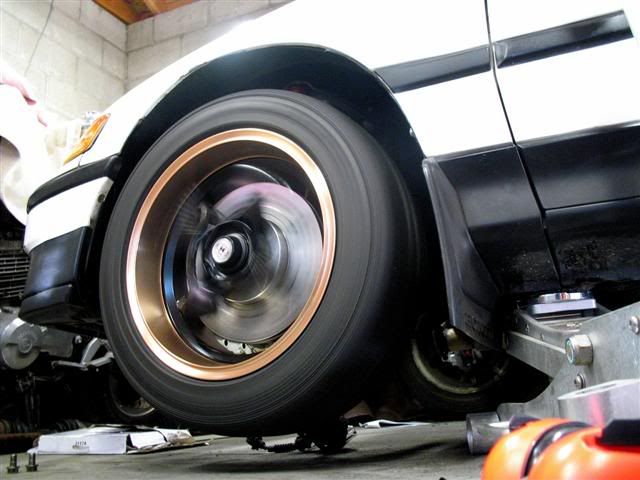
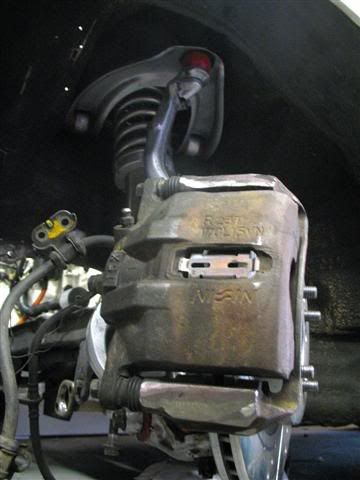
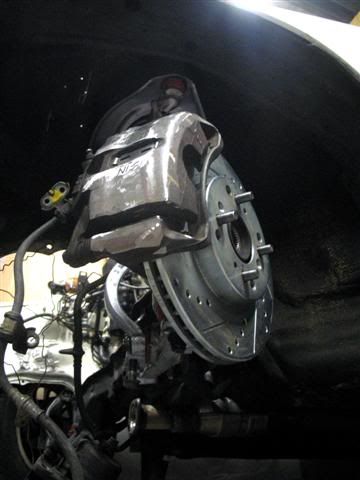
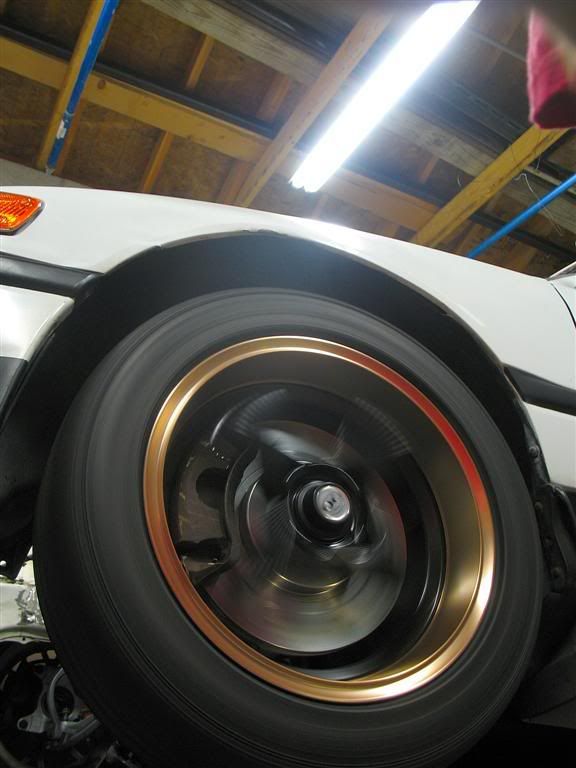
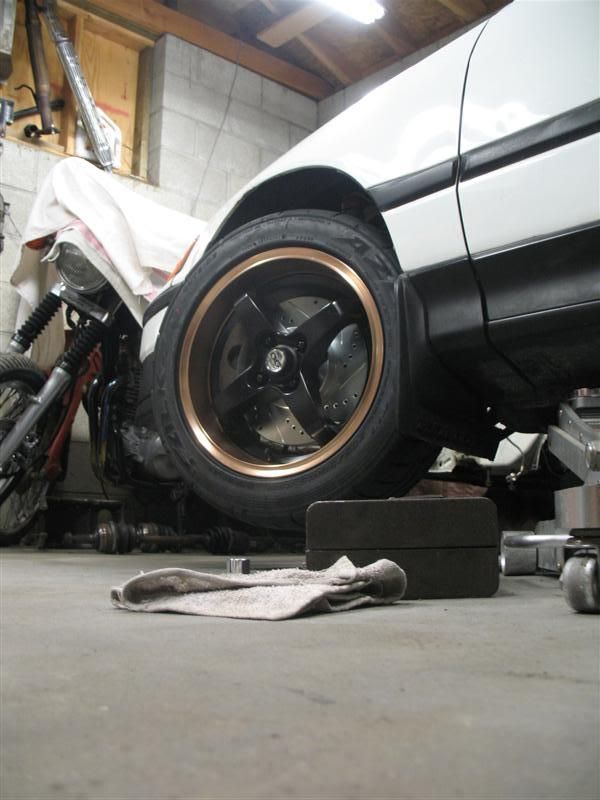
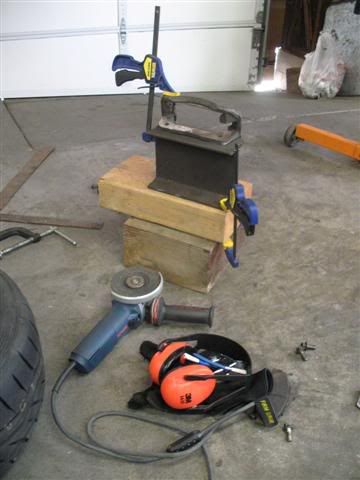
 heres a pic. or at least the best pic i could find. someone else might have a better pic of it rolling too:
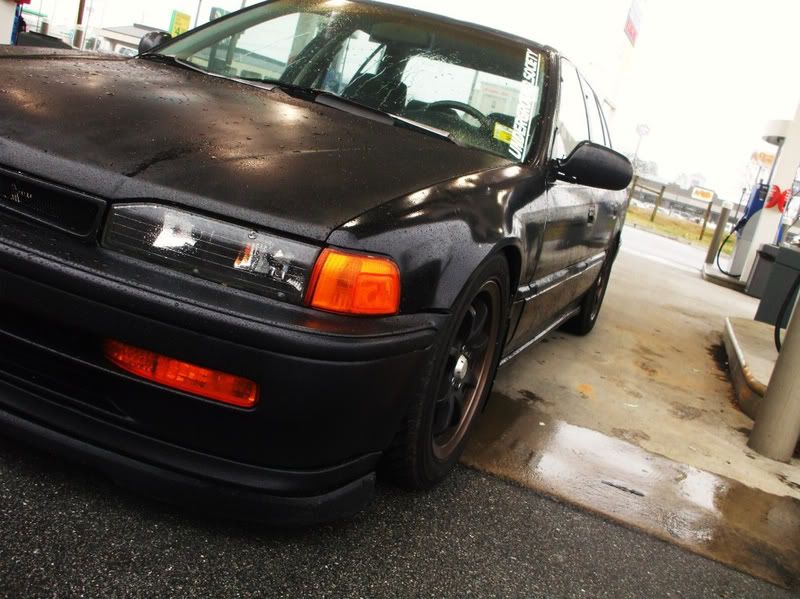


Comment