
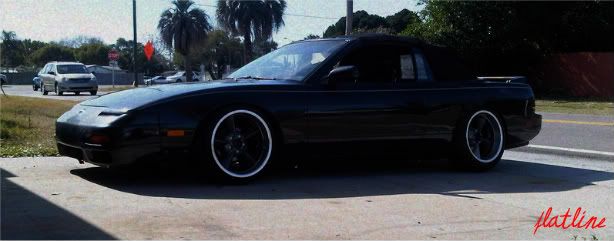
nice pics, car looks clean
-
-
Hey everyone, as mentioned I am chubbykai...
Last saturday we basically checked all the nuts and bolts to make sure everything was tight, then we gave it a lil test run out by Pasadena Art Center. Here's a lil teaser video
http://www.youtube.com/watch?v=N6P4ynzWc44
Comment
-
nice project...i will be watching closely. -1992 Accord EX H22 234whp 185wtq
-1993 Accord EX SOLD
-1995 Accord EX Wagon Daily Driver
-2012 GMC Canyon V8 4x4Comment
-
Moar! I demand Moar!
Comment
-
Great built thread.... Magazine worthy in presentation for sure !!!!!!!
Members Ride Thread - http://www.cb7tuner.com/vbb/showthread.php?t=121452
Originally posted by slammed4thgenComment
-
Originally posted by TheNextEpisode View Post
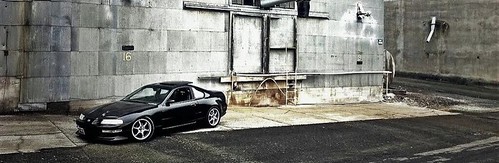
I think this is just an awesome picture!
Cant wait to see the progress on the rex
Comment
-
nicee.. gluck on the build. looks like you guys have it handled. Glad someone here in socal actually has a real build thread.
Comment
-
i have always wanted to see this car since i read your sig and was confusedMaple50175 - you're annoying =P
Brandoncb7 - I don't mean to come across like an ass but I see why you irritate Aaron now.
JoshM - Crotch rocket = chick magnet.Comment
-
nice build. my fav is the bushing install props to u my friendcontact info
(562) 324-3639 chan maoComment
-

really like this shot, keep up the build and post updatesComment
-
hahah man that would be so awesome. Maybe after getting some notoriety on the track.Originally posted by AstroVannin View Post
LOL my bad about thatOriginally posted by slick View Post
That was fun. We really had no idea what we were doing at first, but it came together well. I'll write more about that shortly.Originally posted by f20aaccordturbo View Post
The interest shown really motivates us to continue working/posting on it. Thanks guys!
Update within the day, if all goes well.Last edited by TheNextEpisode; 05-16-2009, 03:52 PM.Comment
-
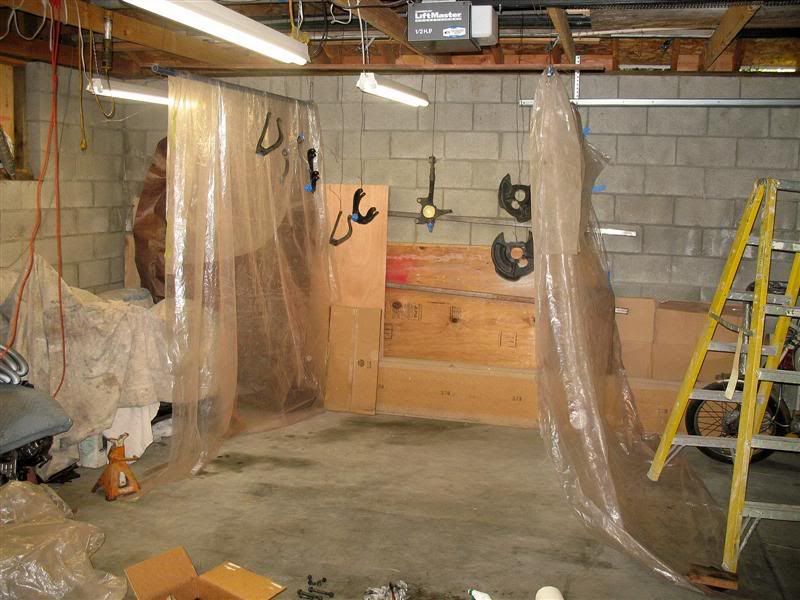
you guys have amazing working conditions btw
Comment
-
ahahah yeah chubby's garage is humongous. I have no such luck @ my place. Update coming shortly, assuming my internet continues to work. It'll most likely be in two posts.Originally posted by 92jdm View PostComment
-
First some text. Scroll down if you hate reading. We�ll understand.
At this point, the D15 was just about shot. Solid white smoke at anything more than 70% throttle wasn�t a good sign. Because we�d do the h22 swap eventually, we were pondering on doing a BAR'd f22 swap and then using that as our smog engine. The D15 wasn�t going to pass smog again until we rebuilt it, and even then, with the modifications for the H22 swap (shifter cables, mounts, axles, cross members, etc), it would�ve been a lot easier to swap the F22 back in and use it as the smog engine.
Also, we were debating between DA and civic EX knuckles. It seemed like most of the hype regarding the sins of the DA knuckles were coming from people that hadn�t actually used 'em. Then, when the people that had used them chimed in, the reports were pretty good. The DA knuckles are 1/4" taller... the roll center would go up marginally and the camber gain would be slightly more aggressive.
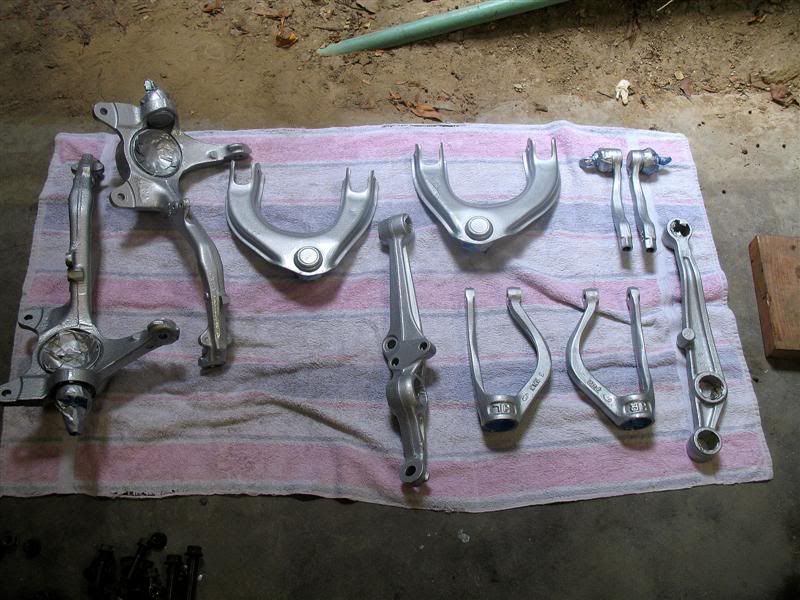
Camber gain ain�t a bad thing on an auto-x car, but the �� tall knuckle hurts on a lowered car. Chubby was leaning toward the 150 dollar EX knuckles while I was leaning towards the 30-40 dollar DA knuckles. I gave in and we bought the EX knuckles. This is a little out of chronological order, but if you scroll up to the picture of the CRX on jackstands, you will see two sets of knuckles. The additional set, closer to the camera, were the EX knuckles with the hubs pressed out.
While all this was going on, we were still testing out the rear brake calipers. Being without e-brake cables, we did most of our brake tests going uphill. We managed to lock up the rears with limited effort. Success.
Meanwhile, more fun was taking place back at my garage. We ground most of the excess burs off the suspension pieces, washed and scrubbed 20 years of collected gunk off, and removed some of the excess rust-proofing coatings. We also used paint thinner before calling the suspension pieces clean. At that point, swept out the garage and started setting up the paint booth.
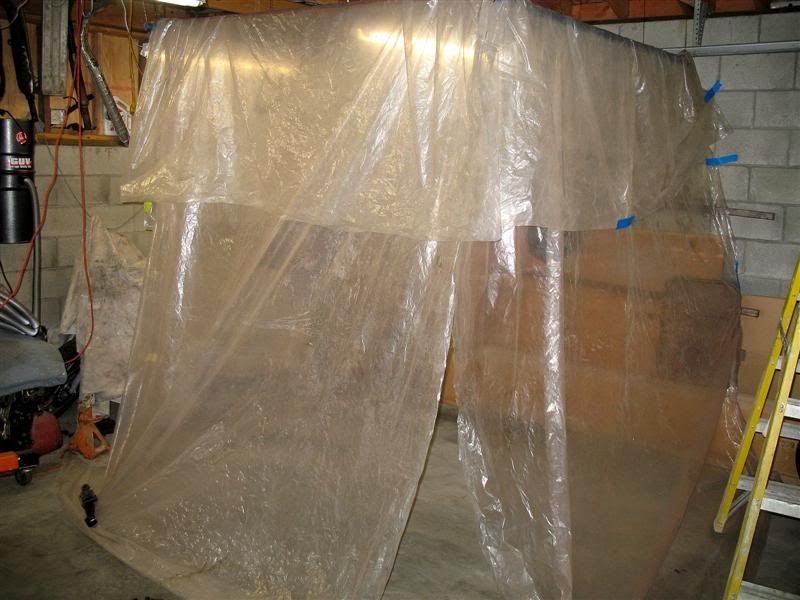
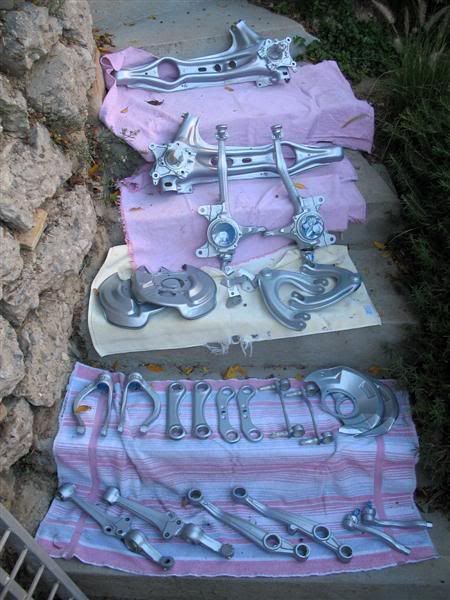
First batch done:
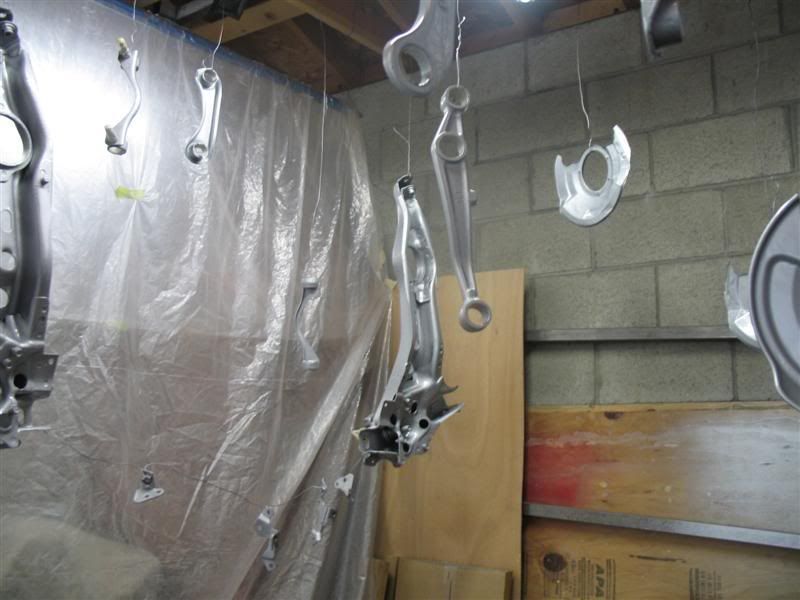
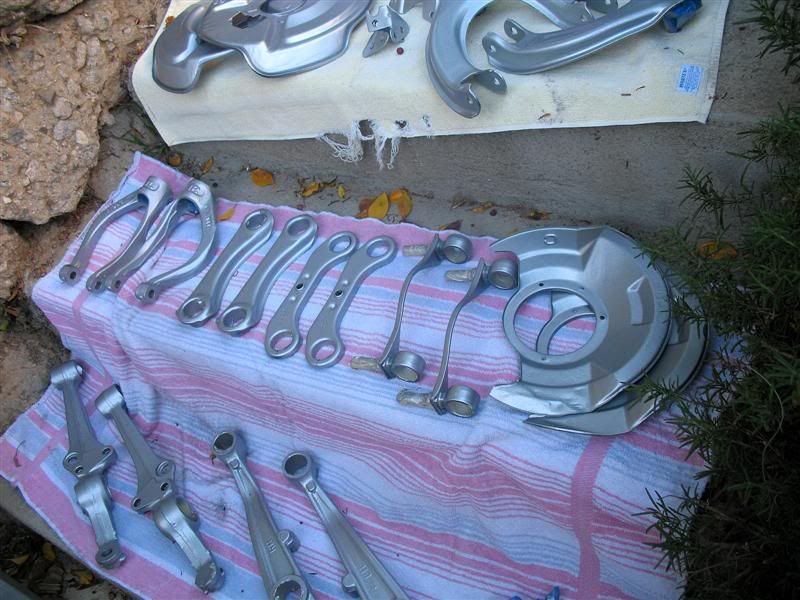
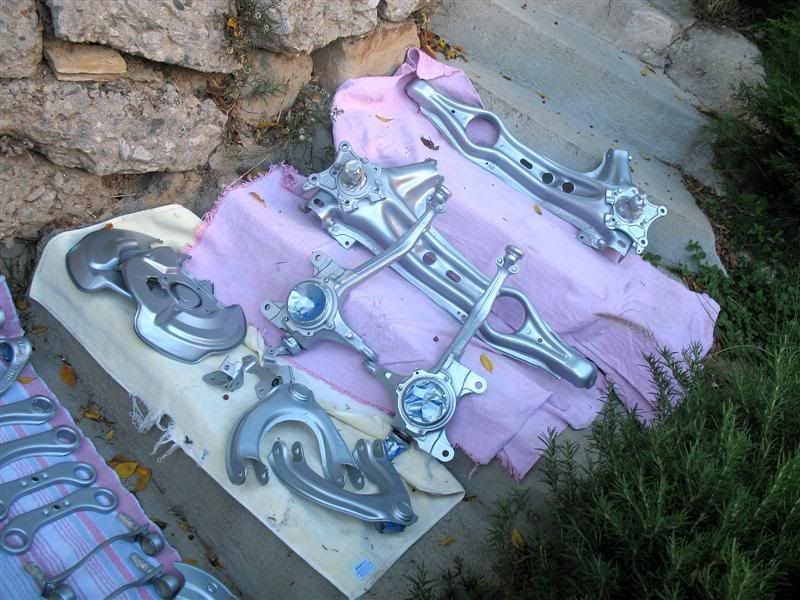
Second batch hanging:
Chemicals of choice:
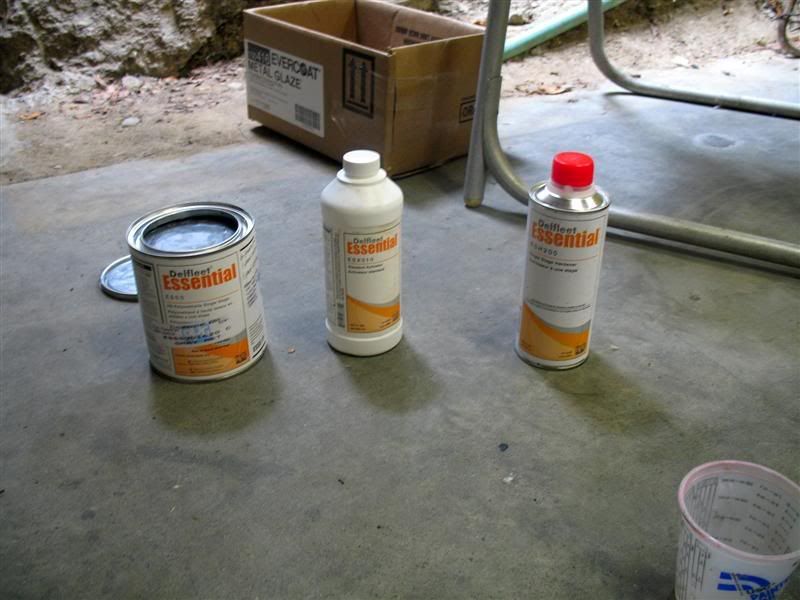
Delfleet is a single stage paint, no need for clear coat. It�s pretty darn durable, but will be removed by tightening bolts and nuts. That�s to be expected, so we�re fine with it. The stuff sticks like mad, so the painting went pretty dang smoothly. After the first coat, the overspray on the floor in the booth was audibly sticking to our shoes. The paint has THAT much adhesive in it.
More to come shortly.Comment
-
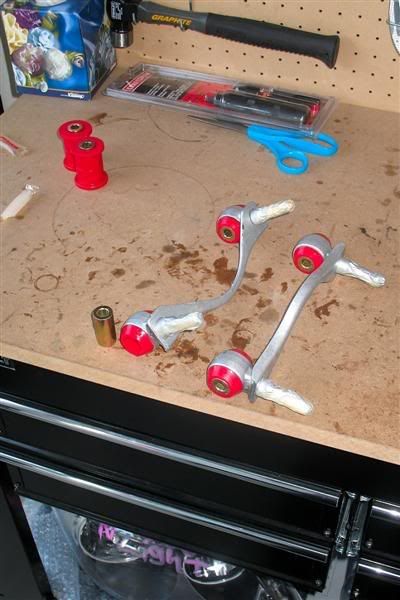
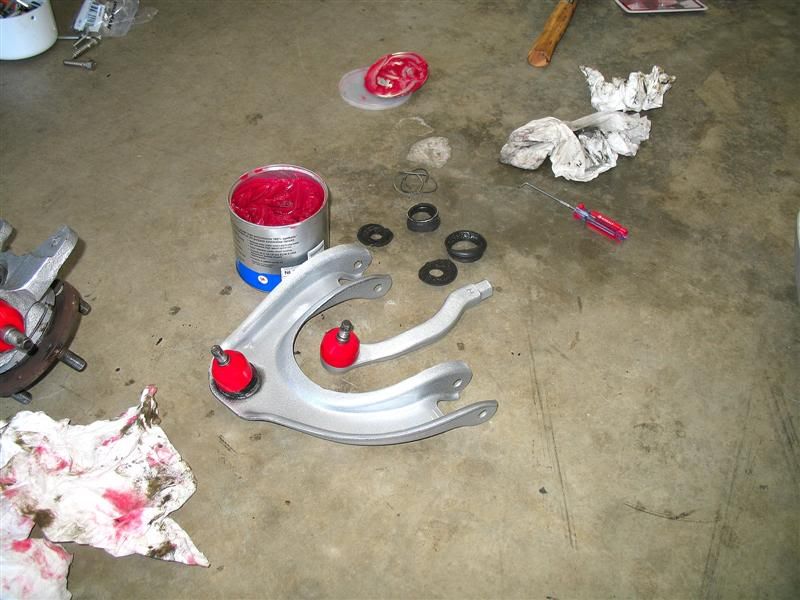
We then began installing the bushings. Most of the bushings came apart into an outer sleeve, an inner sleeve, and a two-piece bushing between the sleeves. Any surface that contacted the polyurethane bushing was lubed with the Prothane grease. Chubby was wearing his work sandals at that point.

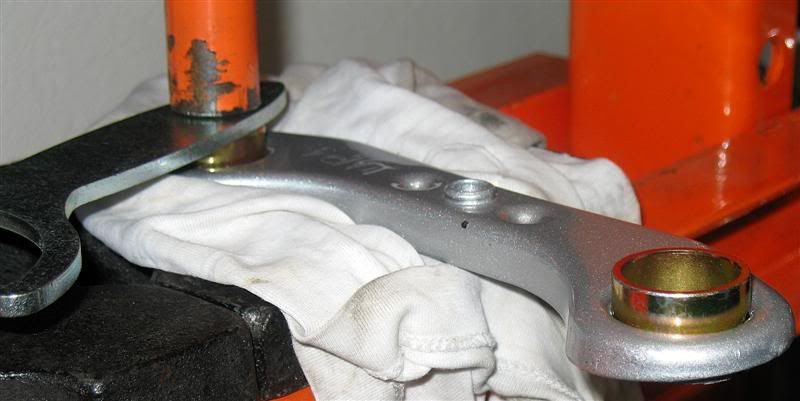
Whenever there was an outer sleeve, the sleeve had to be pressed in. We revisited our China-made press.
Other bushings, like the upper control arm pivot bushings, didn't have an outer sleeve. Instead, the polyurethane bushings were pushed (without a press) into the part's metal shell and a metal sleeve was pushed into the center of the bushing.
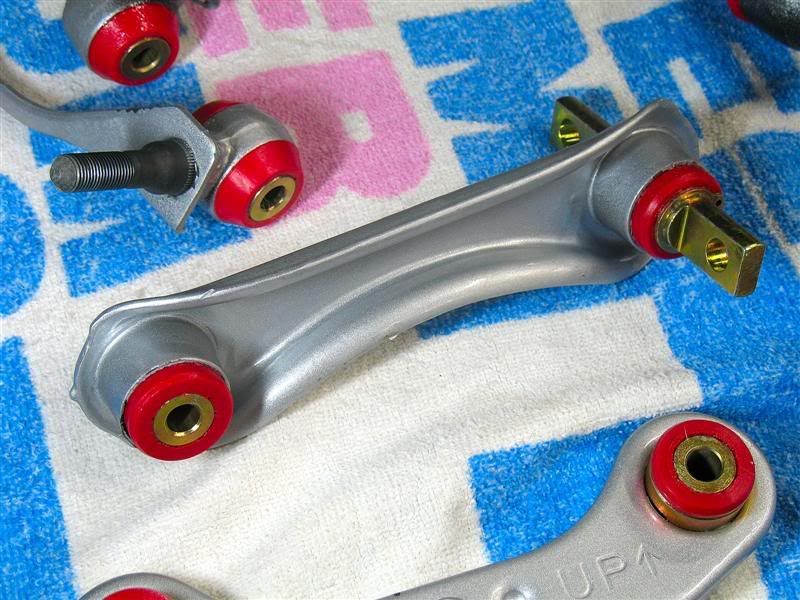
The rear upper control arm bushings were fitted such that the bracket would approximately line up with the holes in the inner wheel well.
The trailing arm bushings weren't much of a problem. The outer sleeve was pressed into the TA hole, tapered end in first. The instructions suggested that we disassemble the TA bushing by removing the rubber innards from the outer sleeve. The ends of the polyurethane bushing innards, however, were substantially larger in diameter than the outer metal sleeve. This made removing the bushing innard extremely difficult. We ended up just pressing in the bushing and the outer sleeve into the TA as one unit. It worked fine. After we installed the bushing/outer sleeve in the TA, we stuck the inner shaft into the polyurethane bushing.
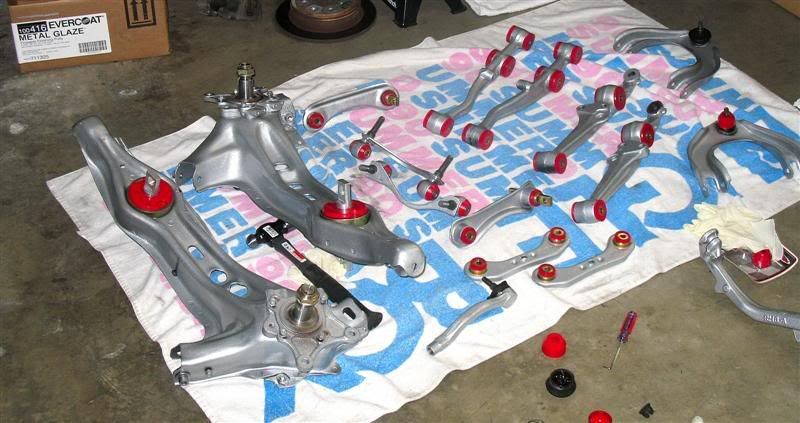
We also removed all dirt and debris in the ball joints, liberally re-greased them, and then replaced all the grease boots with the boots included in the Prothane kit.
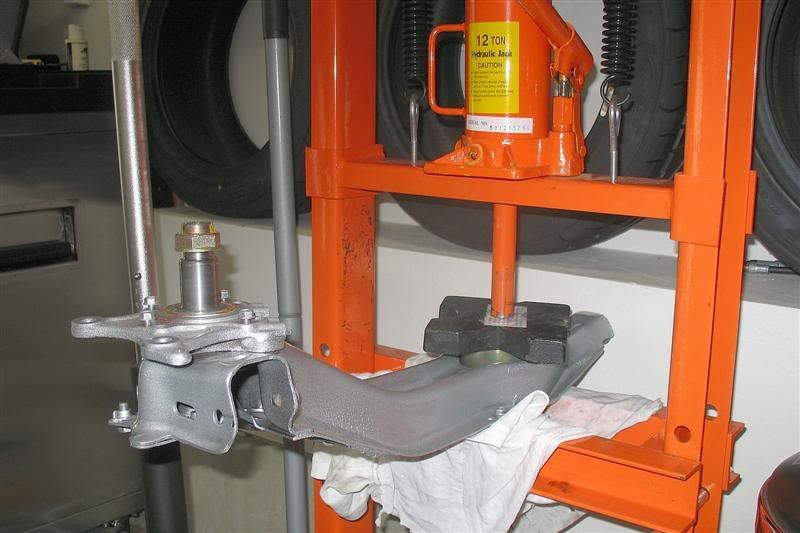
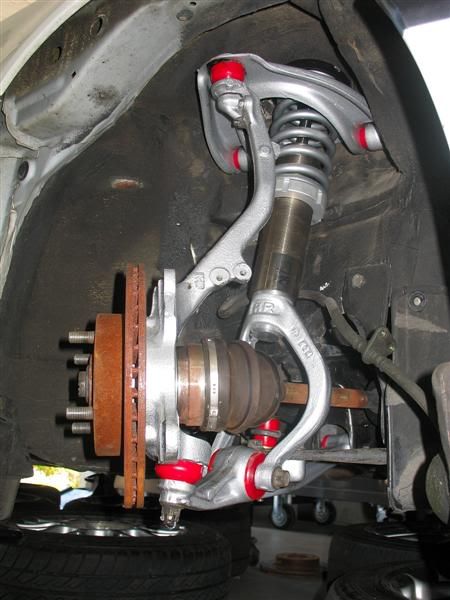
All hell broke loose when we went to reassemble the suspension. As it turns out, EVERY darn bushing that we replaced is slightly larger than its stock counterpart. As a result, every arm, pivot point, and mounting point on the susp with a bushing, binds. That makes for an incredibly hard reassembly job. We probably spent 2 hrs bolting up the passenger side rear susp alone. Fortunately, the other corners came together much faster.
We also ran into a bit of a dilemma when reassembling the front corners. We wanted to use the EX knuckles, but as it turns out, the EX brake dust shields are different than the CRX HF shields that we had hoped to use. We hacked up the CRX HF shields pretty well and got them to fit, so +1 for that.
We then realized that the HF discs wouldn't fit on the larger EX hubs. Furthermore, the HF axles wouldn't line up with the EX hubs. Confused, we lined up the EX and HF hubs to the EX knuckles. We noticed that the hub surfaces that contact the wheel bearings were VERY similar between the EX and HF hubs. In fact, they were identical. 10 minutes later, we had the HF hubs pressed in the EX knuckles, over the hacked HF dust shields. Everything was gravy.
Until we realized the HF discs on the HF hubs mounted on the EX knuckles hit our hacked HF dust shields. -1 for that. So for now, no dust shields for us.
Oh, side note. The prothane grease is FREAKING NASTY. It's hellishly sticky, and the tube included for the TA bushings exploded in the box. With that said, we liberally lubed everything that needed to be lubed and still had a little extra. Prothane did well there.
All in all, the prothane kit was very thorough. It was pretty expensive, but it’s a good deal. The kit seems well put together. I just wish the bushings were a little closer to stock size. It would make bolting the susp back on a LOT easier.


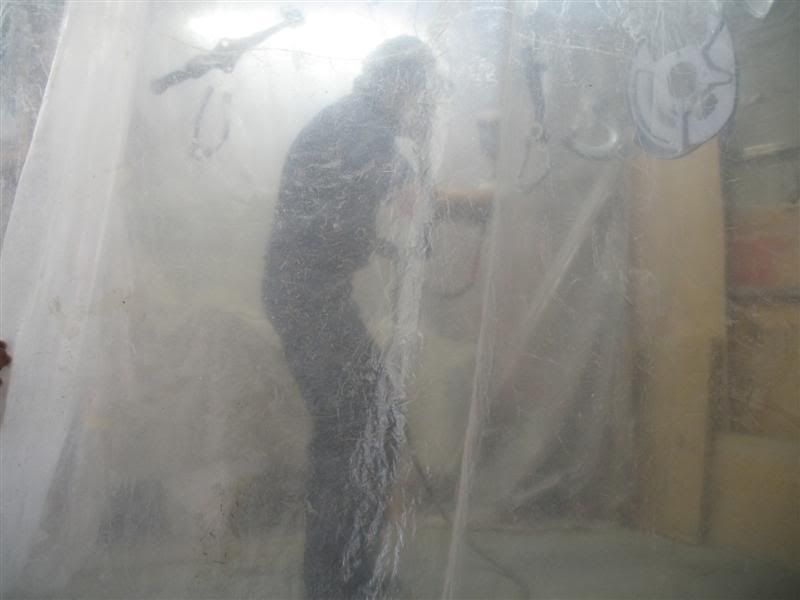
Candid shot of chubby's demoralization/exhaustion/heat stroke. Cement is cool in summer.
Loads of engine work and more suspension bits to come. Thanks for reading!Last edited by TheNextEpisode; 05-16-2009, 03:59 PM.Comment

Comment