
Originally posted by rexload
View Post
 .
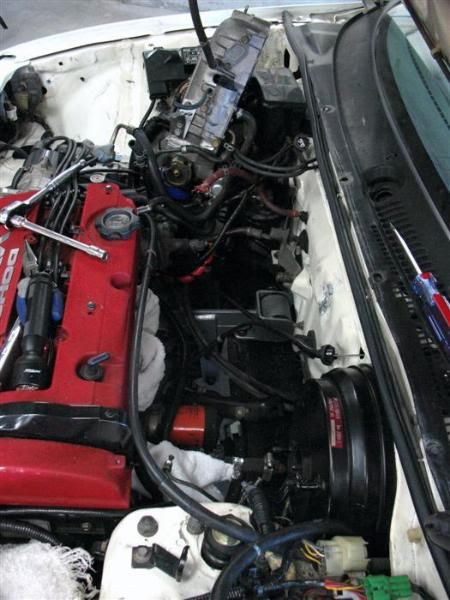
.Also, since I've lowered engines into Honda chassis 10-15 times, I feel fairly confident about that process. Once we got the hang of things, we could lower the engine into the bay for the test fits in the neighborhood of 15-20 minutes. The final drop took closer to 15 minutes.
BUT, I'd love to try dropping a chassis over an engine sometime. SCC recommends it as the best way of handling an H22 and an EF chassis, so I'm sure there's a lot of merit to what you're suggesting.
When you lower your chassis on to your engine, what all do you have disconnected from the chassis? I'm assuming you have at least the rear crossmember and engine mount attached to the engine. If I recall correctly, the lower A-arm pivot points are also on the rear crossmember. How do you deal with those?
Originally posted by cali-racer
View Post

Originally posted by acc0rd_adicti0n
View Post
Originally posted by Ronald_Type-R
View Post

Originally posted by khal.lawson
View Post
Originally posted by accord=inspire?
View Post
Originally posted by Shadow1
View Post
Thanks for the interest!


Comment