

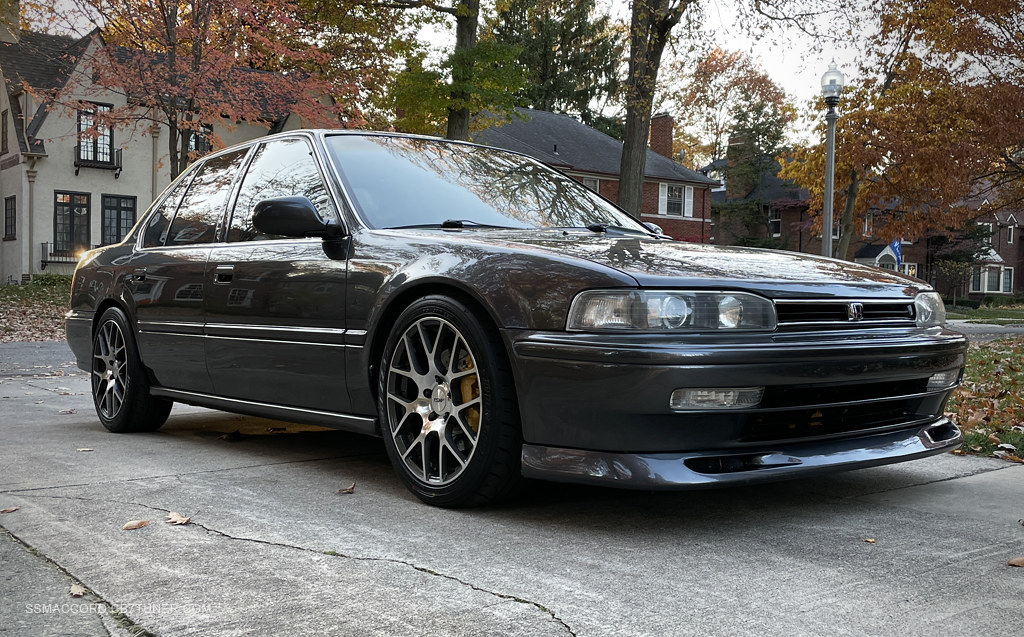


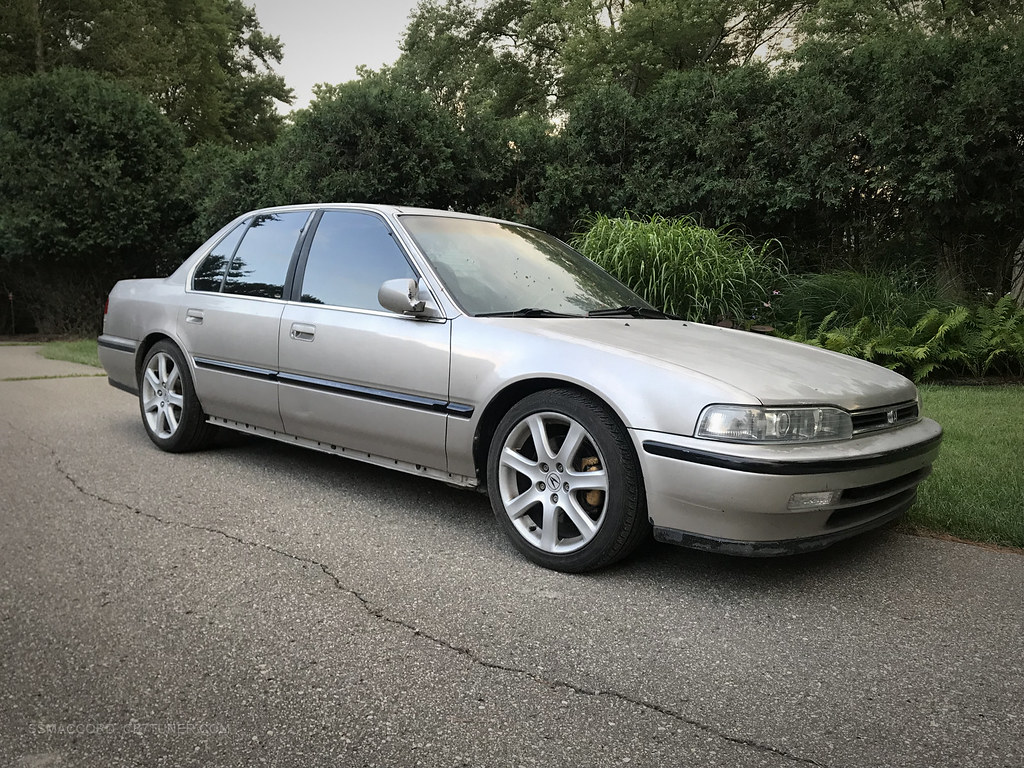
1992 Honda Accord EX
POWERTRAIN:
H22A Euro-R Swap
4 Piston CNC Cylinder Head P13 (milled .017)
Skunk2 Pro2 Cams
Skunk2 Pro Series Cam Gears
Supertech 93lb Valve Springs
Ferrea Valves
70-68mm Blox Throttle Body
BB4 Prelude AEM Intake
4-2-1 PLM Header
Greddy Evo 2 Exhaust system
Phearble ECU
HONDATA S300
HONDATA Coil Pack Retrofit
RSX Coils
Wire management
ABS Delete
Cruise Control Delete
Rosko Racing components (IACV / Fuel Rail adapter)
Heatshield Intake Manifold Gasket and TB Gasket
Balance Shaft Retainer
H23 Manual Tensioner Mod
Timing Belt / Balance Shaft serviced
Valve Clearances adjusted to spec
BB6 Cast aluminum oil pan/stiffener
Downstar Inc. Stainless Fasteners
Stock F22A6
DRIVETRAIN:
T2W4 Transaxle
Exedy Stage 1 Clutch
ACT Streetlite Flywheel
Hybrid Racing Detent Springs
FFC Solid Shift Linkage Bushings
MTEC Shift Springs
BIB Shift Linkage
Stock H2A5 Transaxle
*only needs a clutch...
Exedy Stage 1 Clutch
Stock Flywheel
CHASSIS:
Honda Remanufactured Steering Rack
HardRace steering rack mount bushings
MR-S Electro-Hydraulic Power Steering Conversion
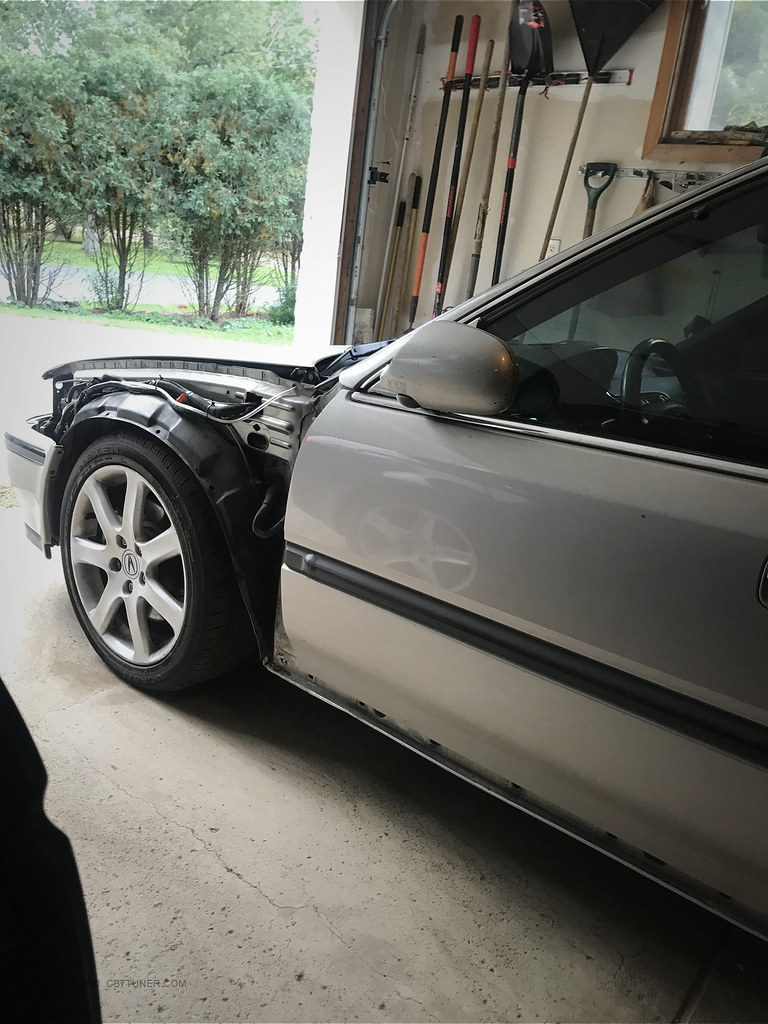
5 Lug Swap (98 Accord front/ prelude hub rear)
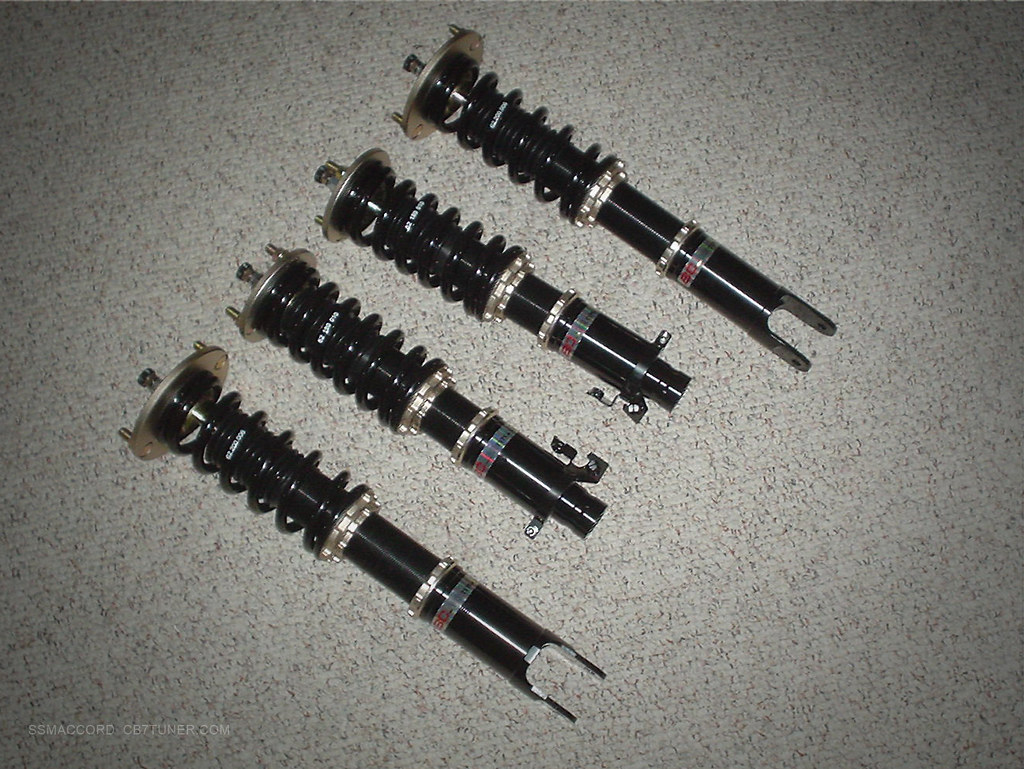
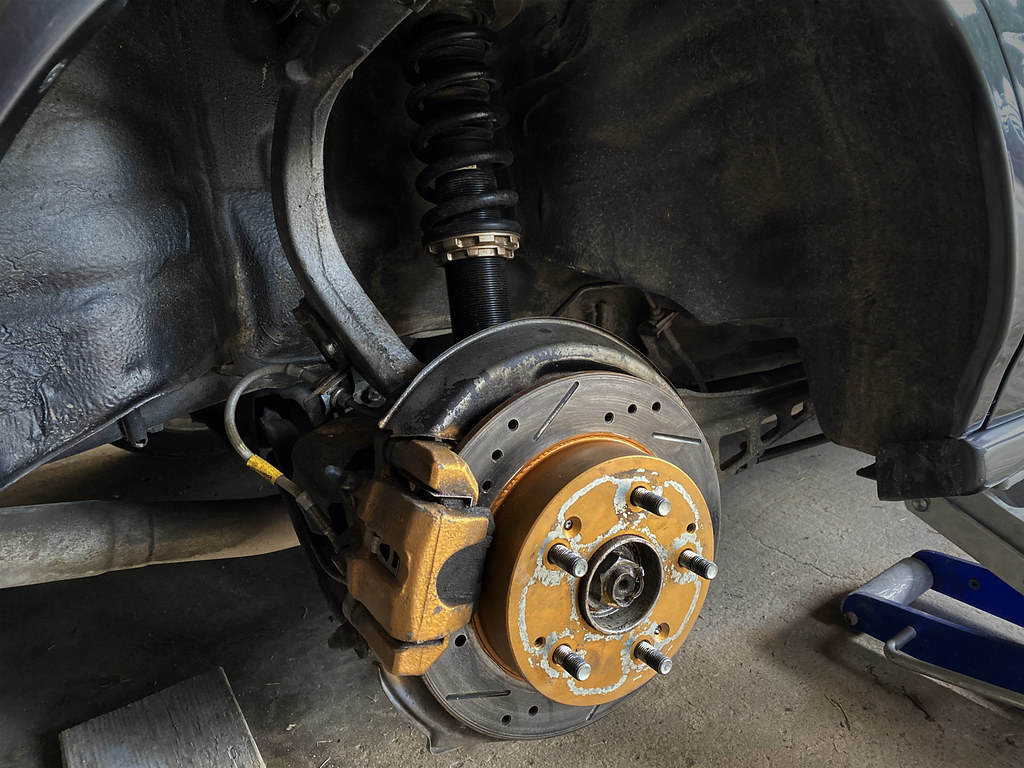
BC BR Coilovers
Moog Anchor Camber Mounts
SPC Balljoint Camber Kit (removed)
Hardrace Radius Rod bushings
Refreshed LCA's Front and Rear (I bought them ages ago and had them laying round when I was swapping the parts over from the old car)
New aftermarket Tie Rods
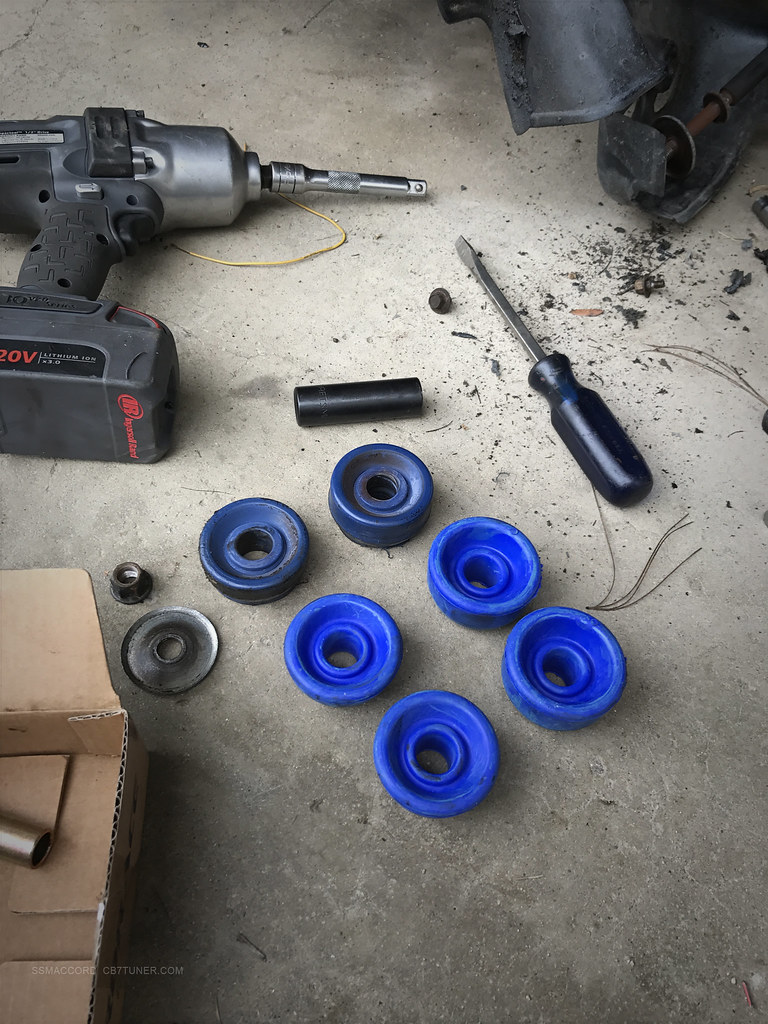
Prothane Urethane Bushing Master Kit
Progress Rear Stabilizer Bar
Lower Rear Strut Mount replaced w/ Urethane Bushing
ESP 3 Point Upper Front Brace
Ultra Racing 2 Point Upper Rear Brace
Spoon Rigid Collars (Front / Rear)
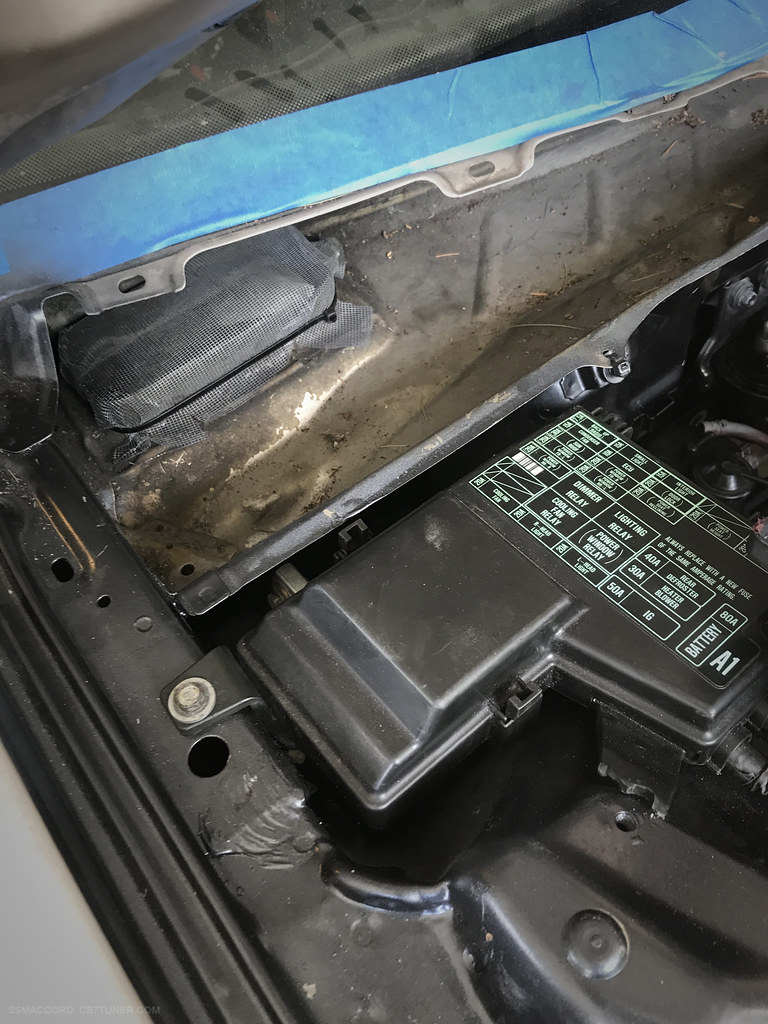
Battery Relocated to Trunk
BRAKES
ABS Delete
Goodridge G-Stop Stainless Braided Lines
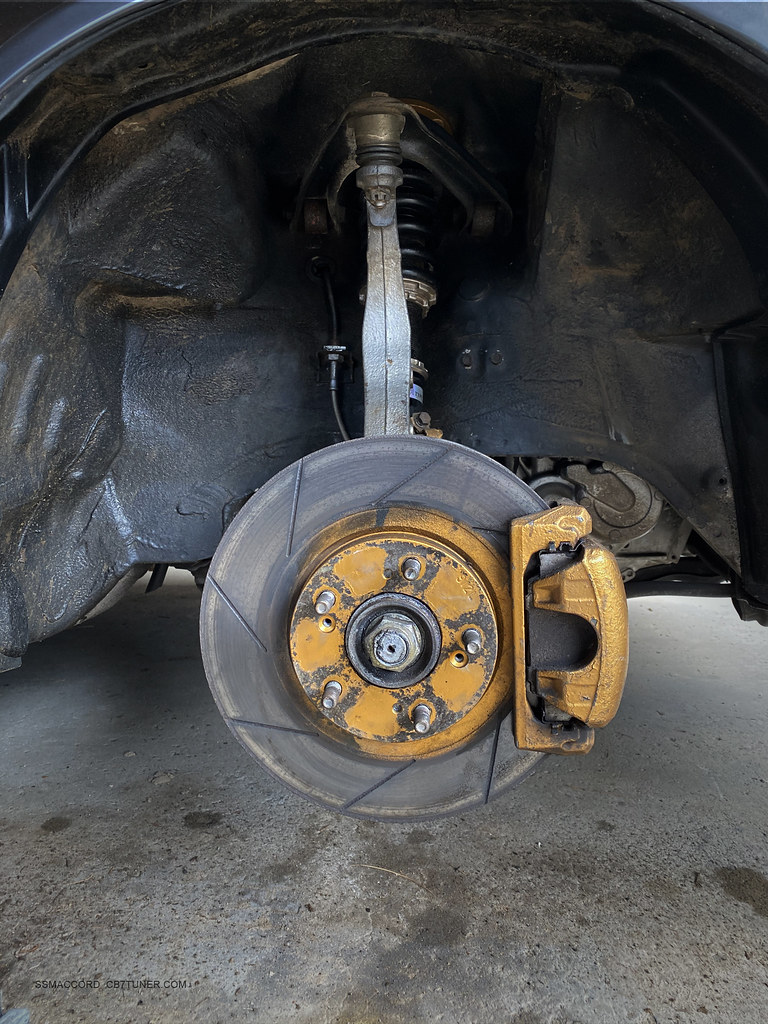
Spoon Monoblock Calipers
13’ Drilled / Slotted Front Brake rotors
13” Fastbrakes rear rotors (cross-drilled and slotted)
Spoon Monoblock Calipers
CM Accord Hybrid Rear Caliper Brackets
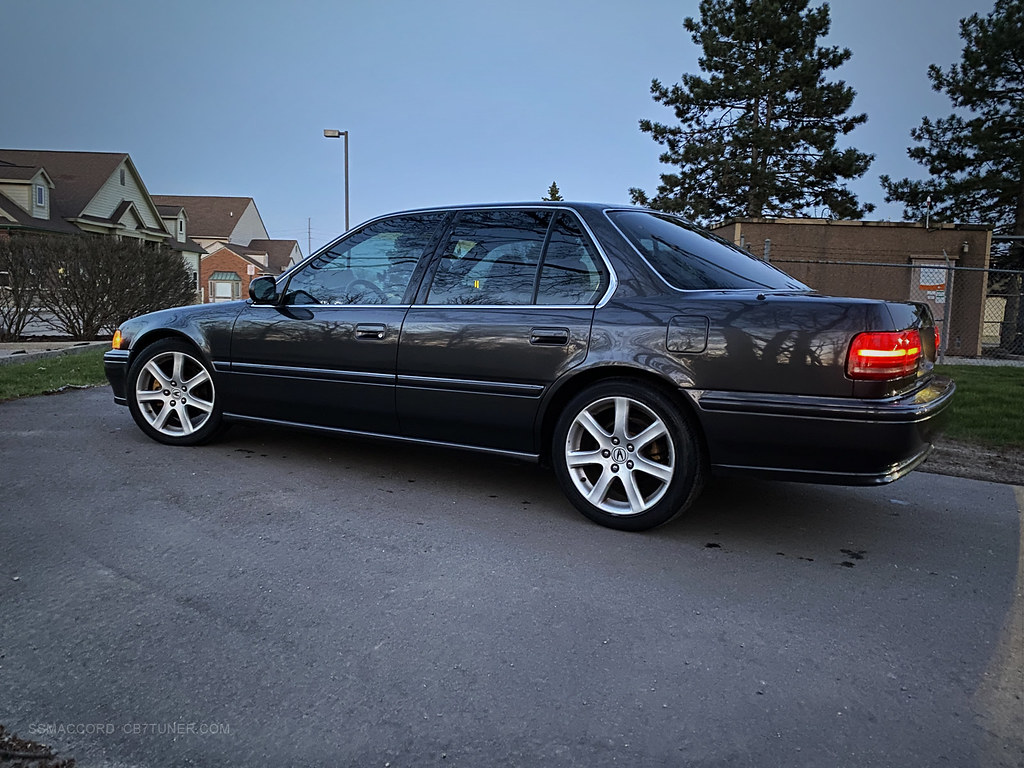
TSW Nurburgring 17x7.5 +45 Offset
Dunlop Direzza Starspec III 215/45/17
FK8 Brake Cooling Ducts
Brake Shield Cooling Ducts
Powerstop Trackday Pads
Hawk HPS brake pads front/rear (track day) these are horrifically loud*
CL9 TSX OEM Wheels (storage)
DC5/AP1 OEM Calipers (removed)
DC2 10.2 Rear Brake Rotors (cross-drilled and slotted)
Stock springs, dampers, stabilizer bars
17x7 ??? Wheels, Black paint
Detroit Axle Remanufactured Steering Rack
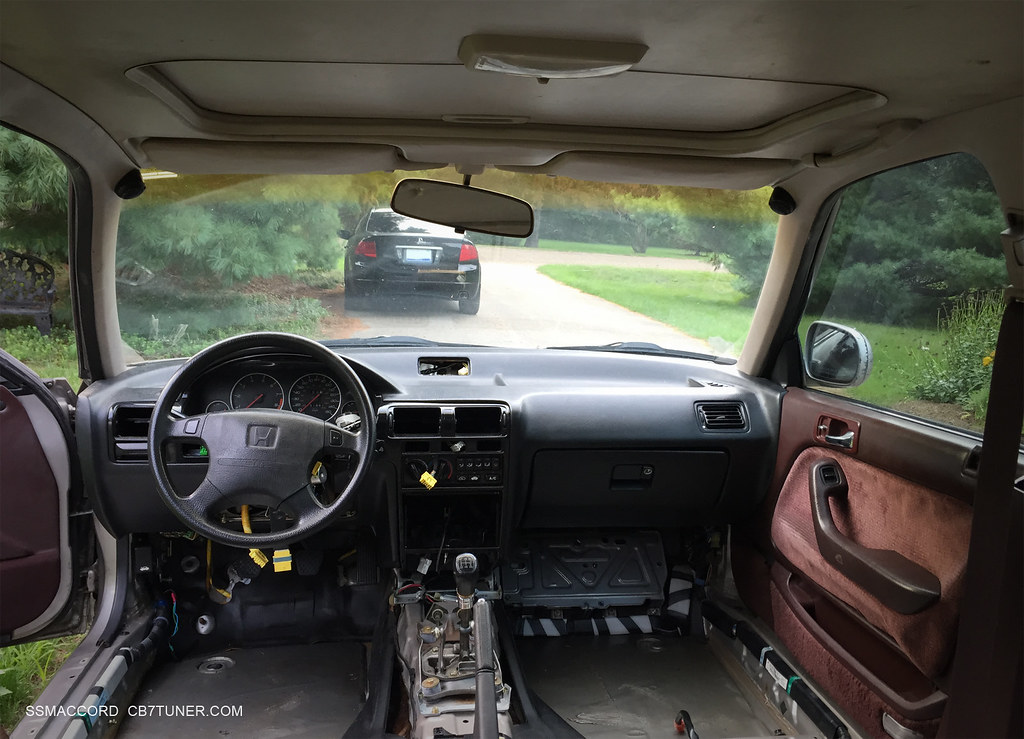
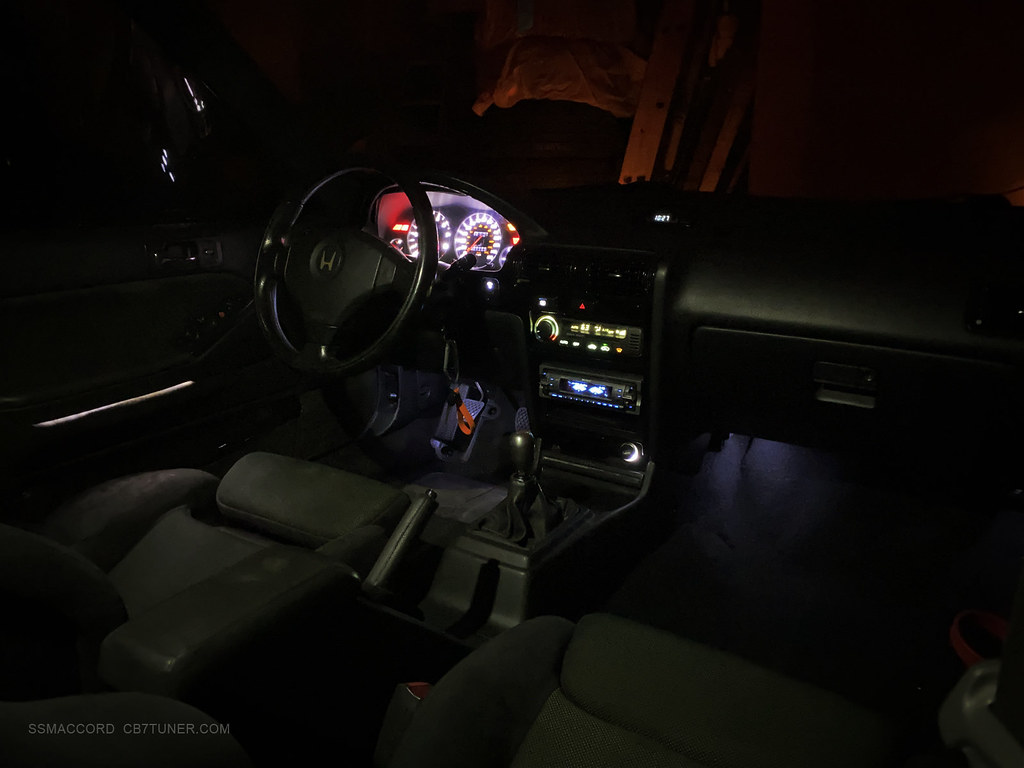
INTERIOR:
Door panel vinyl wrap
Suede upholstered SE door inserts
Suede upholstered door lower to replace carpet
Leather wrapped door armrests
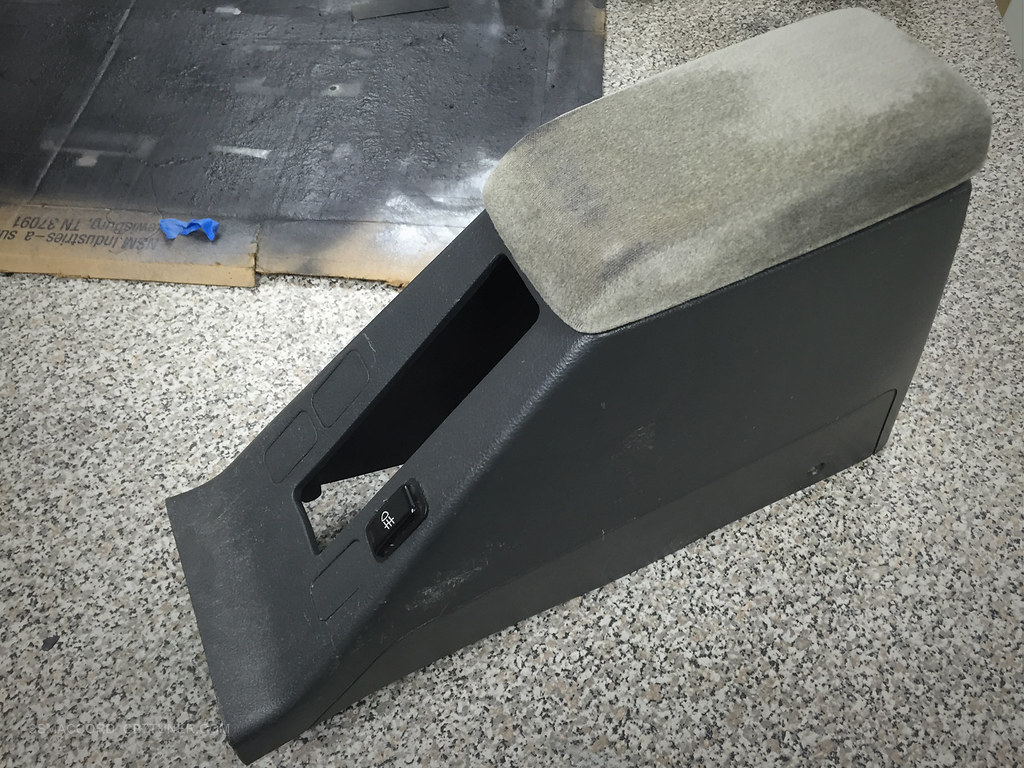
Sanded / painted map pocket trim / console trim
Transparent Red painted courtesy lights
eBay black door handles (painted black for gloss)
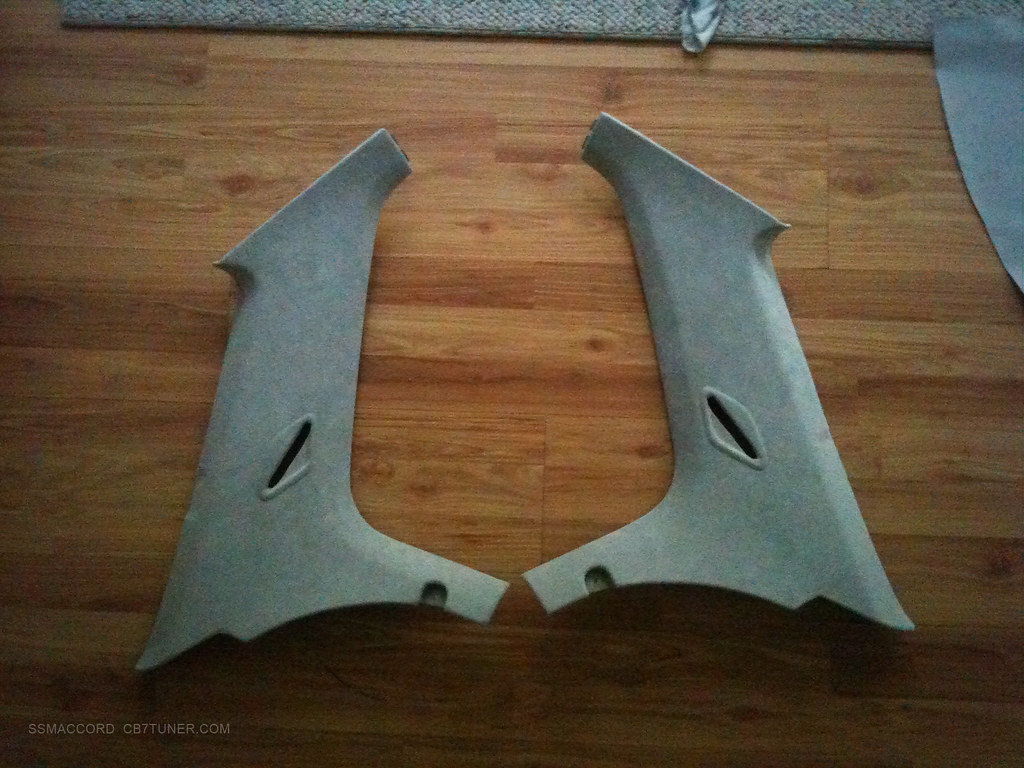
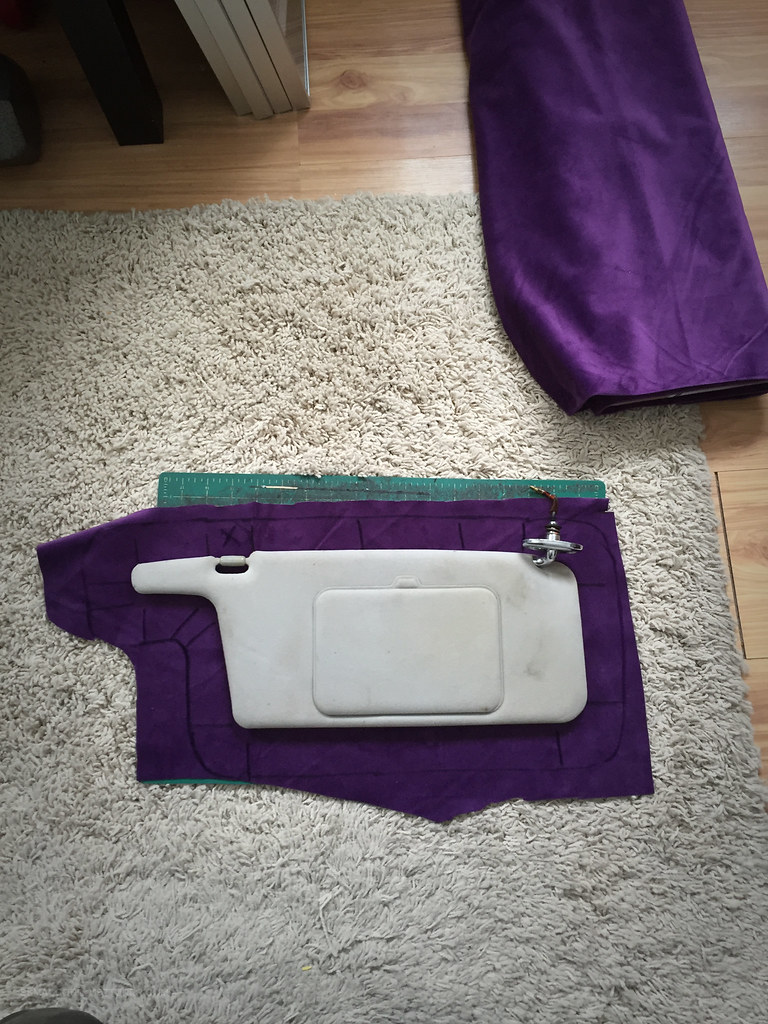
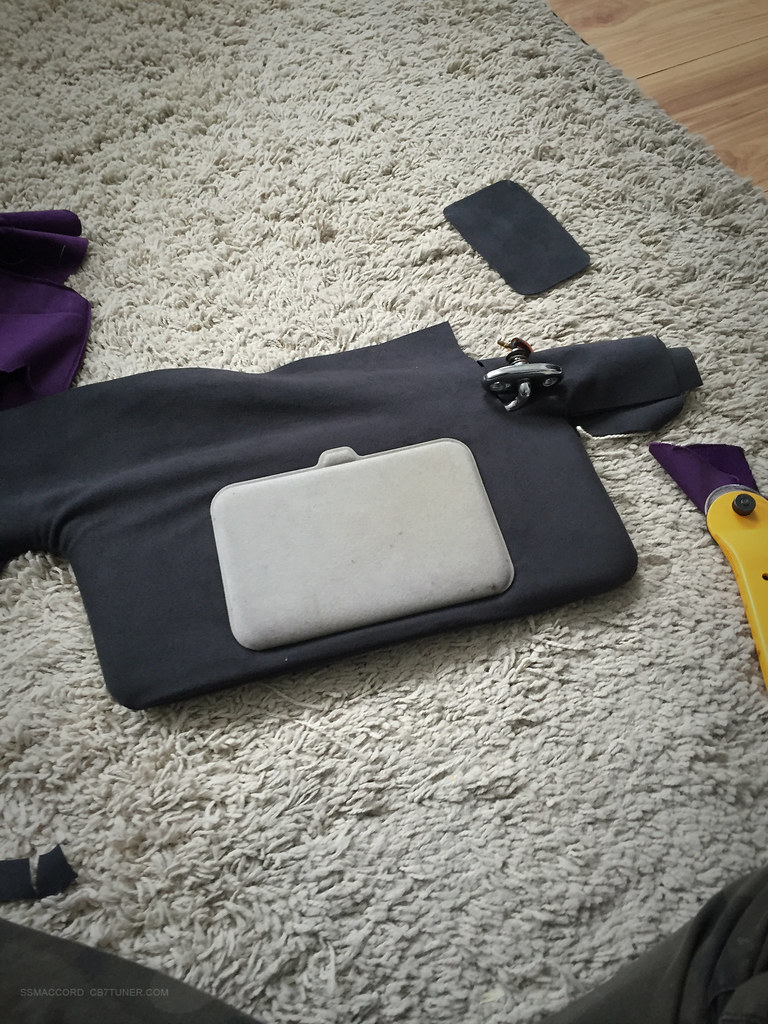
Suede wrapped A/B/C pillars/headliner/Sunvisor
SE Black Leather Rear Seat
RL Grab Handles (leather wrap)
CD5 Column Swap
CL1 Euro-R Steering Wheel
P-Spec Short Shifter
FFC Shifter Bushing /Shifter Plate Bushings
TLX Frameless Mirror
LED High Mount Brake Light
BB6 Cluster Swap
CL1 Euro-R Recaro seats
Black IP Swap
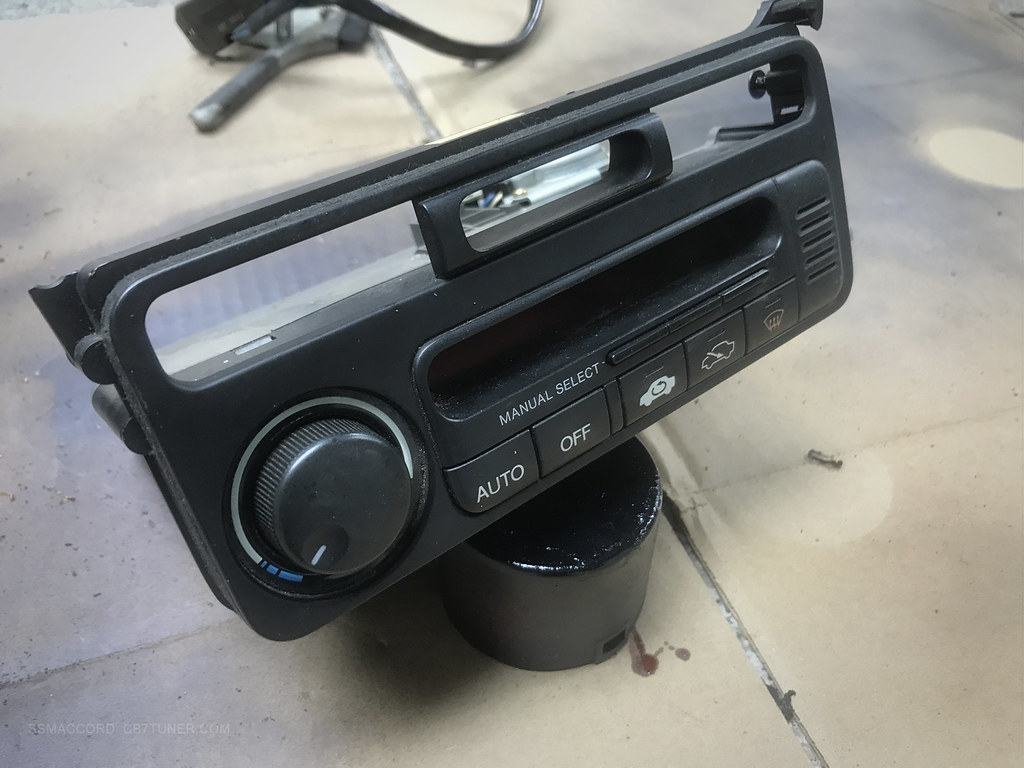
KA Legend Automatic Climate Control
Chrome HVAC Toggles
Honda Type-R Titanium Shift Knob
Leather E-Brake Handle / Body
White LED conversions
CRV Window switches with LED mod
Mirror Mount Tweeters
CD Intermittent Wiper Conversion
KA Legend Stalk Boots
M139 Stainless Steel Carpet Protector
Honda Stainless Sillplates
Sony Headunit
VW One Touch Blinker Retrofit
Stock Interior, R014L Vintage Red
Random amounts of coins
Cup filled with Cigar Tobacco
USB Cables
A-Pillar Mounted Tweeters
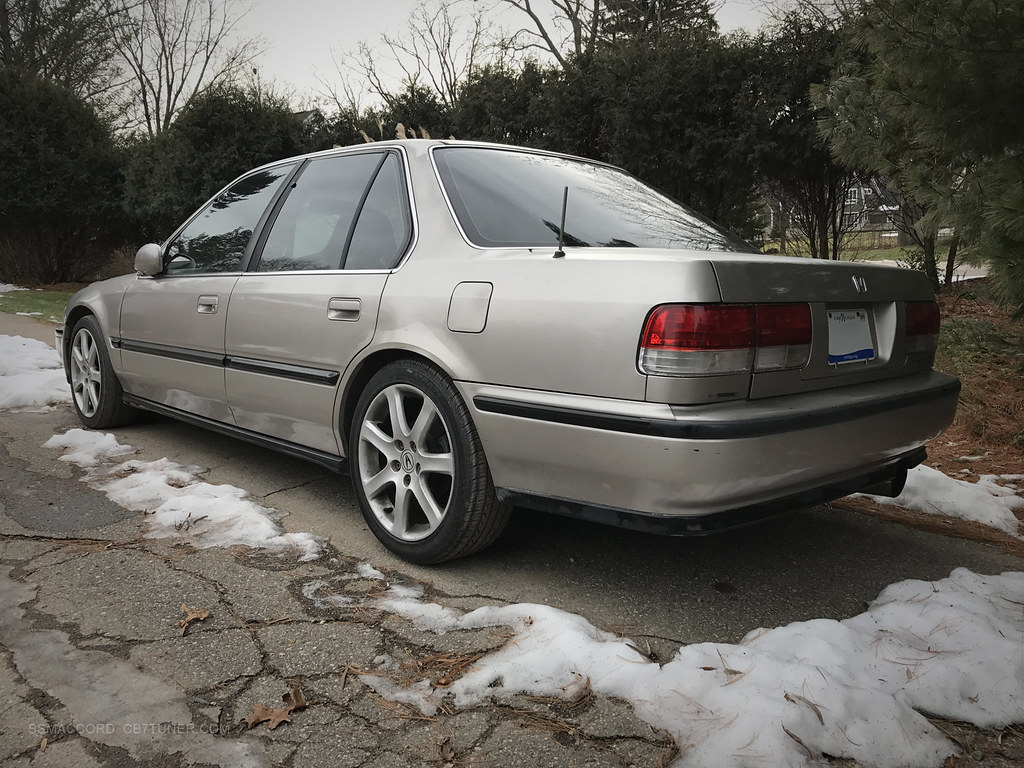
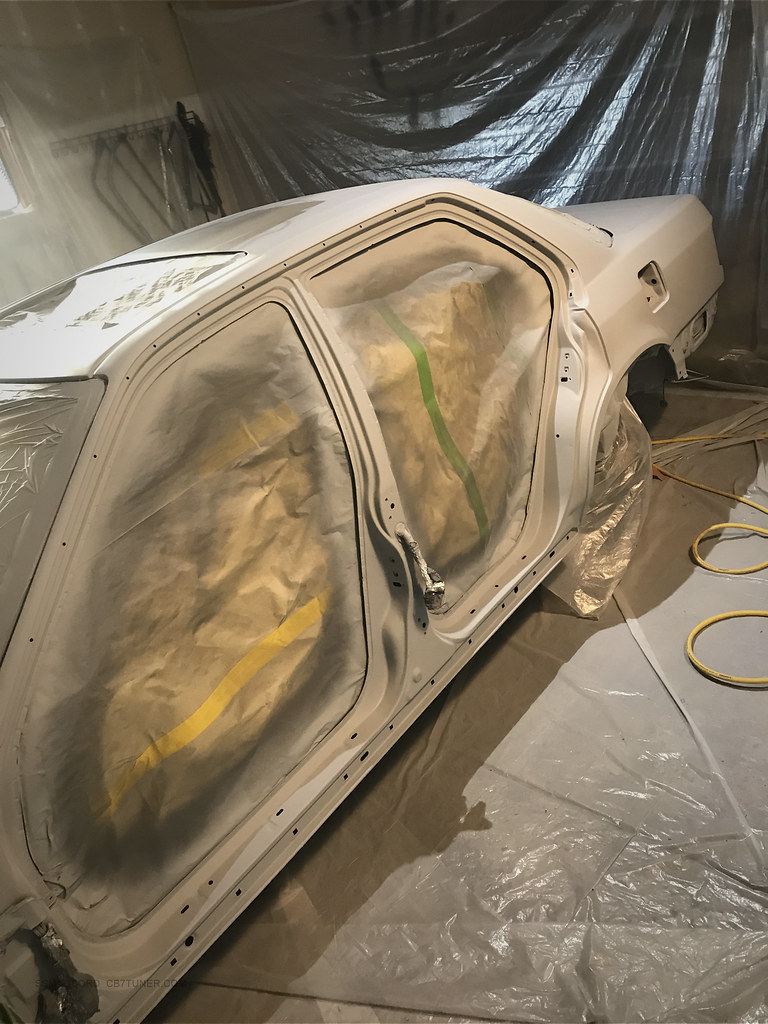
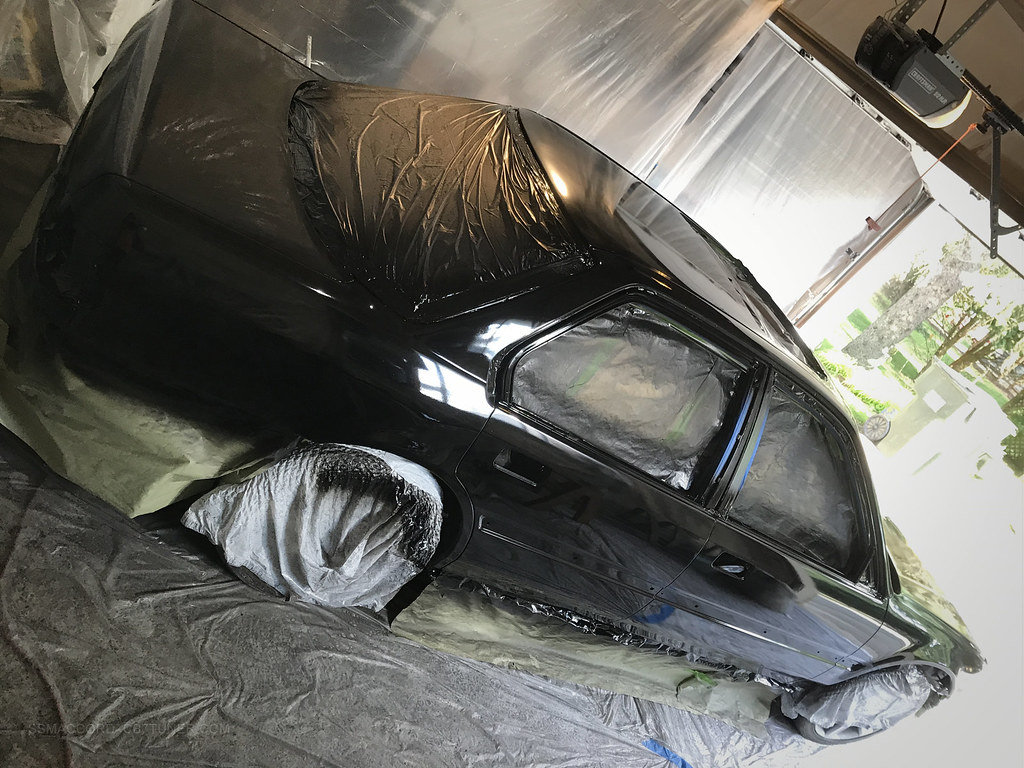
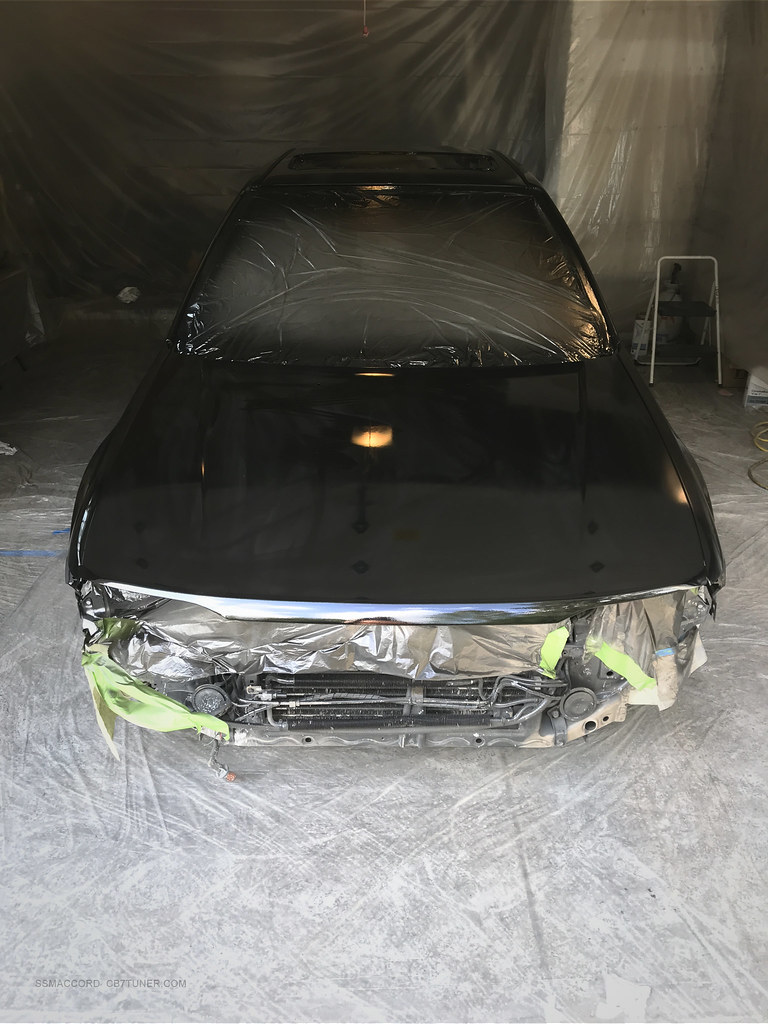
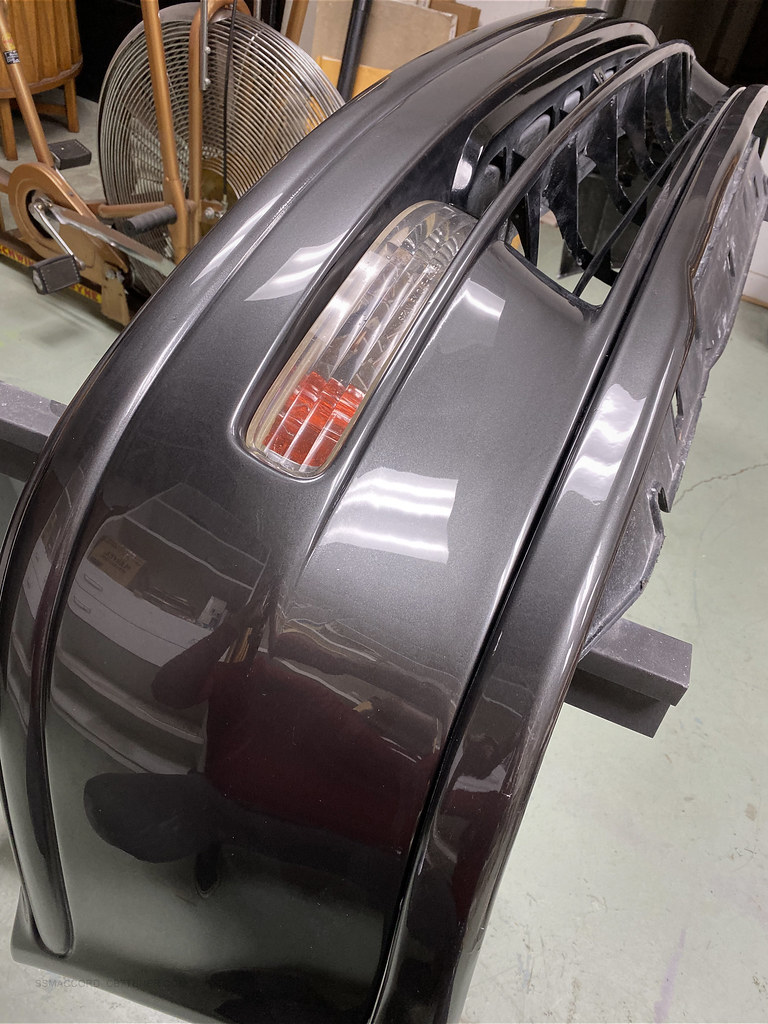
EXTERIOR:
46G Machine Gray
JDM/EDM Side Moldings
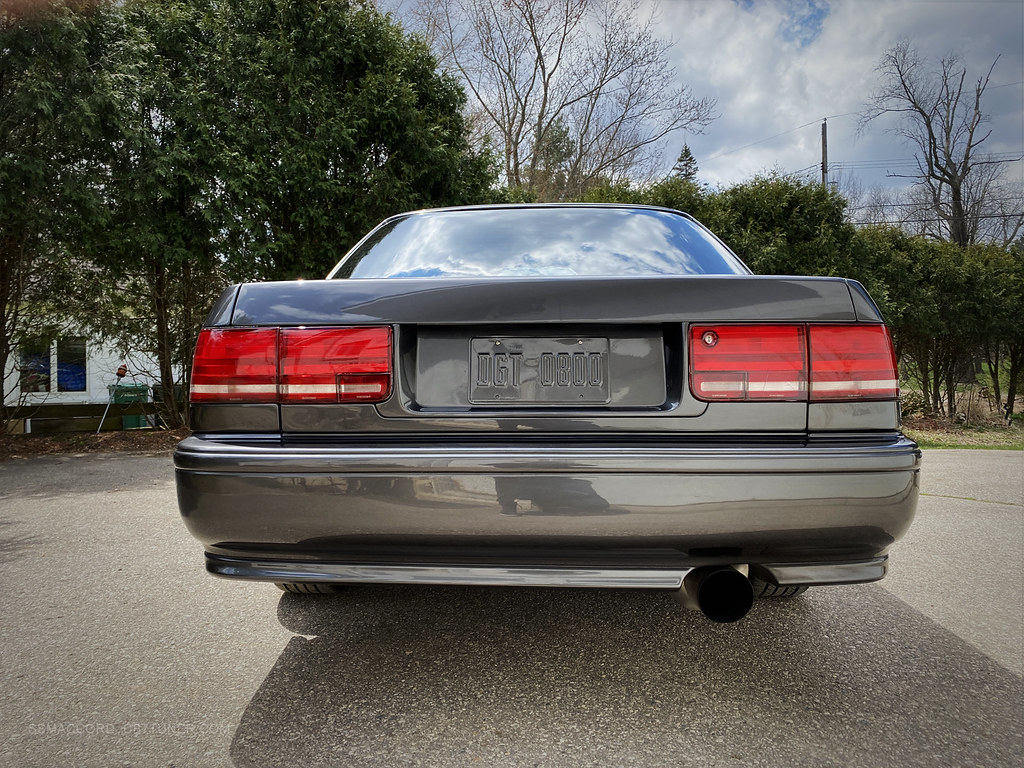
EDM License Plate Trim
S14 Aftermarket Front Lip
JDM One Piece Headlamp w/ E46 Bi-Xenon Retrofit (needs updating)
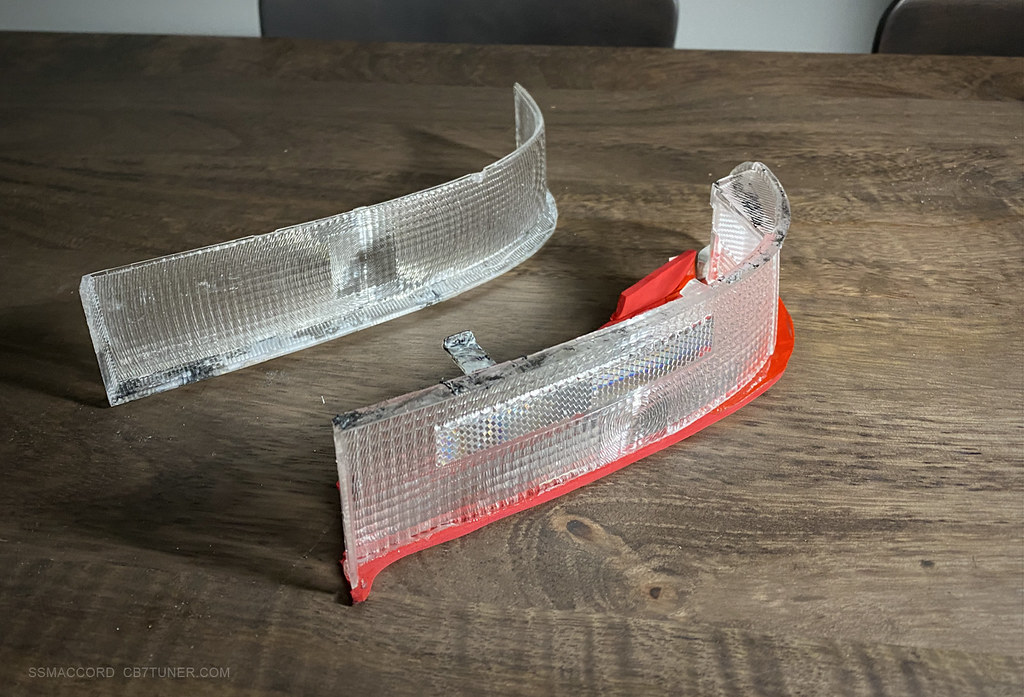
Euro Clear Bumper Lights (DIY SI-T Modded)
JDM SI-T Orange Clear Bumper Lights
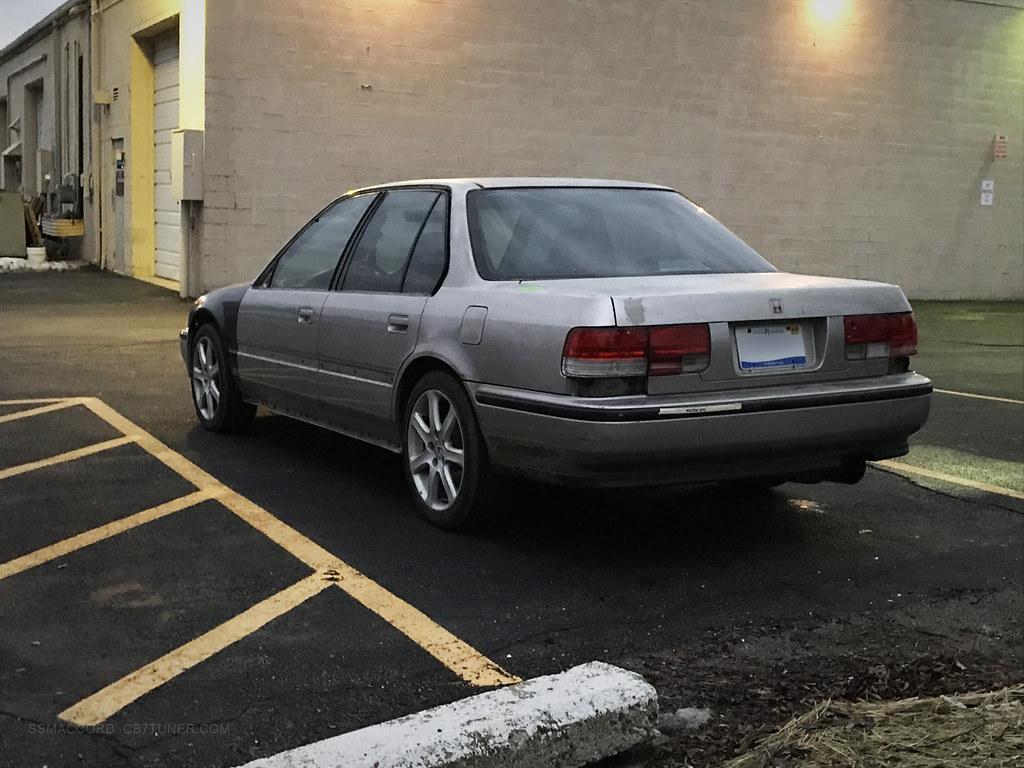
Modified LED Red/Clear Taillamps
Ford Focus LED License Plate Lamp
Seattle Silver YR-94M
Clear Corner
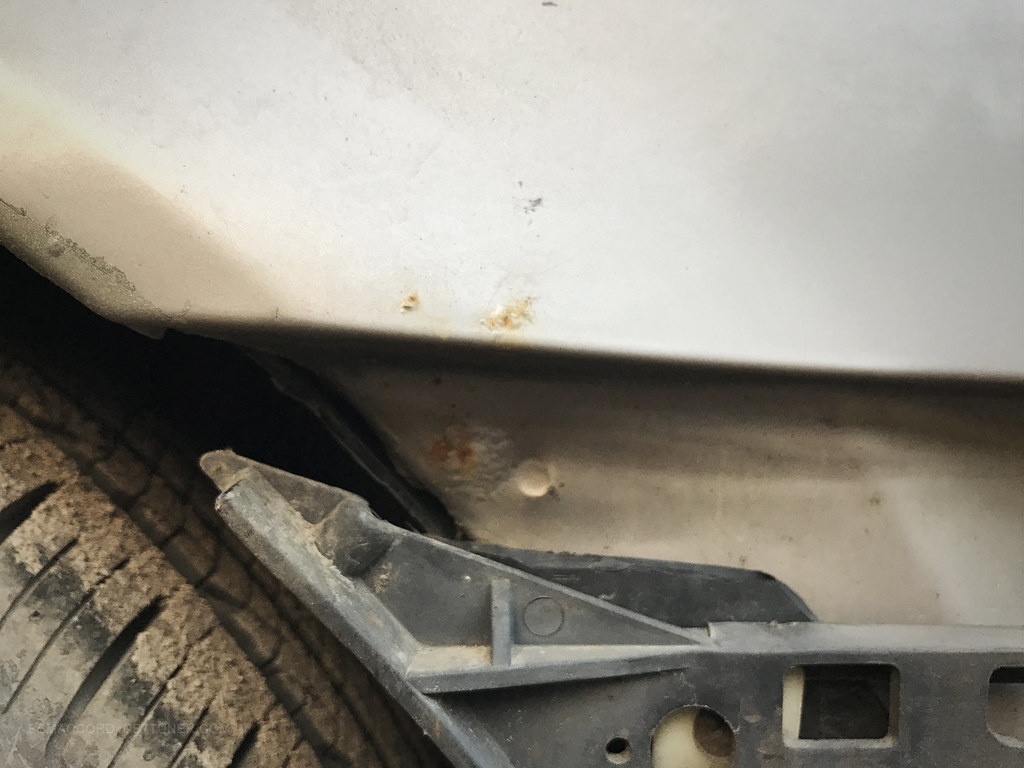
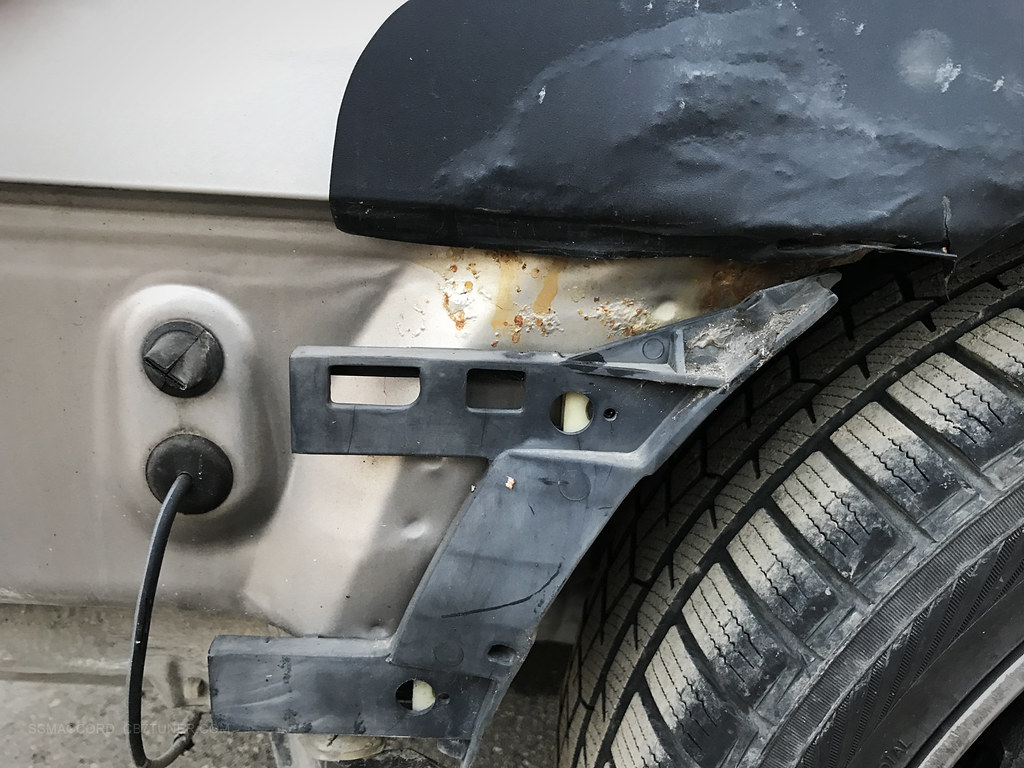
Rusty Quarter Panels
Failing Clearcoat
Dents, dings
Misc. Stickers


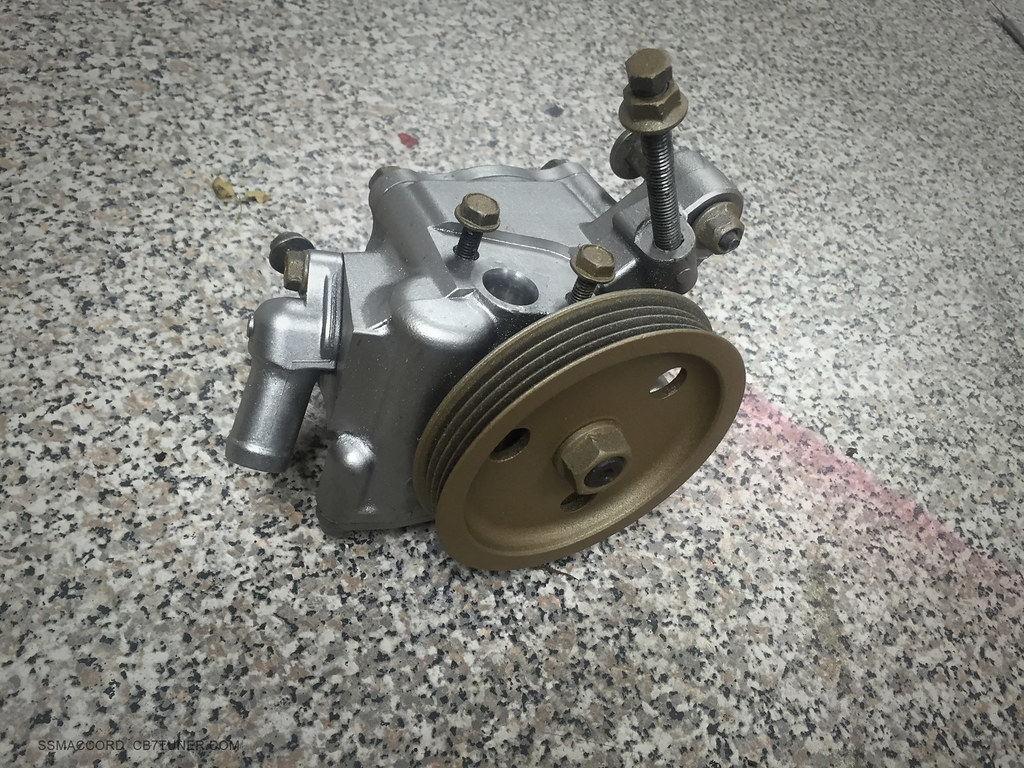


 Also, the pump I bought showed up without the plugs that were listed in the ebay ad so I had to source new parts and assemble them for my purposes. The high pressure hose is a unit from Karcepts. Since Toyota no longer supplies fluid for the system and standard Honda PS fluid is too viscous for the pump, I am running Nissan EHPS fluid.


 \
\ .
.


 I scrolled to post the same thing. Looks like he threw in a cheap lunch!
Comment