Announcement

Collapse
No announcement yet.

SSMAccord : 1992 Accord EX

Collapse
X
 
  • Filter
  • Time
  • Show
Clear All
new posts

  • SSMAccord
    replied
    Originally posted by owequitit View Post

    Thanks for the input. Perhaps I can just order one from an ABS CB7, since I believe those are 1". I have a master cylinder from a Prelude (it was supposed to be a VTEC), but it is only 15/16, so I think it must have come from a "base" model. I bought it on ebay years ago, so I'll just have to chalk it up as lesson learned. The hardest part will probably be figuring out the adapter, but that should be doable. If nothing else, I'll buy the stuff to do it since it would be nice to have those tools anyway. Any excuse to buy tools! LOL.

    Yeah, I was happy they were available too! One of the reasons I didn't wait was that I think I got the last set they had in stock!

    I was curious if wheel lock was an issue in a track setting. Having brakes that powerful without any sort of ABS intervention makes it seem like that they would lock really easily. I know it is a fairly common setup these days, but still.

    Other than that, how was the car's overall setup? Do you need to tweak some stuff, or is it pretty good out of the box?
    You probably do have a MC from a Prelude S, Si and Si VTEC have the 1" MC. You can actually just carefully cut the flare off of your existing brake hose, the one closest to the firewall if my memory is working, and remove the old fitting and put on the correct fitting and reflare the hose. It is a tight fit for the flaring tool because of the bend in the hose, but it can be done. (you also only get one chance because the hose will be too short if you screw up the flare and have to attempt it twice.)

    Wheel lock is generally not an issue on track unless the surface is compromised from moisture, dirt/debris that someone has brought on track or automotive fluids. Wheel lock is very dependent on tire friction; sticky 200TW tires require a lot of force to lock once they are heated up, pedal modulation is key and having wider range of braking torque available allows for more precision in the amount of braking being applied.

    I have found during the pad bedding process that the rear brakes do tend to lock up before the front brakes, this is likely a common occurrence as people tend to refer to that kind of scenario as an indication of brake proportioning. It actually is due to weight transfer; when the car is in "daily driving" mode I turn the dampers adjustment to full soft front and rear which allows for very abrupt weight transfer to the front in panic/brake bedding levels of brake engagement which causes the rear brakes to lock up because the rear wheels are suddenly carrying less weight. This would also be very likely to happen on a stock or worn suspension setup. On track the dampers are set to be much more firm to slow the weight transfer to the front of the car which allows the rear to maintain traction and avoid locking the rear brakes.

    The car feels ok on track, I have not fully dialed in the alignment yet. I intentionally have it set up to be "safer" and rely on understeer at the limit instead of trying to coax the rear to rotate. Once I get a better alignment setup, I will probably try to dial in more rear rotation. It is very clear that the car is quite heavy compared to EK hatches, newer Civic Si's and Miatas and the longish wheelbase keeps the car from being overly nimble with the benefit being that it is more stable.

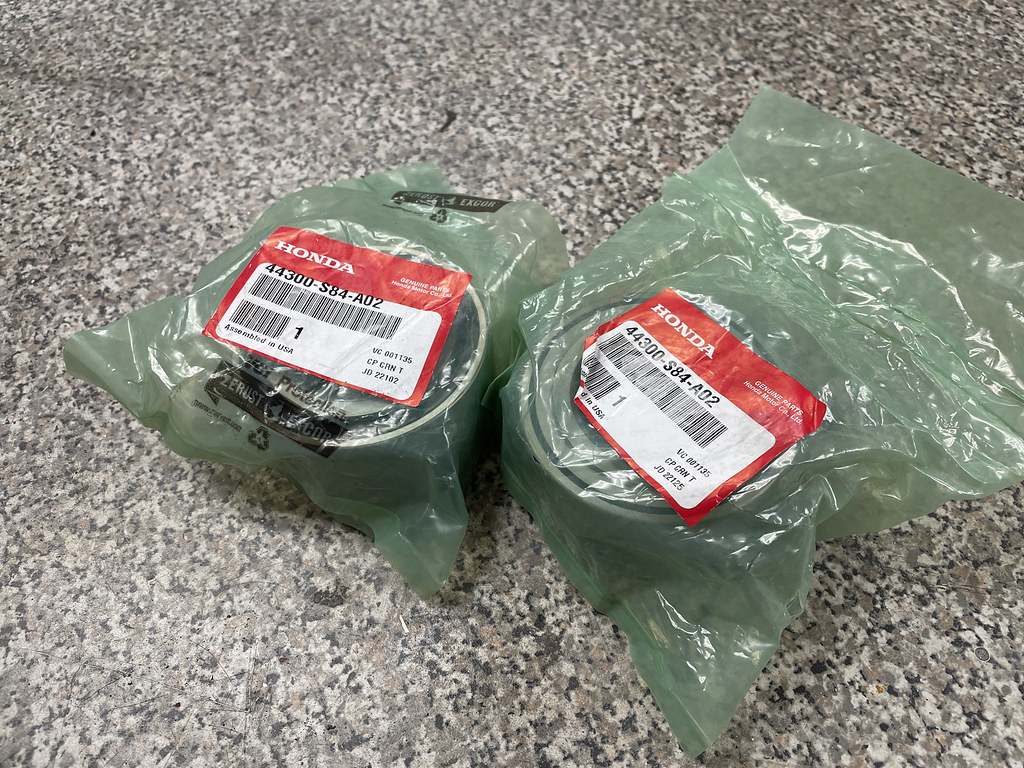
    To that end, one of the last backordered parts, Hard Race roll center adjusters finally arrived. These would have had an effect on the demeanor of the front end and how the weight transfers laterally. I had a machine shop replace the wheel bearings and I installed the RCAs with balljoint kit. Hopefully most of the suspension setup is ok for a while. The old wheel bearings were allowing a bit of play as I noticed when disassembling the front end, the previous overheating must have really caused them to start to fail prematurely. The old bearings were also not OEM parts which might also be a factor.


    Wheel Bearings


    Roll Center Adjusters


    Roll Center Adjusters Installed

    Leave a comment:


  • owequitit
    replied
    Originally posted by SSMAccord View Post

    Yeah, this car had the 1” stock, but my old 91 used a modified hose to install the 1” master cylinder.. I think all Si and Si Vtec Preludes do have 1” units.

    Good choice on the axle nuts! I’m glad that they aren’t backordered for the time being.
    Thanks for the input. Perhaps I can just order one from an ABS CB7, since I believe those are 1". I have a master cylinder from a Prelude (it was supposed to be a VTEC), but it is only 15/16, so I think it must have come from a "base" model. I bought it on ebay years ago, so I'll just have to chalk it up as lesson learned. The hardest part will probably be figuring out the adapter, but that should be doable. If nothing else, I'll buy the stuff to do it since it would be nice to have those tools anyway. Any excuse to buy tools! LOL.

    Yeah, I was happy they were available too! One of the reasons I didn't wait was that I think I got the last set they had in stock!

    I was curious if wheel lock was an issue in a track setting. Having brakes that powerful without any sort of ABS intervention makes it seem like that they would lock really easily. I know it is a fairly common setup these days, but still.

    Other than that, how was the car's overall setup? Do you need to tweak some stuff, or is it pretty good out of the box?

    Leave a comment:


  • SSMAccord
    replied
    Originally posted by owequitit View Post
    That's awesome! Getting to any track has traditionally been difficult for me since there were none anywhere near me. Hopefully, I'll get to try it out here someday just to see how it is setup.

    I assume you are running a 1" master cylinder on this brake setup? I am trying figure out exactly which cars have them (I thought all VTEC Preludes did, but that may not be correct). I will also have to adapt mine since I have a 15/16's and the one of the fittings is apparently different. I think the ABS Accords came with a 1" standard didn't they?

    I also followed your lead and ordered the Honed Performance rear spindle nuts. They should be here shortly after they finish clearing Customs, which is where they are now.
    Yeah, this car had the 1” stock, but my old 91 used a modified hose to install the 1” master cylinder.. I think all Si and Si Vtec Preludes do have 1” units.

    Good choice on the axle nuts! I’m glad that they aren’t backordered for the time being.

    Leave a comment:


  • SSMAccord
    replied
    Originally posted by Grumpys93 View Post
    That looks like so much fun. That stinks about the code 21 and not letting you go into vtec. But glad to hear your brake issue was resolved. I need to go to a track one day and see how my car performs. But I will lower the boost to something that won’t crack the wheels loose every time I give it a decent amount of gas.

    how do you have your feet positioned for your heel toe? I could never find a good positioning that allowed me to effectively use the technique.
    It is really fun. It is also really informative about how your behaves and identifying deficiencies in the car and personal driving skills lol. I do have a great time, but it can be tiring after like the 5th or 6th session of the day. Usually by 4 I’m too exhausted to participate in the free track/all groups track time.


    I think you’d have a blast a track day! Too much power and not enough grip can be an issue on track, but you may find that leaving alone initially might be ok. There are actually less moments of full throttle usage on track. It’s mostly trying to manage car placement, balancing available grip and focusin@ weight transfer as you set up for the next turn/sequence.

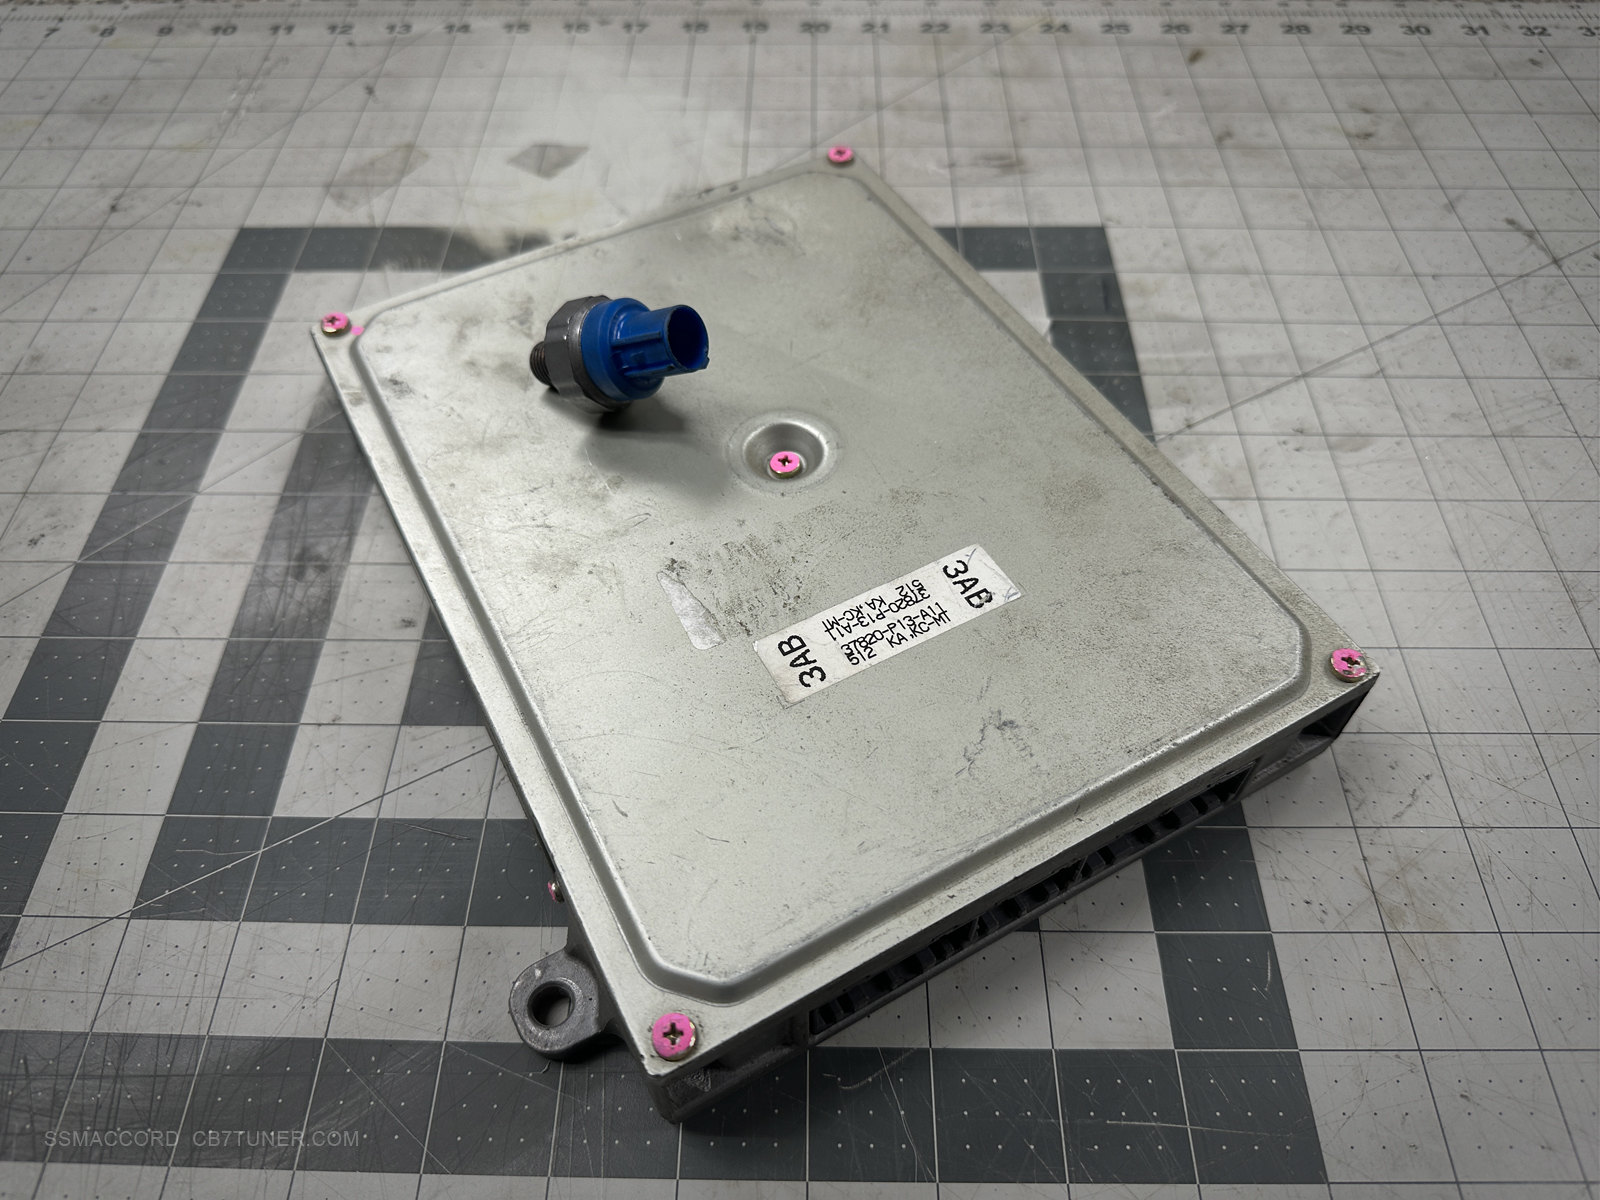
    I did a bunch of troubleshooting after the event, it seems like the ecu might be the culprit as everything else meets the criteria in the service manual troubleshooting guide.

    My heel/toe technique is very influenced by the Best Motoring videos lol. Pressing the brakes with the ball of the foot and rotating the heel out to blip throttle, it also requires more throttle that you’d think for a good ‘blip’. The maneuver got slightly more difficult after installing braided brake lines since there was less brake travel needed for adequate braking which left my heel kind far from the throttle when heel/toeing. The new brake setup needs even less travel, getting the brake pedal far enough down to contact the throttle puts the car into panic level braking. I think the solution is a pedal cover that is spaced to make the relationship between the throttle and brake closer.

    Leave a comment:


  • owequitit
    replied
    That's awesome! Getting to any track has traditionally been difficult for me since there were none anywhere near me. Hopefully, I'll get to try it out here someday just to see how it is setup.

    I assume you are running a 1" master cylinder on this brake setup? I am trying figure out exactly which cars have them (I thought all VTEC Preludes did, but that may not be correct). I will also have to adapt mine since I have a 15/16's and the one of the fittings is apparently different. I think the ABS Accords came with a 1" standard didn't they?

    I also followed your lead and ordered the Honed Performance rear spindle nuts. They should be here shortly after they finish clearing Customs, which is where they are now.

    Leave a comment:


  • Grumpys93
    replied
    That looks like so much fun. That stinks about the code 21 and not letting you go into vtec. But glad to hear your brake issue was resolved. I need to go to a track one day and see how my car performs. But I will lower the boost to something that won’t crack the wheels loose every time I give it a decent amount of gas.

    how do you have your feet positioned for your heel toe? I could never find a good positioning that allowed me to effectively use the technique.

    Leave a comment:


  • SSMAccord
    replied
    I managed to get the brake set up completed just in time to do a very late night oil change and a mechanical once over of the car before having to head off to a weekend of camping and a track day at Gingerman Raceway in west Michigan. The event was hosted by AutoInterests and is currently the only organization that runs the Gingerman course in reverse traffic direction. I had not previously run with this organization or in this configuration of the track, but I was eager to kick off track events for the season.

    FT Inspection Label


    The day started with a few more last minute checks on the car; I discovered that one of the rear sway bar mounting bolts was loose, so I set about tightening that up before the driver's meeting and first classroom session of the day. During the travel to the track, I encountered a Code 21 that caused the car not have valve lift functionality, I did some troubleshooting but was not able to resolve the issue and decided to deal with that after the event.

    Morning Check In


    The AutoInterest event was really well done; they pair you up with a dedicated instructor, have really informative classroom sessions, they also have vehicle dynamic sessions in between the on track sessions that keeps the fun going throughout the day. They also do a track walk which is really useful for learning more about the track surface and some of the more intricate details for navigating certain turns and sectors. I really enjoyed the event overall and look forward to running more events with this group.

    Track Walk


    Before the first on track session for my group, there was a vehicle dynamics sessions that was a good warm up before heading on to a hot track. After that task, I decided to check the vehicle just before going out on track and discovered one of the small hoses that feeds between the thermostat and the IACV had split and sprung a leak. Fixing it by cutting the end was simple enough, just inconvenient. Other than the consistent Code 21, the day was pretty uneventful mechanically. I did decide that as my last track session of the day wrapped up, the front wheel bearings might need to be replaced; they likely suffered premature wear from being overheated last year. The brakes themselves seemed to perform as anticipated, the color grading indicated that the rotor faces got pretty warm but the rotor hat areas stayed cool, which was the intent. The pedal is firm and the amount of brake pedal travel needed has decreased which led to a modification of my heel/toe technique due to the relative height of the brake pedal versus the accelerator pedal.

    Vehicle Dynamics Session


    Post Track Brake Check


    Cool Down between Sessions


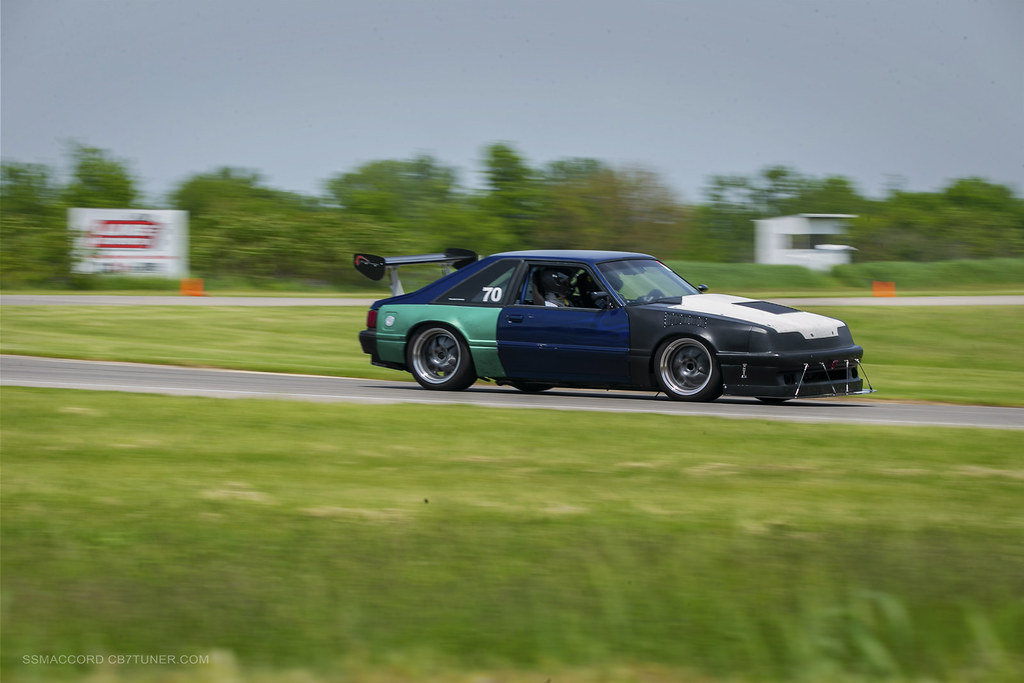
    The track itself was really fun in reverse configuration and the variety of cars at the event was quite good. I found myself really digging a patchwork-y Fox body Mustang that was in the advanced group amongst other cars. Casey's ND Miata was also doing really well on track, riding along with him is always really informative. There were also a few WTAC and GLTC cars in attendance as well.

    Track Photos from NVUS Images


    Leave a comment:


  • owequitit
    replied
    Originally posted by SSMAccord View Post

    My shifter was part of a group buy at some point, probably 2005 or so. The shift boot wasn't too short, but it would be taut in certain gear position. The original P Spec boot eventually wore out, I used it as a template to make a replacement boot. I did add an extra 1-1.5 inches to the pattern to allow more play in the shift boot overall.

    Thanks man!

    Mine is still OK. Not stellar, but not bad. It just irritates me that the back side is about 1.5" too short, so it pulls free and comes out. Only way to fix it is to take the whole console apart again. I was considering doing what you did, but I also may just buy something like a Type-R boot.

    I really appreciate the response!

    Leave a comment:


  • SSMAccord
    replied
    Originally posted by owequitit View Post
    Hey, are you using your P-Spec shift boot? If so, I was wondering if yours was also cut not quite long enough. Mine works it way loose because it is too short and uneven. It was one of the first ones, so I don't know if he changed it or not for later ones, or where yours was in the run? Overall, I love the boot, but it just doesn't function the way it should, so I may use the ring and make a new one.
    My shifter was part of a group buy at some point, probably 2005 or so. The shift boot wasn't too short, but it would be taut in certain gear position. The original P Spec boot eventually wore out, I used it as a template to make a replacement boot. I did add an extra 1-1.5 inches to the pattern to allow more play in the shift boot overall.

    Last edited by SSMAccord; 07-22-2022, 02:12 AM.

    Leave a comment:


  • owequitit
    replied
    Hey, are you using your P-Spec shift boot? If so, I was wondering if yours was also cut not quite long enough. Mine works it way loose because it is too short and uneven. It was one of the first ones, so I don't know if he changed it or not for later ones, or where yours was in the run? Overall, I love the boot, but it just doesn't function the way it should, so I may use the ring and make a new one.

    Leave a comment:


  • SSMAccord
    replied
    Originally posted by CyborgGT View Post
    Random/off-topic, but I've got interior design plans for the wagon on my mind lately and yours is inspiring. Couple things: First, is your dash bezel painted or polished? I know the automotive journalists like to rag on "piano black" interiors in new cars today because they get dirty so easily and I tend to agree with them on that, but I can't deny it's adding a nice modern flair to your interior, and adding some 'life' to your dash. I'm really liking it here, I might have to do that.

    Second: is the airbag on your steering wheel hooked up and (at least assumed) functioning? I remember looking into getting an ITR wheel for my RSX, and reading about Honda changing their airbag style at some point in the early/mid '00s - something about multi-stage circuitry or something like that, and bags from different eras not being so easily compatible. Anyway, I'm torn between wanting a removable aftermarket wheel for security, and one of these old Momo SRS wheels for the OEM look & safety, but if the airbag can't be wired up properly it'll make my choice easier.
    Thanks, the Aero-R is quite inspiring too!

    The dash bezel is painted, black with a couple of coats of 2k clear and then carefully wetsanded/polished. I did have a polished plastic version, but it never was a truly deep or high luster finish when compared to the paint version. If you are doing this I would highly recommend the 2K can clearcoat as it much glossier and durable than the Duplicolor canned clearcoat.

    Piano Black is always a topic of contention in newer cars because to sheer amount of it being used in certain vehicles and the locations that it is being used in are typically high touch points. In the CB that dash bezel is mostly a retention/closeout device for the buttons and HVAC vents, as such I don't touch that part frequently so there are typically no smudges or whatnot. My buttons are also clearcoated and polished and still they don't have smudges/dust on them.

    The airbag in my steering wheel is not functioning, the airbag is the same generation as the CB bag in terms of being a single stage deployment. The airbag is present and integral to the hornpad in a way, but because of international shipping and such an inflator is typically not allowed to be shipped because it is classified as an explosive. Because of this there is no inflator in my wheel.

    Leave a comment:


  • SSMAccord
    replied
    Originally posted by NH-503P-3 View Post
    Looks good man. Those spoon calipers definitely make the room for the larger rotor where the RL’s will not lol. I’ve got the RL’s with the 12.8 rotor up front and 12.3 in the rear with a modified Fast Brakes bracket. RSX type s master & booster with a 40/40 prop valve. The best and most controlled braking I’ve had on my coupe. It’s really a noticeable difference. Your setup should be great on the track.
    I didn’t know about the brembo website for rotor size and application measurements. I’ll be studying that some more. I’m thinking of running 18’s on my wagon with 6 piston brembos from maybe a ctsv and at least 14” rotors. Mainly for the eye candy though.
    Thanks!

    The relatively small form factor of the spoon calipers is helpful in every place except pad surface area. This is probably the largest that will fit without going to an 18" wheel, which I have no need or plan to do. The setup has proven to be quite adequate so far. The 40/40 prop valve seems to be ok with this setup as well, but given the piston displacement versus a stock CB system there is still more front bias because of the front calipers.

    The setup does fill the inside of the wheel for an aesthetic factor as well. lol

    Hmmmm...I have not researched radial mount 6 piston setups, but I know that many of the newer Brembo calipers mount that way and a custom adapter bracket is easy enough to create in CAD.

    Leave a comment:


  • CyborgGT
    replied
    Random/off-topic, but I've got interior design plans for the wagon on my mind lately and yours is inspiring. Couple things: First, is your dash bezel painted or polished? I know the automotive journalists like to rag on "piano black" interiors in new cars today because they get dirty so easily and I tend to agree with them on that, but I can't deny it's adding a nice modern flair to your interior, and adding some 'life' to your dash. I'm really liking it here, I might have to do that.

    Second: is the airbag on your steering wheel hooked up and (at least assumed) functioning? I remember looking into getting an ITR wheel for my RSX, and reading about Honda changing their airbag style at some point in the early/mid '00s - something about multi-stage circuitry or something like that, and bags from different eras not being so easily compatible. Anyway, I'm torn between wanting a removable aftermarket wheel for security, and one of these old Momo SRS wheels for the OEM look & safety, but if the airbag can't be wired up properly it'll make my choice easier.

    Leave a comment:


  • NH-503P-3
    replied
    Looks good man. Those spoon calipers definitely make the room for the larger rotor where the RL’s will not lol. I’ve got the RL’s with the 12.8 rotor up front and 12.3 in the rear with a modified Fast Brakes bracket. RSX type s master & booster with a 40/40 prop valve. The best and most controlled braking I’ve had on my coupe. It’s really a noticeable difference. Your setup should be great on the track.
    I didn’t know about the brembo website for rotor size and application measurements. I’ll be studying that some more. I’m thinking of running 18’s on my wagon with 6 piston brembos from maybe a ctsv and at least 14” rotors. Mainly for the eye candy though.

    Leave a comment:


  • SSMAccord
    replied
    More winter projects

    Sometime last year I noticed that the tach was behaving oddly, replacing the ICM didn't change the behavior and the car wasn't missing or reacting to the jumpy RPM readings so I figured that the wiring or the tach itself were at fault. Having time to tear the dash the dash apart allowed me to track down what the issue was and how to fix it. Turns out one of the mounting/circuit screws was loose and causing the gauge to behave erratically, especially over rough pavement or bumpy roads. Problem solved.

    Loose Gauge Screw


    While I was fixing that issue, I wanted to tackle an idea that I had given some thought to previously, but was never able to fully resolve. My daily driver and lots of modern cars have gauges that are illuminated during the day for visibility. When driving the CB I found that I missed that feature and wanted to add that feature. I could have the gauges move to a constant 12V circuit, which would have them at maximum brightness at all times and give up the ability to have them on the dimmer circuit at nighttime, that would not be ideal. Having some free time and some relays laying around from various other projects I decided that using a SIngle Pole 5 Terminal relay would allow the gauge lights to switch grounds and facilitate the gauges being on without the dimmer circuit being active and also switch to the dimmer circuit once the switch for running or headlamps was activated. For the 12V source, I just tapped into one of the Option ports in the fuse box that some of the other optional features was already using.

    The result is that the gauges turn on @ full brightness when the Ignition is in the 'Run' position, they switch to the normal interior dimmer circuit ground once the light switch is active. The gauges do not turn on if the ignition is off and the light switch is active however.

    Gauges Illuminated


    Diagram


    I never really was happy with resolution to the brake failure/fluid issue from the Grattan track day. The security wire was peace of mind, but never quite sat right with the problem. I could never figure out how the banjo bolts would have loosened and failed in the ways that they did. Helping a friend with his car and discussing rotors and paint, it occured to me that the VHT high temp paint that I used on the rotors was rated for 900 degrees and looking at the front rotors from the incident was completely blistered and discolored while the rear rotors were visually unaffected. I surmised that the banjo bolts had not infact loosened, but the front brakes actually overheated and caused the calipers to expand and allow fluid to escape the threads. This is also exacerbated by the fact that the 28mm TSX rotors don't permit the use of shims on the pads when the pads are new, which would help mitigate heat from the pads soaking into the rotors.

    I wanted to resolve the issue to make sure that the car was ultimately safe during any future HPD events and restore my confindence/peace of mind around the issue. The criteria for the solution needed to be cost effective, add additional heat capacity for the front brakes, shift some workload to rear of the car to even out the balance to hopefully have even distribution of heat/workload front to rear. Looking at the stock CB brake setup, it uses symmetric 10.2" rotors on all four corners, my current setup was 11.8" front and 11.1" rear which maybe was too much of an imbalance? That is odd to me however, as many cars are modified with a very similar setup and have no issue.

    Adding heat capacity to the front meant larger rotors, the readily available option for the Spoon Monoblock calipers is a 13" setup from Ballade Sports. For the rear brakes it took a creative mish-mash of parts; there is a Fastbrakes 13" rear setup for newer 08-17 Accord/TSX and looking at the measurements for the newer Accord rear rotors, any rotor that fit those vehicles would also fit the rear of the CB as they share common overall rotor height. Fastbrakes also makes a 12" kit for the CB, which would provide the necessary bracket that, after some tweaking, can be paired with the CM1 Hybrid caliper bracket to create a 13" rear setup for the CB chassis. The front is also a mish-mash, the Ballade kit uses rotors that have the shallower S2K height and aren't really ideal for FWD Honda chassis' unless you are running a Brembo caliper. The Ballade kit is also designed in a way that hangs a significant amount of brake pad over the edge of rotor which kinda removes some friction surface/heat transfer area. I used their kit as a reference to have parts made that fit the brake pads within the friction area of the rotors. Using Bremboparts.com I was able to find a rotor that measured 330mm diameter x 47mm height with a 28mm thickness. Being that it is from a relatively mundane car, the rotors are cheap.

    Getting everything installed was pretty simple considering the amount digital research that gone into the preparation. The only unforeseen issue was interference between the rear caliper bracket and protrusion in the rear rotor that forms the inner drum. Removing a bit of material (about 1.5mm) from the caliper bracket along the scribe line from the interference solved that issue. The Fastbrakes kit did advise that by relocating the rear bracket the parking brake cable mounting needs to be physically adjusted rearward to prevent the parking brakes becoming engaged during events of suspension compression. I did fabricate little brackets to move cable mounts that are in the trailing arms rearward and tested the setup to make sure that everything was free throughout the full suspension travel arc. There is an increase in unsprung weight that came along with this change, each of the front rotors adds 5lbs each, the rear rotors added 3lbs-ish each as well.

    Finishing up this project only required new brake fluid, a pad bedding session and a venue to see if a.) the brake balance wasn't wonky and b.) if even heat distribution has been achieved.


    Rotor Comparison


    Ballade Sports Rotor vs Mercedes Rotor


    Height Comparison S2K vs CB


    Caliper Adapter Comparison


    Front Rotor Installed, Wheel Mounted


    Rear Rotor Installed


    Rear Rotor Installed, Wheel Mounted


    Front Brake Post Bedding Process


    Rear Brake Post Bedding Process


    Hawk Brake Fluid

    Leave a comment:

Working...
X