If this is your first visit, be sure to
check out the FAQ by clicking the
link above. You may have to register
before you can post: click the register link above to proceed. To start viewing messages,
select the forum that you want to visit from the selection below.
That�s going to be one healthy single cam. Did you get the h22 pulled?
I hope so. Fingers crossed. I haven�t pulled it yet. I will once I have the f22 ready to be dropped in. I still have to do something on the f series before I drop it in.
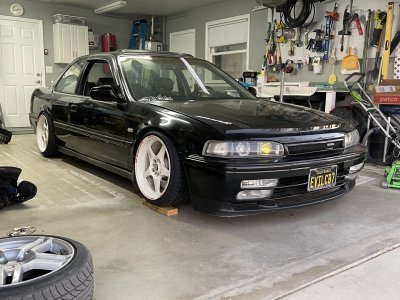
So after passing the hardest test(So people claim, which I hope they are right because it sucked) in this phase of flight school, I decided to give the cb some love.(hopefully I don't regret it)
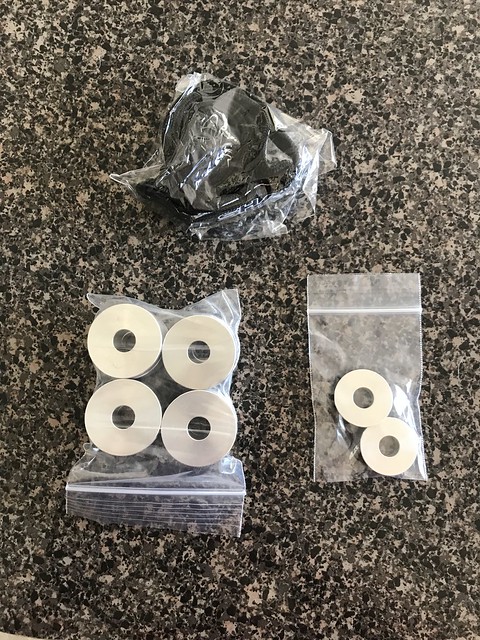
So first thing I did was replace all the tired bushings in the shifter assembly with SpaySpec billet bushings for the assembly base and the shifter cable linkage. It is going to take me a bit to get use to not having all the movement. But I do like his product, wish he offered more.
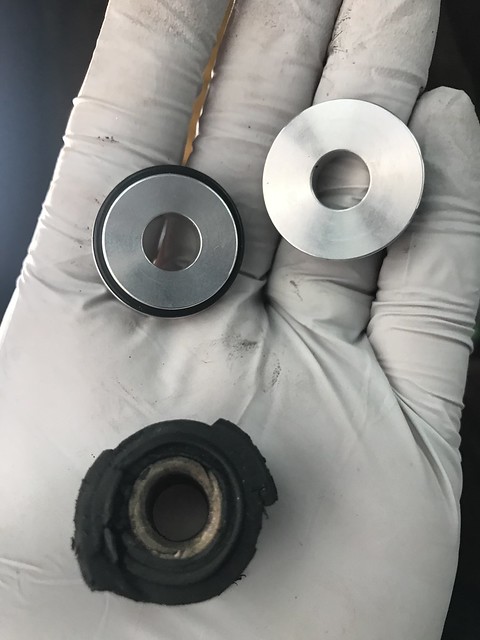
Old Bushing vs new:
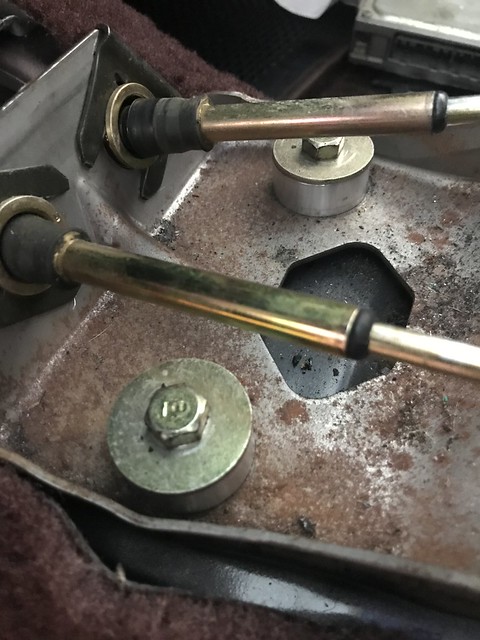
DIY Short shifter and solid Bushing:
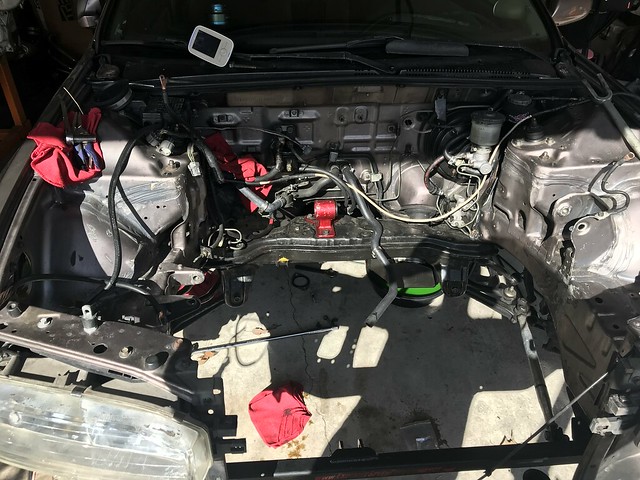
Now for the fun updates: Finally pulled the H22a out of the bay, I took video of the process, hence why there aren't really any pictures:
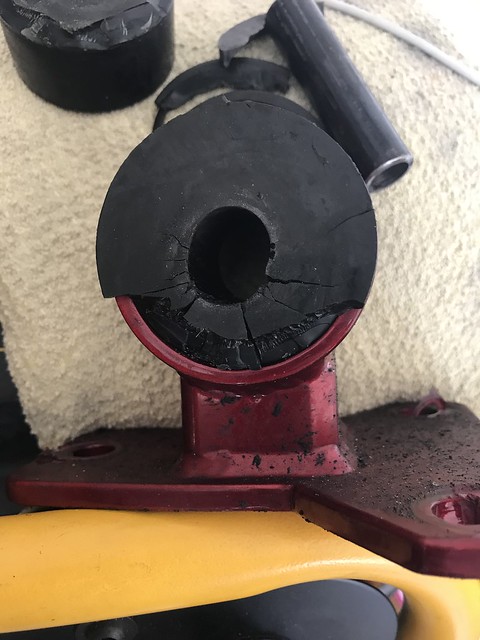
With the engine out I found my ESP rear mount Poly destroyed. Jon's welding skills are awesome, but the poly he chose to incorporate did not hold up. There was maybe 1000 miles put on that mount. I will try way way down the road to fill these mount with the DIY poly I used, but for now they will be paper weights.
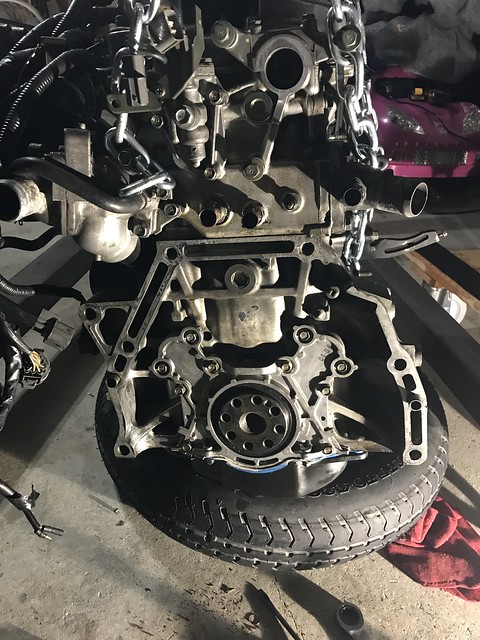
Once my daughter went to bed for the night, I went back out in the garage to start swapping parts over to the f22a1/6 block:
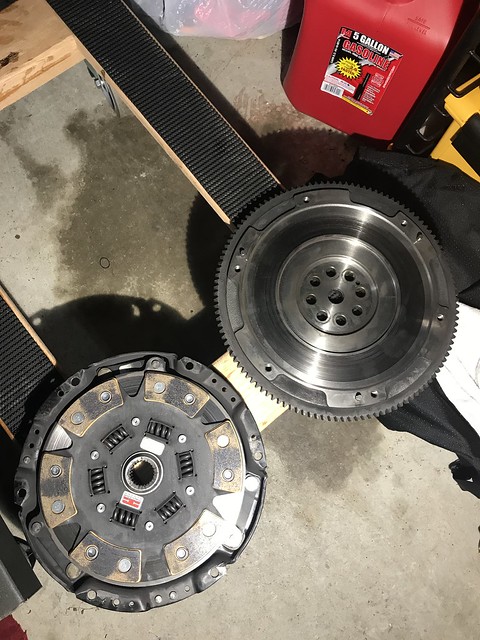
Removed the transmission, flywheel, clutch from h22(If you look in the back corner you can see my other car
Clutch, flywheel, and pressure plate all look good:
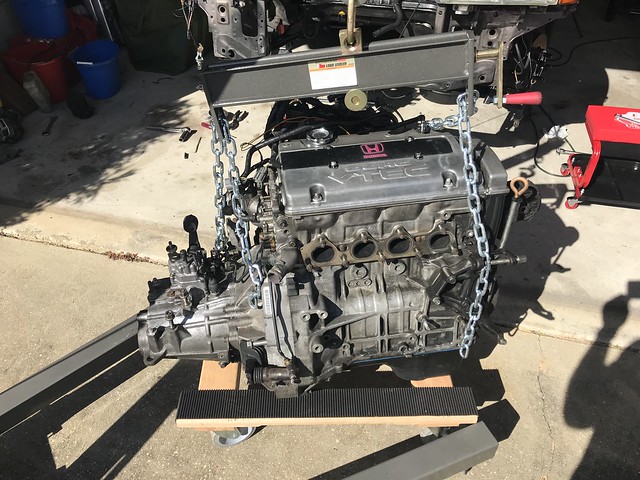
Then it was time to mate it all back up to the f22a. I went ahead and replaced the throw out bearing, even though the last one was perfectly fine. I had a spare brand new one laying around:
Where I stopped for the night, H22 is on the engine stand and F22 is on a dolly waiting to be finished getting fitted with all the goodies:
So Sunday I decided I wanted to get the engine into the car before I don't touch it again for another 2 weeks: (I videoed this as well hence why there aren't any pictures of the install process)
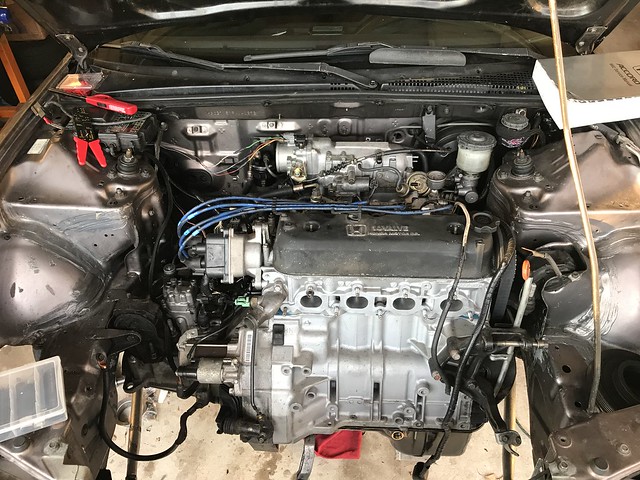
So I still have a laundry list of things I need to do, but the f22 is mounted inside the engine bay, wire harness all hooked up(minus IAT sensor, need to buy a new one), map sensor wired up (still have to do a continuity check to ensure I wired it properly). Fuel lines hooked up, 70mm TB installed. Right now I left the IAB valves installed because I haven't decided if I want to run them or not.
I know the engine looks clean and everything else looks dirty as hell, I will address this once the motor is running and tuned, as that is my number 1 priority right now. Just like after I get it running the valve cover will be sent off to get Powder coated.
Anyways getting excited to hear this thing start up in the near future, my goal is mid March as I will be have completed this phase of flight training.
True. But yanking the motor isn’t too difficult I could pull it in a couple hours. Whenever I get bodywork and paintvill probably pull it.
I am excited to start putting the turbo components on though I know intercooler piping is either going to go smoothly or be a big Pita. I got treadstones kit for our car. So hopefully it’s not too bad.
Looks great! How does the gasket line up to your manifold and to the exhaust housing? If not to much trouble maybe a picture of the gasket laying on them?
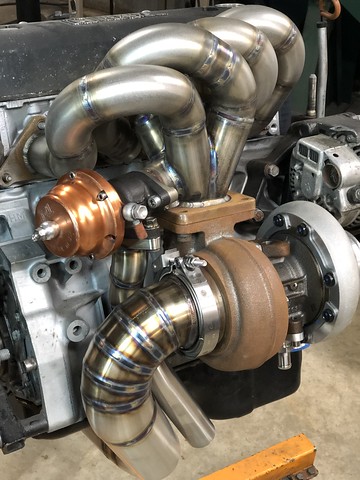
So got some more work done on the Accord the last couple days. Installed the manifold, turbo, turbo oil feed line, as well as wired up the Omnipower MAF sensor. Hopefully I did this correctly, I followed GhostAccord's guide, so we shall see on start up.
In this picture you can see the ceramic coating on the turbine housing.
However as with the theme of this build, 2 steps forward one step back. So when I installed the manifold I noticed it sat rather high. Decided to close the hood to ensure it cleared and of course it didn't. So Blake and I didn't account for the engine being canted aft. It sits about an 1" to high.
I tried raising the back of the hood to see if it would clear and it didn't. So after talking to Blake, he is going to modify the manifold it sit lower, however he wants the car to ensure it clears. So I am going to finish putting together everything except the hot side of the intercooler piping.
We will then trailor it to his shop and he will work his magic.
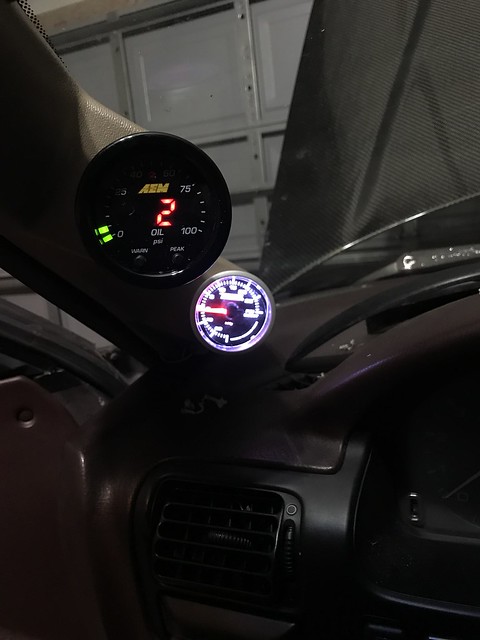
I also wired up the AEM Oil pressure gauge, I have the option to set a warn and a peak. The service manual says 10psi at warm idle and 50 min at 3000 rpm. So I am planning on setting the warning to 30 psi and 90 psi. My only time I am worried about the oil pressure is during WOT to really "warn" me.
I got 2 weeks left this portion of the flight training so hopefully I can finish putting everything together and drop the car off the end of February.


Comment