
Originally posted by fleetw00d
View Post
-
That is true, lol when I removed the quarter glass I was confused on how it all worked. If they are discontinued then I may go back to the Jy and grab them off the only coupe they had there. -
The gasket is not a separate part number from the trim. If you want to seal the holes, just use a piece of thin self adhesive weatherstrip at each hole. I have a roll I use for things like the gaskets on the lower rear windshield trim clips - the original seals are one of the major causes of trunk leaks.Originally posted by Grumpys93 View Post
The things you really have to worry about when removing the quarter windows is the hinge nuts. The plastic holder many times is brittle and cracked and falls into the pillar when you remove the screw. It is a funky setup and no longer available from Honda (I bought all a I could a year or so ago) by contacting individual dealers that still had some in stock.Last edited by Fleetw00d; 11-19-2018, 12:42 AM.Leave a comment:
-
Come join the party! I'll have a nice 6 pack waiting for you!Originally posted by Raf99 View Post
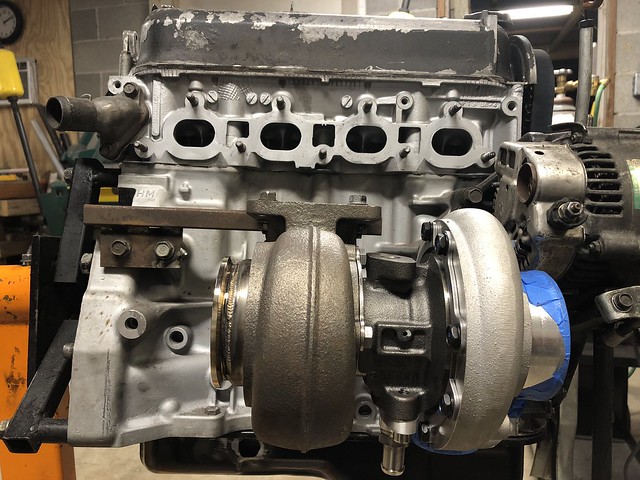
That manifold looks very similar to my old manifold except your wastegate is faced at a different angle. I kept going back and forth between upgrading to a 44m or keeping the 38. In the end I decided I already have the 38 so lets roll with it and if I need to upgrade later on, it shouldn't be too much trouble to have Blake cut the 2 bolt flange off and weld a v-band on there.
As for the chrome trim, it was surprisingly easy at least for the coupe and rear quarter window. I didn't try the door as that trim is still in good condition. But there were only 3 beefy clips holding the lower trim in and then the top was nothing but screws.
I do need to find the part number for the gasket that goes underneath the top chrome trim as mine is hard and I'm sure if I were to get caught in the rain it may leak. So if anyone has the part number please feel free to share *cough Paul aka part number guru cough*
Blake got some more work done on my build, ya'll should check out his Instagram he has some pretty cool projects going. (I don't have IG so I don't know how it works I just look at pics lol)
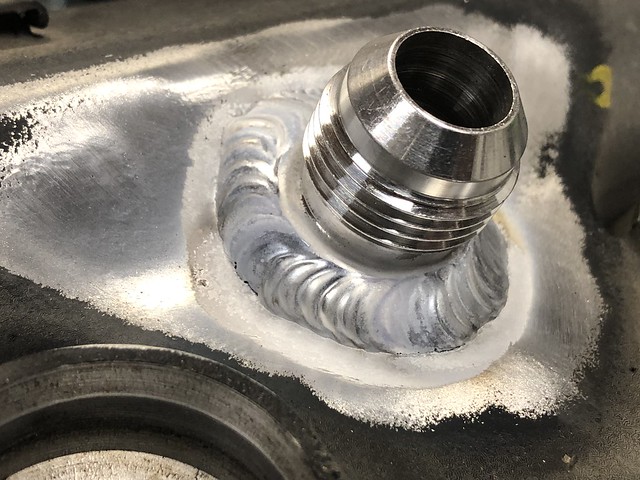
Crankcase ventilation bungs welded into valve cover, this seemed to be the best spot to put them where they were behind the baffle and wouldn't interfere with the hood or require to add baffles to the VC:
Tacked in place:

Welded in:

Once again beautiful welds:
 Last edited by Grumpys93; 11-16-2018, 12:50 AM.
Leave a comment:
-
Man, i want to be part of this build more than online haha. Anywho, where ya going to mount the catch can?
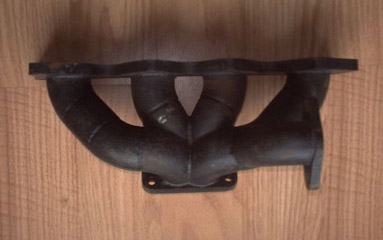
I always had this 'Race Hard' (company) cast iron manifold that I was going to use in the beginning. Believe it's H22, bottom mount, 38mm WG. Eventually I decided to go 44mm and changed manifolds.
..... and I have to change my chrome too. I have the pieces, but never done it prior. I know they have never been removed prior. But guess it doesn't matter if i break clips as I'm not putting dented silver back on...Leave a comment:
-
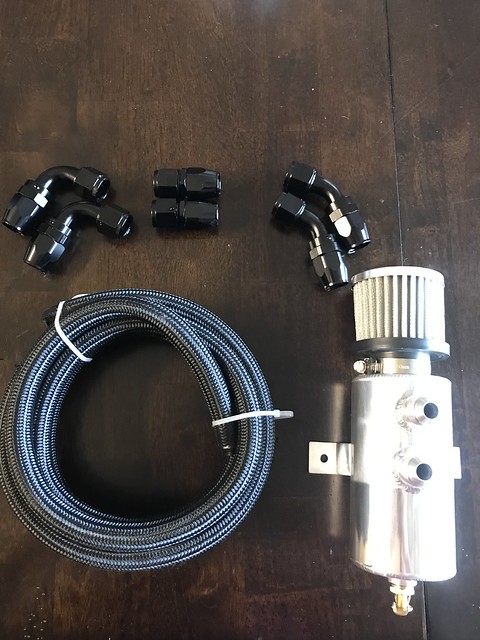
Received all the parts for my oil catch can today:
Nothing to fancy just a catch can and some an fittings
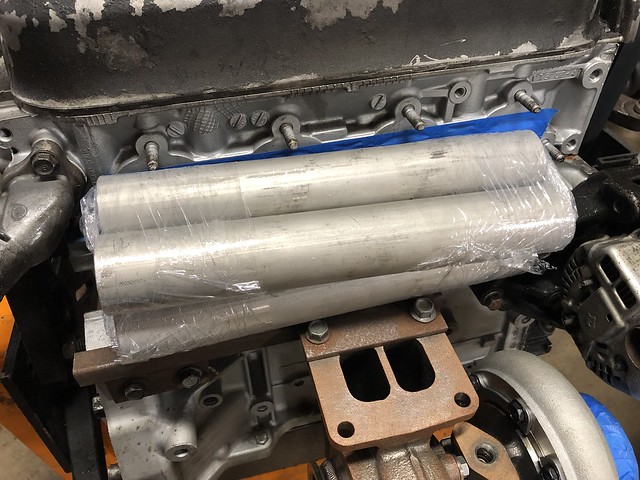
Then Blake received the straight pipes to start building the collector for the manifold now we are just waiting on the head flange so he can start building the manifold:
Leave a comment:
-
So nothing to exciting to update on here. So both Blake and I scoured the internet looking for an f22a/h23 etc... flange so he can build the manifold and we find not to my surprise that they no longer exist. So he had to get one custom made from his machinist. But to save some money he took the measurements and created a proof that he sent out so that should cut down on the machining costs:


He seriously is a jack of all trades.
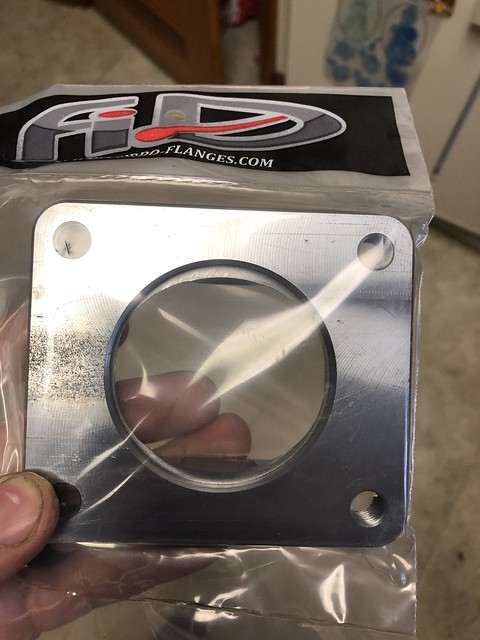
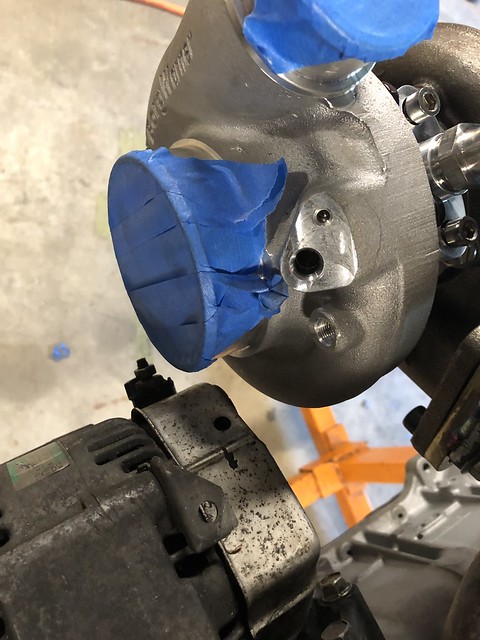
He also received the turbo flange in the mail today so we received at least one piece of the puzzle. Looks like a solid piece:

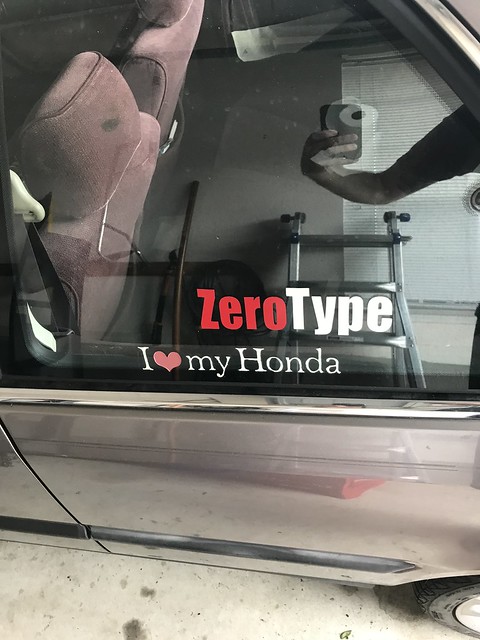
Then today I was antsy to do something to the accord so I decided to replace the chrome trim under the back quarter window, since hail and other things decided they needed to be dented. It was surprisingly an easy install and was nervous about breaking tabs. But thankfully I didn't bust any.
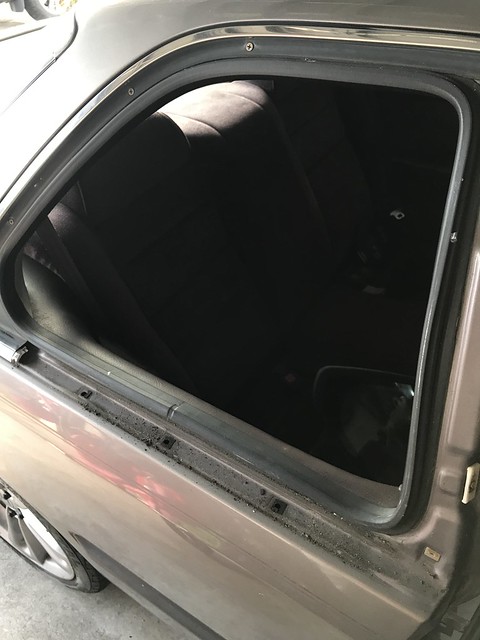
Bottom chrome trim is the old dented one, one installed is new:


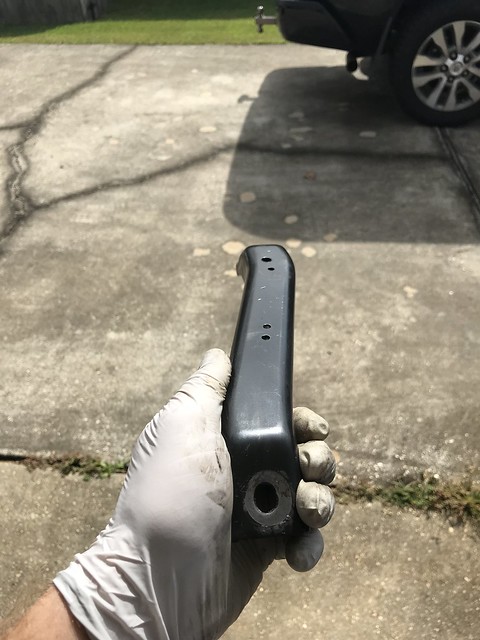
Then just out of boredom I removed the riveted wire holders on the intake manifold brace and cleaned it up. It's one less thing to catch my hand when I feel for leaks back there.

 Last edited by Grumpys93; 11-06-2018, 12:05 AM.
Leave a comment:
-
I will be running the 38mm as I am only running a 57 trim turbo so I don’t think it will exceed the amount of exhaust I need the WG to expel at 20psi or whatever low boost I run during a cruise. I plan to replace the diaphragm in the WG as it is pinched on one side.Originally posted by Raf99 View Post
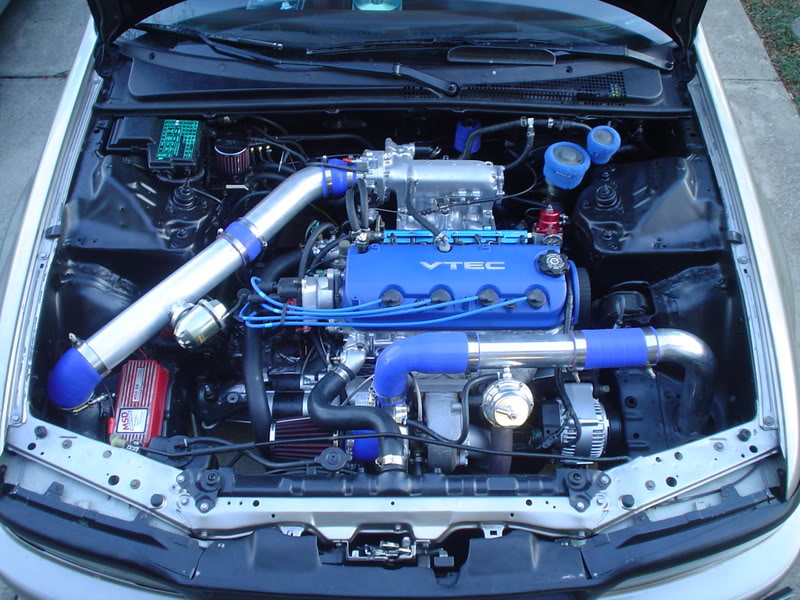
As for the manifold Blake hasn’t designed it yet. But we both agreed that it would be a bottom mount turbo and probably equal length runners. If you go to his website it may look something like his H22 bottom mount mani.
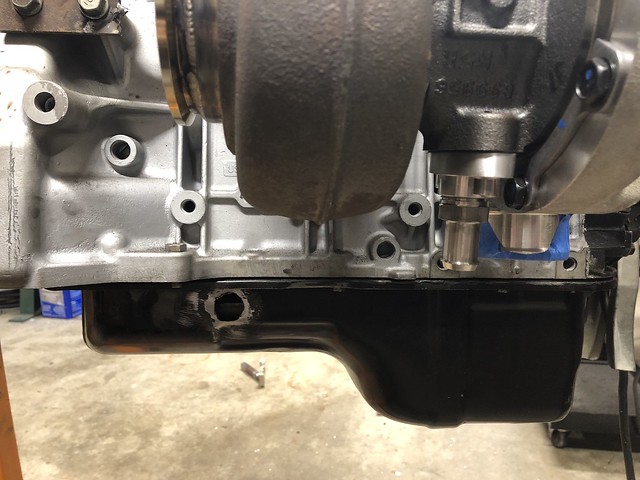
For the oil pan, the angle that it would have to drain isnt optimal and could cause some residual oil to stay in the line. Plus my current oil pan has a decent size dent in it. So I want to go ahead and replace it. Trying to do everything right this time around.Last edited by Grumpys93; 11-01-2018, 08:59 PM.Leave a comment:
-
Ya, see what you mean. What size WG are you using? 38mm or 44mm?
Are you just looking for a log manifold or something fancy?
& for your oil drain just use a flexible hose.Leave a comment:
-
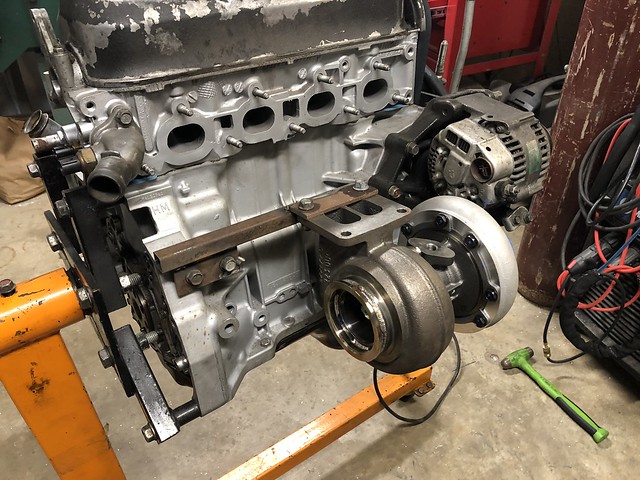
This is all true, I brought up cutting the WG and flipping the turbo to blake, when he flipped the turbo it ended up sticking out too far. Here is a comparison picture of how far it sticks out of we were to flip it:Originally posted by Raf99 View Post
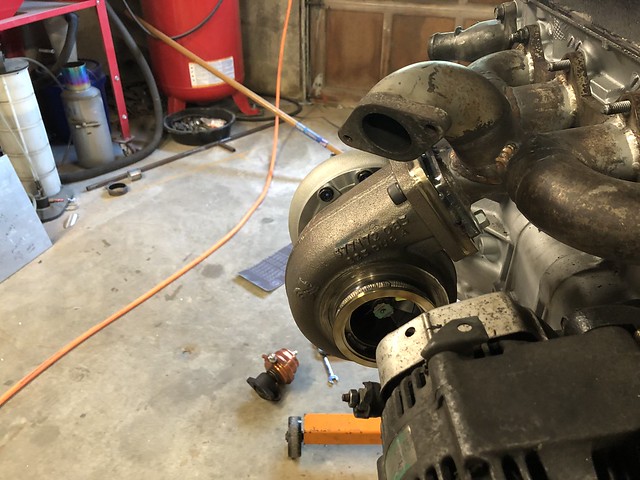

We could possibly make it work, but with how many times I've had that manifold repaired, it would likely crack again and to reposition the WG would just have added more money to a mani I was eventually going to get rid of.
So after sitting on it for a day I decided to pull the trigger and have Blake make a custom manifold for me. With that said he is looking to see if anyone else is interested since he has to create a jig for mine. So PM me if you are interested with details. He can change the turbo flange to which ever you prefer.
I now have to go get a new to me oil pan from the junkyard since my old drain line hole wont line up with the new manifold. There is 1 accord in the junkyard hopefully they didn't pull the motor. I'll find out on Friday when I go.
Leave a comment:
-
So before my turbo I saved up a ton of cb7 turbo pics. Months of saving up, I'm sure you have some? Only a few where the exhaust is on the right. Too bad you couldn't cut the pipe going to the WG, angle it so it's not in the way. The pics I have show folks going over top of the whole unit to have the cool side go down the driver side. But then you have the exhaust pipe near the ALT and not matching up with the oil pan cutout. Or both pipes going down the passenger side and this maze of piping to the intercooler and back. Gets messy and air doesn't flow as well.Originally posted by Grumpys93 View Post


For my oil pressure gauge I bought this cheap ebay thing. It's not accurate and doesn't have to be. I just need to know I have some form of oil pressure
https://www.ebay.com/itm/2-52mm-Black-Car-Truck-Digital-Blue-LED-Oil-Press-Pressure-LED-Gauge-Kit-Dragon/323520149321?epid=2240245181&hash=item4b534db749:g :~k4AAOSwhrFb0~L5:rk:1 f:1&frcectupt=true
Last edited by Raf99; 10-27-2018, 02:39 PM.
f:1&frcectupt=true
Last edited by Raf99; 10-27-2018, 02:39 PM.Leave a comment:
-
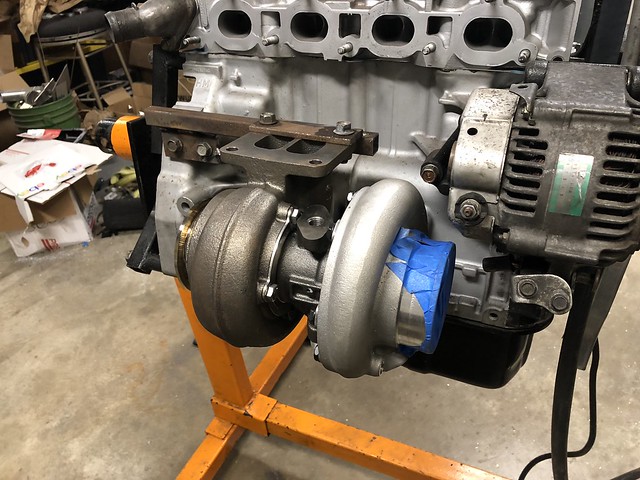
Ya I have to have the exhaust go to the right because of how this manifold is set up the compressor is too big and hits the wastegate. My plans are to eventually get a custom bottom mount manifold that puts the compressor under the alternator, but for now this will work.Originally posted by Raf99 View Post
As for the piping I have the cold side planned out, but I won't be able to do the hot side until I have the motor in the car. I am more then likely going to have to run the hot side in front of the compressor inbetween the radiator and the turbo. I may have to tuck the radiator but I am trying to avoid that to save money.
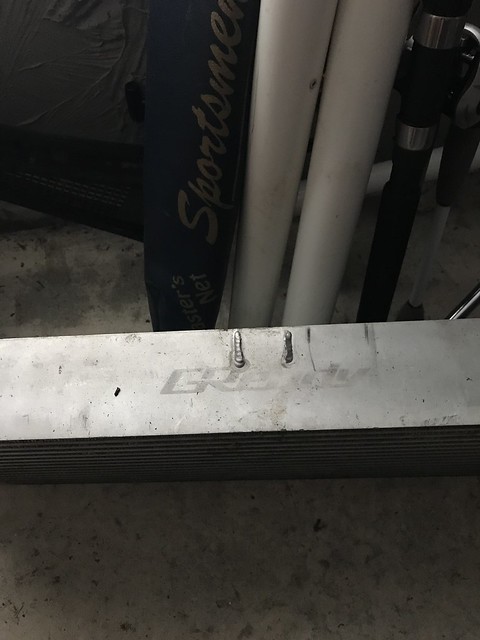
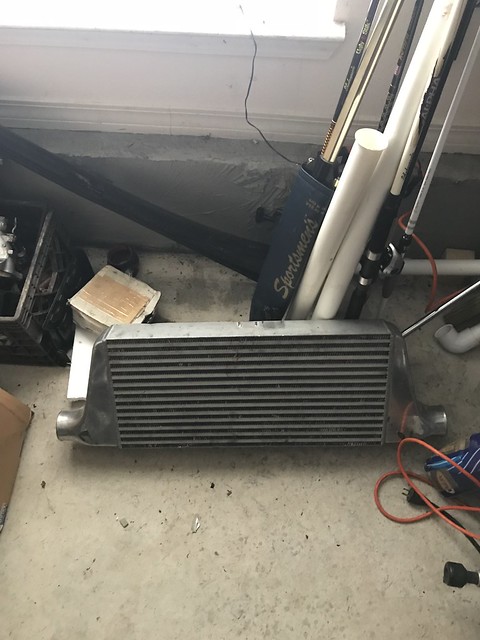
As for the intercooler I will be running a greddy FMIC It's massive, but I got it for $75.00 so I couldn't turn down the offer. I will have to have Blake weld up the top mounting bracket, but other then that its golden
I am running 3" right now, which I plan to keep, I was going to also run an exhaust cut out, but after reviewing how often they fail because of carbon build up I decided to not go that route. Plus it saves money. Raf what oil pressure gauge are you running?Last edited by Grumpys93; 11-22-2018, 02:21 AM.Leave a comment:
-
I would love some solid information on breaking in a fresh build myself. Trying to search the internet brings up all sorts of polar-opposite theories, from babying it to wringing the snot out of it. Especially when people put brand new engines straight on the dyno for tuning, I'm just confused.Leave a comment:
-
OOOhh, this type of break in. Ignore my PM man. I didn't go to this extent but I agree with what you had above. I used break in oil. I shut off fuel and spark and let the engine prime itself, get oil through the valleys, etc. Then started it and just went easy on it. I didn't drive it everyday so I prematurely changed the oil after a while ... (... 300-500 miles) to full synthetic and that was it. Once full synthetic I was driving around normally.
Loving the progress! Looks great. I wish I could weld like that! Sorry I haven't been in here for a while. Interesting setup with bottom mount & exhaust on the right. Is the piping planned out? what intercooler, 3" exhaust ?Leave a comment:
Leave a comment: