
Originally posted by H311RA151N
View Post

I have the black box for the IABs, and the PT6 ECU. I have to read up more on wiring it to work, with the vacuum port trick as a back up.
I had my f22a6 runners sitting outside for a few seasons (covered in plastic) and showing some oxidation. Would you trust it to put it on your car, after a clean up like you did?
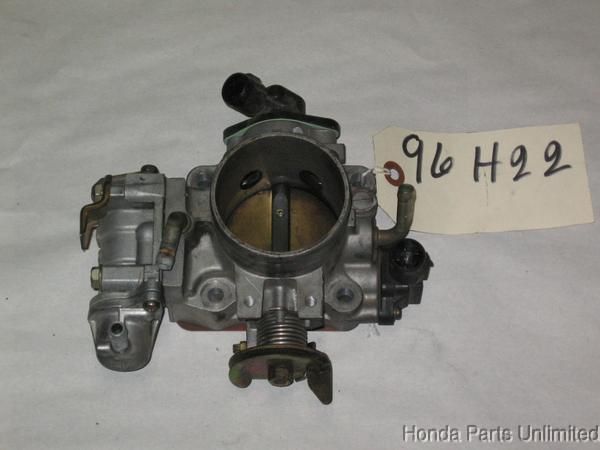
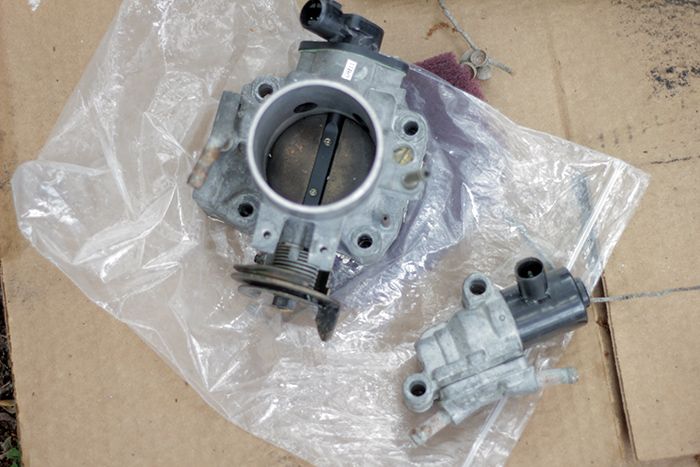
Oh the valve I was talking about is the fast idle valve under the throttle body, I heard it could be blocked off, but would cause low idle warm ups
also did you transfer the throttle cable bracket from the f22 to the H plenum? I heard there are problems with adjusting the H one once installed.


 I like the progress you've made on it


Comment