If this is your first visit, be sure to
check out the FAQ by clicking the
link above. You may have to register
before you can post: click the register link above to proceed. To start viewing messages,
select the forum that you want to visit from the selection below.
That’s really good for 8,9,10 years. I am currently running into a random lean issue. I think it’s the wideband going out as I haven’t changed anything.
i don’t know if they sell only rings anymore. I know if you have a 50mm crank, main bearings are becoming very hard to find.
I placed an order about a year and half ago for the h that I am building and I literally waited a year for them to ship. These are king bearings as well I ordered through summit.
Actually...the more I think about this. Besides $3000 port and polish etc I really just need bearings, piston ring set. And head stuff... springs cams... maybe a shop to give her a shave.
I'm assuming I can just order honda H22 rings? I know the block was sleeved.
Actually the serial number on the piston top is H22220425I07.
This means that the pistons are Mahle.
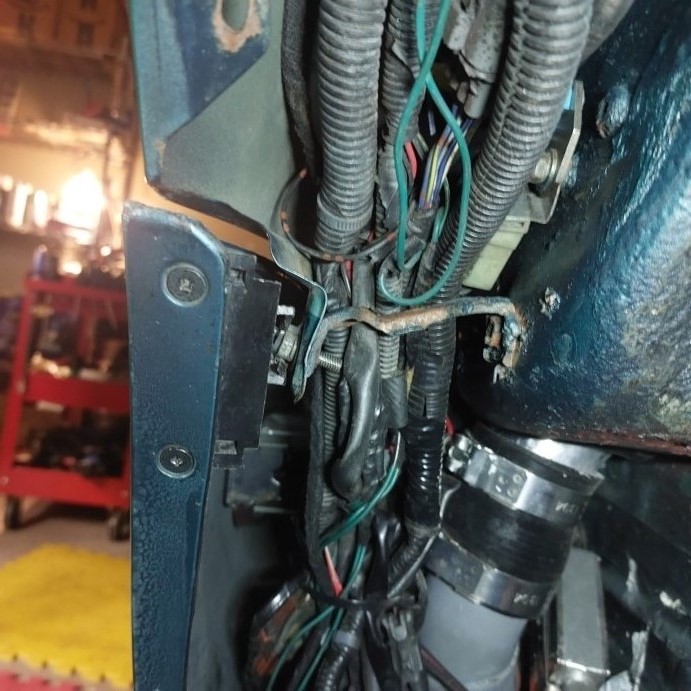
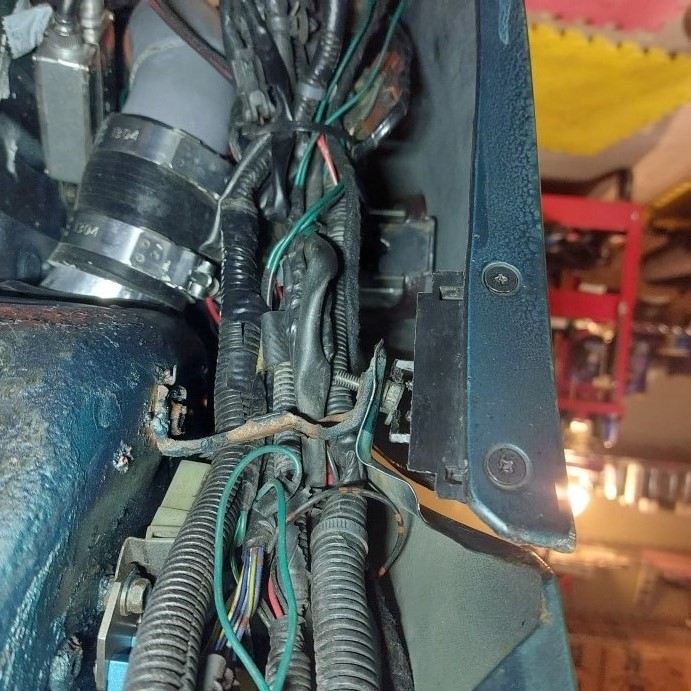
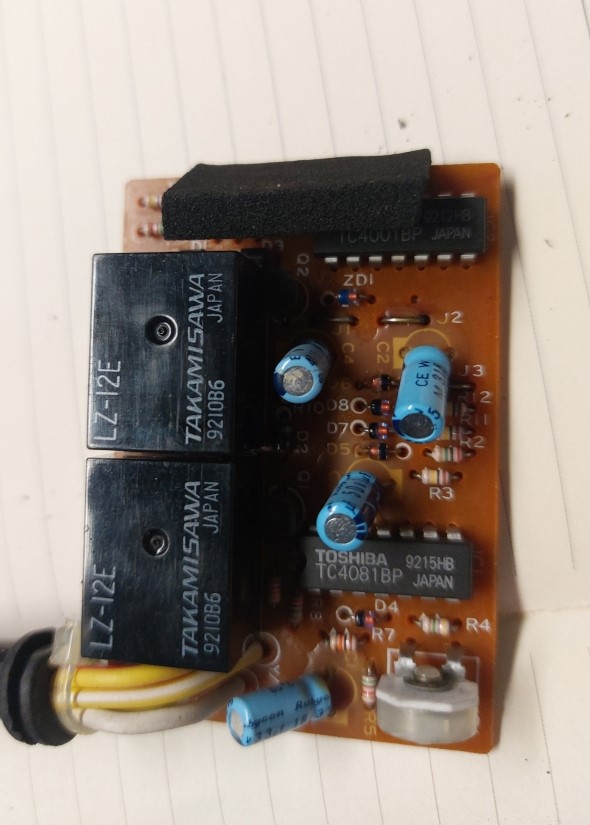
I was troubleshooting the bumper pole not working for a few weeks now and ...dam... I dunno. I'm thinking relay but the relay isn't a normal relay. It's more of a control module box that has IC on it etc. But... the pole works when I give it power. & ... even if I muck up the 3 power wires it has in the fuse box they are all hot with lights on / ebrake off / car on. Soo.... I think relay. But can't really jump a 6-pin relay for power... & haven't found a reliable diagram to show me the wiring. I'm thinking of buying a .... power probe thing which may help me out. vs. blowing fuses :P According to what i can see there is one harness / relay available online in the world and it costs $300USD.
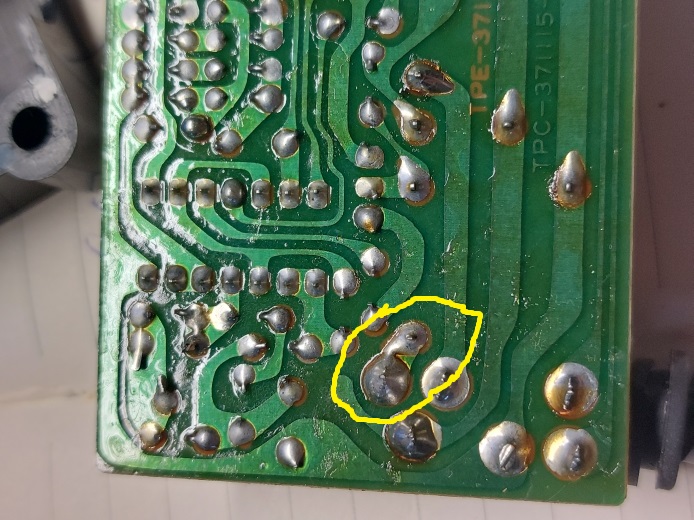
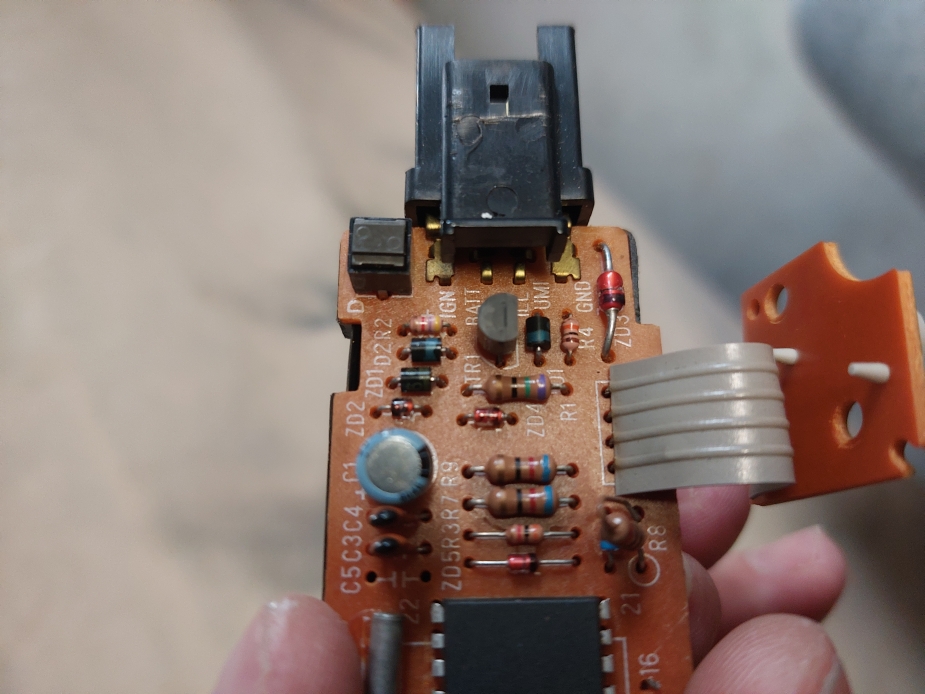
Questionable welds... this would connect a power wire to the relay on the PCB... should this weld be a weld? Anyone have one of these things to tell me ?
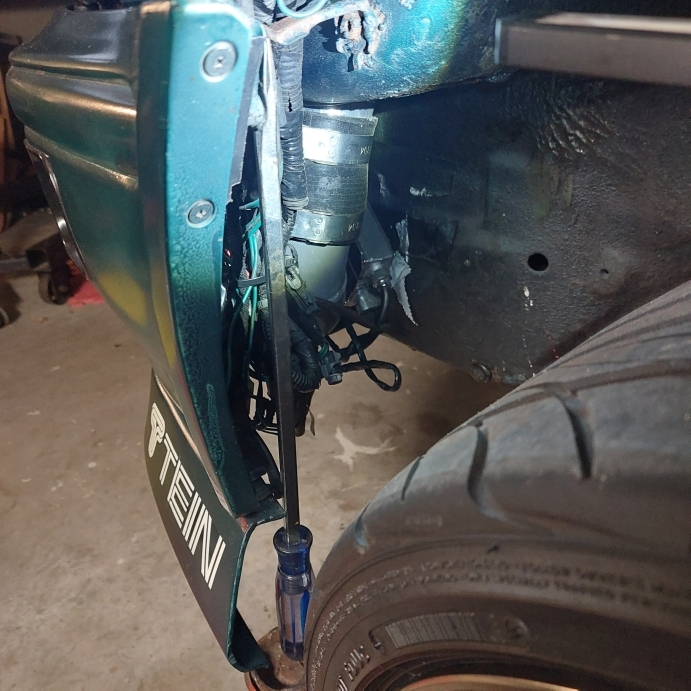
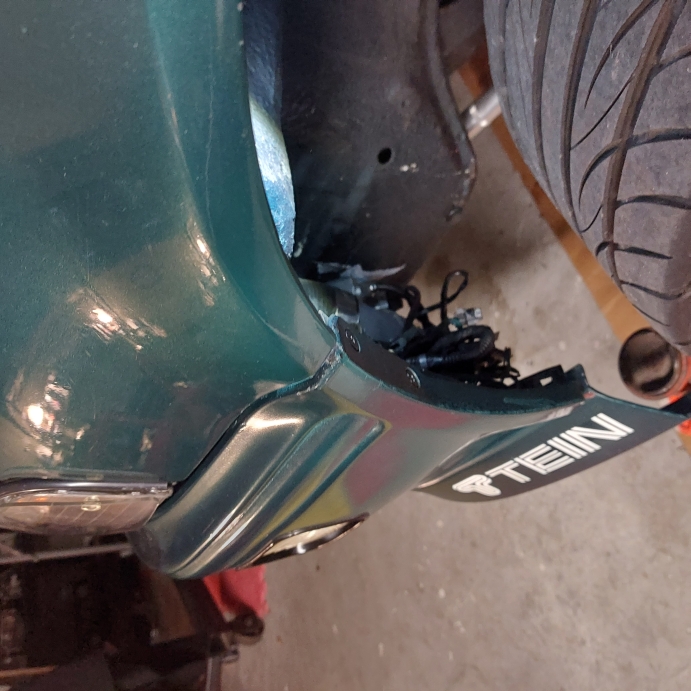
Well....I'd say Sally is pretty much dying to be repaired now haha. Took her out for a last run yesterday. Was a bit too hard on her and now she has some more symptoms. (and... lost a mudflap and inner fender plastic guard while going far too fast. Went back to get them, the mudflap is ok, the guard is toast. ) Some different sounds in the engine... , at 3000rpm she's super rich. Like... an exhaust bolt broke for example. But meh.... I was ripping through an intersection in 2nd on redline and missed 3rd. Ohhh 3rd gear isn't happy now either. And..... let's be honest. This is 400HP for the past ... 8-9-10 years? Ripping on it every time I take her out. & the head was never built. So... 30 year old OEM / head on 400HP. Enough said. Was super fun to to this project! Expected this to happen one day.
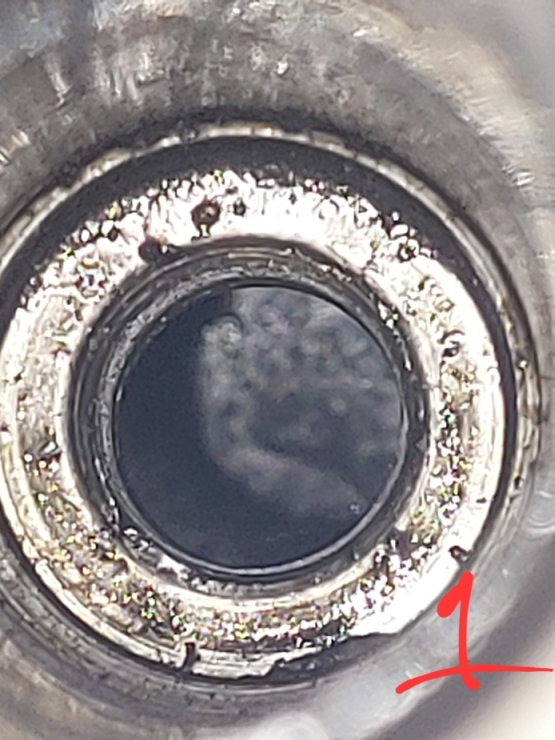
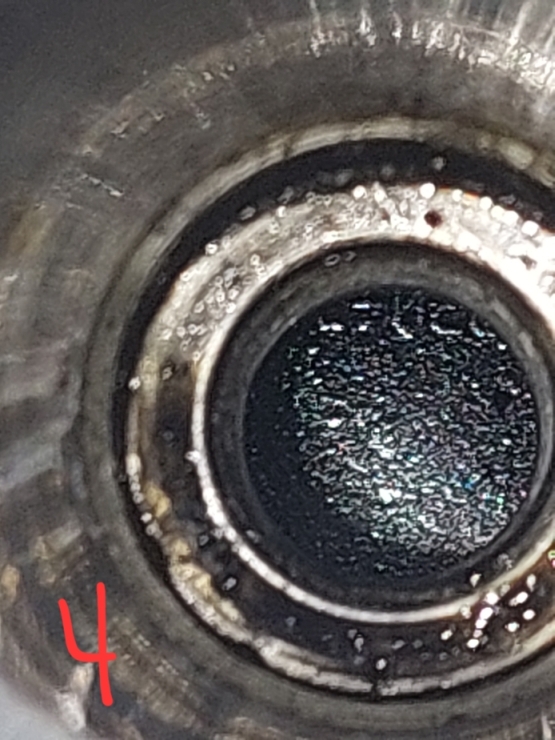
Sooo.... not sure what her issue is now but doesn't matter. Need to rip in to this thing and do the rings (which I have never done). .... Even with cell phone pics the writing is on the wall (inside and outside 3 & 4 )...
#1 & #2 - clean.. silver piston tops / can read the serial numbers, clean-ish outside.
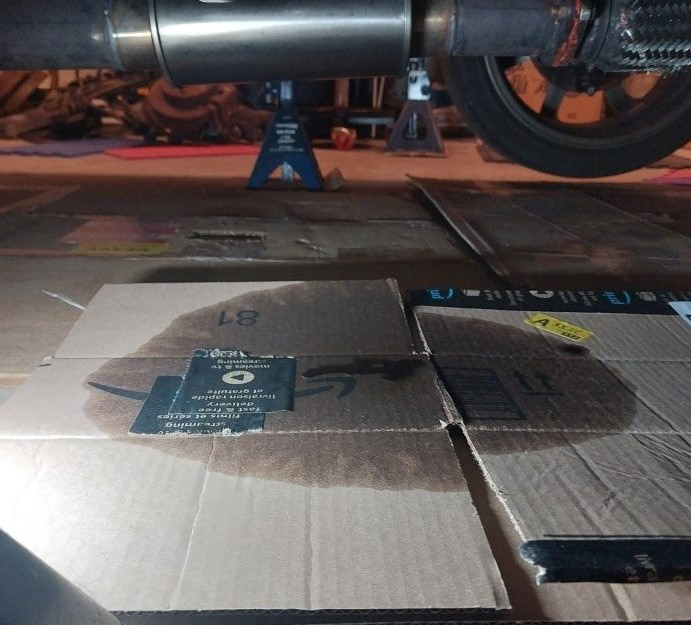
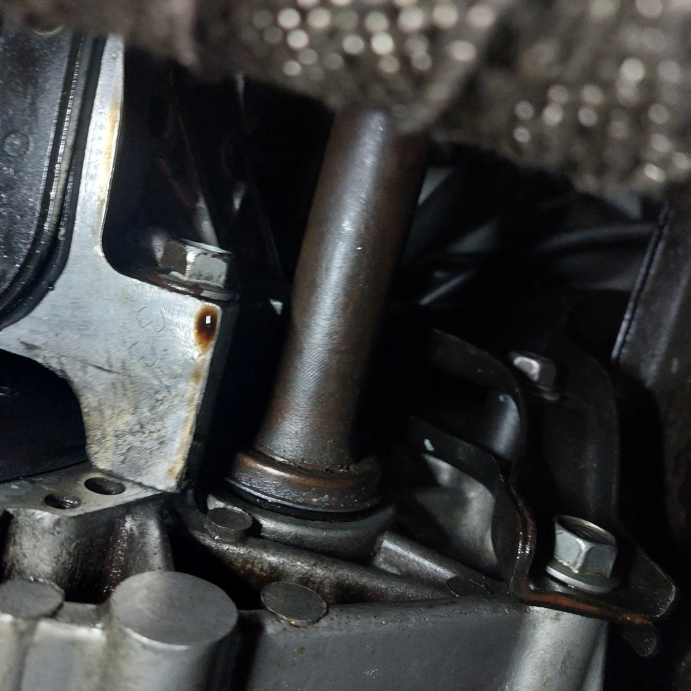
#3 & #4 - oil dying to escape. Everywhere! forced up the threads. Absolute mess...
Down the engine side of #3 & #4 oil seeping out through the valve cover in a spray / mist / on the fuel rail, etc. The catch can filling up on every outing! Obvious #3 & #4 rings are packed with junk and need to be replaced. Also... probably worn.
And the head needs to be built! So.... new rings (& bearings), built head needed, ... just debating how much I want to do on my own here. Tempted to try it all on my own.
Oh ya... we are now in the realm of "let's make a reliable turbo H22 with used parts". (car = old = parts = old / used). IE: pretty sure cams don't have bearings and the worn part of the head = not worth fixing?
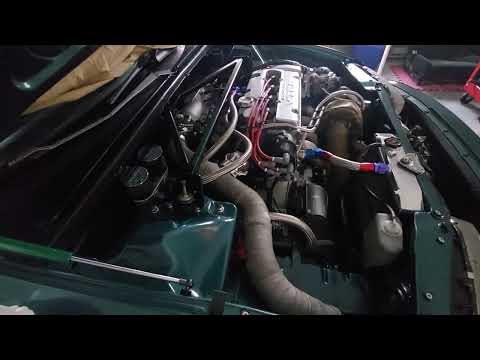
See if your ear can pick up the.... 5 tick...sound but skips a tick, then 5. There are many sounds that shouldn't be here now... haha
What's behind the name change for the CB? What prompted the sale of the Audi?
Never did like the name, an ex-girlfriend came up with it and she knew nothing about cars. (and that Sally is a reference to mustangs; Mustang Sally).
I may just call her cb7 or "the cb7" from now on. Tried to think of another name but... nothing comes to mind.
Ahh the Audi. Where to begin. I guess if money was not an object I would keep it and mod it. But the plan was to sell the Audi to pay off most of the Acura. Money is also needed on the cb7 and other things. But it's an expensive daily driver and now has 111,000km (69,000miles) and from what I've seen so far I don't want to be the one to take it to 200K. Not with the numerous electrical issues, idle / engine issues, and drive-train issues. Still have idle hesitations but no-one knows why.... sigh. The Quattro is amazing in the snow, but we don't get that much snow here now and the salt on the roads will kill cars. It's one of the last manuals which is cool but only a turbo 4cylinder (252hp), I'd trade it for an S4 V8 auto in a heart-beat. &.... I have 3 cars now which I guess is too many. It's a shame to see it go as I do love the car. Amazing in every way to be honest. Going from the Acura to this car is ..... hard to put in to words. Like going from a Ford to Audi (german engineering shows) everything is so much better & the technology in it rocks! Oh & finally the dealership here is a joke, the worst I've ever seen (takes more than a month to get in, no support, have dented scratched the car twice now, argumentative...). If I don't sell it, it will stay a weekend driver and I'll keep it. I once had a thought of selling the cb7 and modifying the Audi to the max but can't do that to the cb7
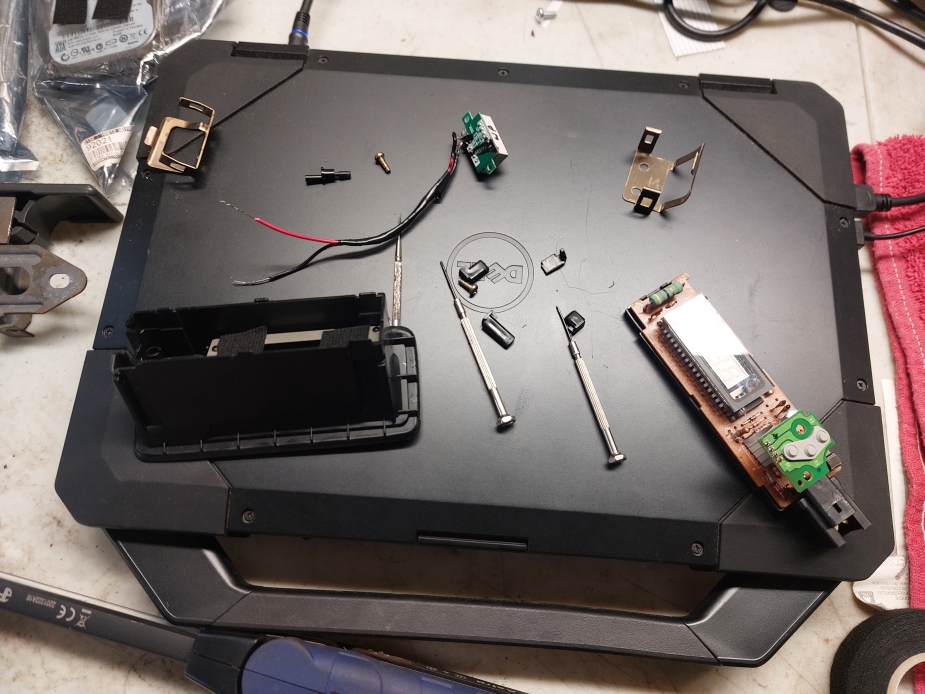
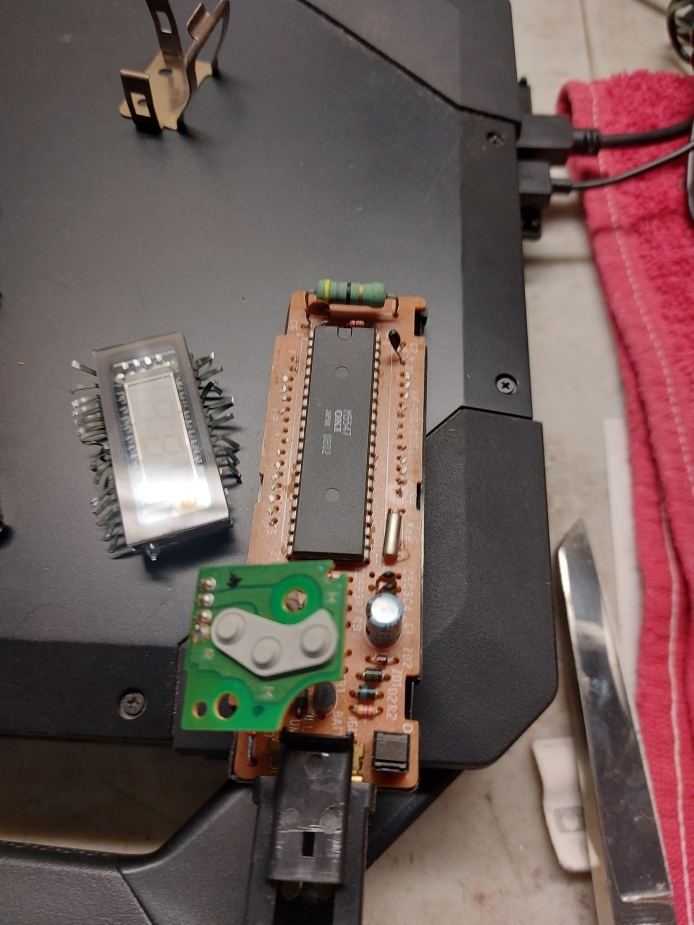
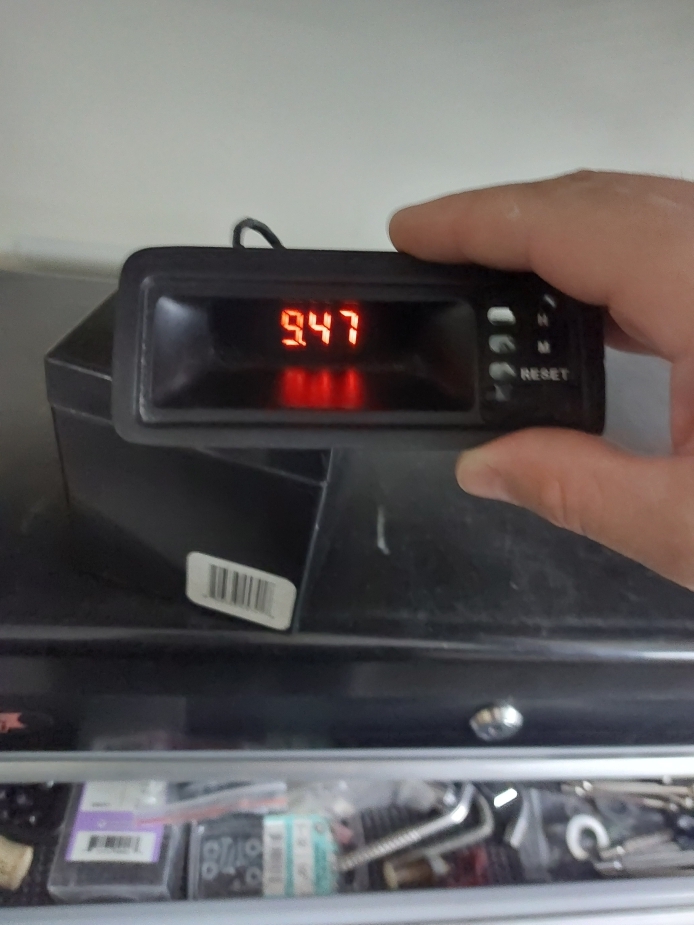
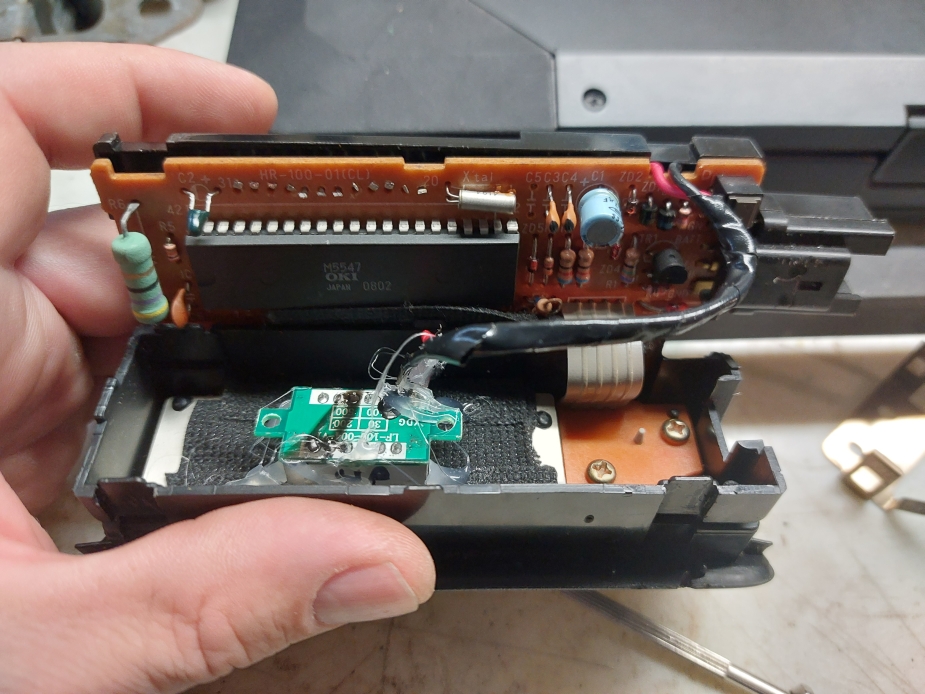
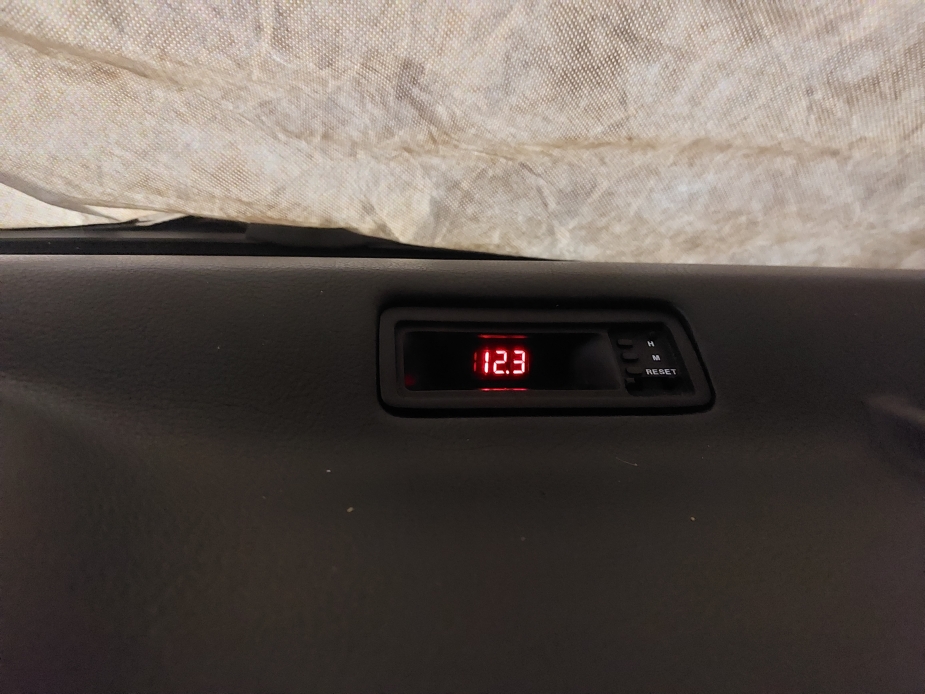
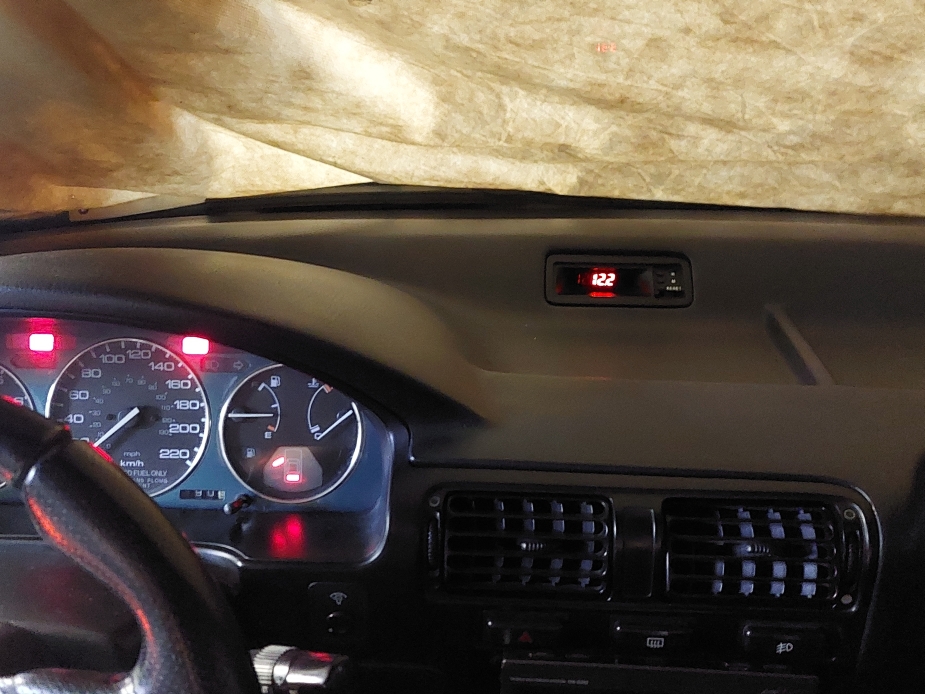
Well we are home sick this week with a cold, and sick of sleeping and resting so I always wanted to do that volt meter in the clock thing. And where I had my volt meter got taken up by the JDM fog light button + my clock always gets reset when I disconnect the battery. So I had a spare clock and the volt meter thing, so let's do it. There is a write-up on cb7 for this but once I started looking at it I realized I could make this work no problem without running and additional wire somewhere else.....
Got the parts....
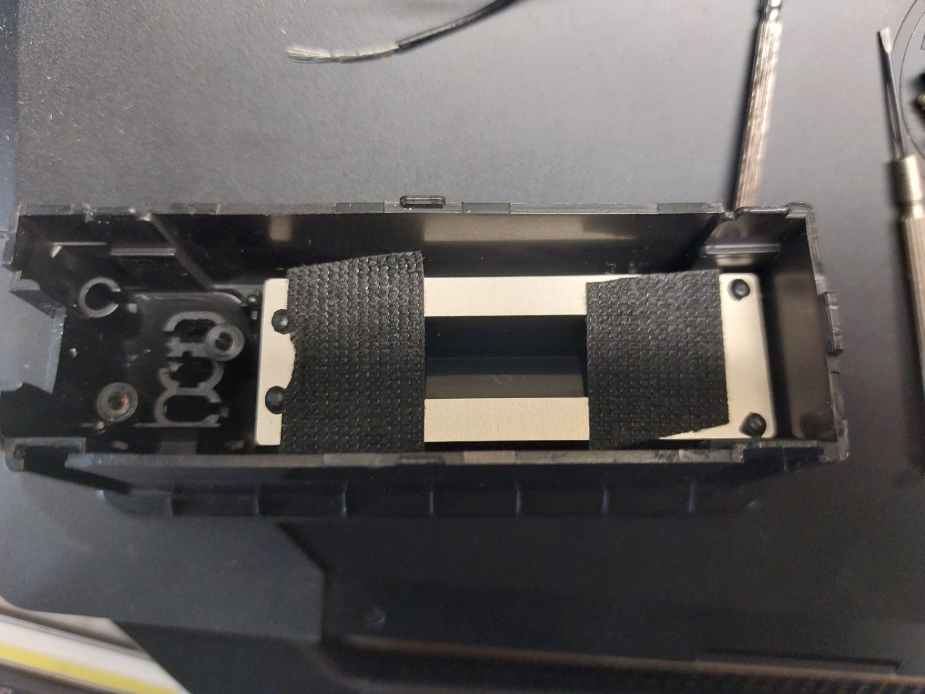
We are just going to sandwich the volt meter against the glass, the same way the clock does.
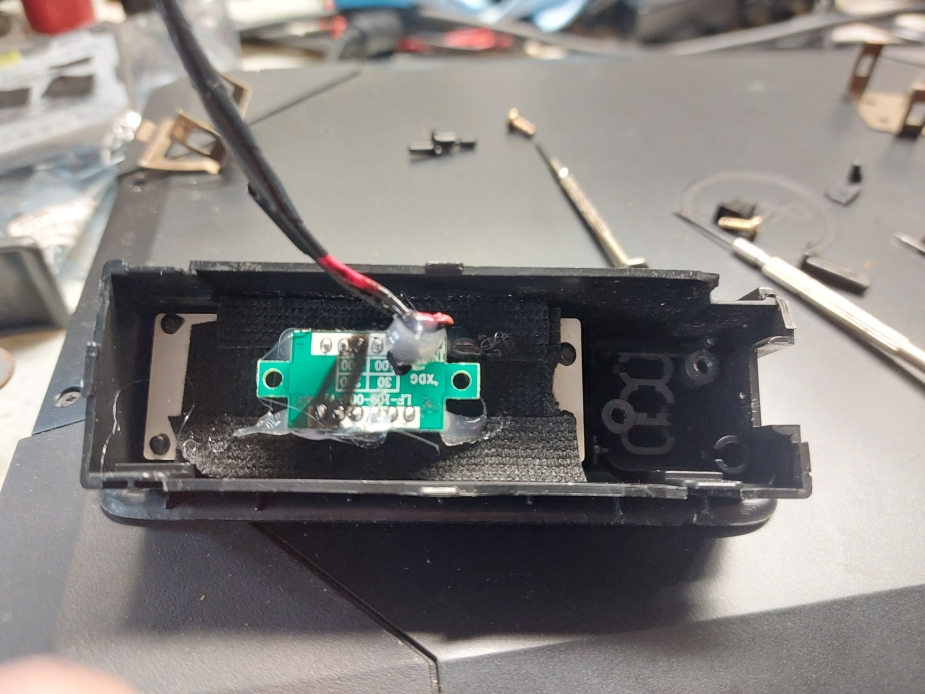
Use fabric tape around the unit, and this also gives the glue something to stick to. It will be sandwiched in here anyways....
No easy way to do this I guess.... so let's just cut the clock out and see what happens.
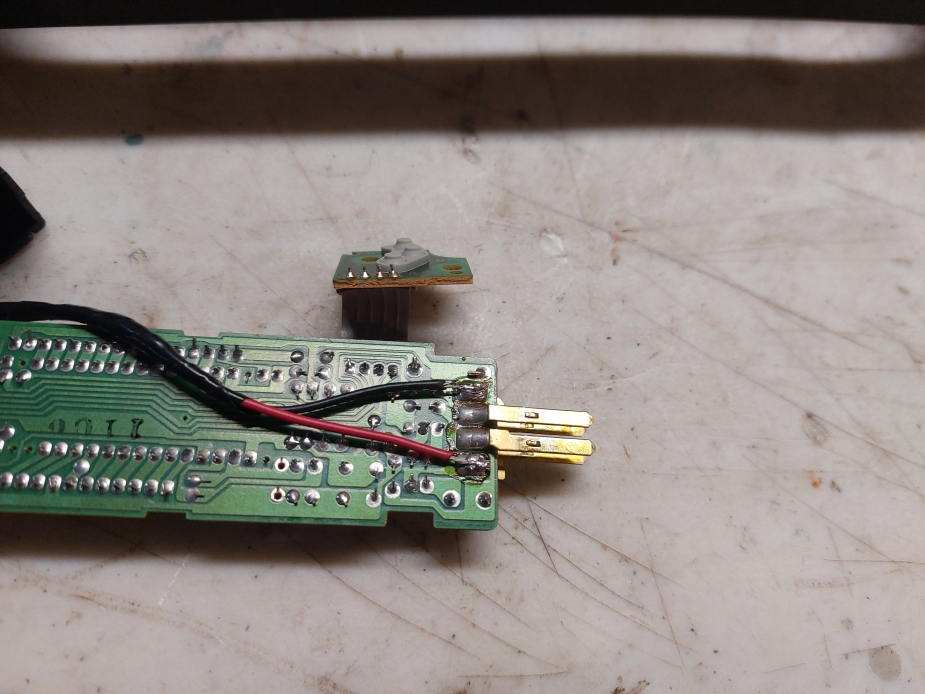
Solder the wires on the the back for 12V ignition and ground...
PCB board tells you which ones to use, but I did test with a volt meter on the wiring harness in the car.
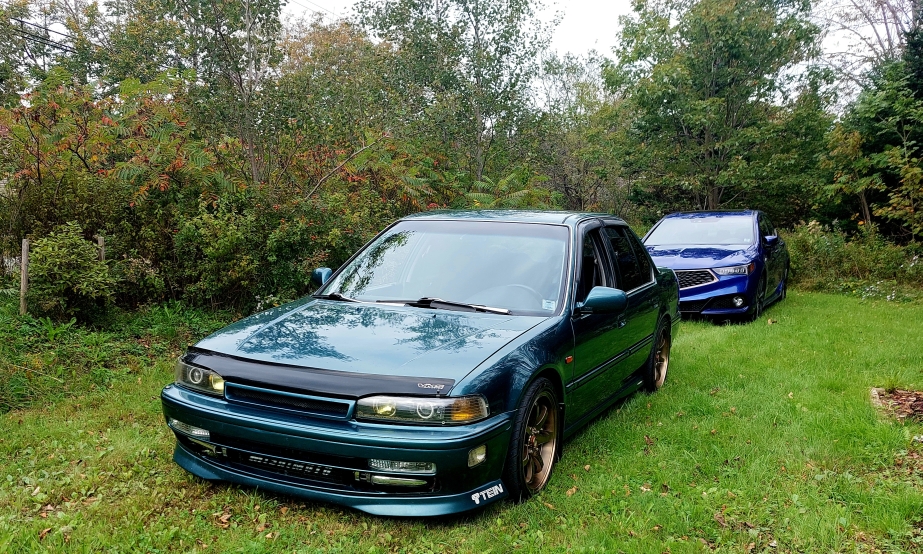
Took cb7 (new name pending) for a good 2 hour drive today! No issues of course. Fun to drive, relaxing, lots of power. I do need to replace the hood release cable. It's all messed up and not working...
Took a photo when we got back; you can also see the new addition. Trying to sell the 2017 Audi A4 S-Line.
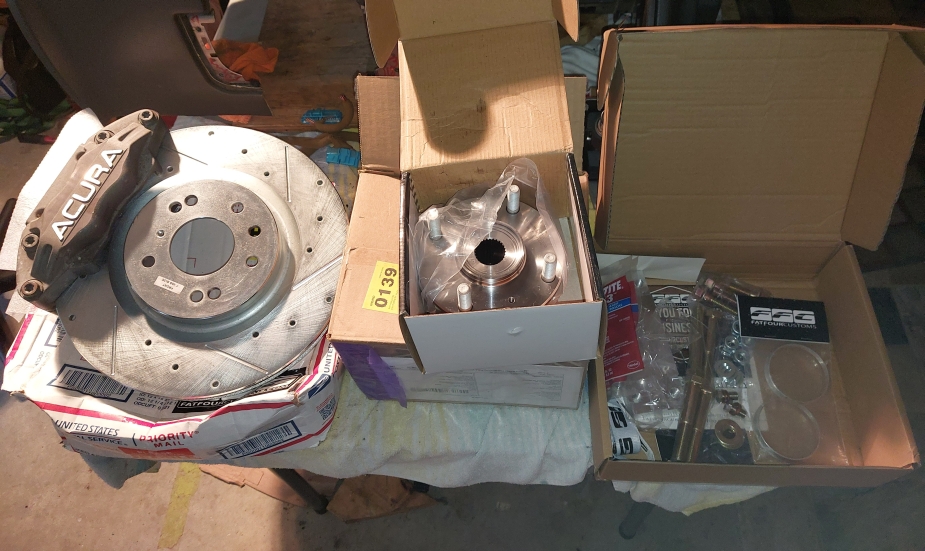
Ya... CybortGT. I feel like the brakes will always feel 90's-ish no matter what. It will never be like a new car where resting your baby toe on the pedal = instant brakes. But I will also admit an Audi has far better brakes than my 2020 Acura. Our only option for our cars I believe is the prelude BMC with a 1" diameter but there's no proof that it does anything. (like the brake proportioning valve). I always wondered though. Seems new cars like my Acura still uses all the same "bits". So why can't our cars have amazing brakes without soft pedal non-sense.
SSMAccord..... ahh no idea anymore. I'm going to move the bumper pole and mirrors to a different 12V and not worry about the cigg. light / ring thing lighting up (or the ashtray blue light). *shrugs*. I wish I had a ....... ...... umm. ... ... 12V probe .. thing. I think I'm going to make one so I can energize that line to fold the mirrors out. & at least then I can work backwards from there.
There is something else i was working on too..... but it's slow going.
Noice. Is the stock master cylinder enough for those on our cars? It sounds like even with the smaller Spoon calipers, the '90s Civics needed to upgrade the BMC to feel an improvement in braking.
 Also have some crank bearings on the way. Definitely a road I've never been down before...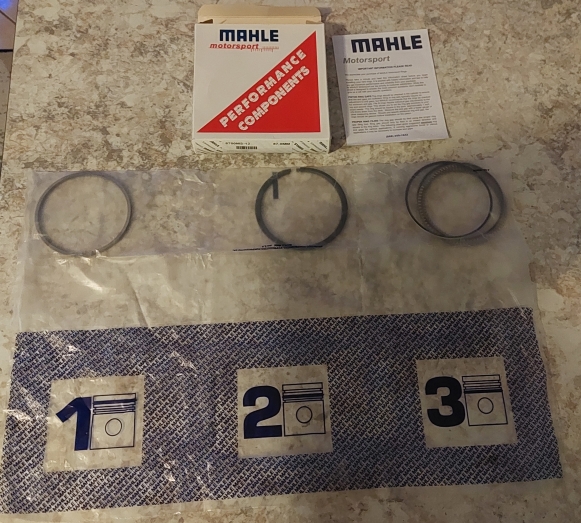


Leave a comment: