
You are pretty far in…I do like where this is heading.
-
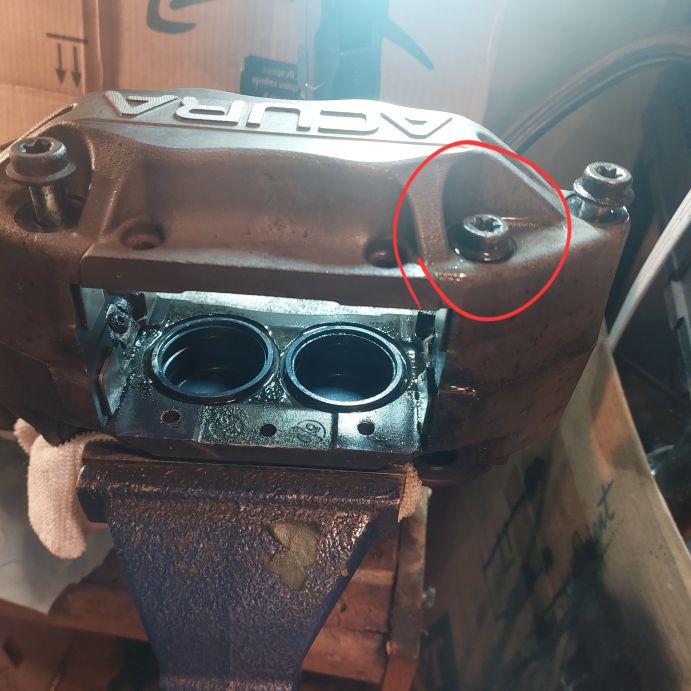
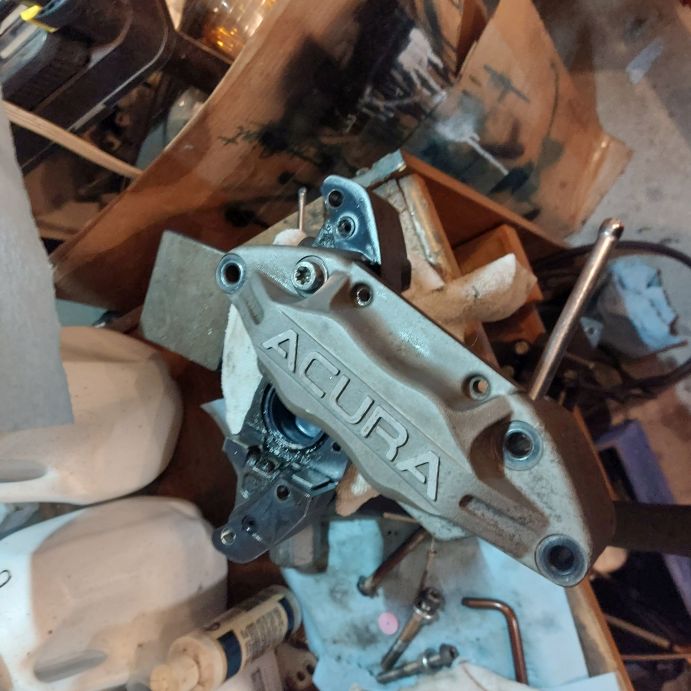
I watched a YouTube video of werdwerx disassemble RL calipers to powder coat them and he cuts a slot in those bolts you circled with a dremel to turn them out with a flathead easily
im sure you’ve seen his work on IG if not check him out.
Looking forward to seeing the BBK come together.Comment
-
Yaa. every bolt on these calipers is stuck. Getting the pistons out with air was interesting. Didn't realize how death-like those pistons will pop out with some air put to them. Trying to split them in half now without damaging those large bolts. Letting them soak in WD-40...
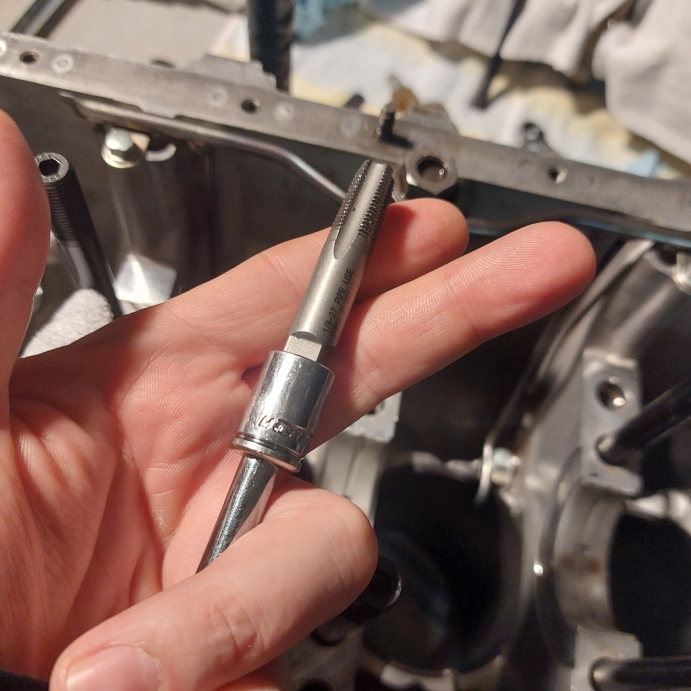
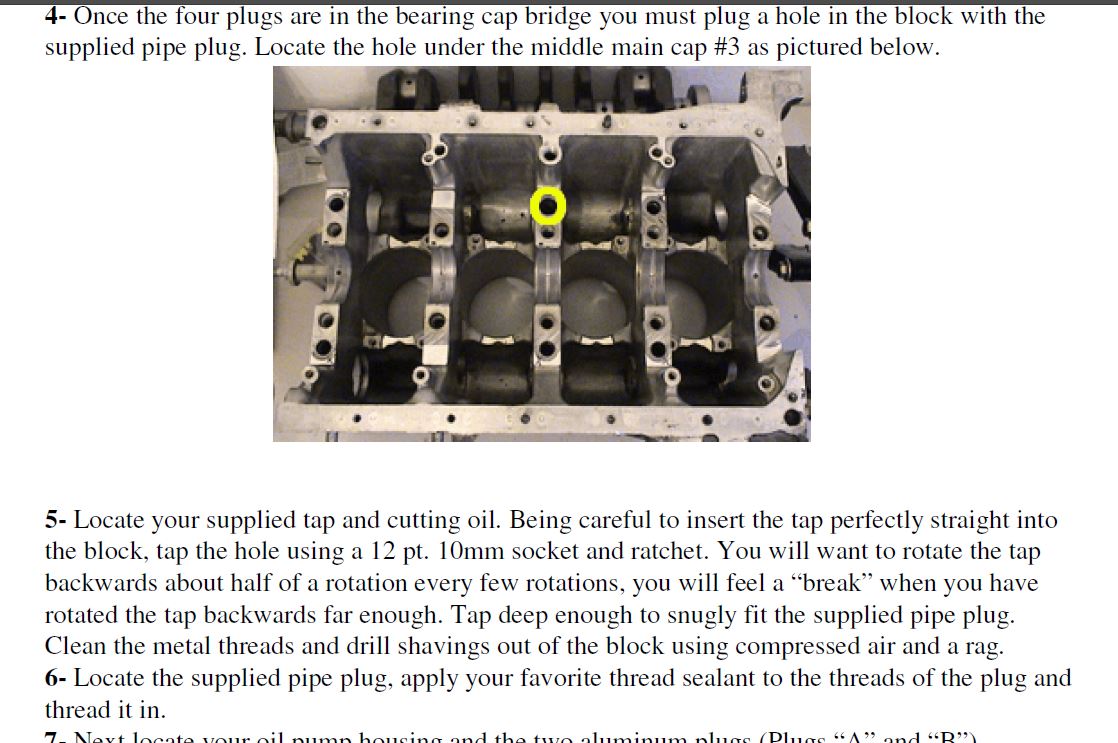
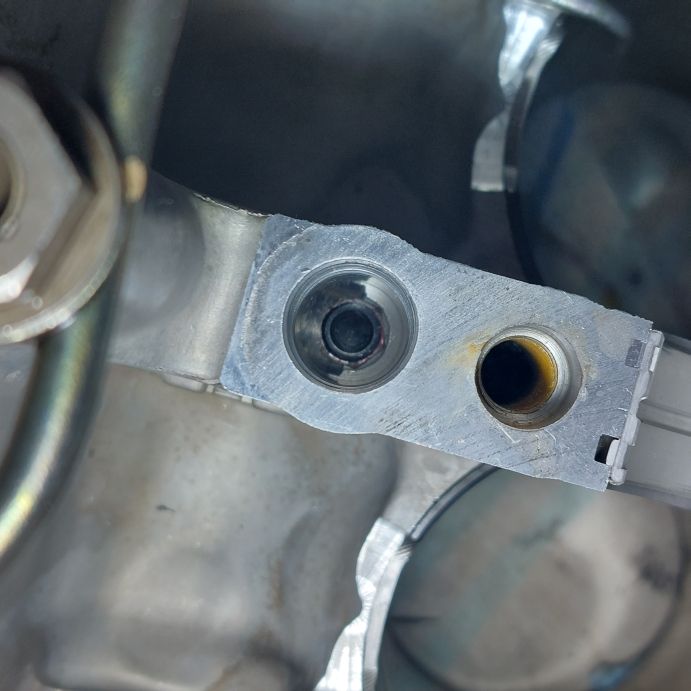
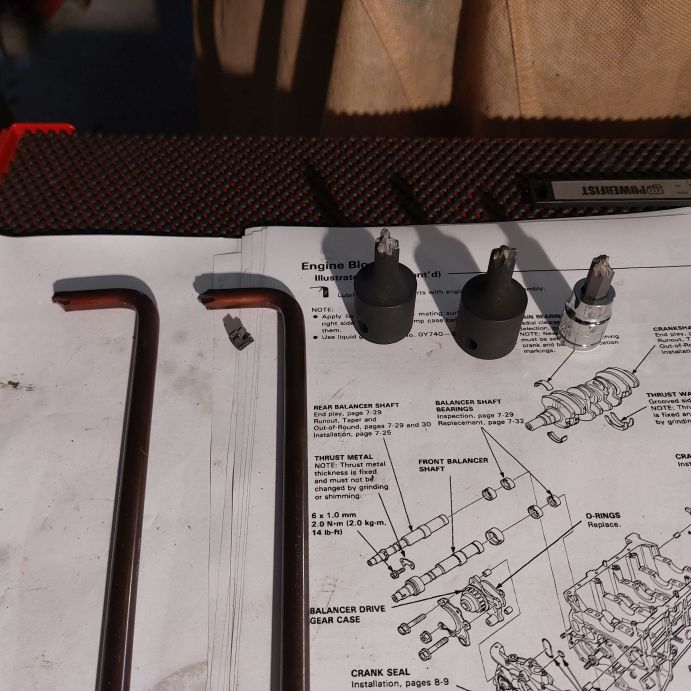
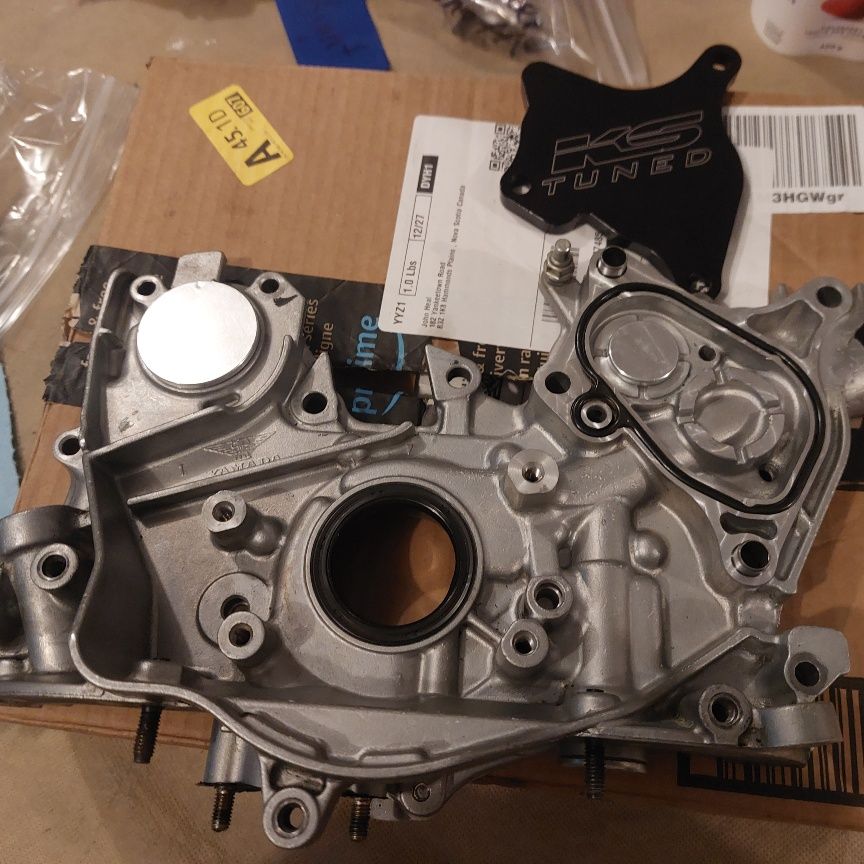
Today was a frustrating day. So I'm installing the KS-Tuned balance shaft delete kit. The first part is to tap some threads into the block where the oil jet would feed one of the balancer shafts. The KS-Tuned kit I ordered didn't come with the 1/8th NTP bit and cap I needed, and owner did not want to ship again (high shipping cost to Canada). So I ordered the bit and caps off Amazon and while the tap and threads turned out fine the caps will not screw in. I may get half a turn... just can't figure it out. There's enough threads there for sure. Soooo.. i wrote KS-Tuned and asked if they'll send me what I need that will work for this. Grr
The hole your tapping. Different H22 blocks will take a different size tap.

I'm thinking the bit is bottoming out and can't make the hole large enough for the cap. Either way, will get what works from the proper place to fix this before I fack it up.
The instructions are pretty clear...
Comment
-
Hmm ya. turns out I need to go deeper / wider. Interesting.... stay tuned.Comment
-
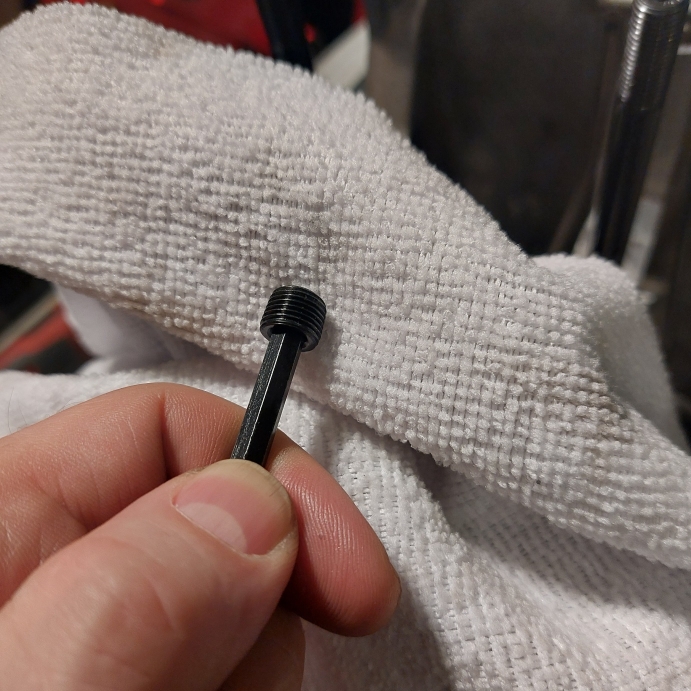
Yep. So really need to thread the whole bit down into that whole until you reach the bottom / oil hole for the balancer shaft bearing. Crazy. Will put locktite red on the cap and thread it in. Let it sit for 24 hours.
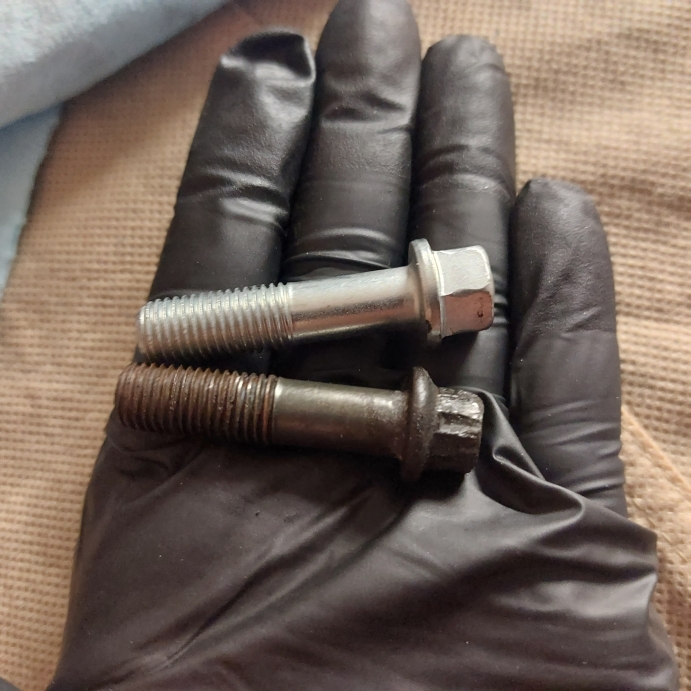
Turns out when you order knuckle bolts they don't come in the 12 point anymore. Makes sense I guess.
Also did the belt walker install which was a pain. It took me 3 attempts to get it on. You're basically beating it to death and it's a "forced fit" + JB weld. I used a rubber hammer but I just had to put it on a harder surface to really pound it in.

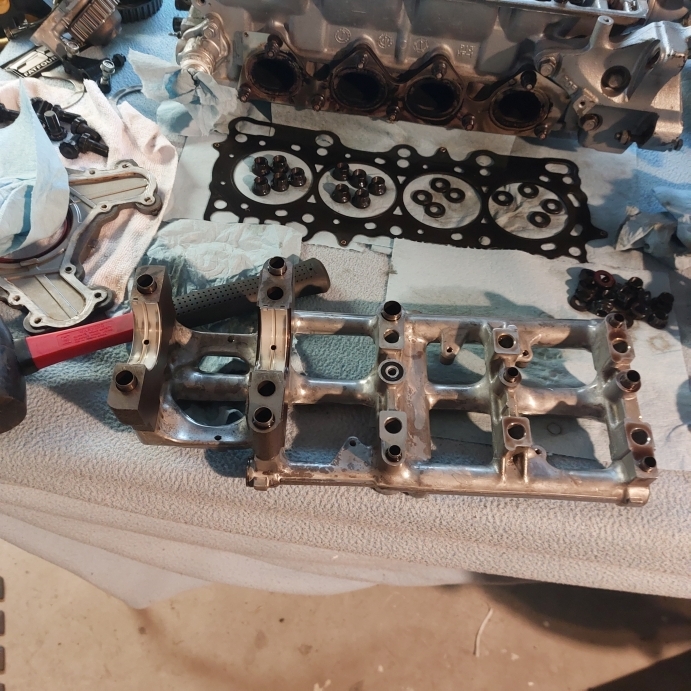
Covers...

Next we are removing these caps out of the grill / gradel. And should be good. Waiting on some other form of locktite to arrive...
Comment
-
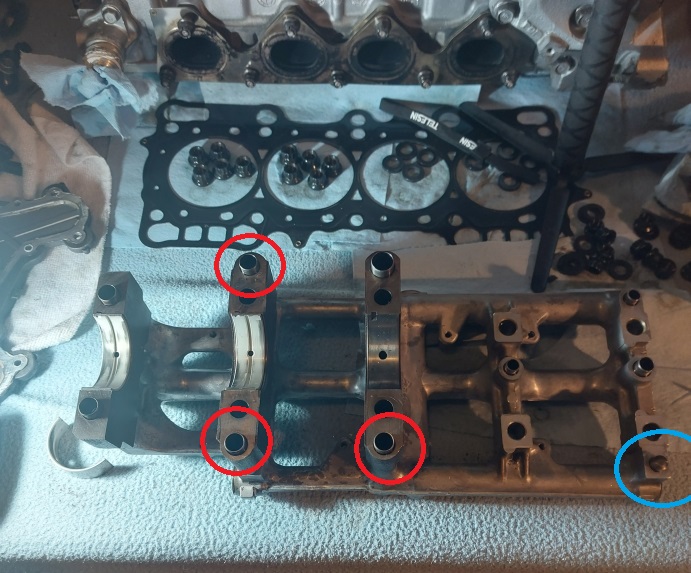
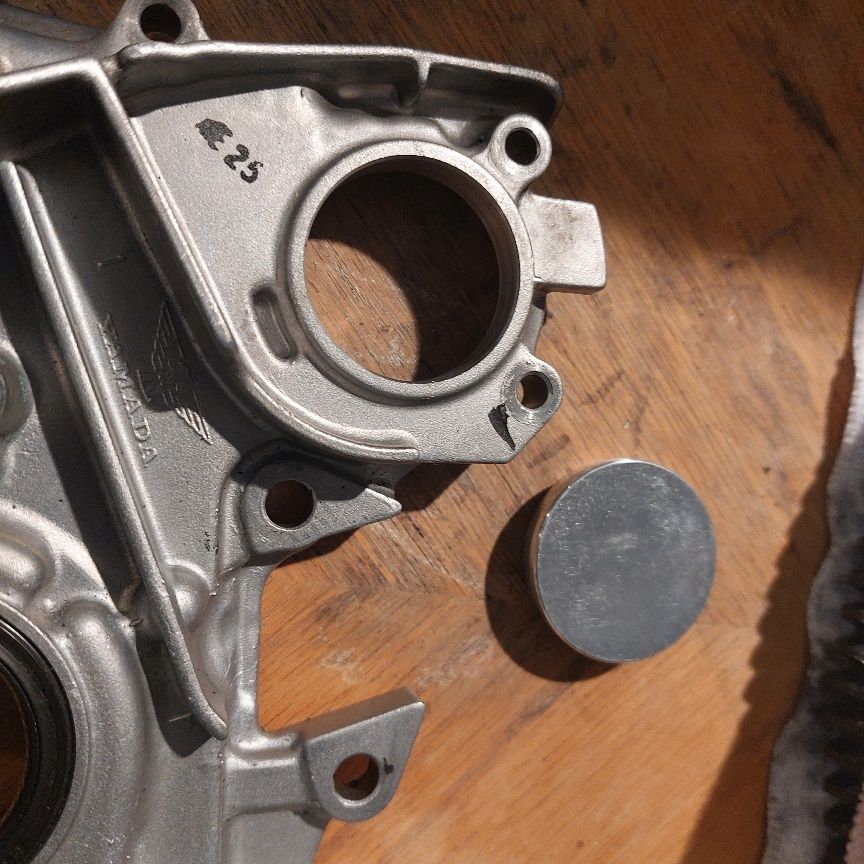
Today was moving a few steps further with some difficult items.....
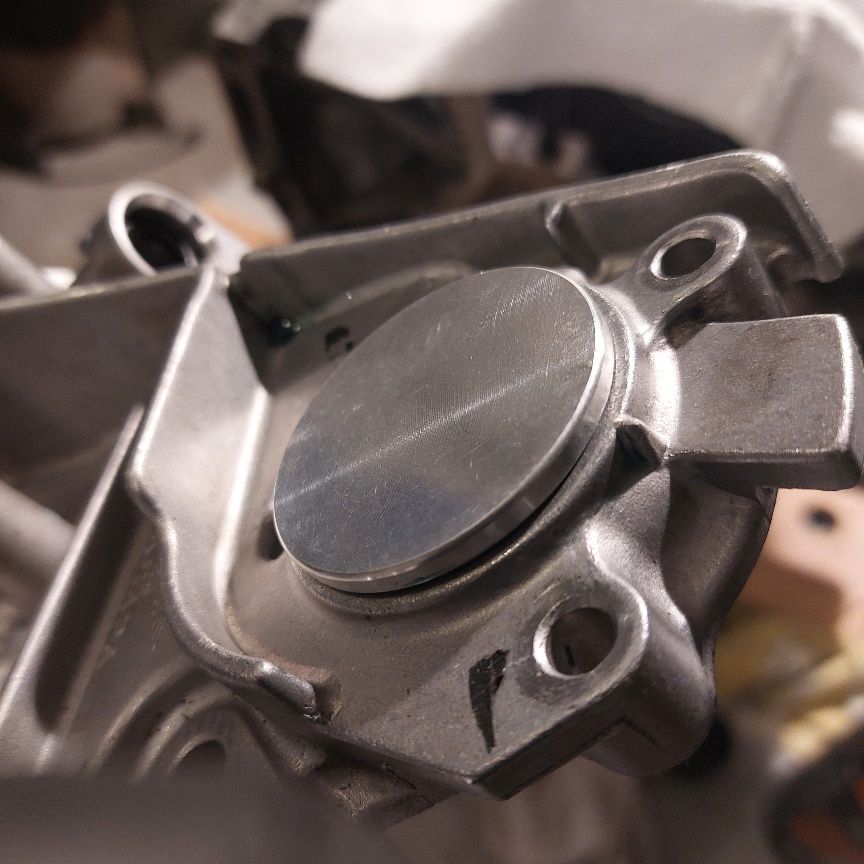
1. Finish the cap / seal for the threaded hole I created. It will sit for 24 hours and be good to go.

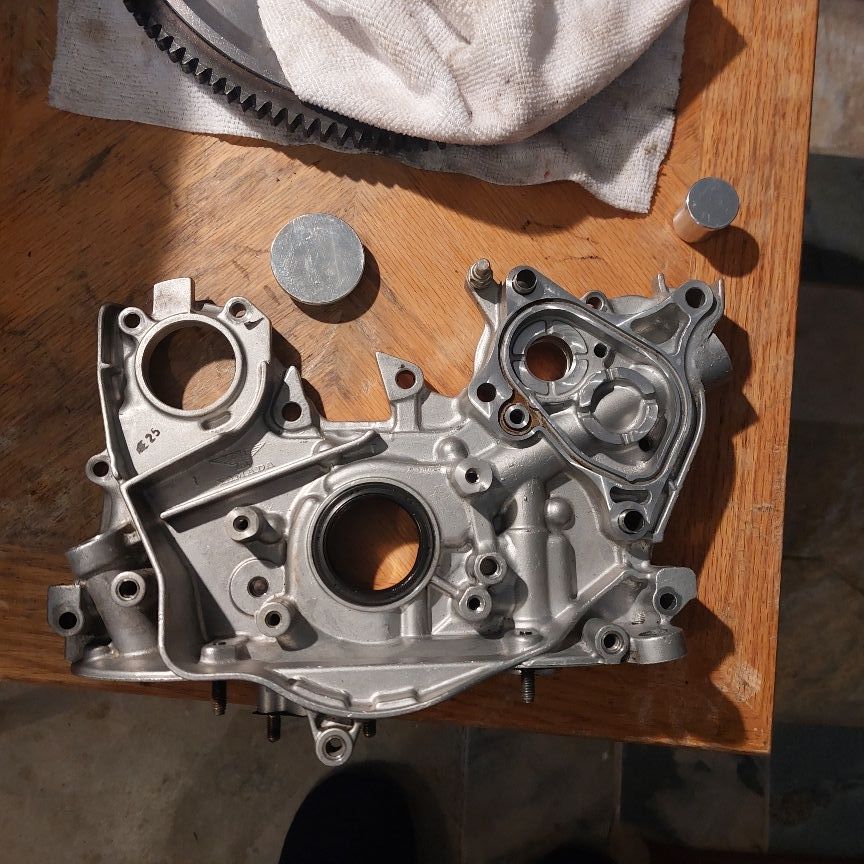
Looks good. Used Locktite 263 thread locker that is oil resistant and shock resistant. This was a lot of work and uncertainty. The instructions were not the best but the owner / support was there.
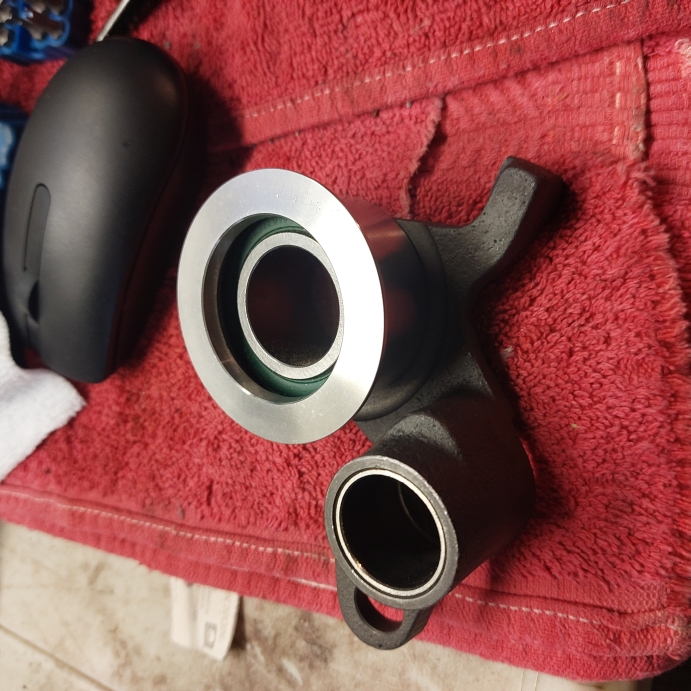
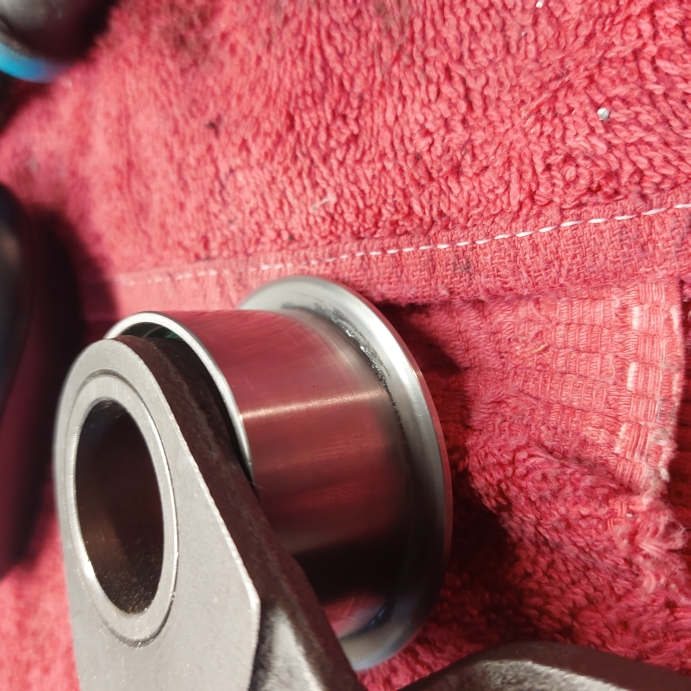
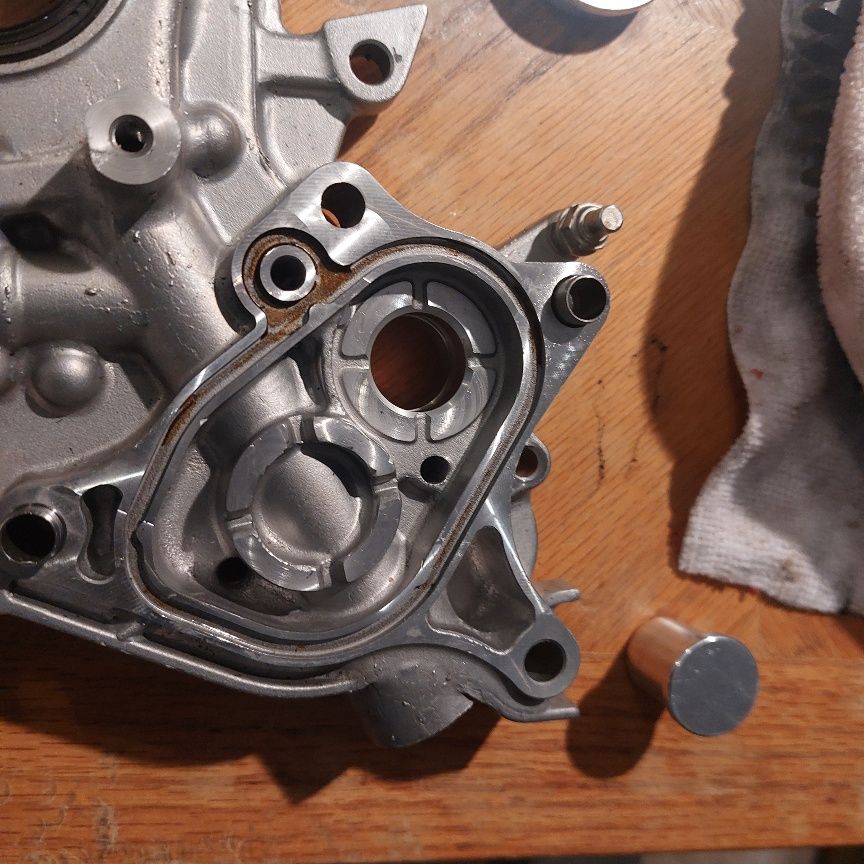
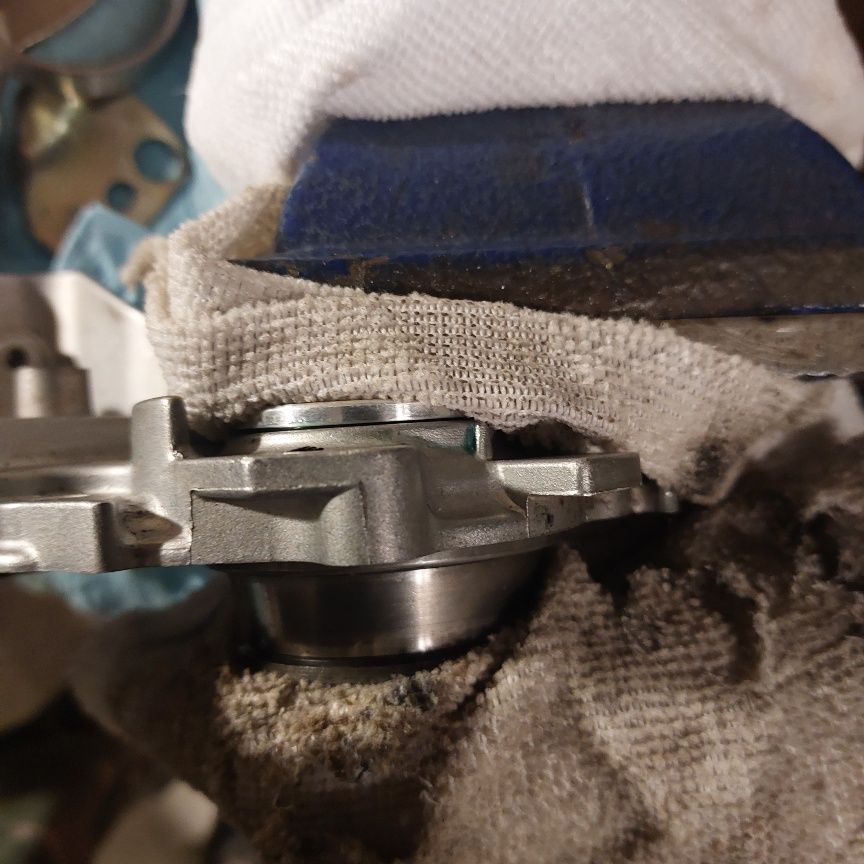
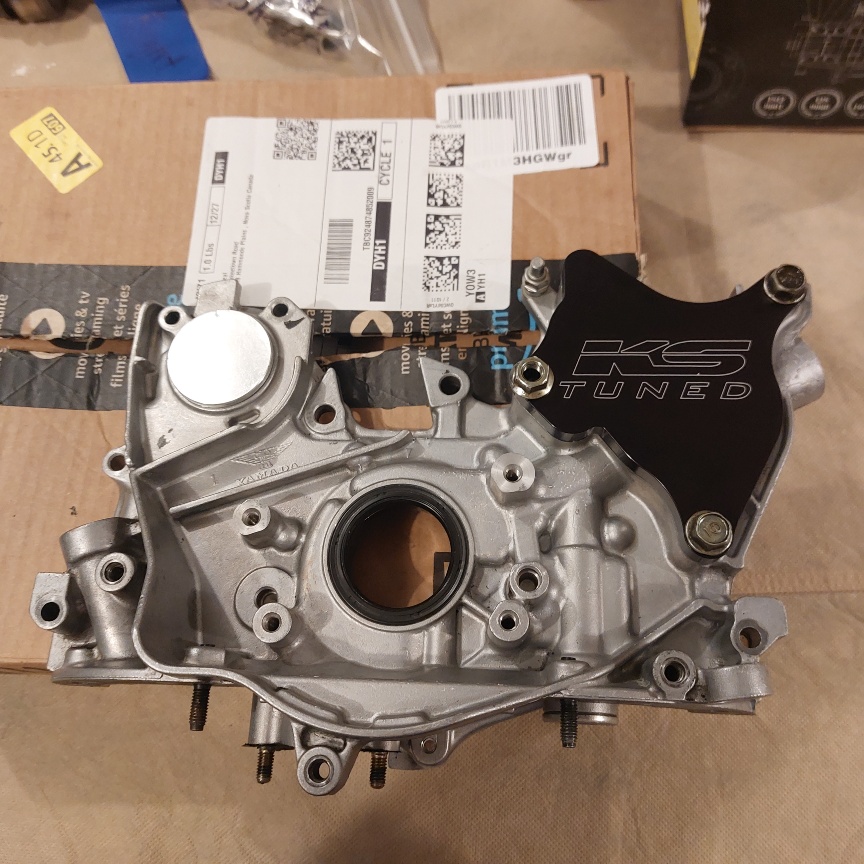
Next we removing the ..."guides" and replacing them with plugs. The instructions were to remove the old however possible (vice grips) and heat up the hole with a torch, then tap in the new plug with a large metal hammer. This step went smoothly. Blue one already done.
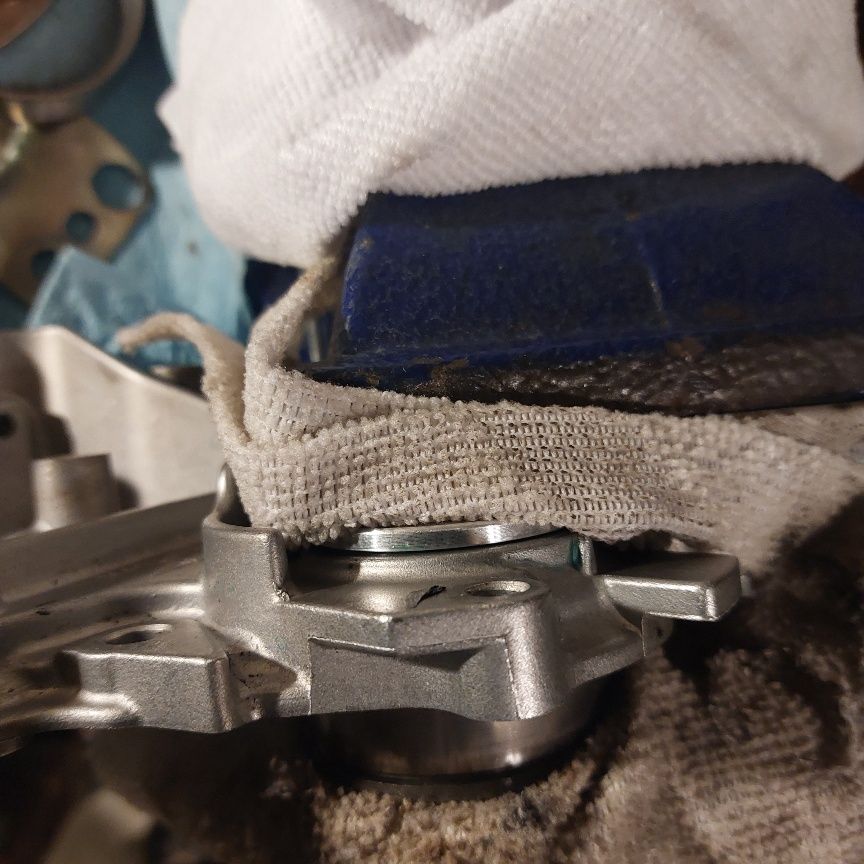
I did run into an issue where the middle cap wouldn't go back on (over the new plug). I ended up sanding it down and cleaning the inside really well. & then using a bigger hammer.
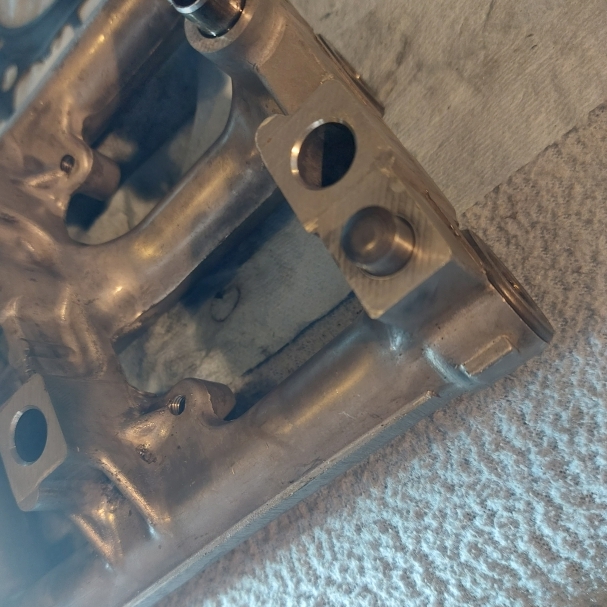
Next we will order Locktite 609 as instructed for the two plugs that are pressed into the cover. Things are moving along well. Also will order new rear main seal and other end seal + more knuckle bolts direct from Honda.
Comment
-
I don’t think I realized how labor intensive the balance shaft delete kit is. Kudos to you for documenting the process.
Comment
-
I guess I didn't either lol. Dan Benson did mine when he built my block back in 2014 lol.Originally posted by SSMAccord View PostComment
-
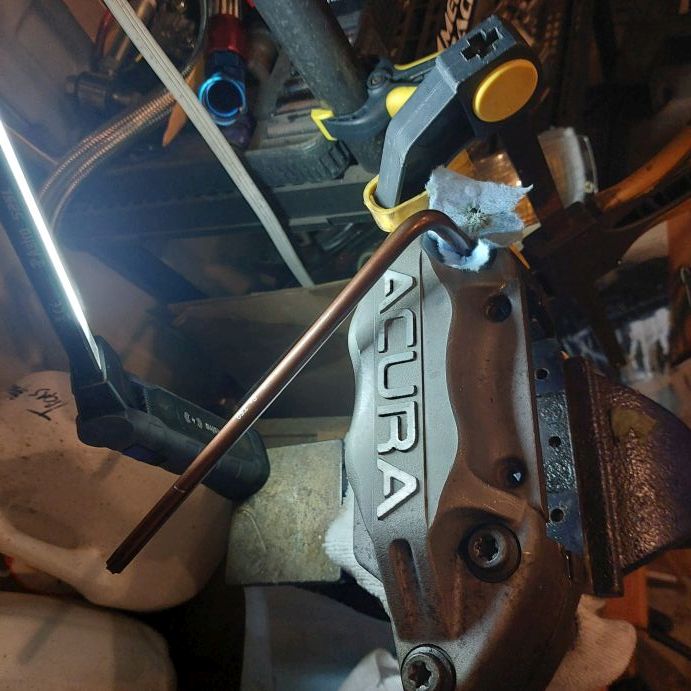
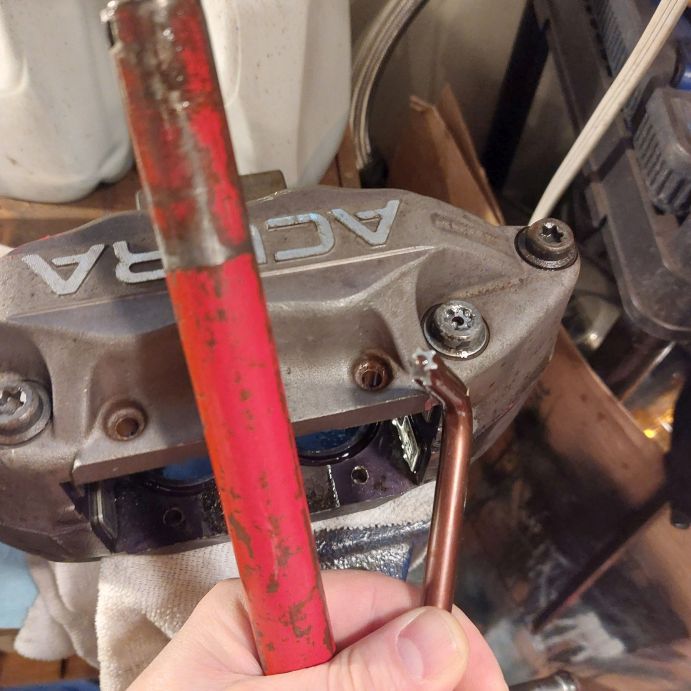
Yep. Now waiting on Locktite 609 which is coming from India... ; to hold the caps in on the oil pump plate. Besides this I'm stripping down the calipers for paint. All seals have to be removed, etc. I've spent a good week trying to get one bolt out of a caliper..... and I'm not sure what to do....
- We have soaked the bolt for days...
- I've bean on the top / shock it
- I've used heat (propane torch)
Most I can make it move is 1mm.
Broken...
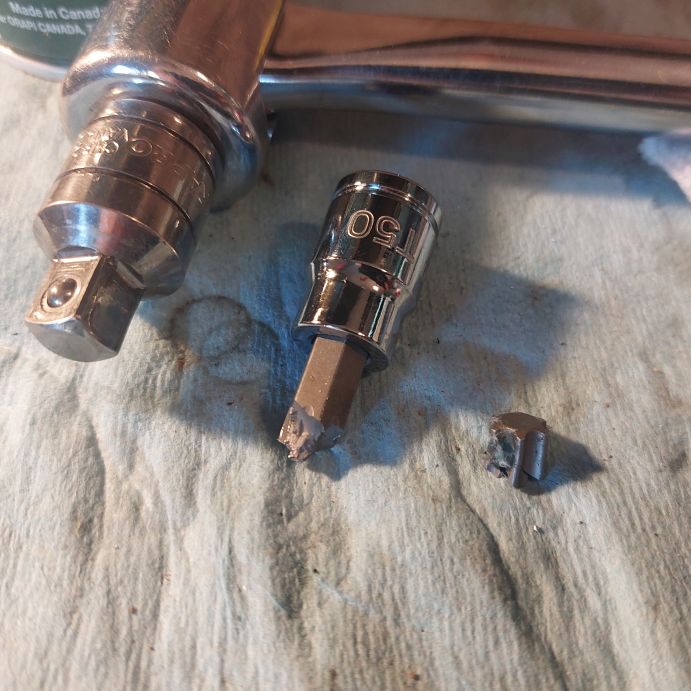
Got a better one......... broken...
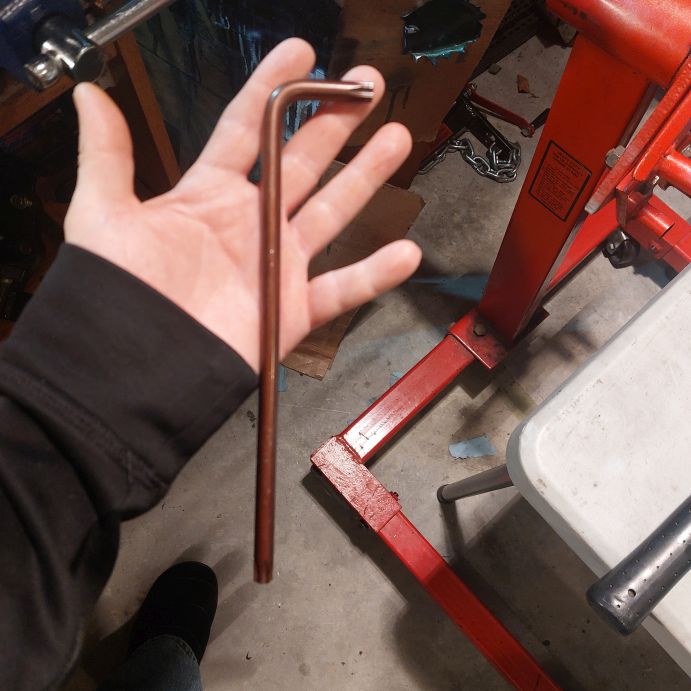
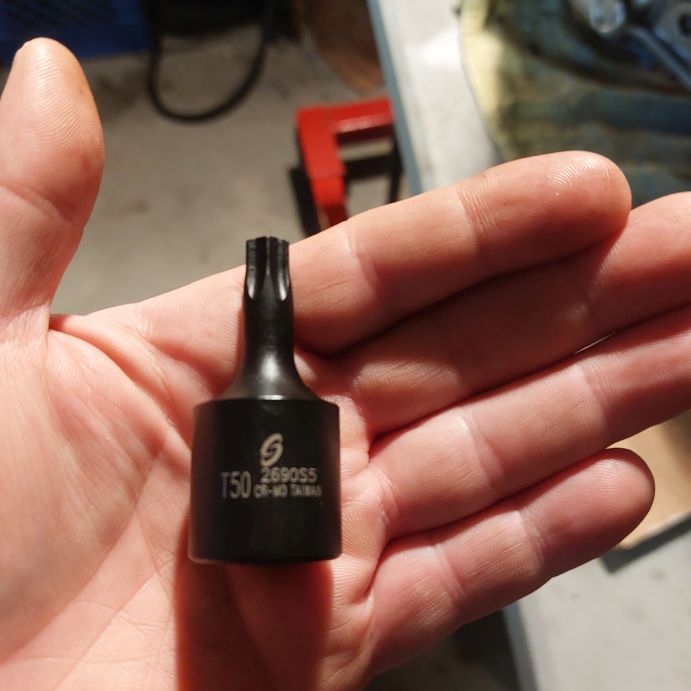
Got this thing now..... it's huge!
Still....... cannot get the bolt to move. Haven't stripped it yet.
Comment
-
Uh-huh...., well the bolt is a strong bolt. Can say that for sure. A propane torch on the caliper for 5min, nothing. Going to order another impact socket type T50 and try the big gun....
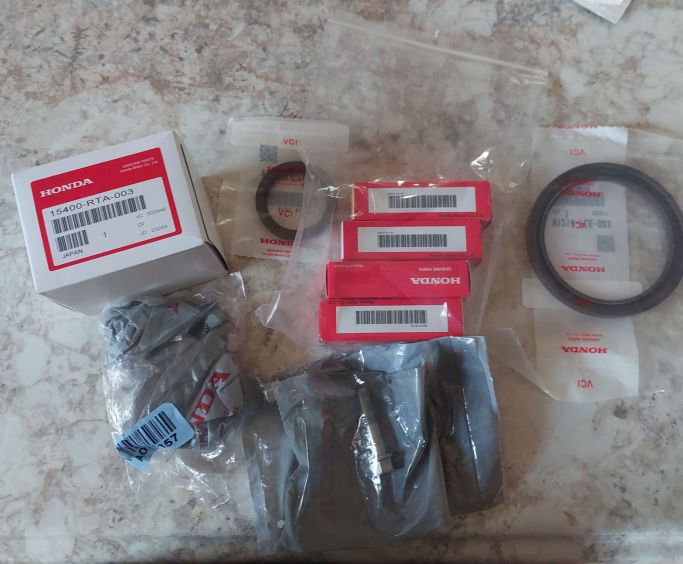
Straight from Hondo. Rear main seal / front main seal. Oil filter, spark plugs, and more knuckle bolts because I can't have one side not matching the other
Comment
-
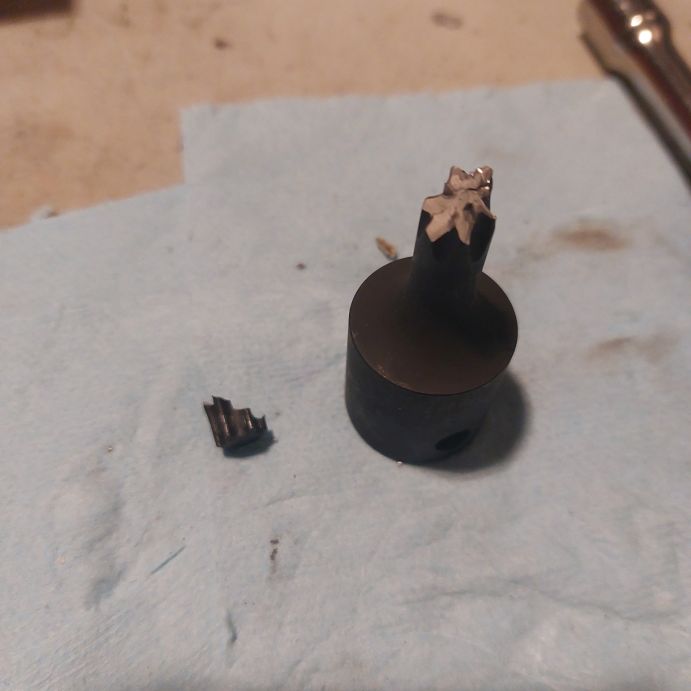
I did have another allen-key bit, but I broke that too. Meanwhile I've been beating on this thing! Soakikng it daily. Heating it, beating it... ug. Sooo I bought another "stronger one" and put her on the impact gun...
Nope...
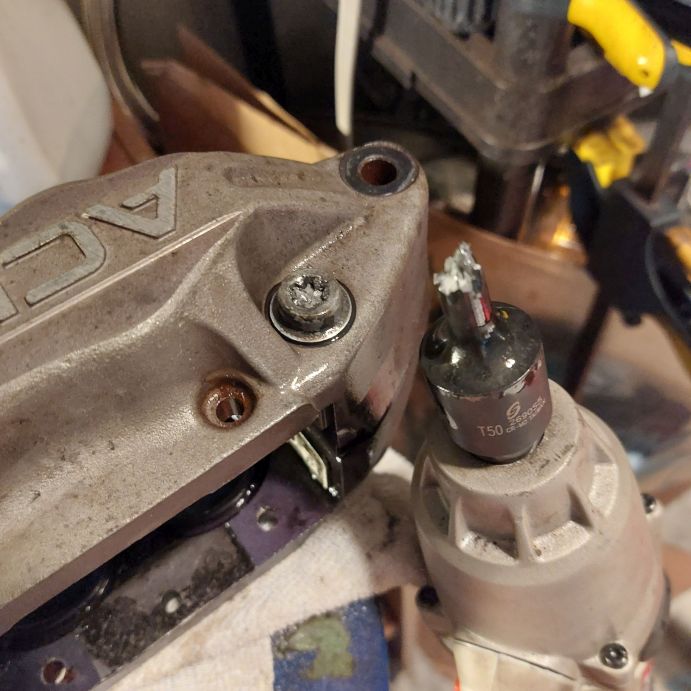
5.... bits down
Then I got creative and separated the pieces by pivoting them using a big hammer.... even after they came apart the bolt was still stuck (although it has no threads holding it in)
Yaaa.. not sure it would of ever came out. Maybe with a stronger torch...

Now for the not fun news. The other caliper has the two outer bolts stuck in the same fashion
Comment
-
Can you weld? Or have a shop weld a strong 6-point nut onto that torx head so you can use a normal socket? Then from there just get replacement bolts for the rebuild.Comment
-
I can weld but using that as a last option. Welding is just going to mess up shit, possibly deform the caliper if not done properly. Was hoping to keep the OEM bolts too.
Comment
-
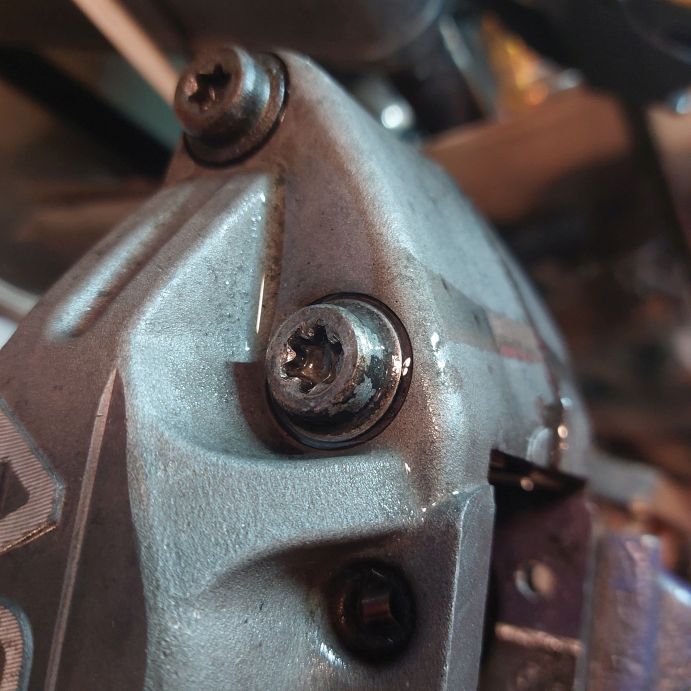
That's galvonic corrosion from the stainless bolt and the aluminum caliper! Try letting it soak it hot distilled water for a day or two. You could add some base detergents to help. Definitely take a torch to the bolt, that will break it the fastest. After the torch and soak, give it some PB blaster to soak in.Comment
-
Yaaa... will try that. So far, no go & broke another bit. Both bolts will move 2mm, no more.
I have been filing / recording these ventures as well but no time to do the video editing. Time will tell....
Other updates; finally got some locktite 609 as instructed by kstuned instructions. So we can now continue on with building this beast. I think I need some honda bond though... need some kind of good sealer for the oil pump assembly.... and all the other parts that had it.
The smaller plug you could just rubber hammer in. The larger plug proved to be a huge issue (like one of their other plugs.....oh ya, the ... belt blocker you hammer on the bearing.) Just would not go in. So I sanded the plug down, added some 609 and used the vice to press it in.
Next up.... we have to do piston rings and pins. Something I will admit I've never done in my life... weeee
Comment


Comment